

Sewing The Tropical Research Laguna Shirt
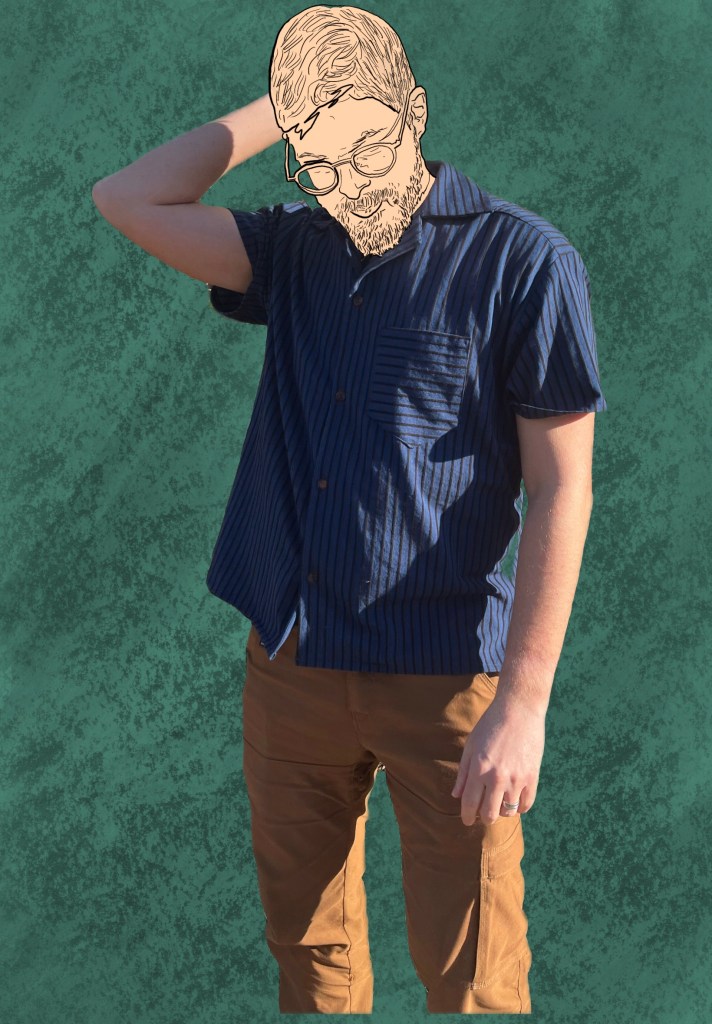
I feel like I say this now with every new make of mine but I’m going to say it again: I truly cannot believe I made this! It’s been a goal of mine for some time to sew a button up shirt and I did it. It looks great, it feels great, it fits great. Let’s get into it!
The Pattern; Written Instructions and Sew Along Video
After conquering the Donny Shirt I knew I could tackle a button up, it was time, but which pattern would be best? I personally like a camp collar and after deciding I’d make a shirt for my husband Eric as a gift I landed on the Tropical Research Laguna Shirt, a pattern by Tobias Konrath. It’s a PDF and projector pattern that can be purchased for immediate download from Etsy. Eric agreed that the shirt looked like something he’d wear and something he could really use in his wardrobe for the spring and summer.

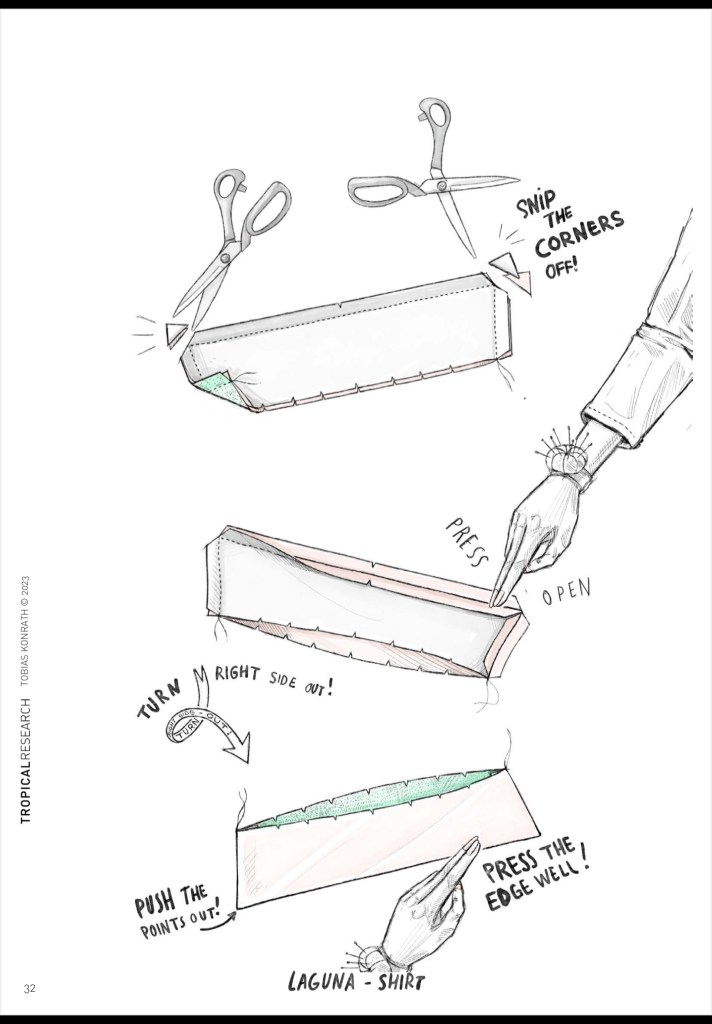
What really drew me into the Laguna Shirt pattern were Tobias’ illustrations, they were really clear and he has a fun style of doing them. Of course I was also incredibly happy to find that he has a full YouTube sew along video for the shirt as well! I watched it a few times but I’m finding I’m feeling more confident these days and don’t need to rely on sew along videos quite as much.
I will say, however, regarding the video, I do have a few gripes:
- Most of the process is sped up. I get that nobody wants to watch an hour(s)+ long sew along but there were a couple points I was wishing the speed was normal.
- I also noticed a couple spots in which his construction technique was different than the written instructions.
- 1) In the video he sewed the bias binding to the facing before sewing it into the shirt (it’s the opposite of this in the written instructions). In this instance I went with the video’s instuctions and no regrets!
- 2) I was walking downstairs to make a smoothie at 7:24am the day after finishing the shirt when I suddenly remembered something he did to the collar in the video (cutting little triangles out) that was not in the written instructions and it made me think if I had done the video instructions the collar might lay a little nicer. Wish I had caught this!
- 3) He sews the sleeves into the shirt and then brings the whole shirt over to the serger to finish the edges, whereas in the written instructions he states to finish the edges first, then set the sleeves in. I really went back and forth on this and decided to set one sleeve in first and see how it went. I was worried about not being able to find my notches if I finished the edges first. It was a good call and again, no regrets doing it the video way.

Fabric and Notions
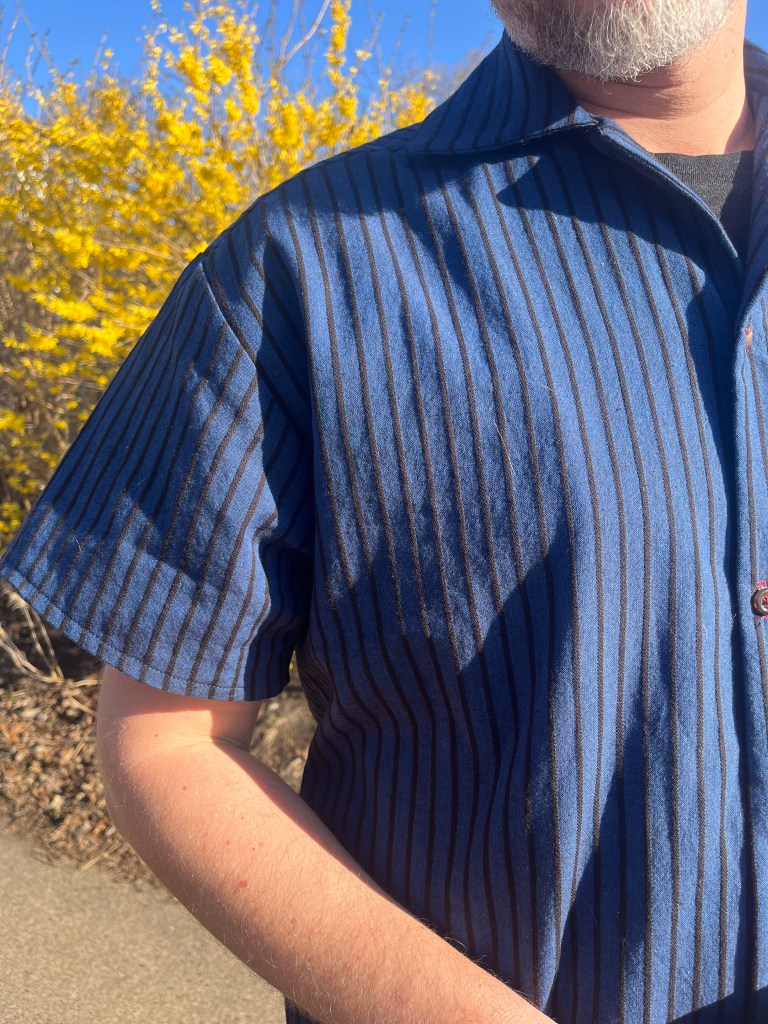
Since I wanted Eric to really like his shirt I took him to the fabric store and had him choose the fabric. We went to Lakes Makerie in south Minneapolis because they have a nicely curated selection of fabric and lots that work well for garments. It took him about an hour to nail down the fabric and buttons but we both had so much fun. In the end he selected a Ruby Star Society warp and weft woven yarn dyed cotton in a black and navy stripe (I believe it’s called Apron Stripe) from the Oh Lucky Lucky collection. I cannot find it on the website so here’s a link to an online shop with it currently in stock. WE LOVE THIS FABRIC. It is so so soft and has such a nice drape.
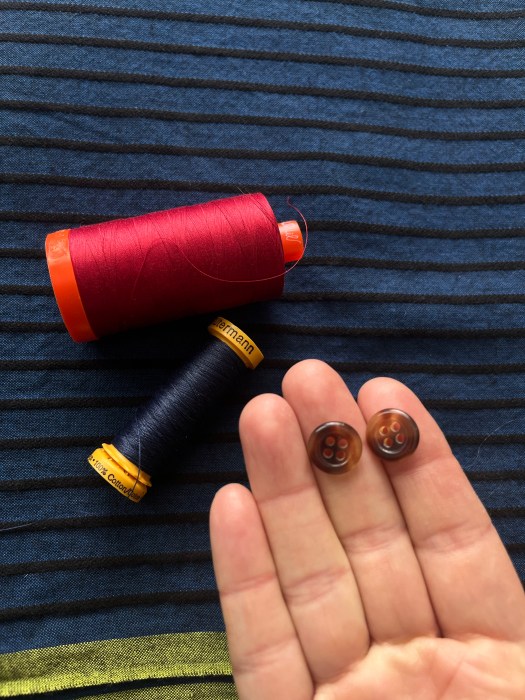
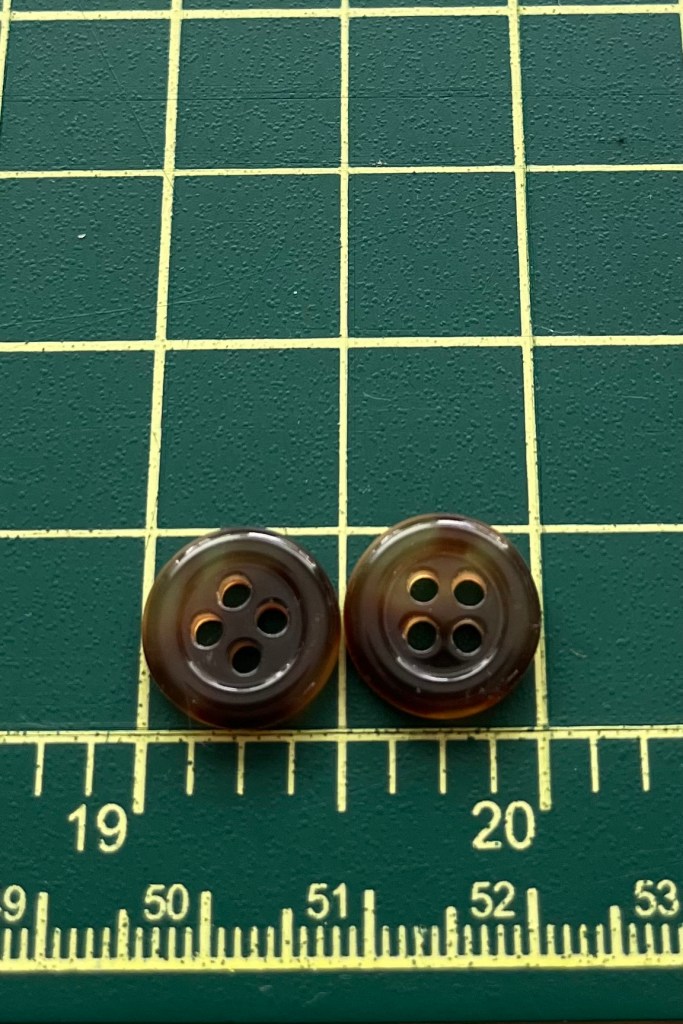
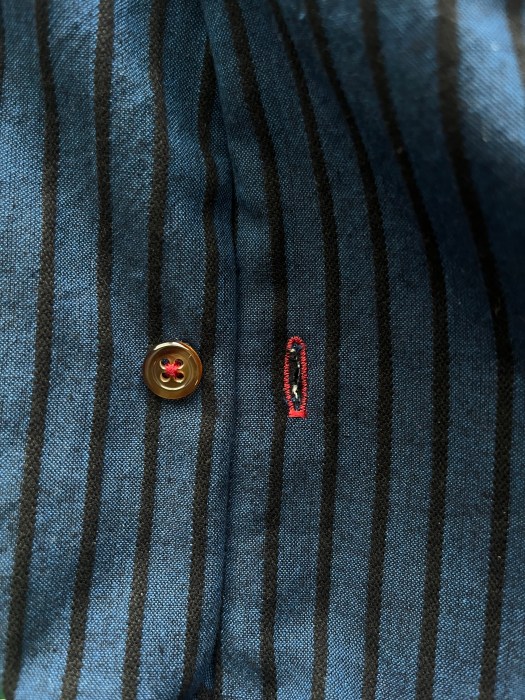
For buttons he chose some tortoise shell French buttons, which, I also cannot find on the site for the life of me. I tried steering him towards something green because the selvedge of the fabric is green and really pops but he loved the brown ones and wanted the buttonholes to be red. Fine! It’s his shirt haha. For what it’s worth the red buttonholes are a fun touch.
Project Breakdown
What did all of the major materials cost? Let’s break it down:
Pattern: Free
(Normally, $14. 22 but there was a 20% off coupon so I used $11.37 of an Etsy gift card!)
Fabric: $12.99/yrd, $39 for 3 yards (I bought too much because I accidentally bought enough to make long sleeves instead of short sleeves oops)
Buttons: $9 (That’s $1.50/button and while I only needed 4 I bought 2 extra as a just in case)
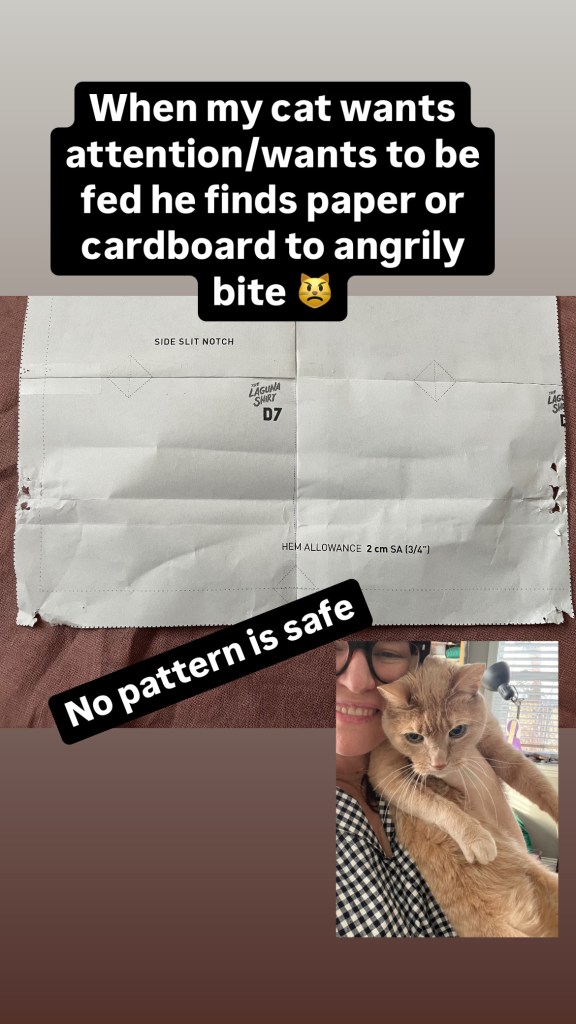
I already had cotton navy colored thread (Guttermann) at home and cotton red Aurifil for sewing the buttons and buttonholes. I also opted to not make my own bias binding for the facing and used some black polyester Wrights double fold that I probably bought at Joann’s (RIP). I interfaced the collar and the facing and already had that on hand too. I opted to print the PDF pattern at home and tile that sucker together with tape which I have a love/hate relationship with doing.
Modifications
After measuring Eric we went with a size large. I almost went straight with the pattern without any mods but when I took a closer look at the #tslagunashirt hashtag on Instagram it really looked to me like the back hem was an awful lot longer than the front. I like a high/low hem combo but this seemed like way too much longer, so with Eric’s blessing I chopped it way down and just kind of winged it. Honestly I shouldn’t have chopped so much off because it ended up the same length as the front (WHOOPS don’t wing it!!). We didn’t intend for that but he’s fine with it! Looks like I took almost 3 inches off; next time I would take maybe 1.75 inches off instead.
Every Day We’re Learning

I’ve made a collared, sleeved shirt before. I’ve done buttonholes before. I’ve put a pocket on before. Did I really learn new stuff? Yes!
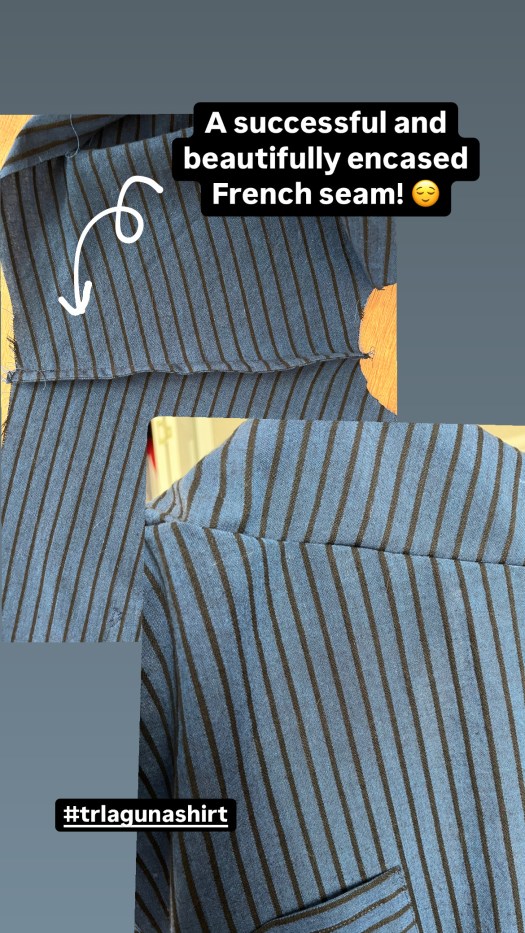
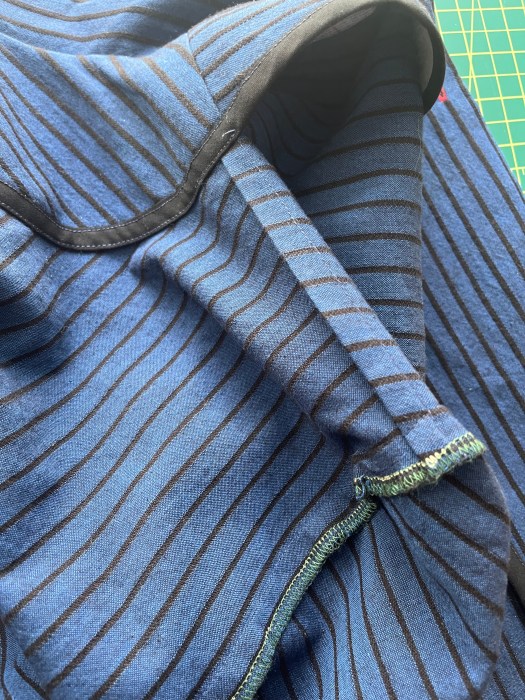
- French seams: Tobias has you do the shoulder seams as French seams, which I loved and turned out beautifully. I love the clean finish!
- Bias bound facing: New to me! I really like how it looks, despite my sewing off of the binding in a few spots (but thankfully that’s all internal and not noticeable when the shirt is worn).
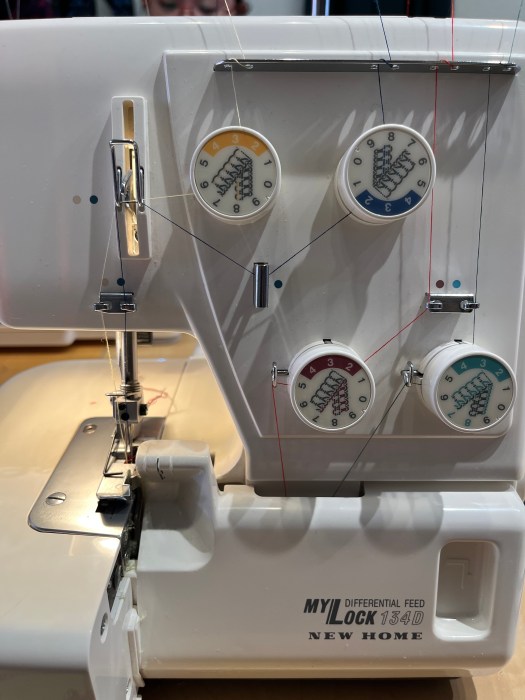
- Serged seams: I have my aunt’s Janome serger and for the first time I finally used it! I didn’t serge them perfectly but I think (hope) that the seams will hold up better than if I had only done a zig zag stitch to finish them. And because I forgot to finish the lower edge of the arm seams at the serger I ended up finishing those with a zig zag so I have 4 different seam finishes in this garment which I think is neat.
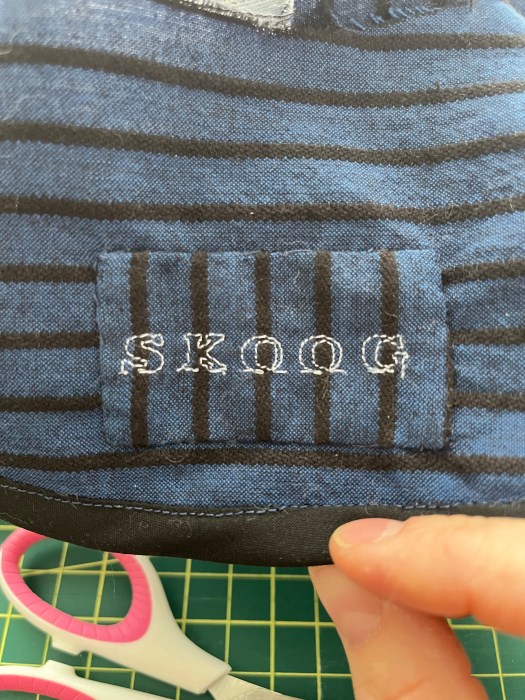
- Sewn in custom garment label: I really wanted to set in a label into the collar but only have these woven ones that have quilt blocks on them. I realized I could use the alphabet stitch setting on my machine and easily make a sort of embroidered one for him! Skoog is his nickname. I hand sewed the label into the facing so you don’t see the stitches on the back of the shirt.
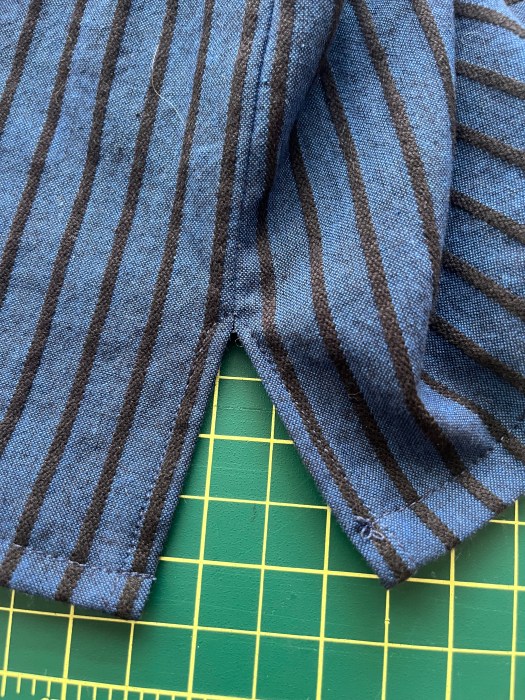
- Split hem: Easy to do and I love the look!
- Reinforced pocket corner: I almost skipped this as it seemed unnecessary but I really like the look of the little triangles in the corners of the pocket.
Final Thoughts
I wish I had done the topstitching along the shoulders. It was optional so I skipped it, but I think it would’ve looked nice.

I feel like I’m chasing my white whale when it comes to button downs for myself. I’ve looked at sooo many patterns! The Laguna Shirt is billed as a unisex pattern and I like this shirt for Eric but it feels like it might be just too boxy for my liking. We both noted that the sleeves stick out just a little more than we’re used to seeing him wear, but change is good! For my button up, I’m leaning towards using the Daughter Judy Genra shirt pattern which I already own (nice camp collar but has a rounded hem) or the Closet Core Jenna (not a camp collar, curved hemline and straight hemline options; I like the loop detail in the back). Also intrigued by Helen’s Closet Cameron Button Up and the Gilbert Top (though I’ve read a lot of mixed reviews on the Gilbert!). I’ll be making my own button up soon enough!
If you stuck with this and read this far THANK YOU. Truly. Phew!


Such talent! Totally dig it 👕🫶🏼🎉
LikeLiked by 1 person
Nice job, Niece!
>
LikeLike
Thank you Sheila! 🙂
LikeLike