Tanks For Nothing!

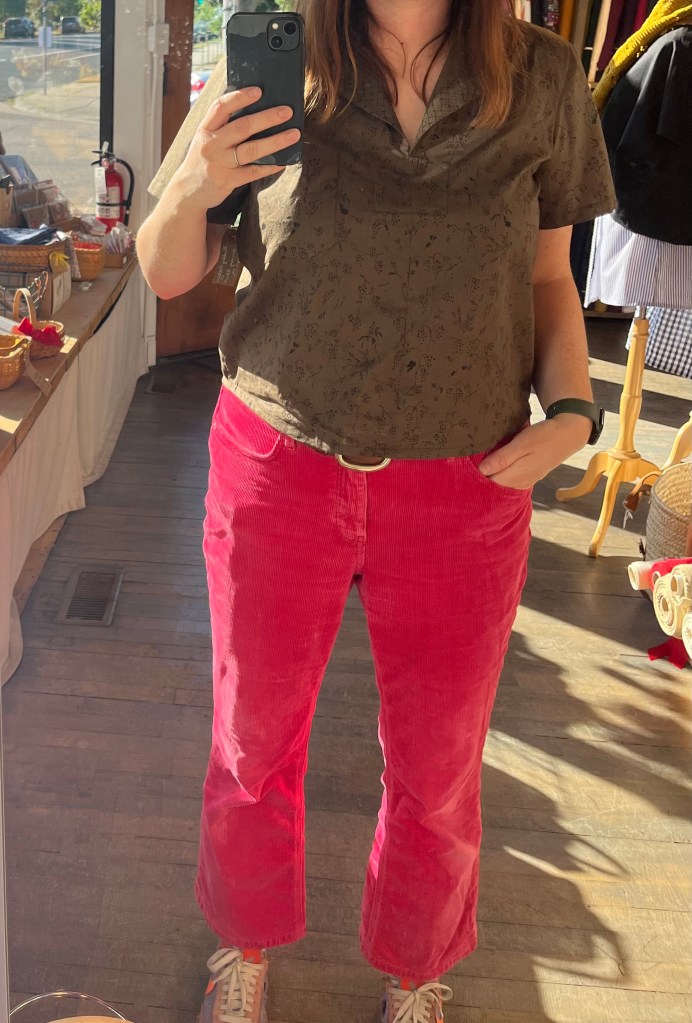
Tanks are one of those necessary evils of a summer wardrobe for me. I wear them, but a bit resentfully. Part of the reason is I have this (what I think is a) dermatofibroma on my front right shoulder, and another on my back left shoulder, hanging out like a year round zit or mosquito bite. They’re ugly! I also am a bit picky about necklines and don’t like anything too low, it’s just not a style I think looks best on me and I find most patterns have a lower neckline. I want to both feel like myself and look my best in clothing, but when the weather calls for it I will lean towards whatever will be the most comfortable, which is often a tank.

With that in mind, this summer I decided to embrace tank making and try to find a style I love so I can feel my best. I’ve already made four and I’m having a blast! They have all turned out cute, making me want to wear them more, even on days when I could comfortably wear a shirt with sleeves. What a thrill. In true Shash fashion I have used thrifted, gifted, and even found fabric for all of these makes, prompting Eric to call this my Tanks For Nothing series. In today’s post I’ll talk about the tank patterns I’ve made so far, what I think of them, and what other tank patterns I’d like to try out as well as what I plan to sew this summer.

Spaghetti Western Sewing Ornella Top
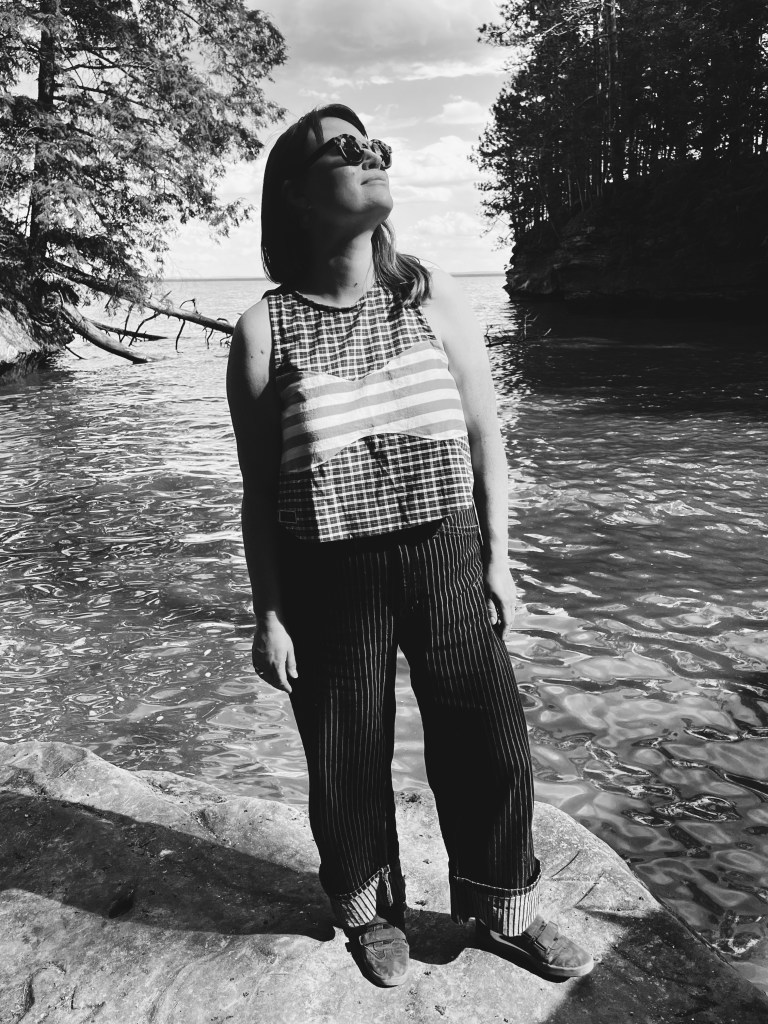
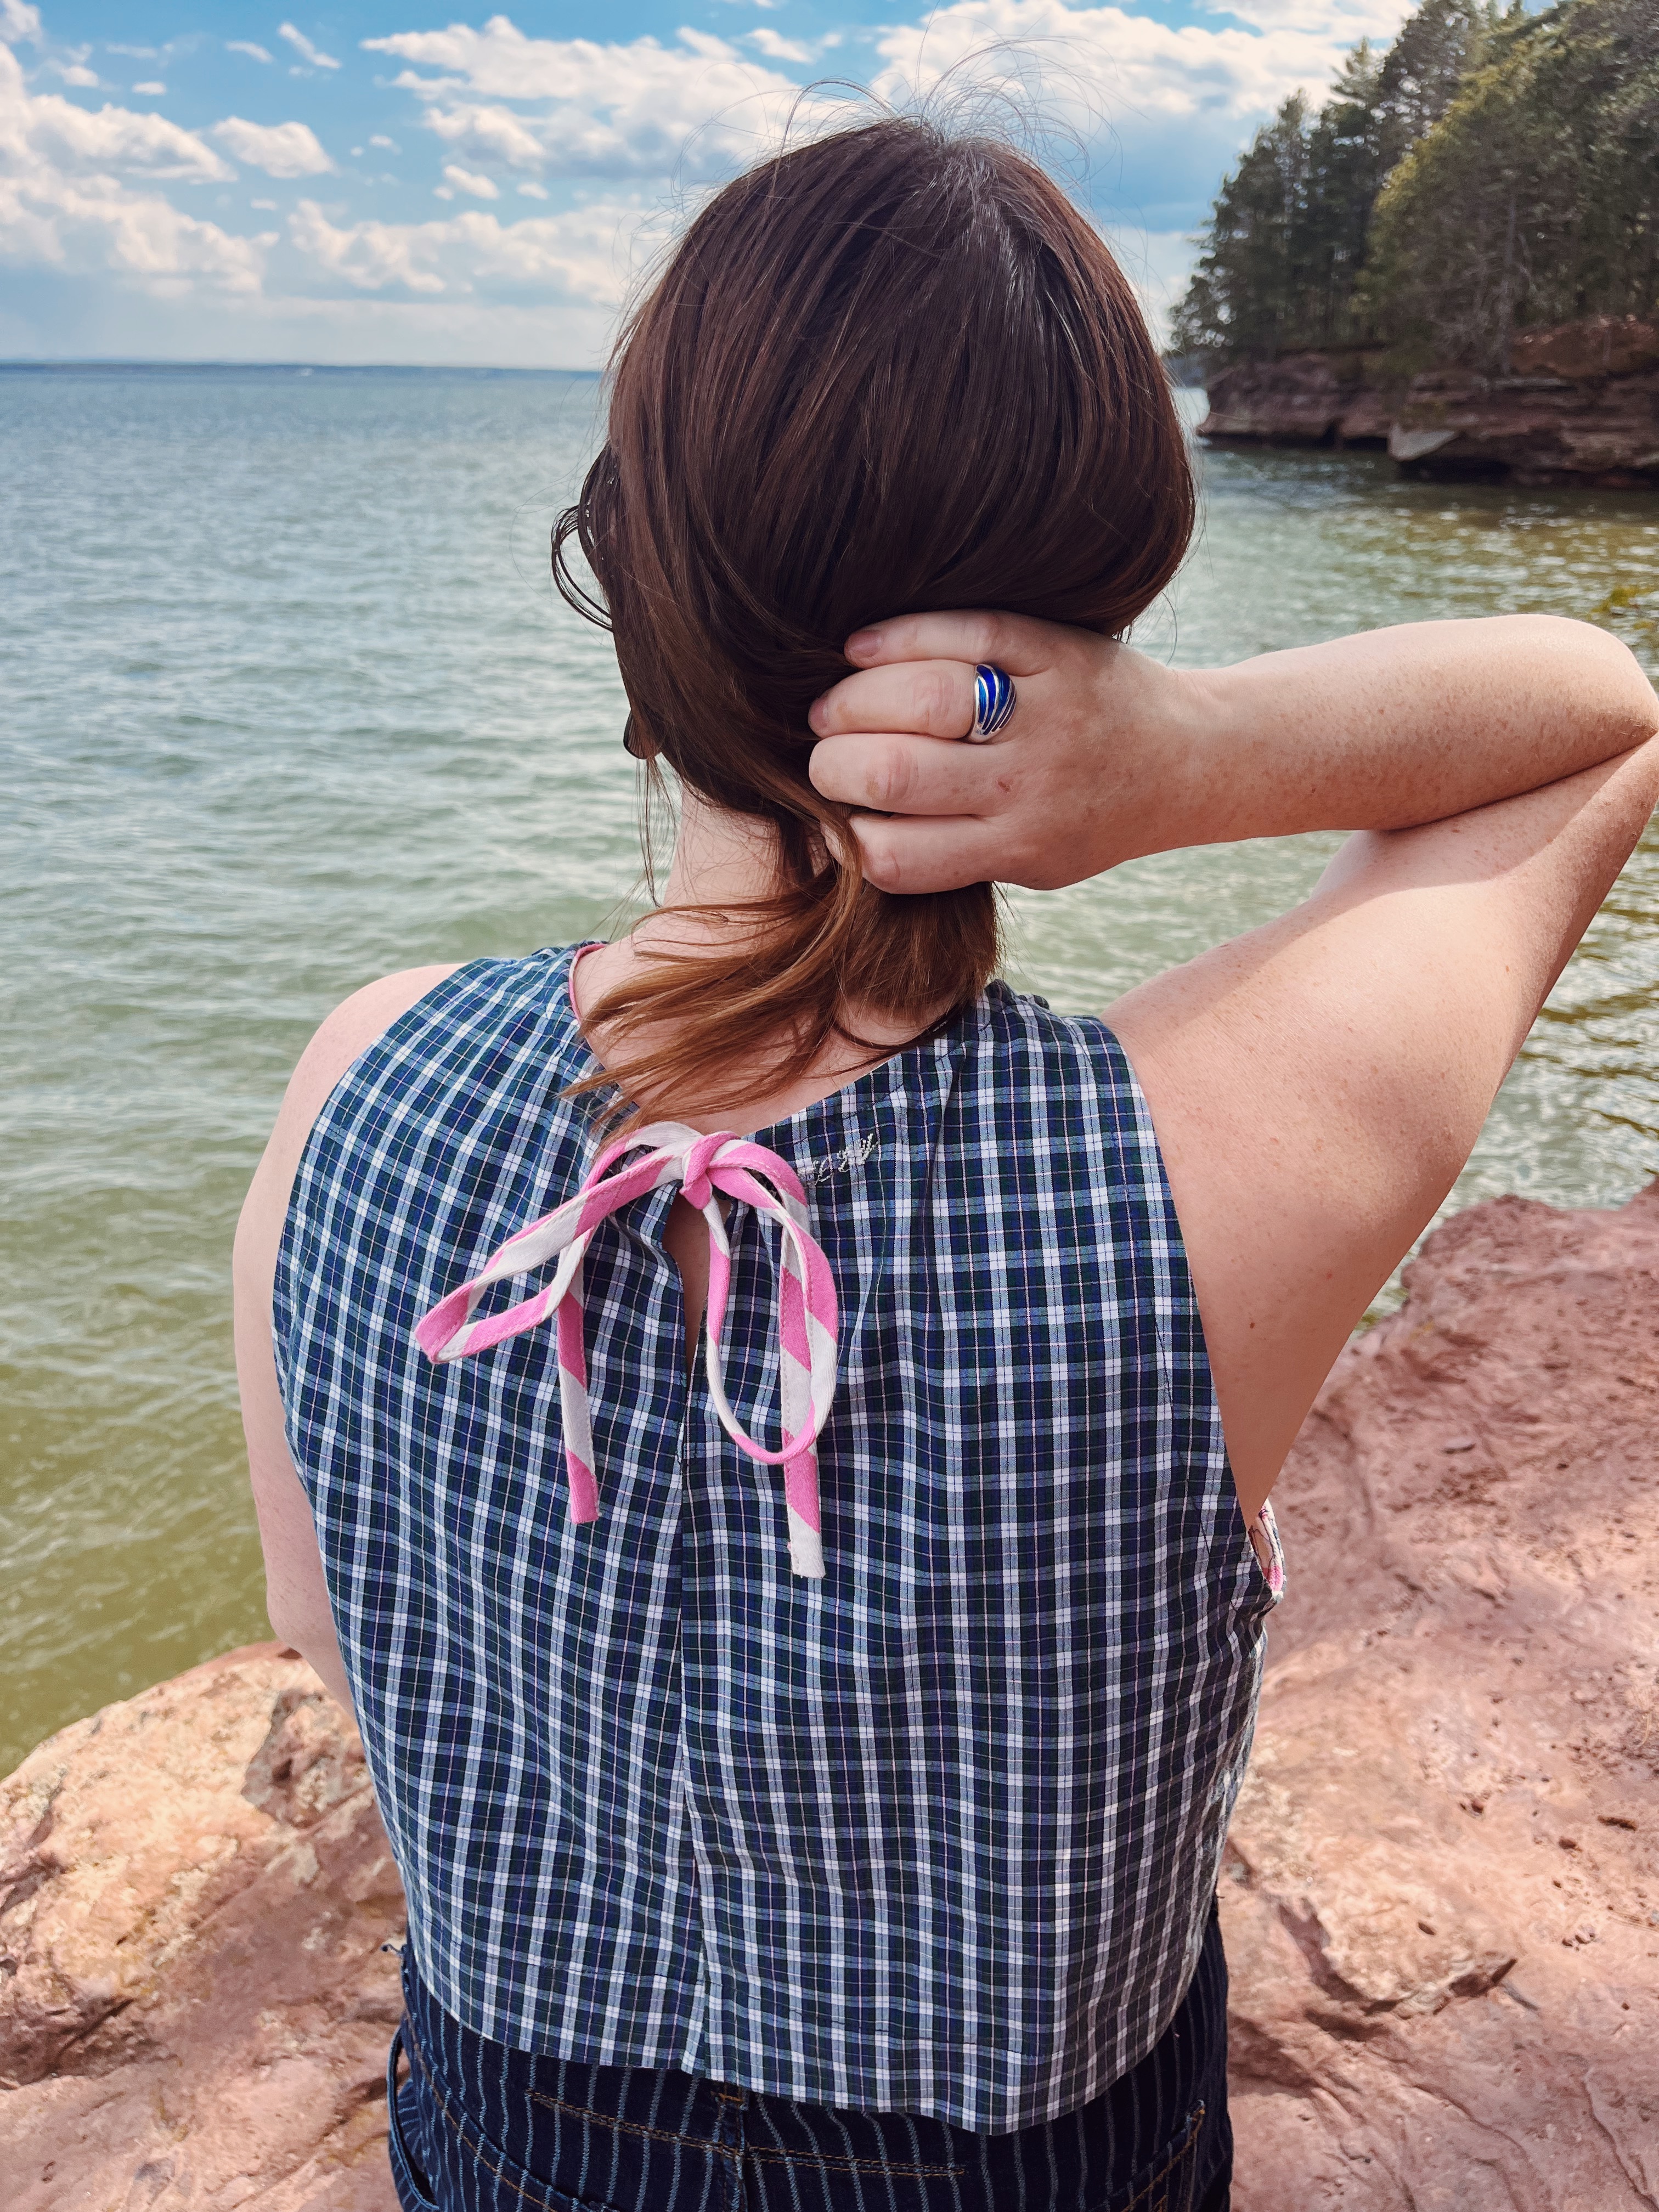
Ornella goes to the Wisconsin shores of Lake Superior

When I first saw the Ornella pattern being teased on Instagram I actually did not like it. I have always hated those tacky tourist t-shirts with the printed bikinis on them, and this pattern is a nod to those. I did not think it was for me, and that’s ok. But that’s the thing with being so online these days, after a while you get used to seeing something, it worms its way into your brain and then you see a version you actually love and then it’s time to buy it and make your own! I came around to the fun, playful, effortlessness of this tank. It also has a higher neckline, thanks to the split back with either a tie or button closure.

For my first Ornella I made a medium based on my bust size. It’s drafted for a 5’2″ person and I’m 5’5″. I didn’t do any mods, mostly out of laziness. The pattern doesn’t come with lengthen/shorten lines which is a little annoying, especially for a sewist like me who just wants to follow the recipe as written without having to think too much. That being said, I am mostly happy with the final length of the garment I made. I’ll talk more about the length later!
Fabric

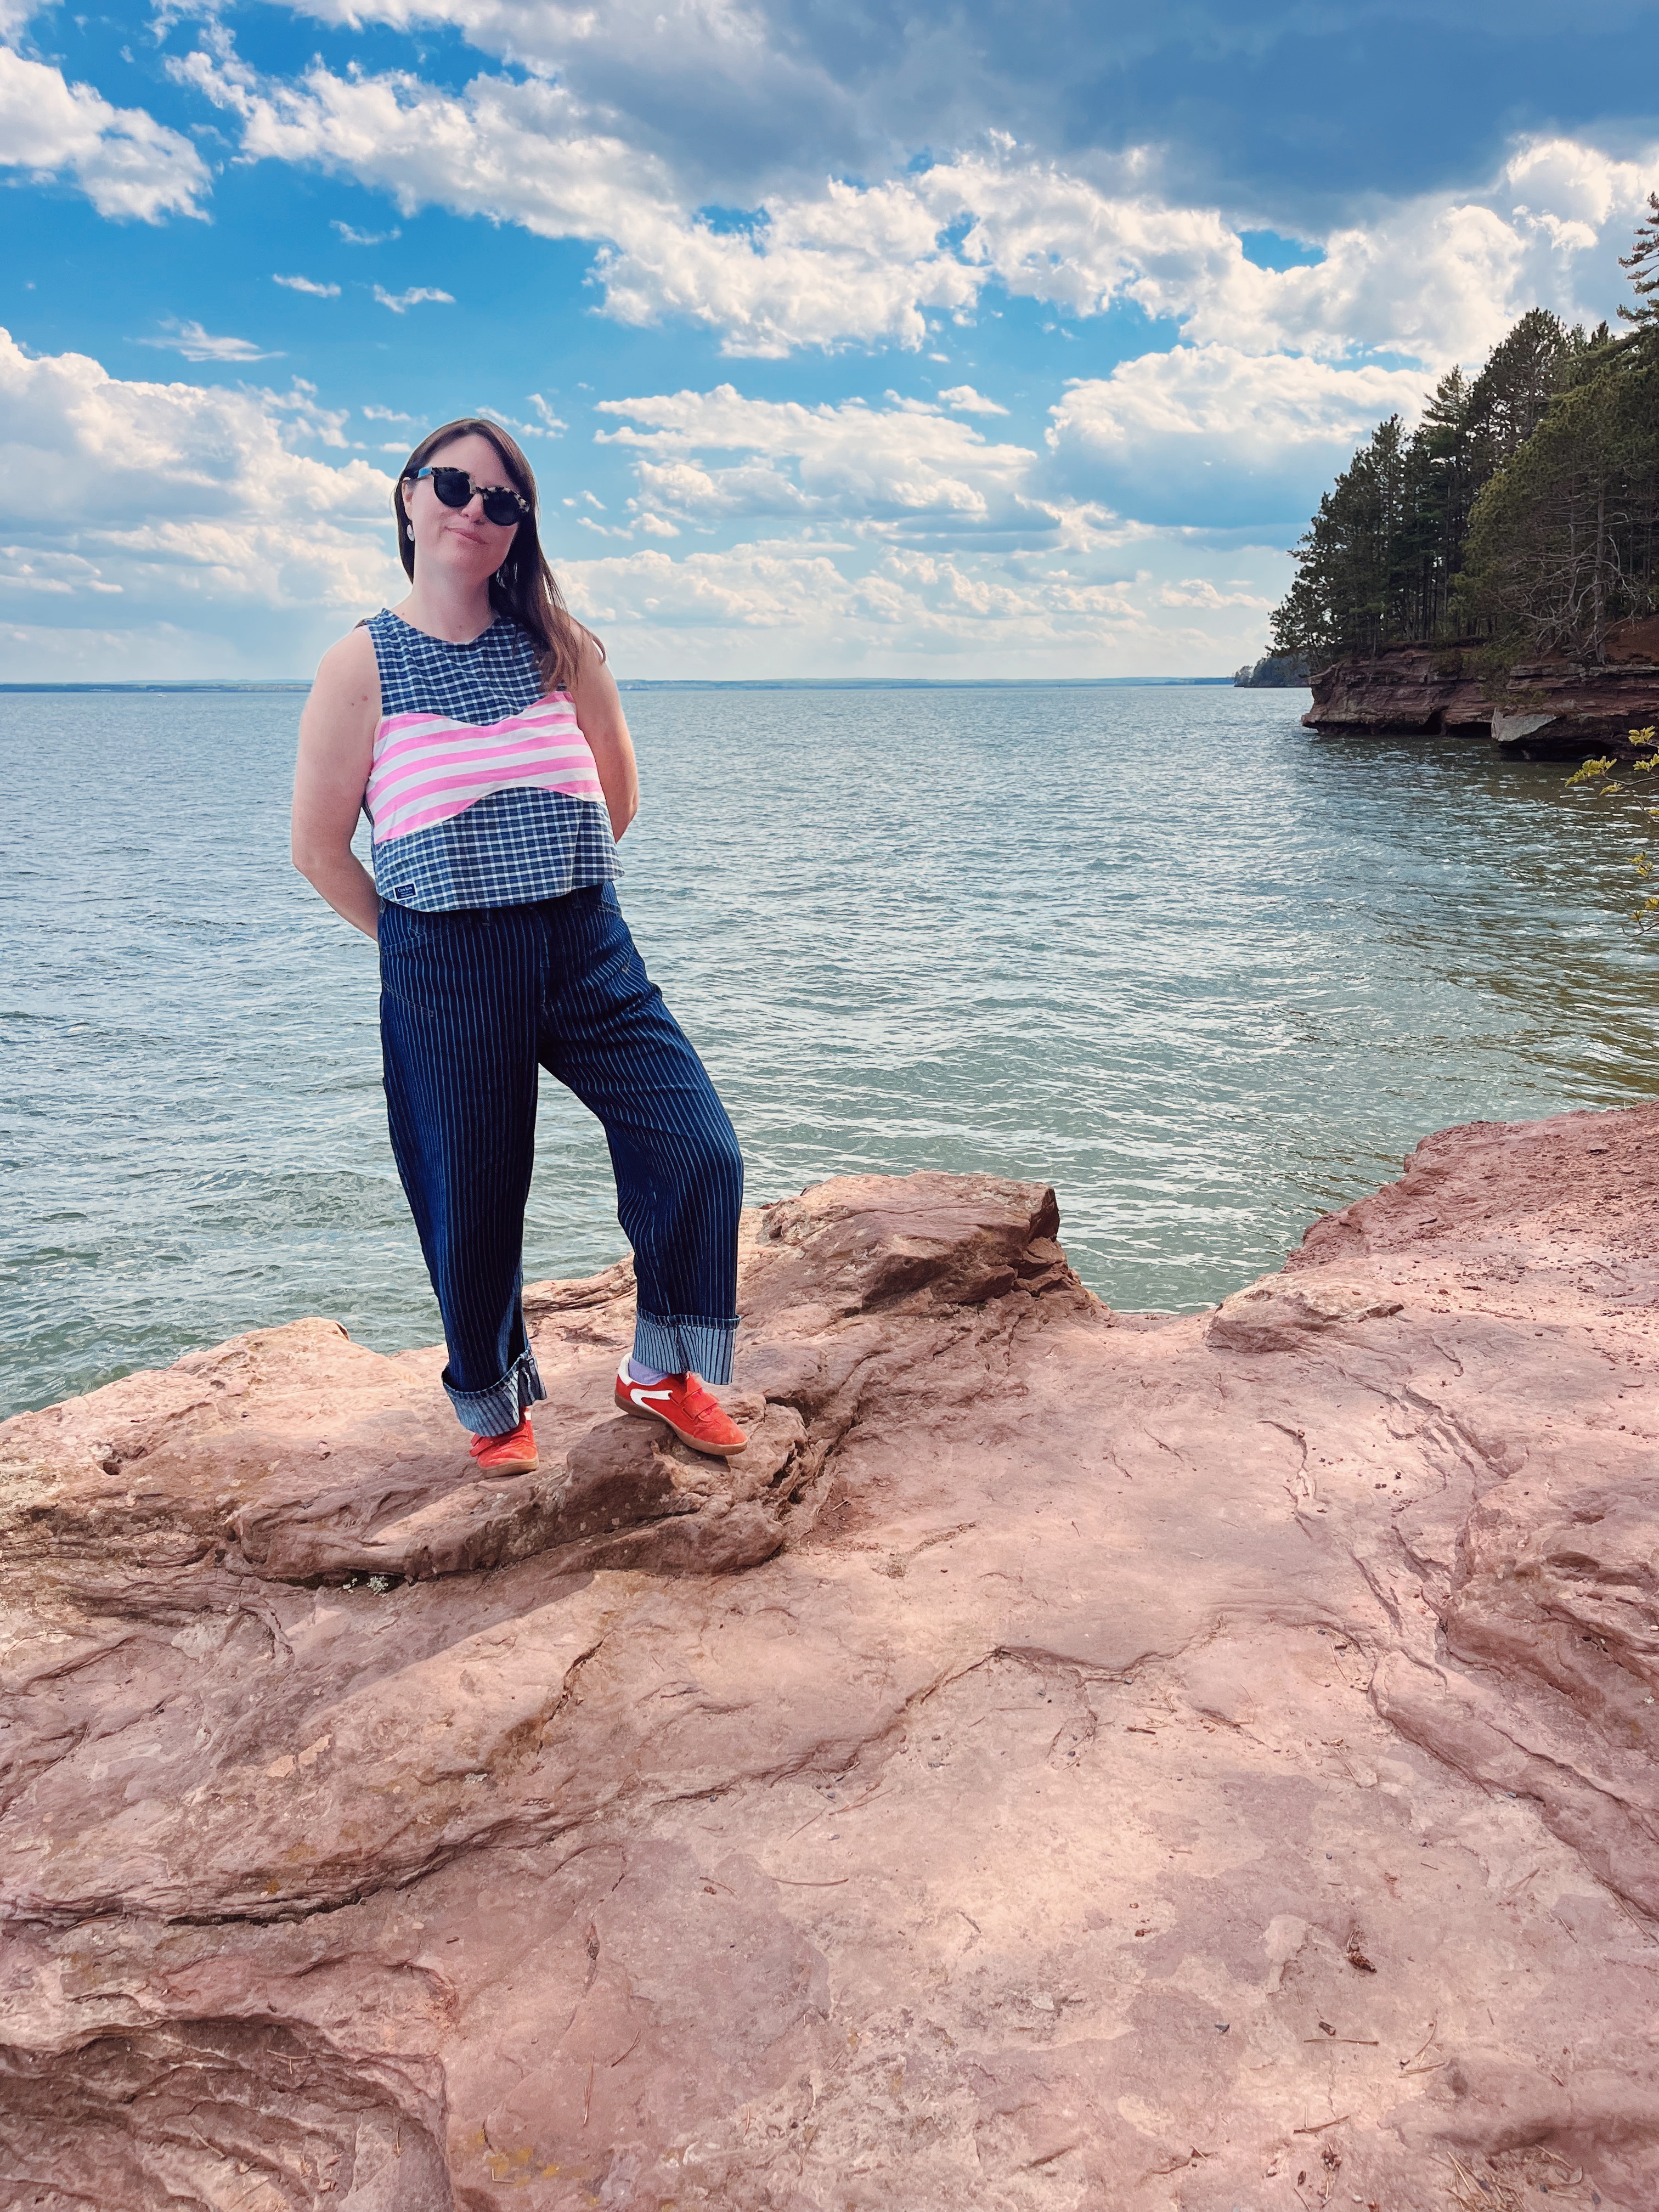
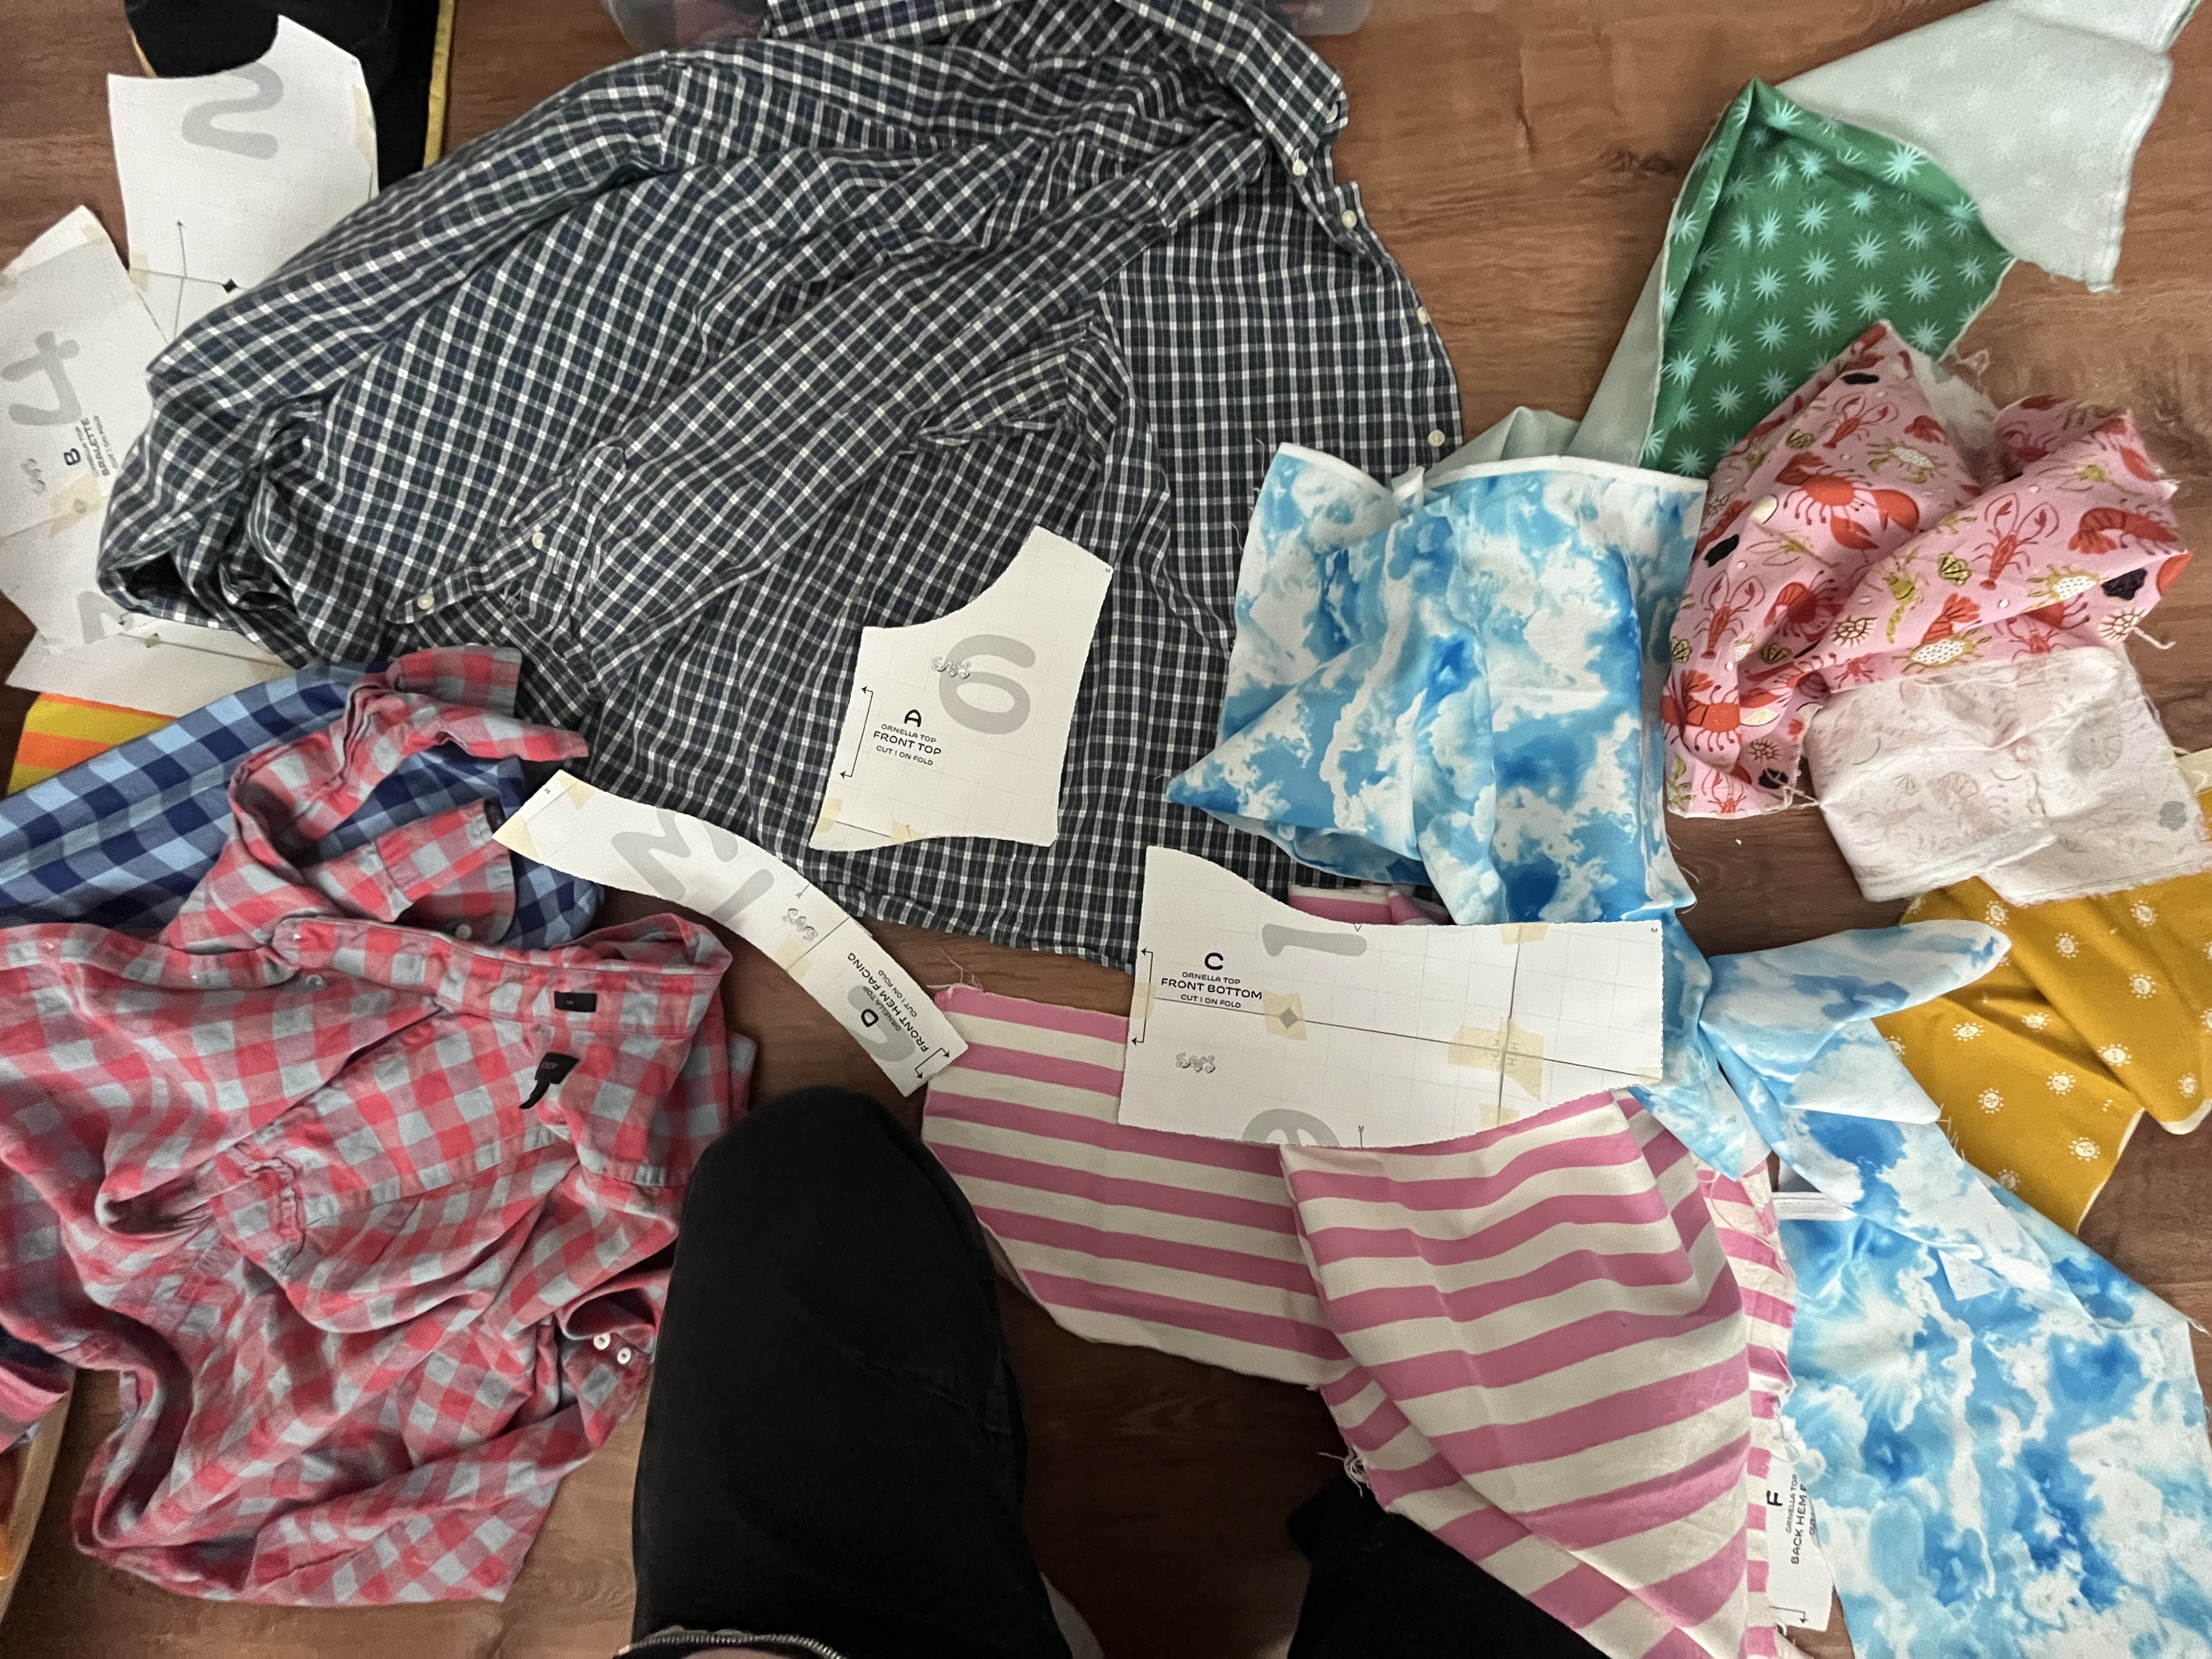
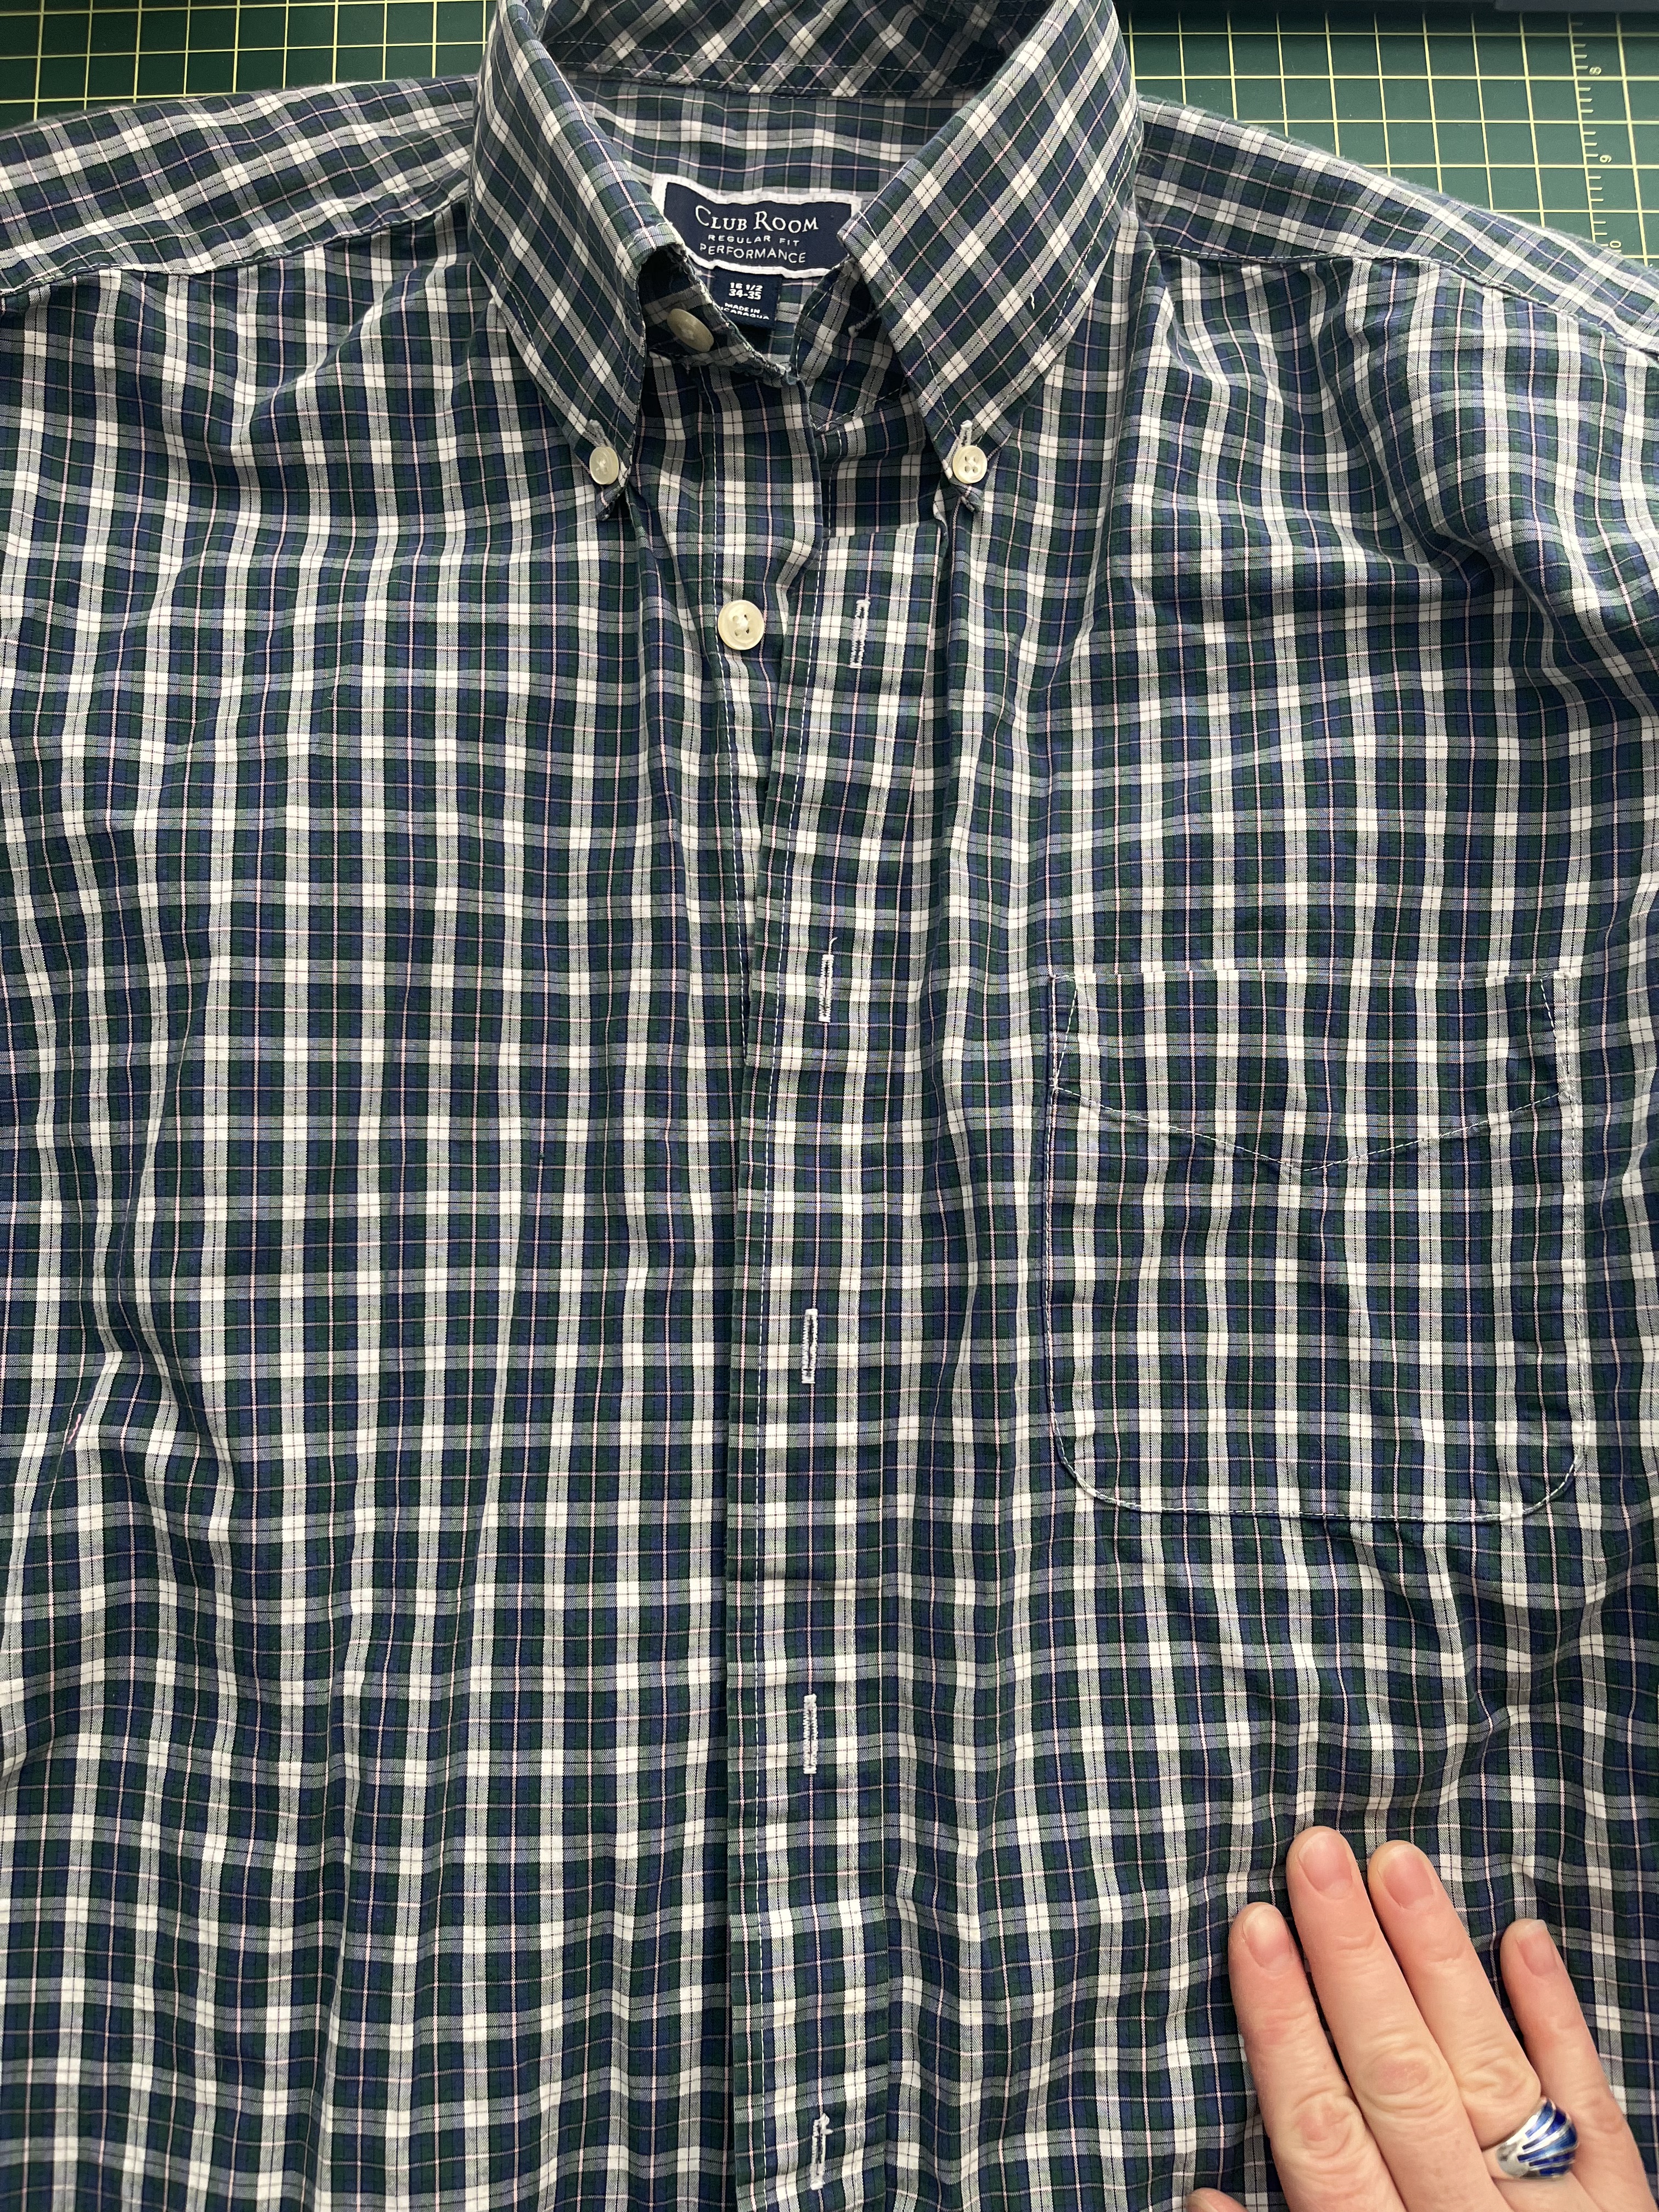
For my fabrics I used a thrifted men’s shirt for the top and bottom of the front bodice and for the two back pieces. I could’ve pieced more together to use it for the facings and bias tape but again, I’m lazy, so I used the striped canvas for my hem facing and bias. The canvas I actually found in the community ed sewing room this spring, buried deep in the communal sewing supplies. I’m actually so glad I used the stripes for the neck bias/ties, it really gives it that extra illusion that I’m wearing a bikini on top of my tank. Who am I? I like this style now. I think these two fabrics work so well together too; The casual candy-pink stripes is a fun juxtaposition against the polish of the men’s plaid.
Sewing It Up

I made this tank top in a day, I think; I really wanted it for the steamy Memorial Day weekend we were in for. The worst part of sewing this is the bralette piece. I have eased in sleeves before, but easing in the top curve of the bralette to the top piece of the bodice really sucked. I had to unpick puckers and resew a few times. Maybe I was rushing too much but it was hard! The final look of it is still not perfect but I am a “mostly good enough” sewist and I don’t think most people can tell that it’s not perfect. I used the alphabet setting on my machine to put my name at the back. I also tried doing the year but it got all jammed up so I unpicked it and opted to not try it again.

Final Fit and Styling

Since making this top I am finding I prefer to wear this with my jeans, and that means I am not wearing this on humid days. The tank is a bit cropped which I like the look of in the back but not so much in the front. My shorts are all midrise, which means if I want to wear this without showing too much stomach I have to make some higher rise shorts! Since wearing it and posting about it I have gotten a lot of compliments which definitely feels good, I’m not gonna lie. I think getting to tell someone you made your garment is always going to be a thrill.

Hacked Ornella
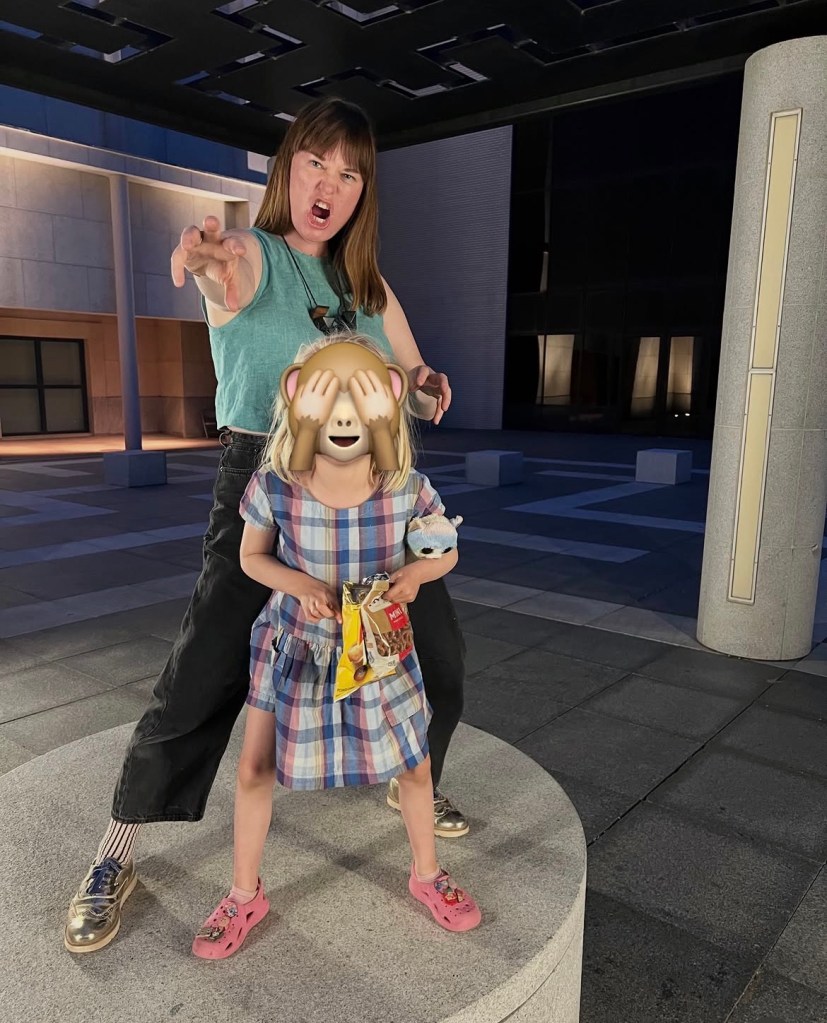
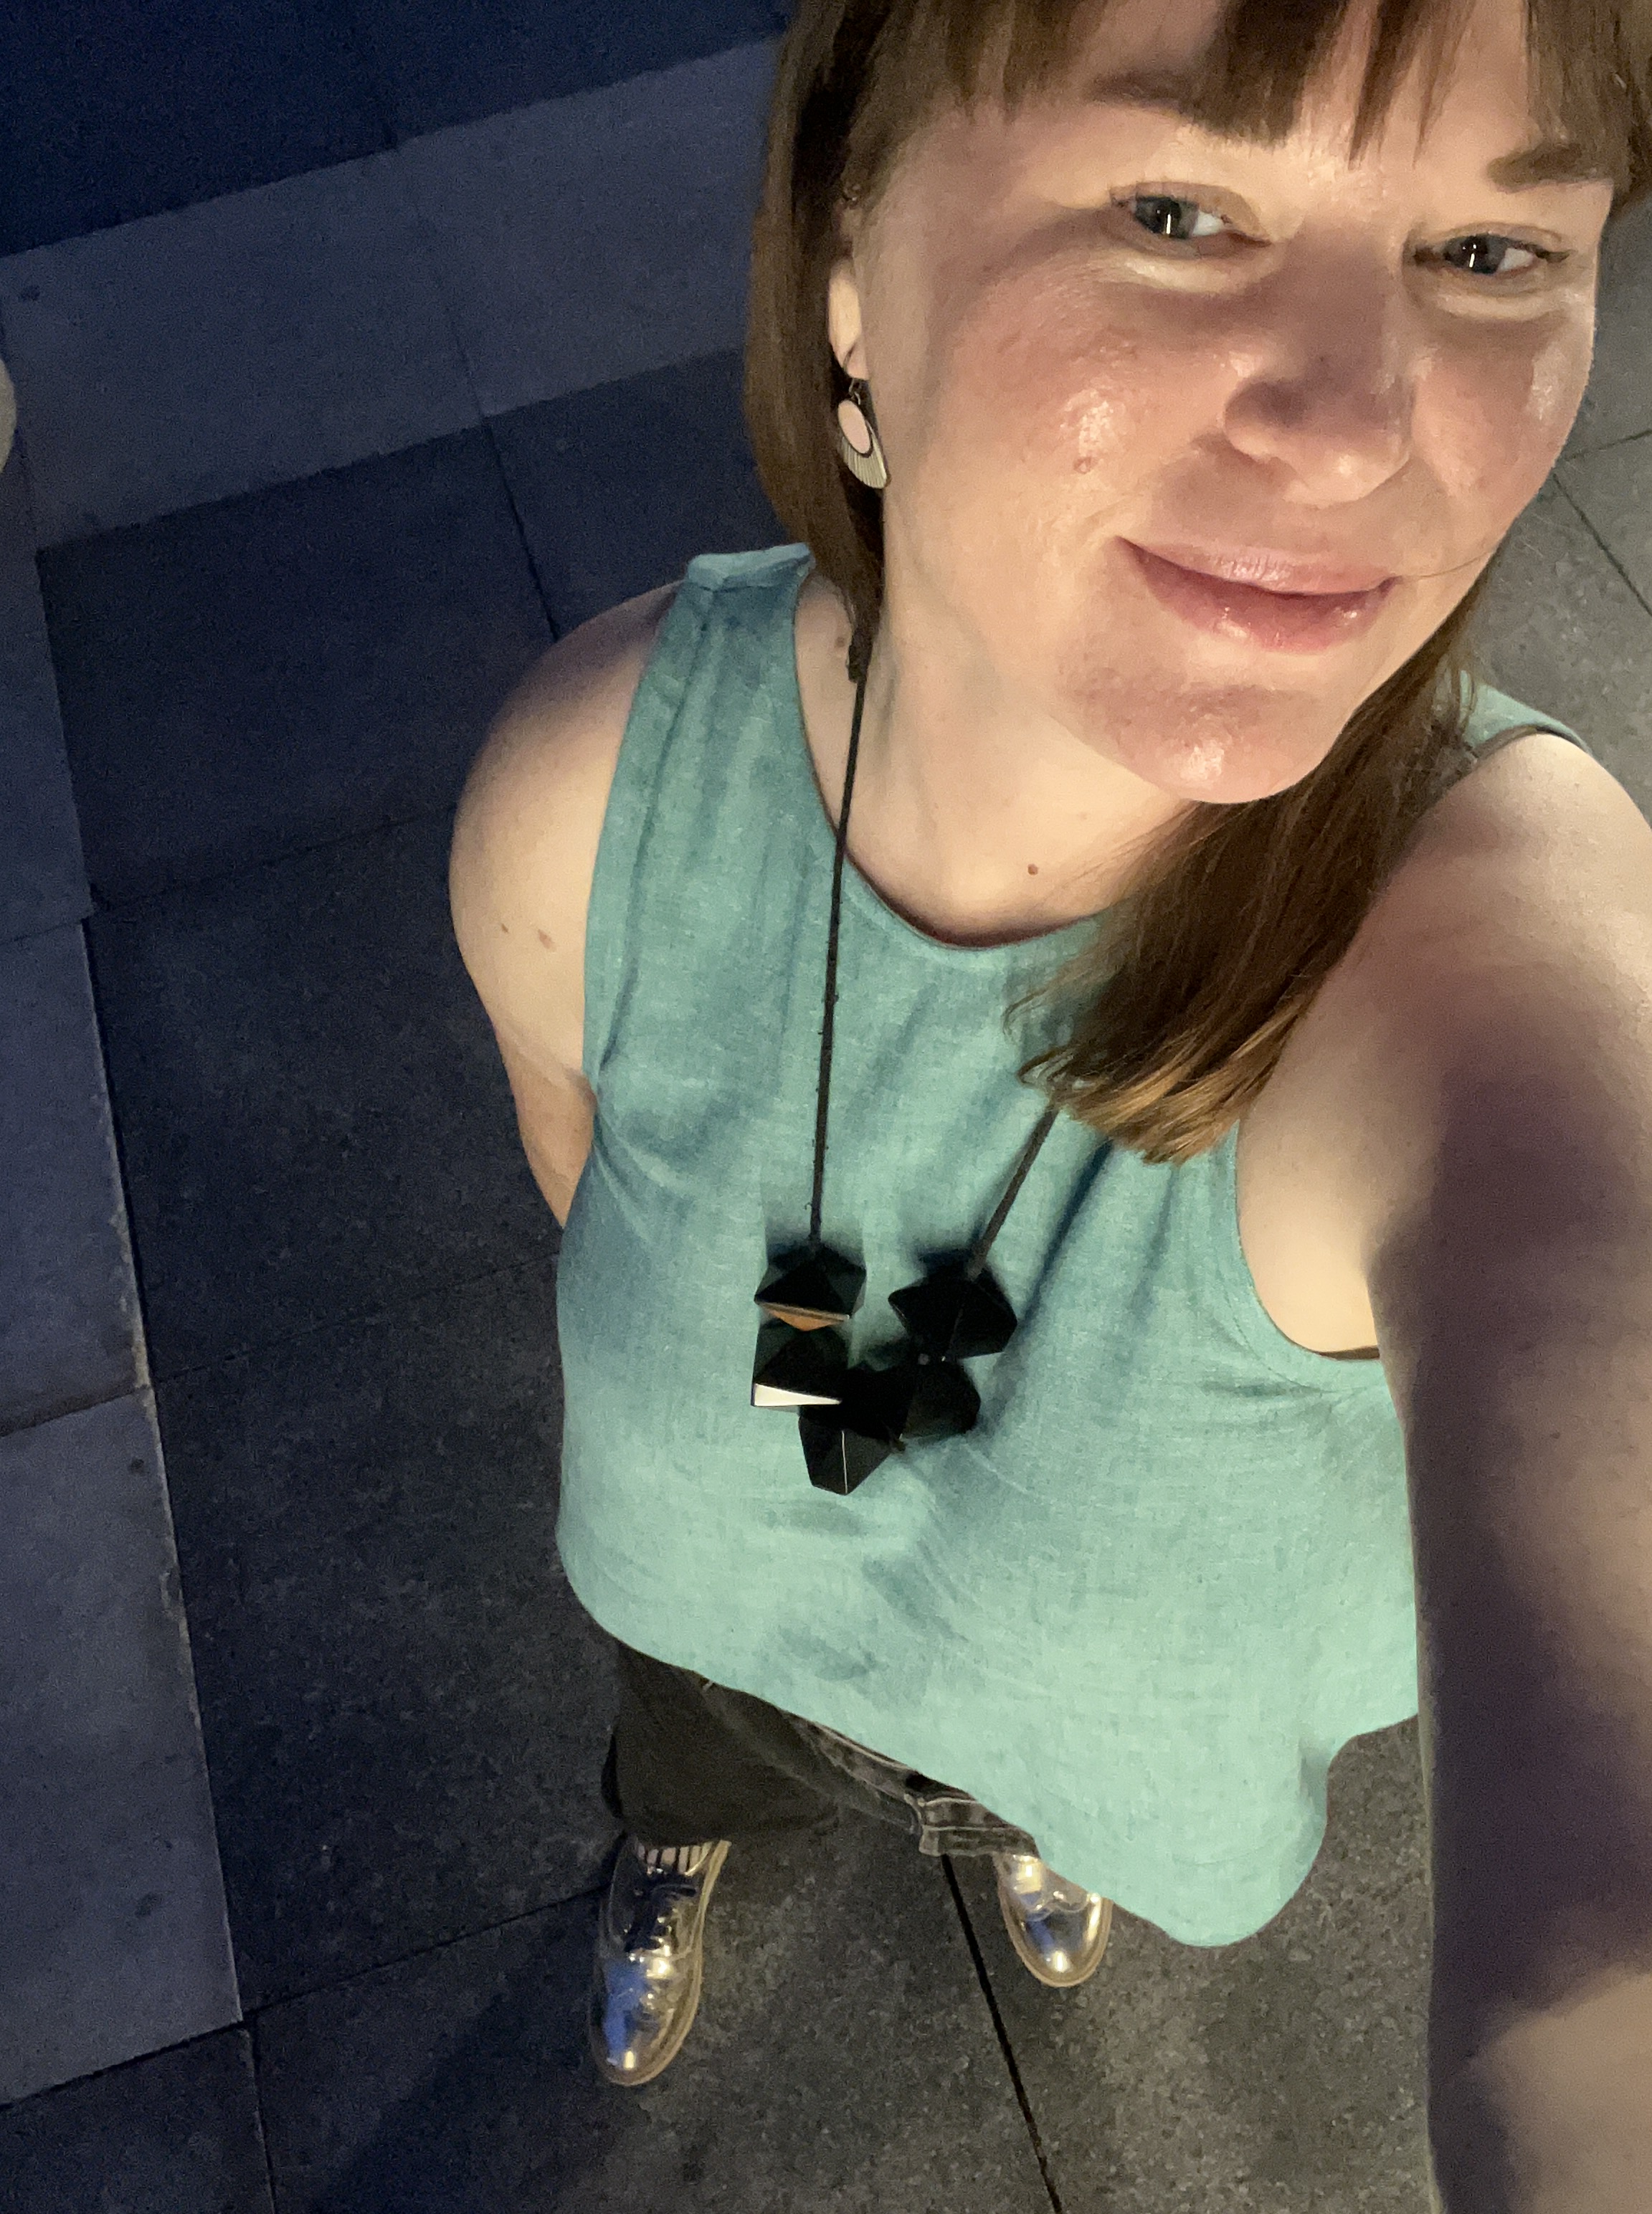
Posing outside of MIA after the play with snacks and a stuffy named Heather, of course

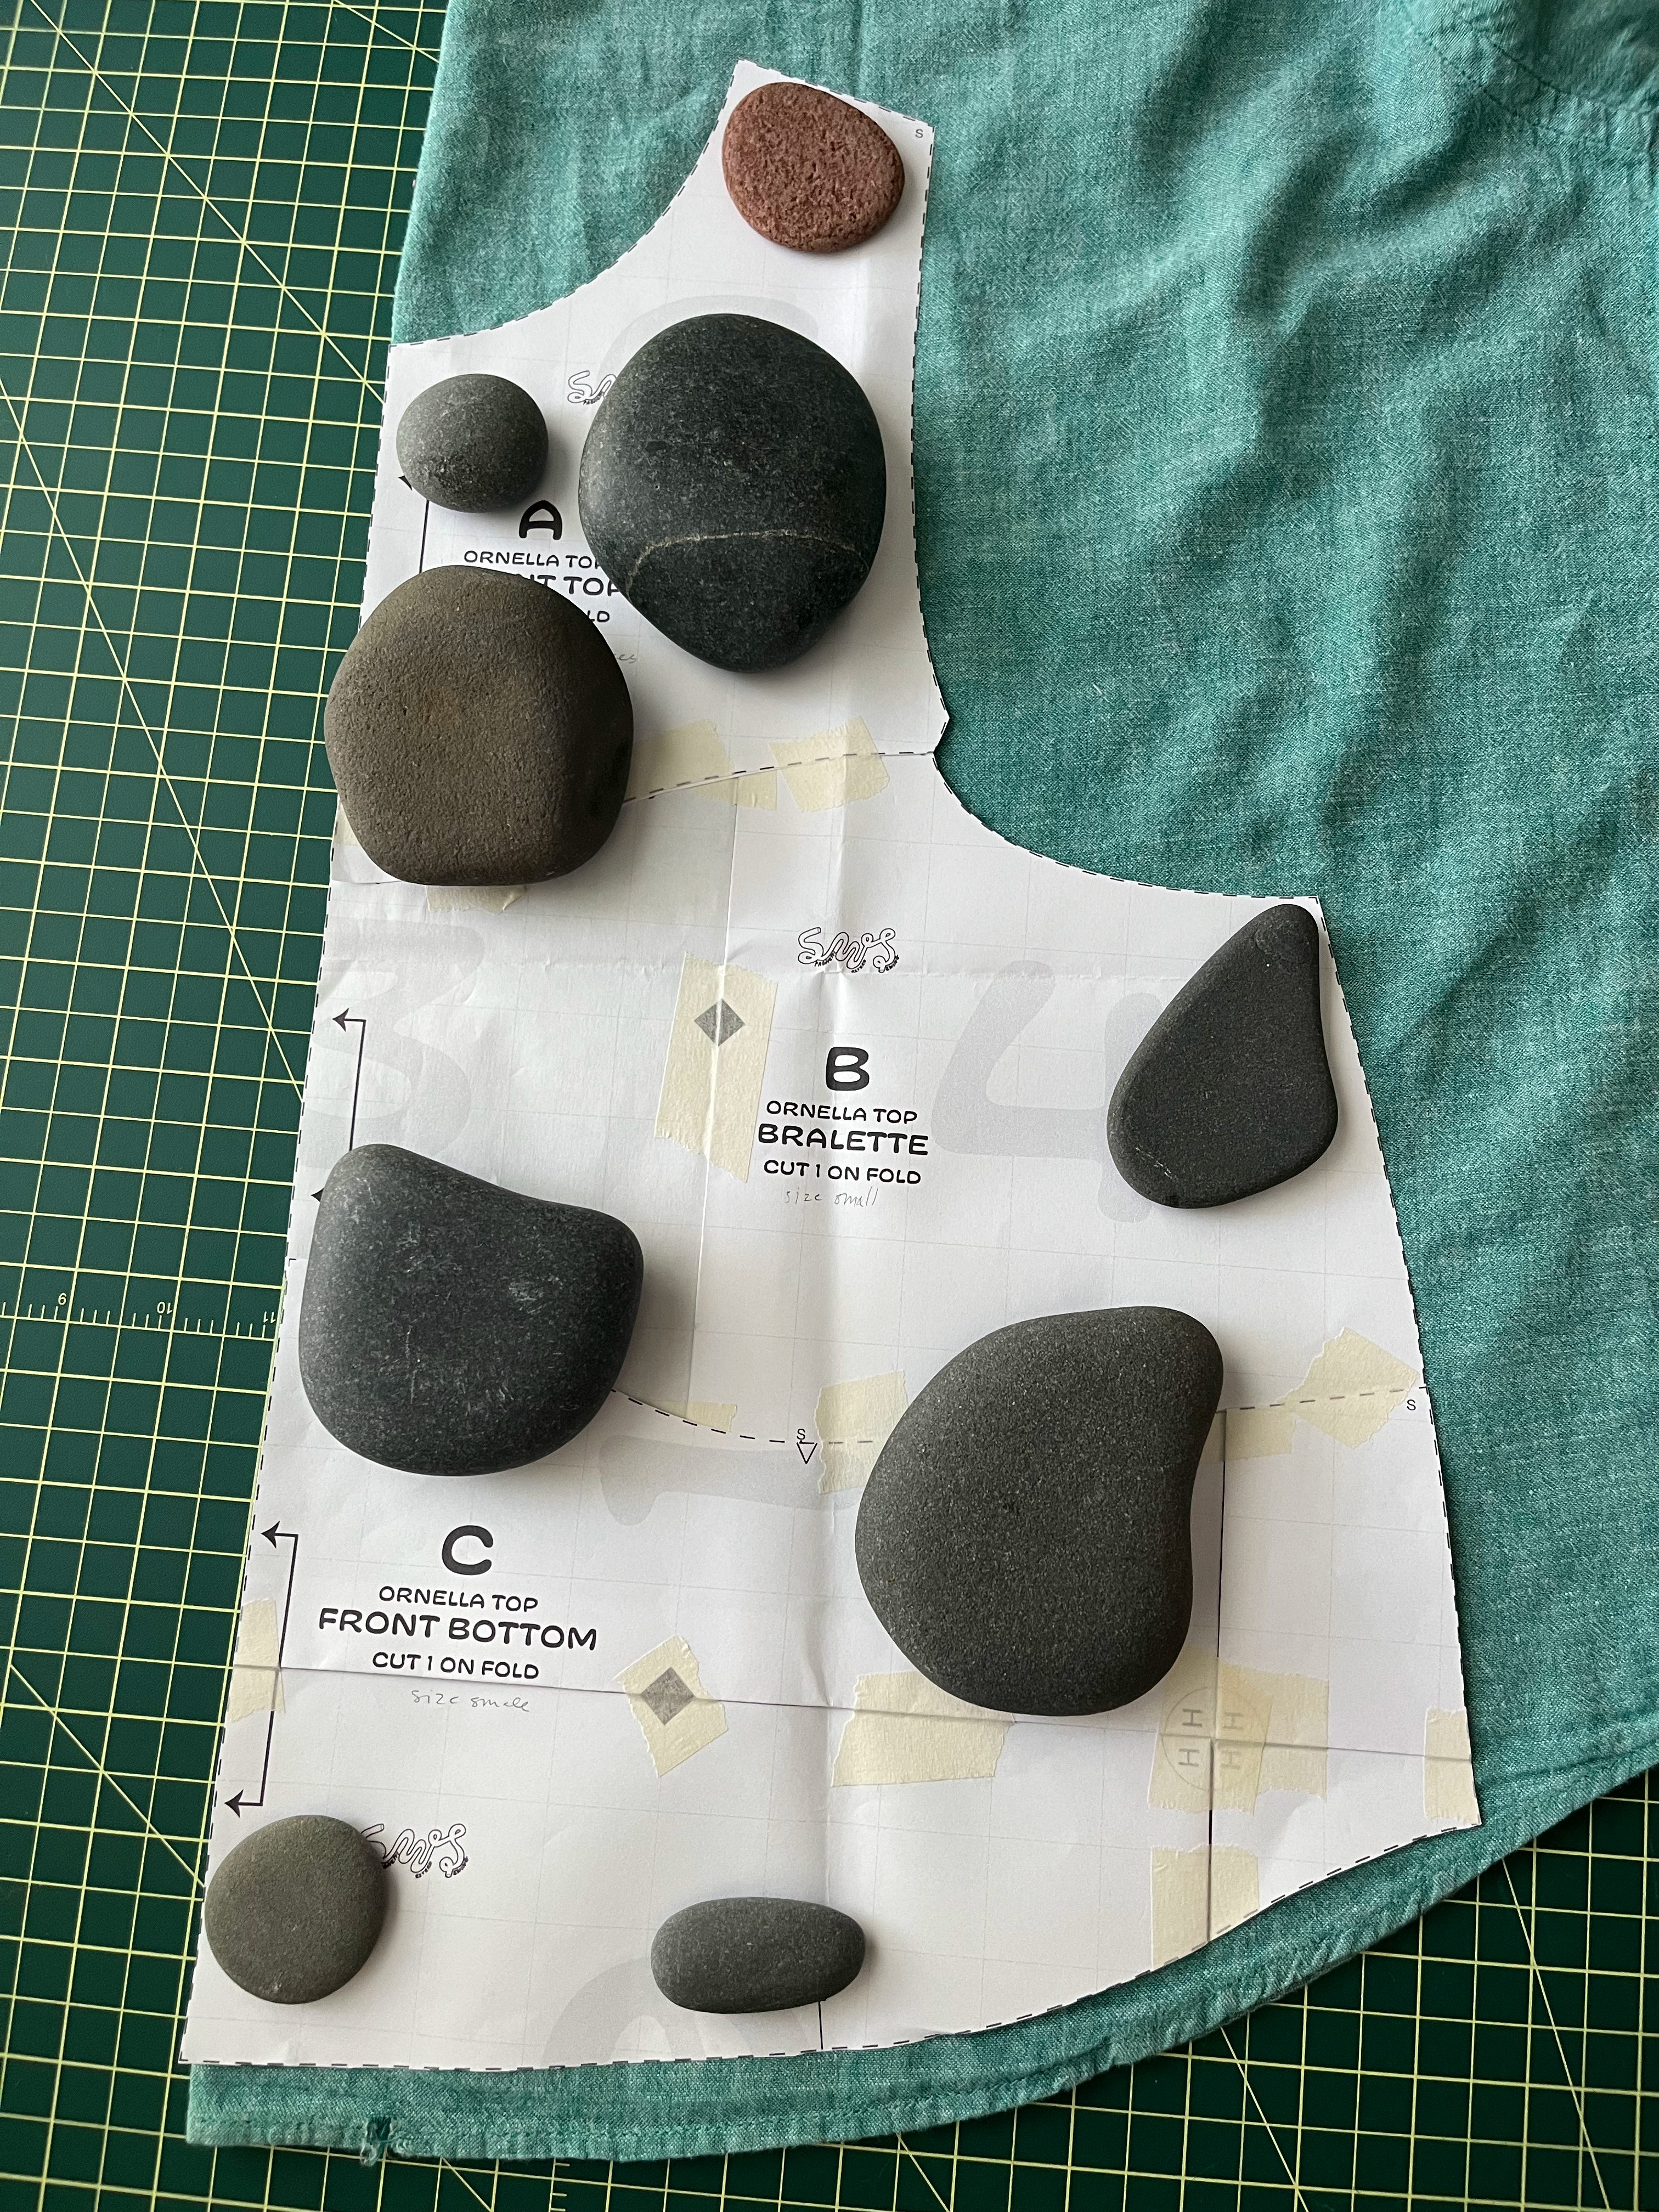
After I wore the hell out of my first Ornella on Memorial Day weekend I decided I didn’t have much to lose by making another one a size down. There was enough ease in the bust and armscye that I thought I could get away with it and it worked out pretty well!

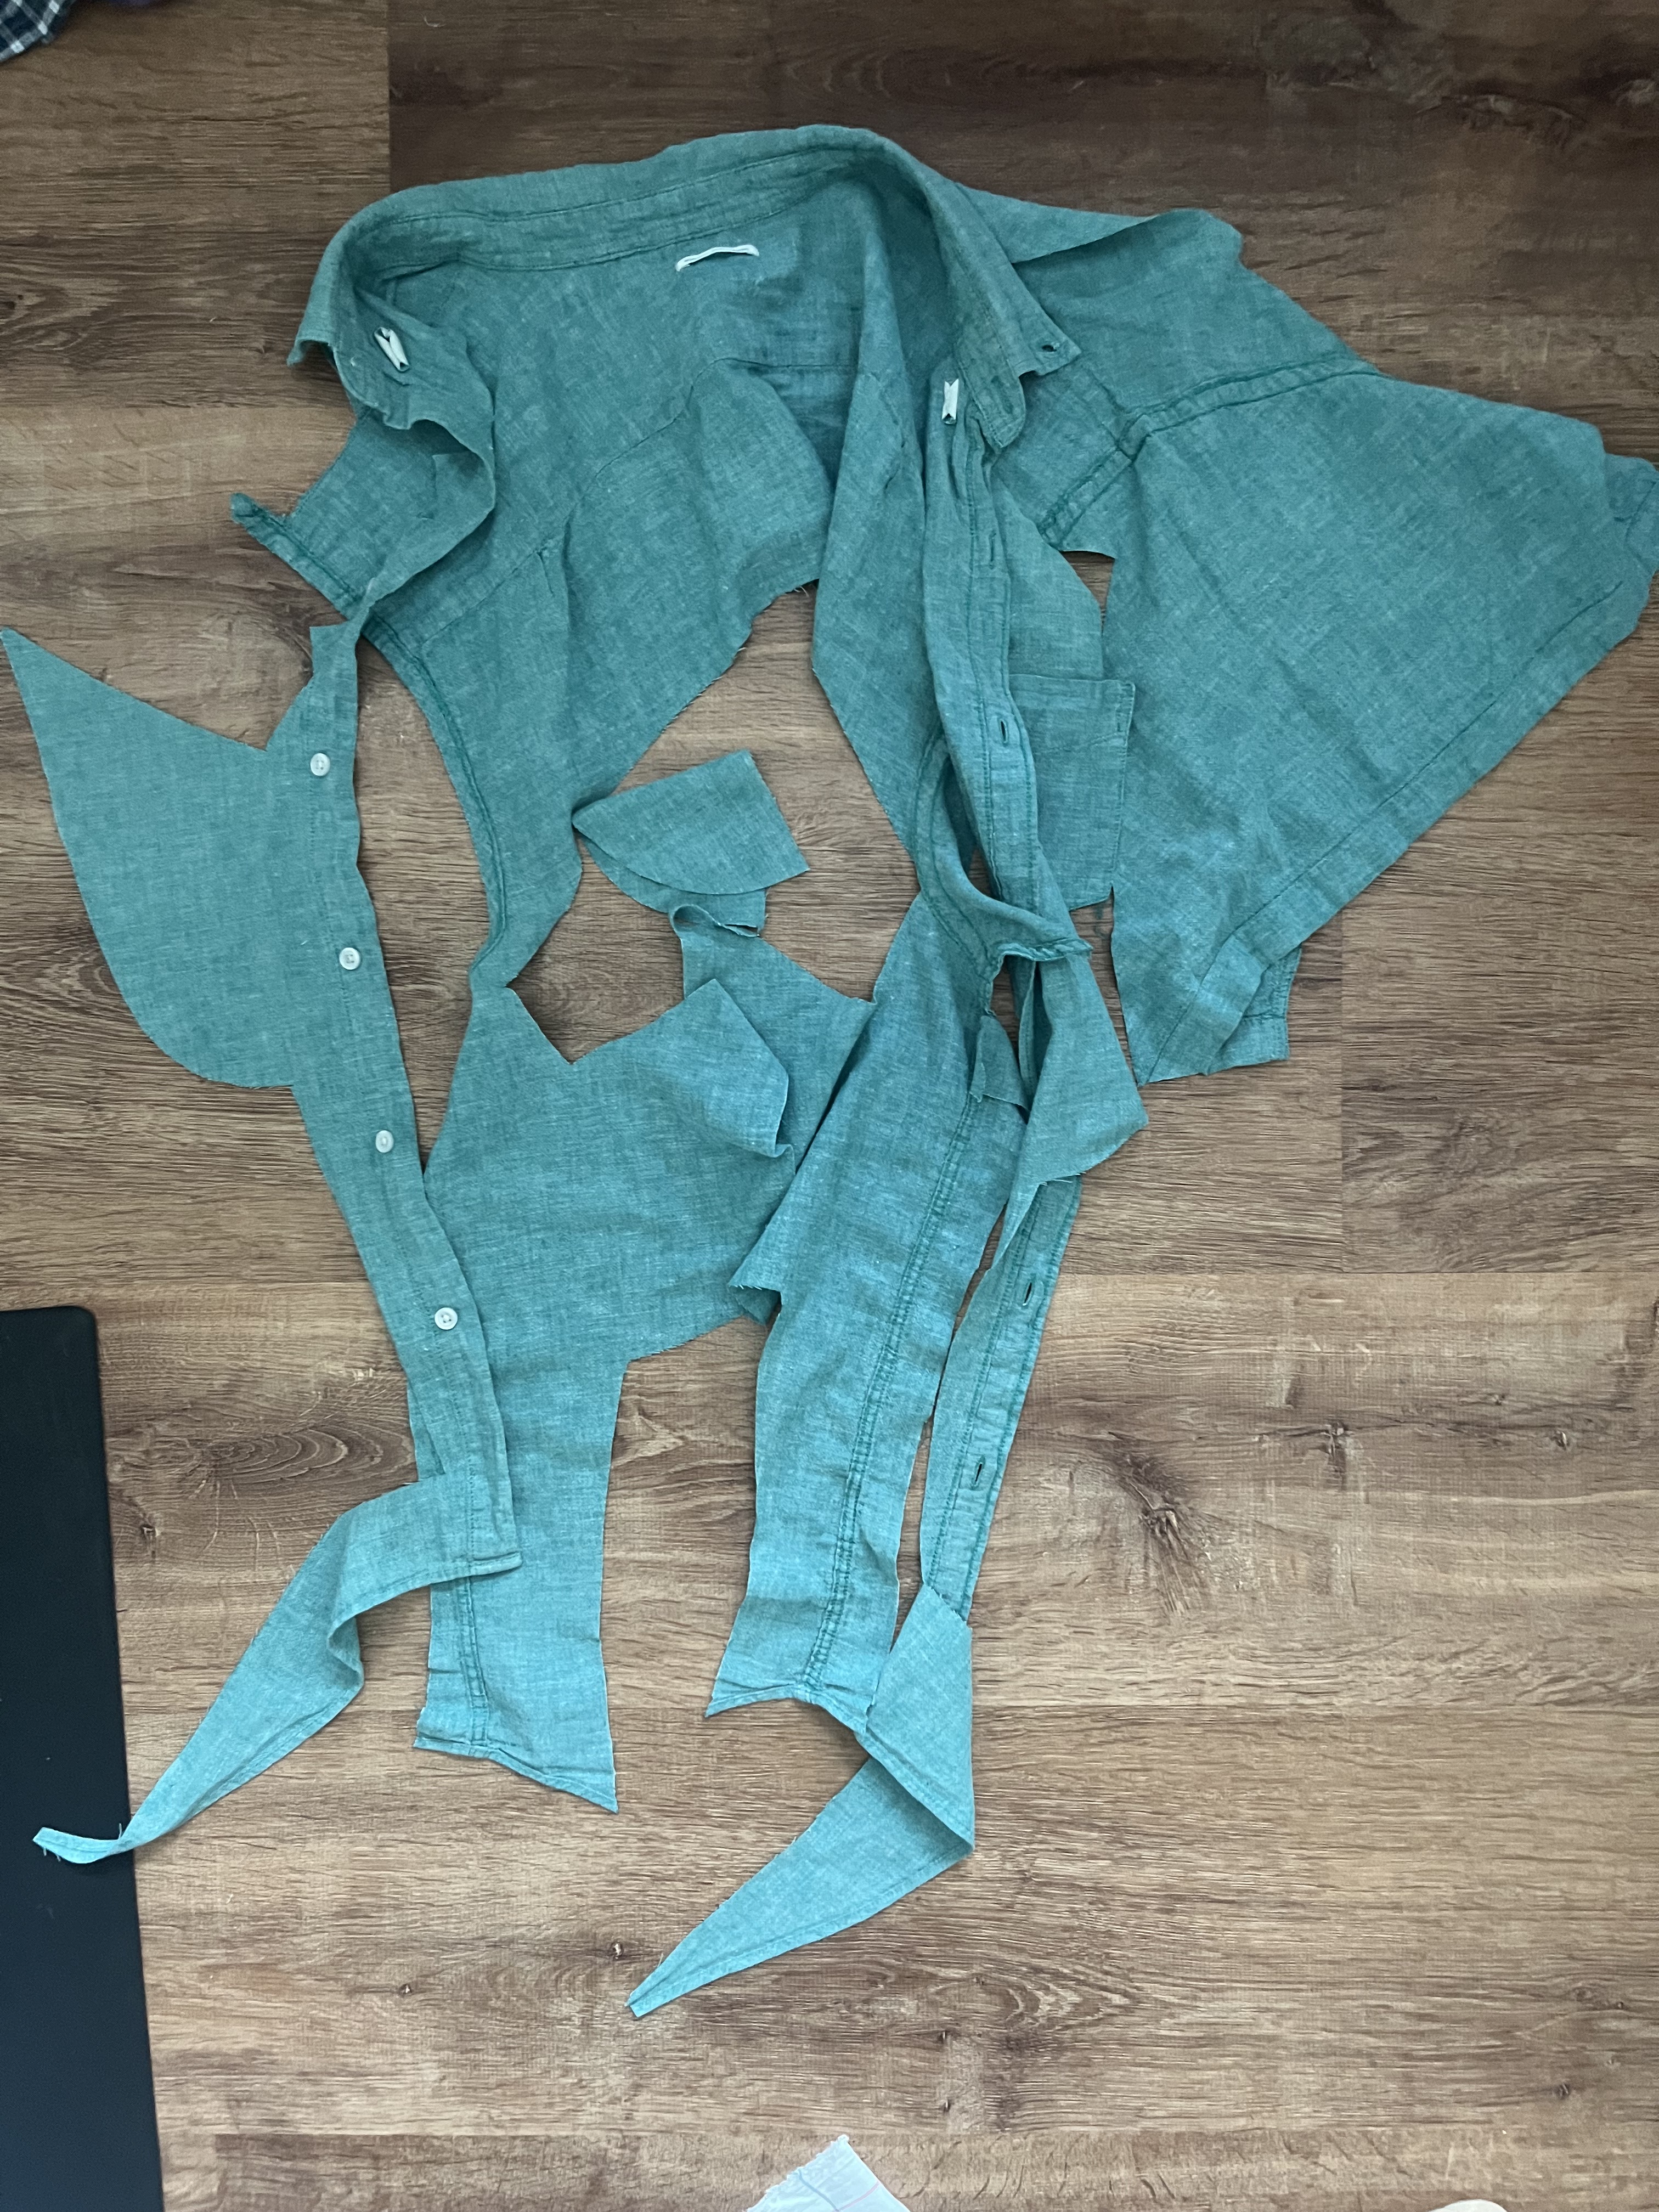
I had this thrifted linen/cotton blend short sleeved Old Navy men’s shirt laying around that I decided to make into my sized small Ornella. I wanted to try mashing together the bodice pieces to have a solid front tank without the contrasting bralette to have a tank that’s a little more polished looking. It was so easy and came together great! I just overlapped each front bodice piece by 3/8″ and taped them together. There were a few holes and blemishes in the shirt to work around and I had to do a lot piecing to make long enough bias tape. My first outing with it was to see The Wizard of Oz at The Children’s Theater with my family (recommend, it was so fun!). The small fits pretty well but not perfectly. There’s some tightness across the chest and it rides up a little more at the neck causing a little discomfort. I will continue to wear this one, but unless I try grading between a medium and small I will probably make a medium from here on out.
Summerhaus Poppy Top
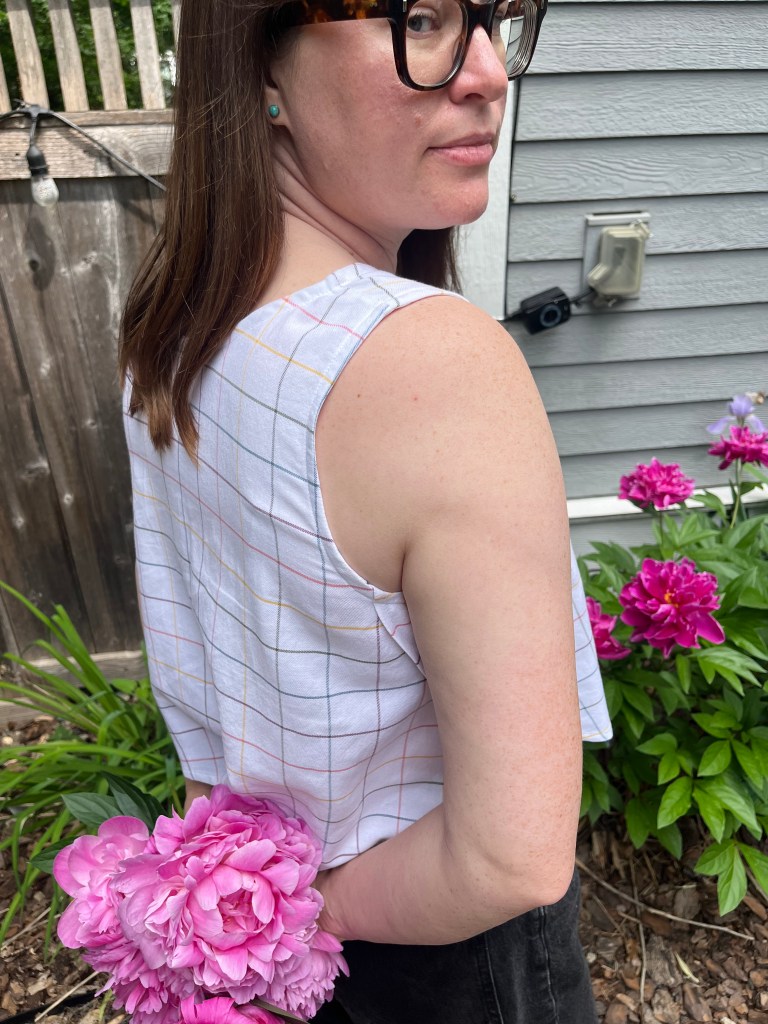
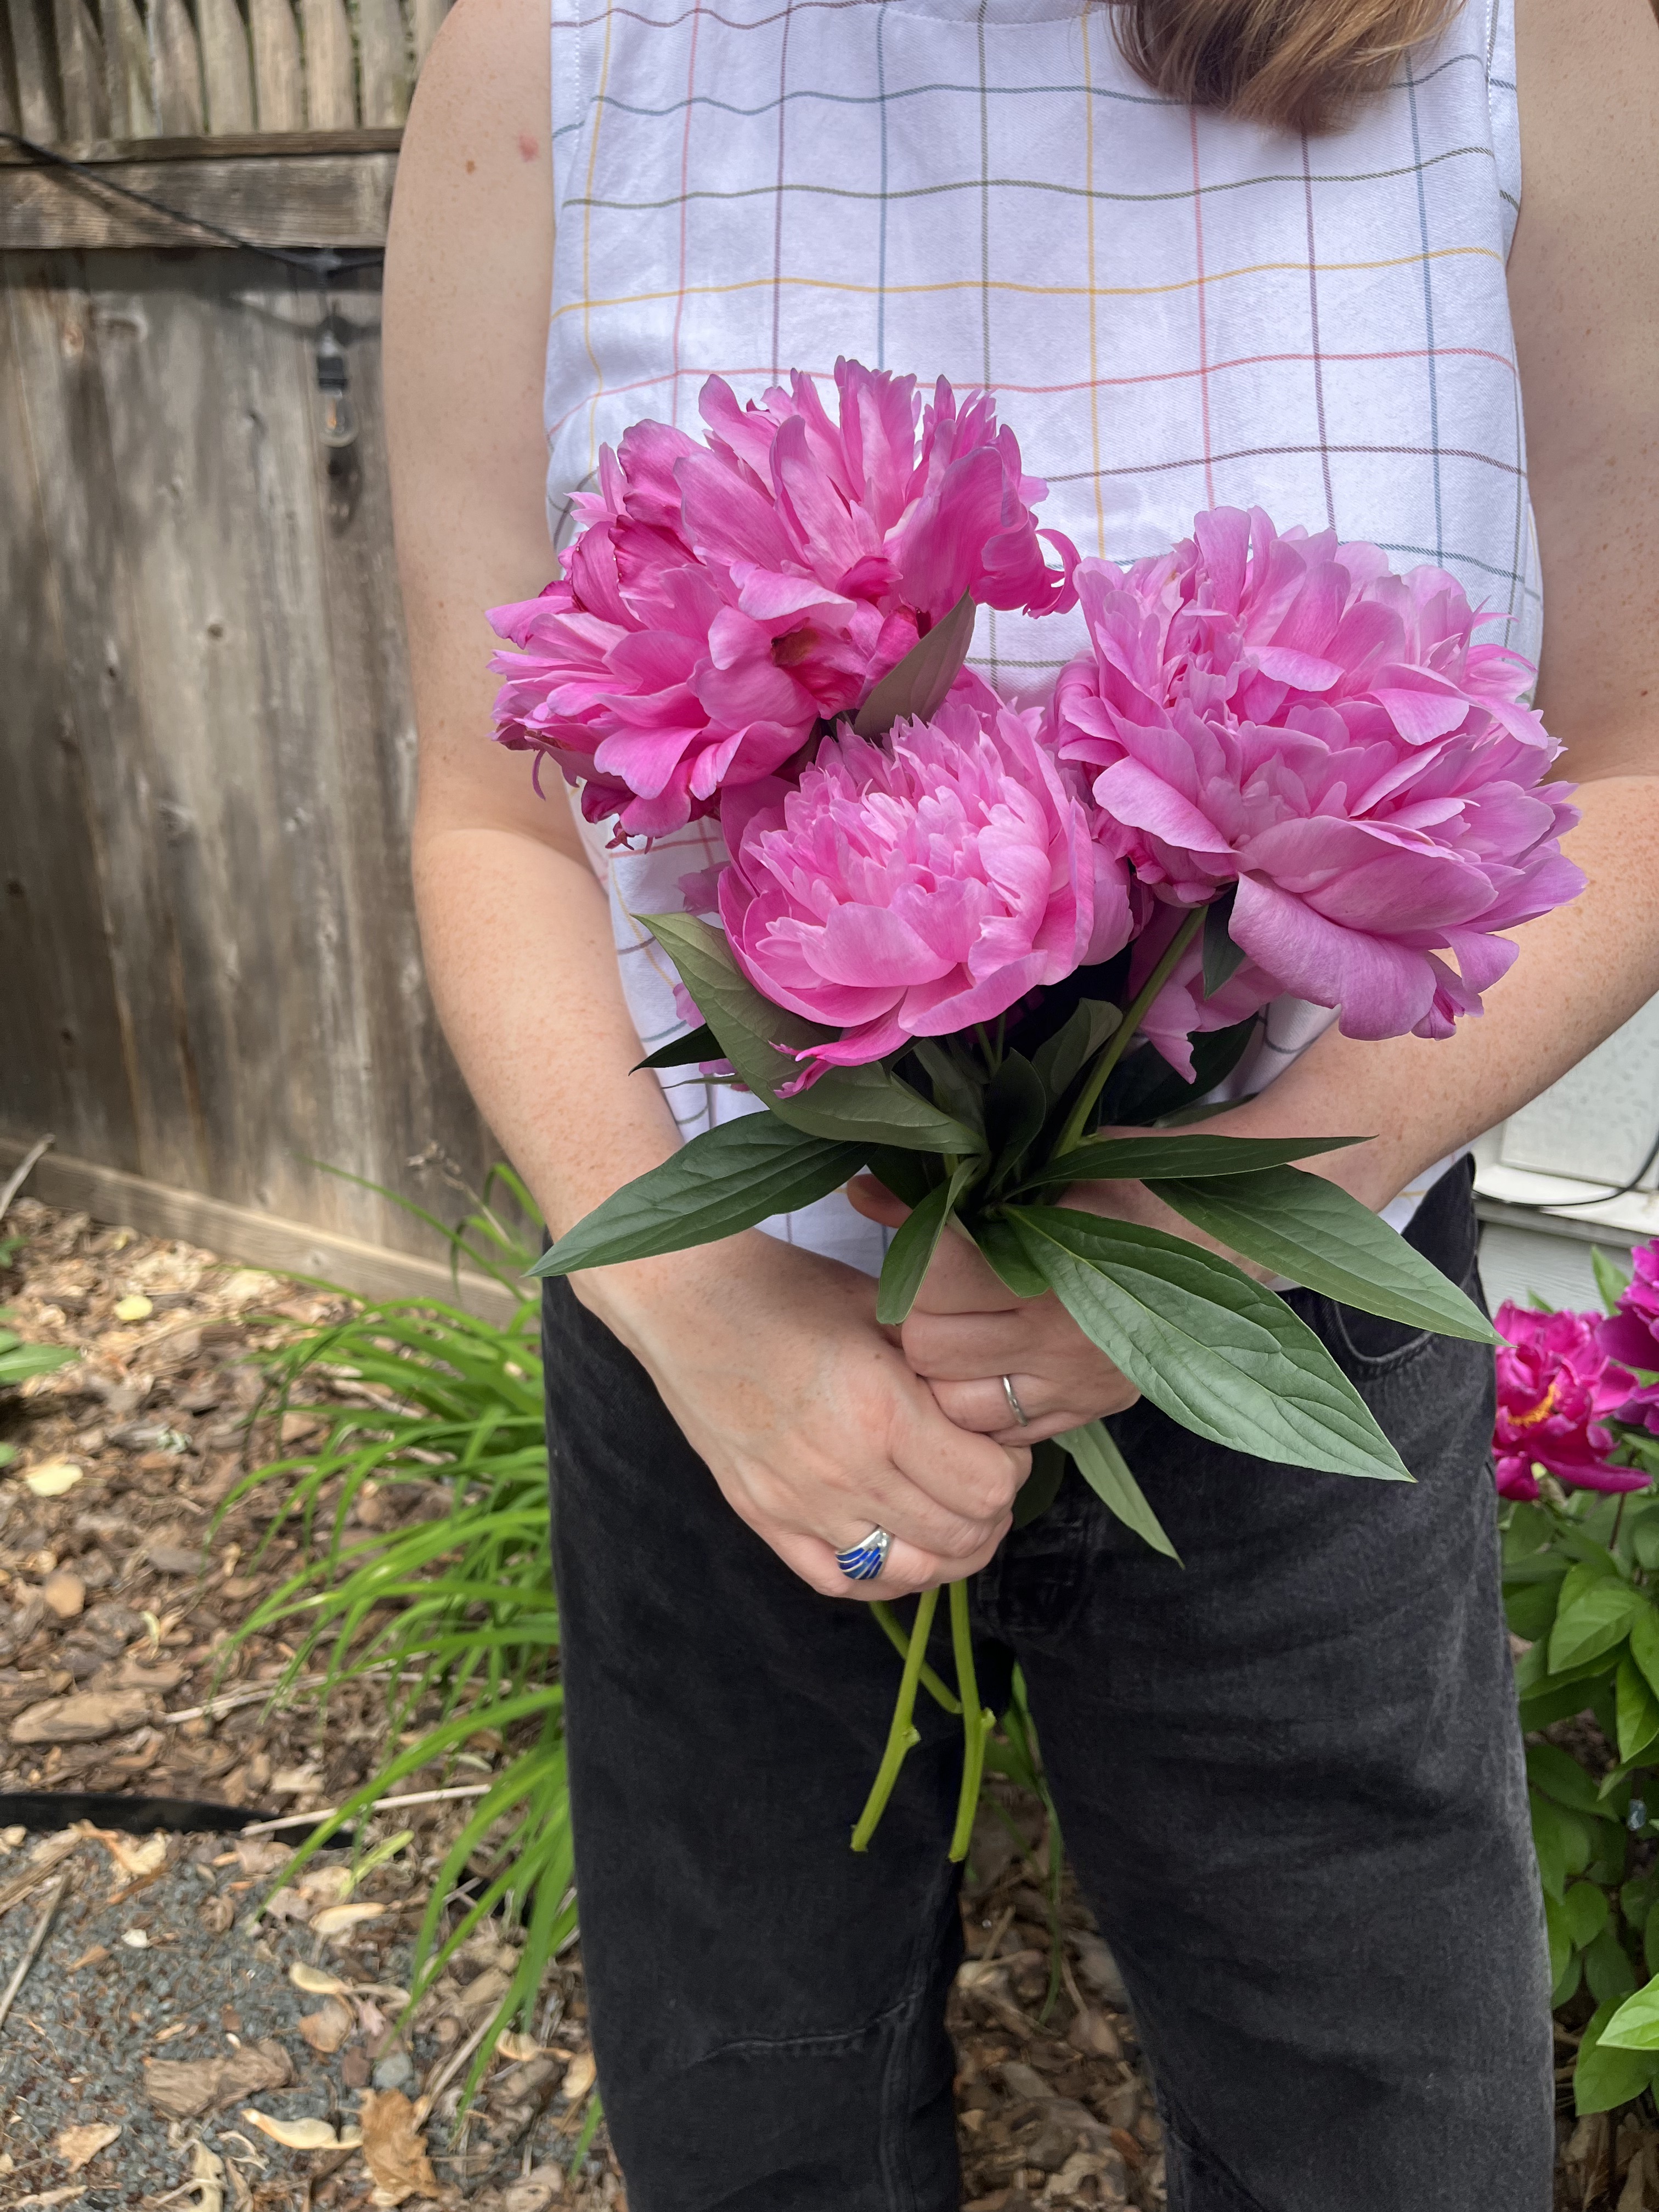
It’s peony season! Or at least it was when I finished my poppy top

With two new tanks down it was time to finally try the poppy top. I believe I bought this pattern in the summer of 2025 but I just now got around to it. There was one particular make that really grabbed me to this pattern (seen here). Isn’t that one cute? Cyanotype printing is on my summer make list too.

The last Summerhaus pattern I made was The Nico Pullover, which I wrote about here. Kristine’s instructions really are top notch, and this pattern was no different. I especially like that she gave instructions on how to piece together shorter pieces of bias strips, it was a good reminder because I definitely screwed this up a few times while making the bias tape for my Ornellas. I also think her instructions for putting bias on is better than the Ornella; with my first Ornella I had too much bias for the armhole despite carefully measuring it so I don’t know what went wrong there. For the Ornella the instructions have you sew the loop together before sewing it onto the armhole so ending up with the extra bias was annoying. The way Summerhaus’ instructions are written you don’t sew it into a loop before sewing it on and hence won’t end up with extra bias.

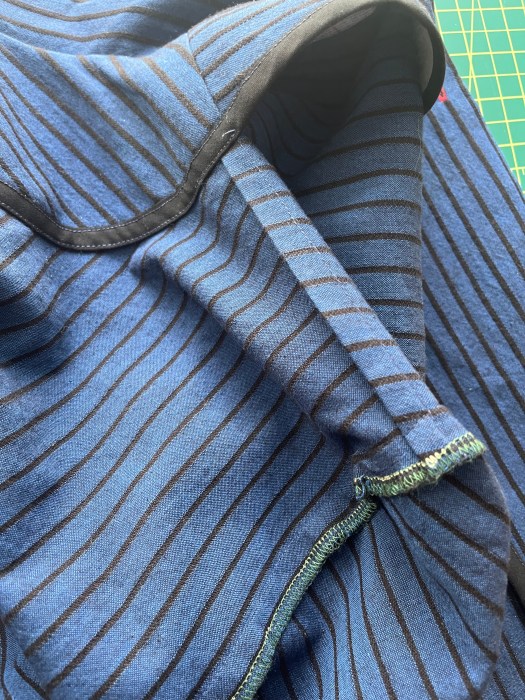
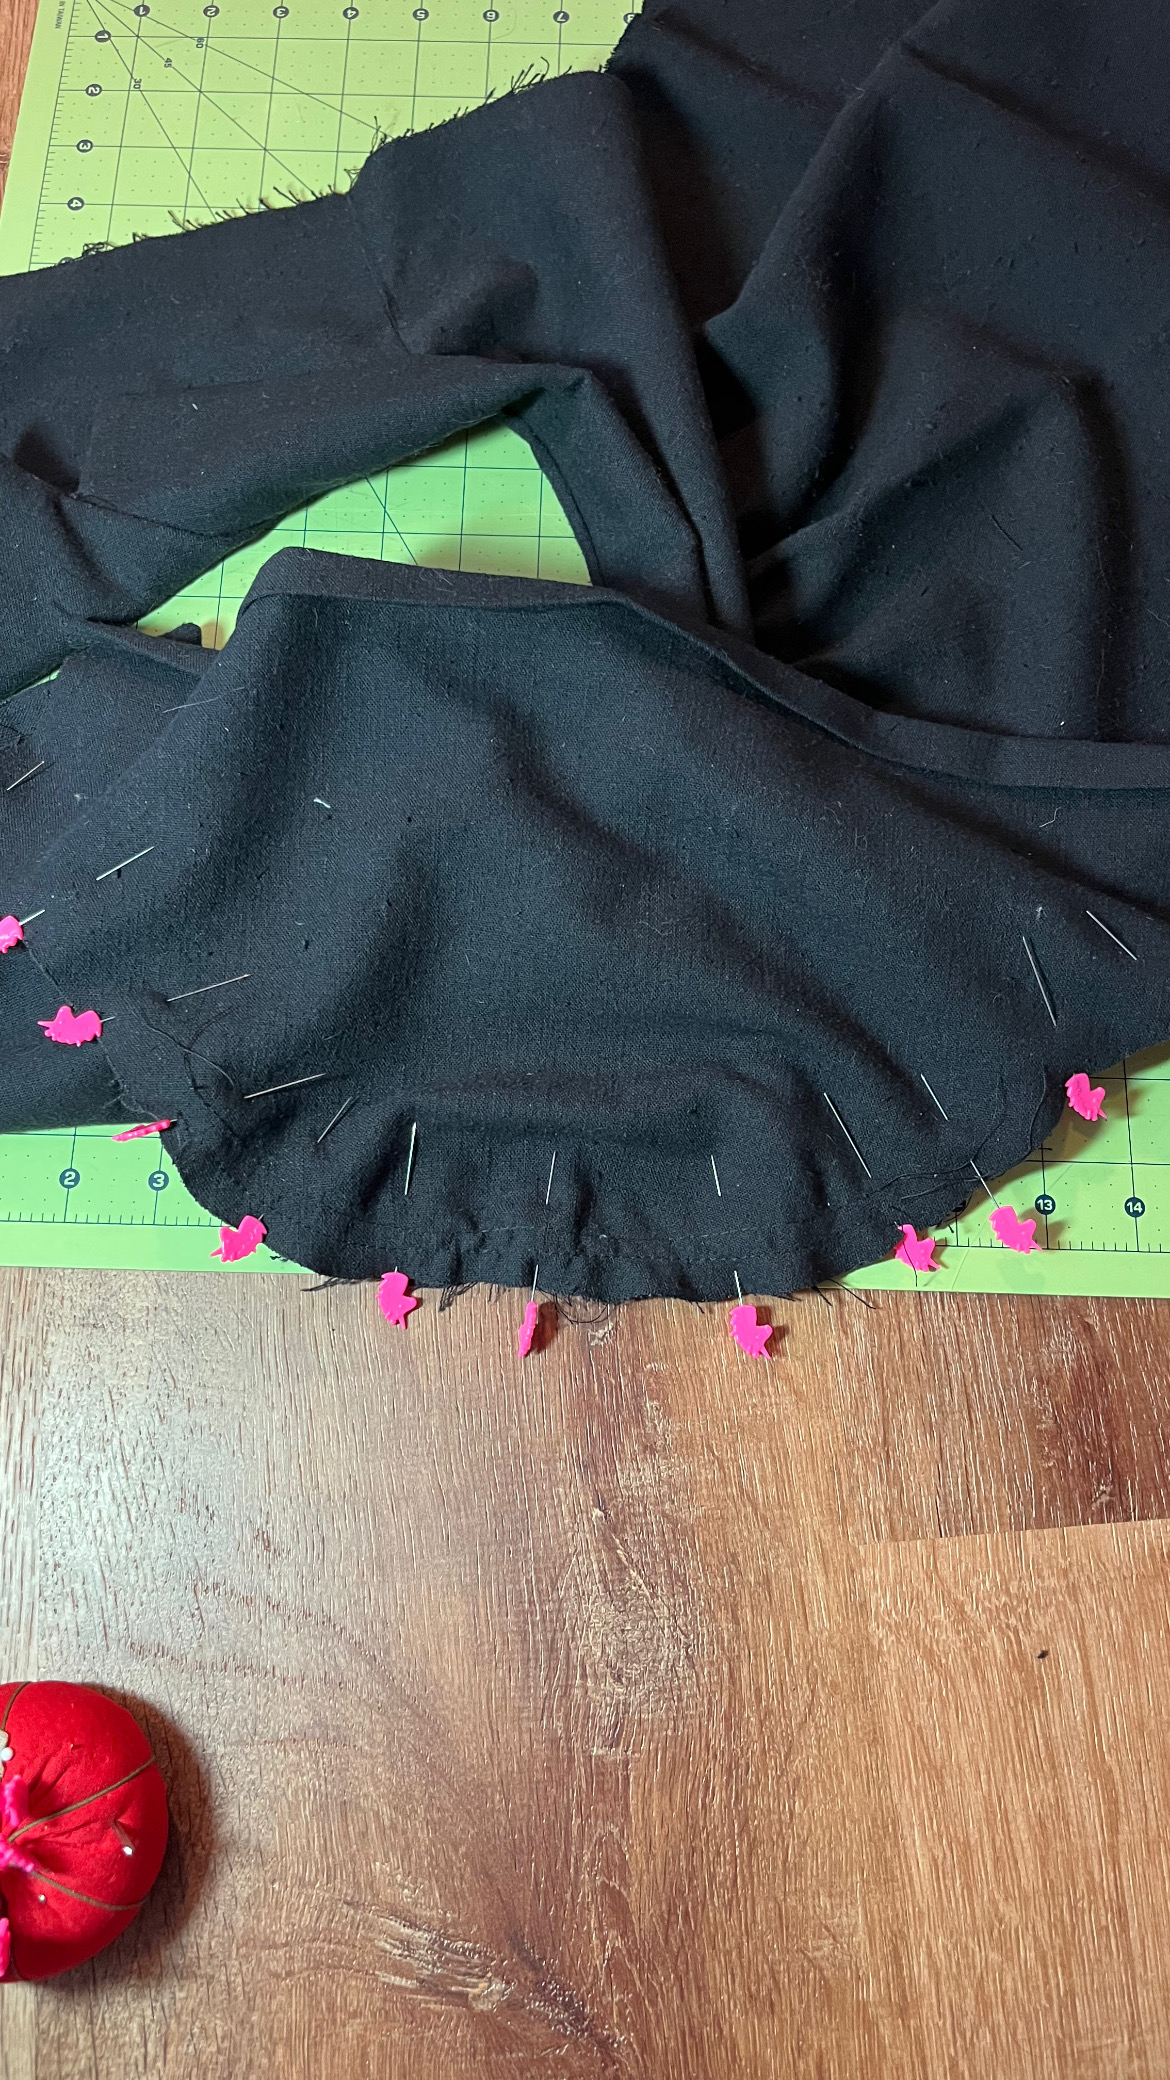
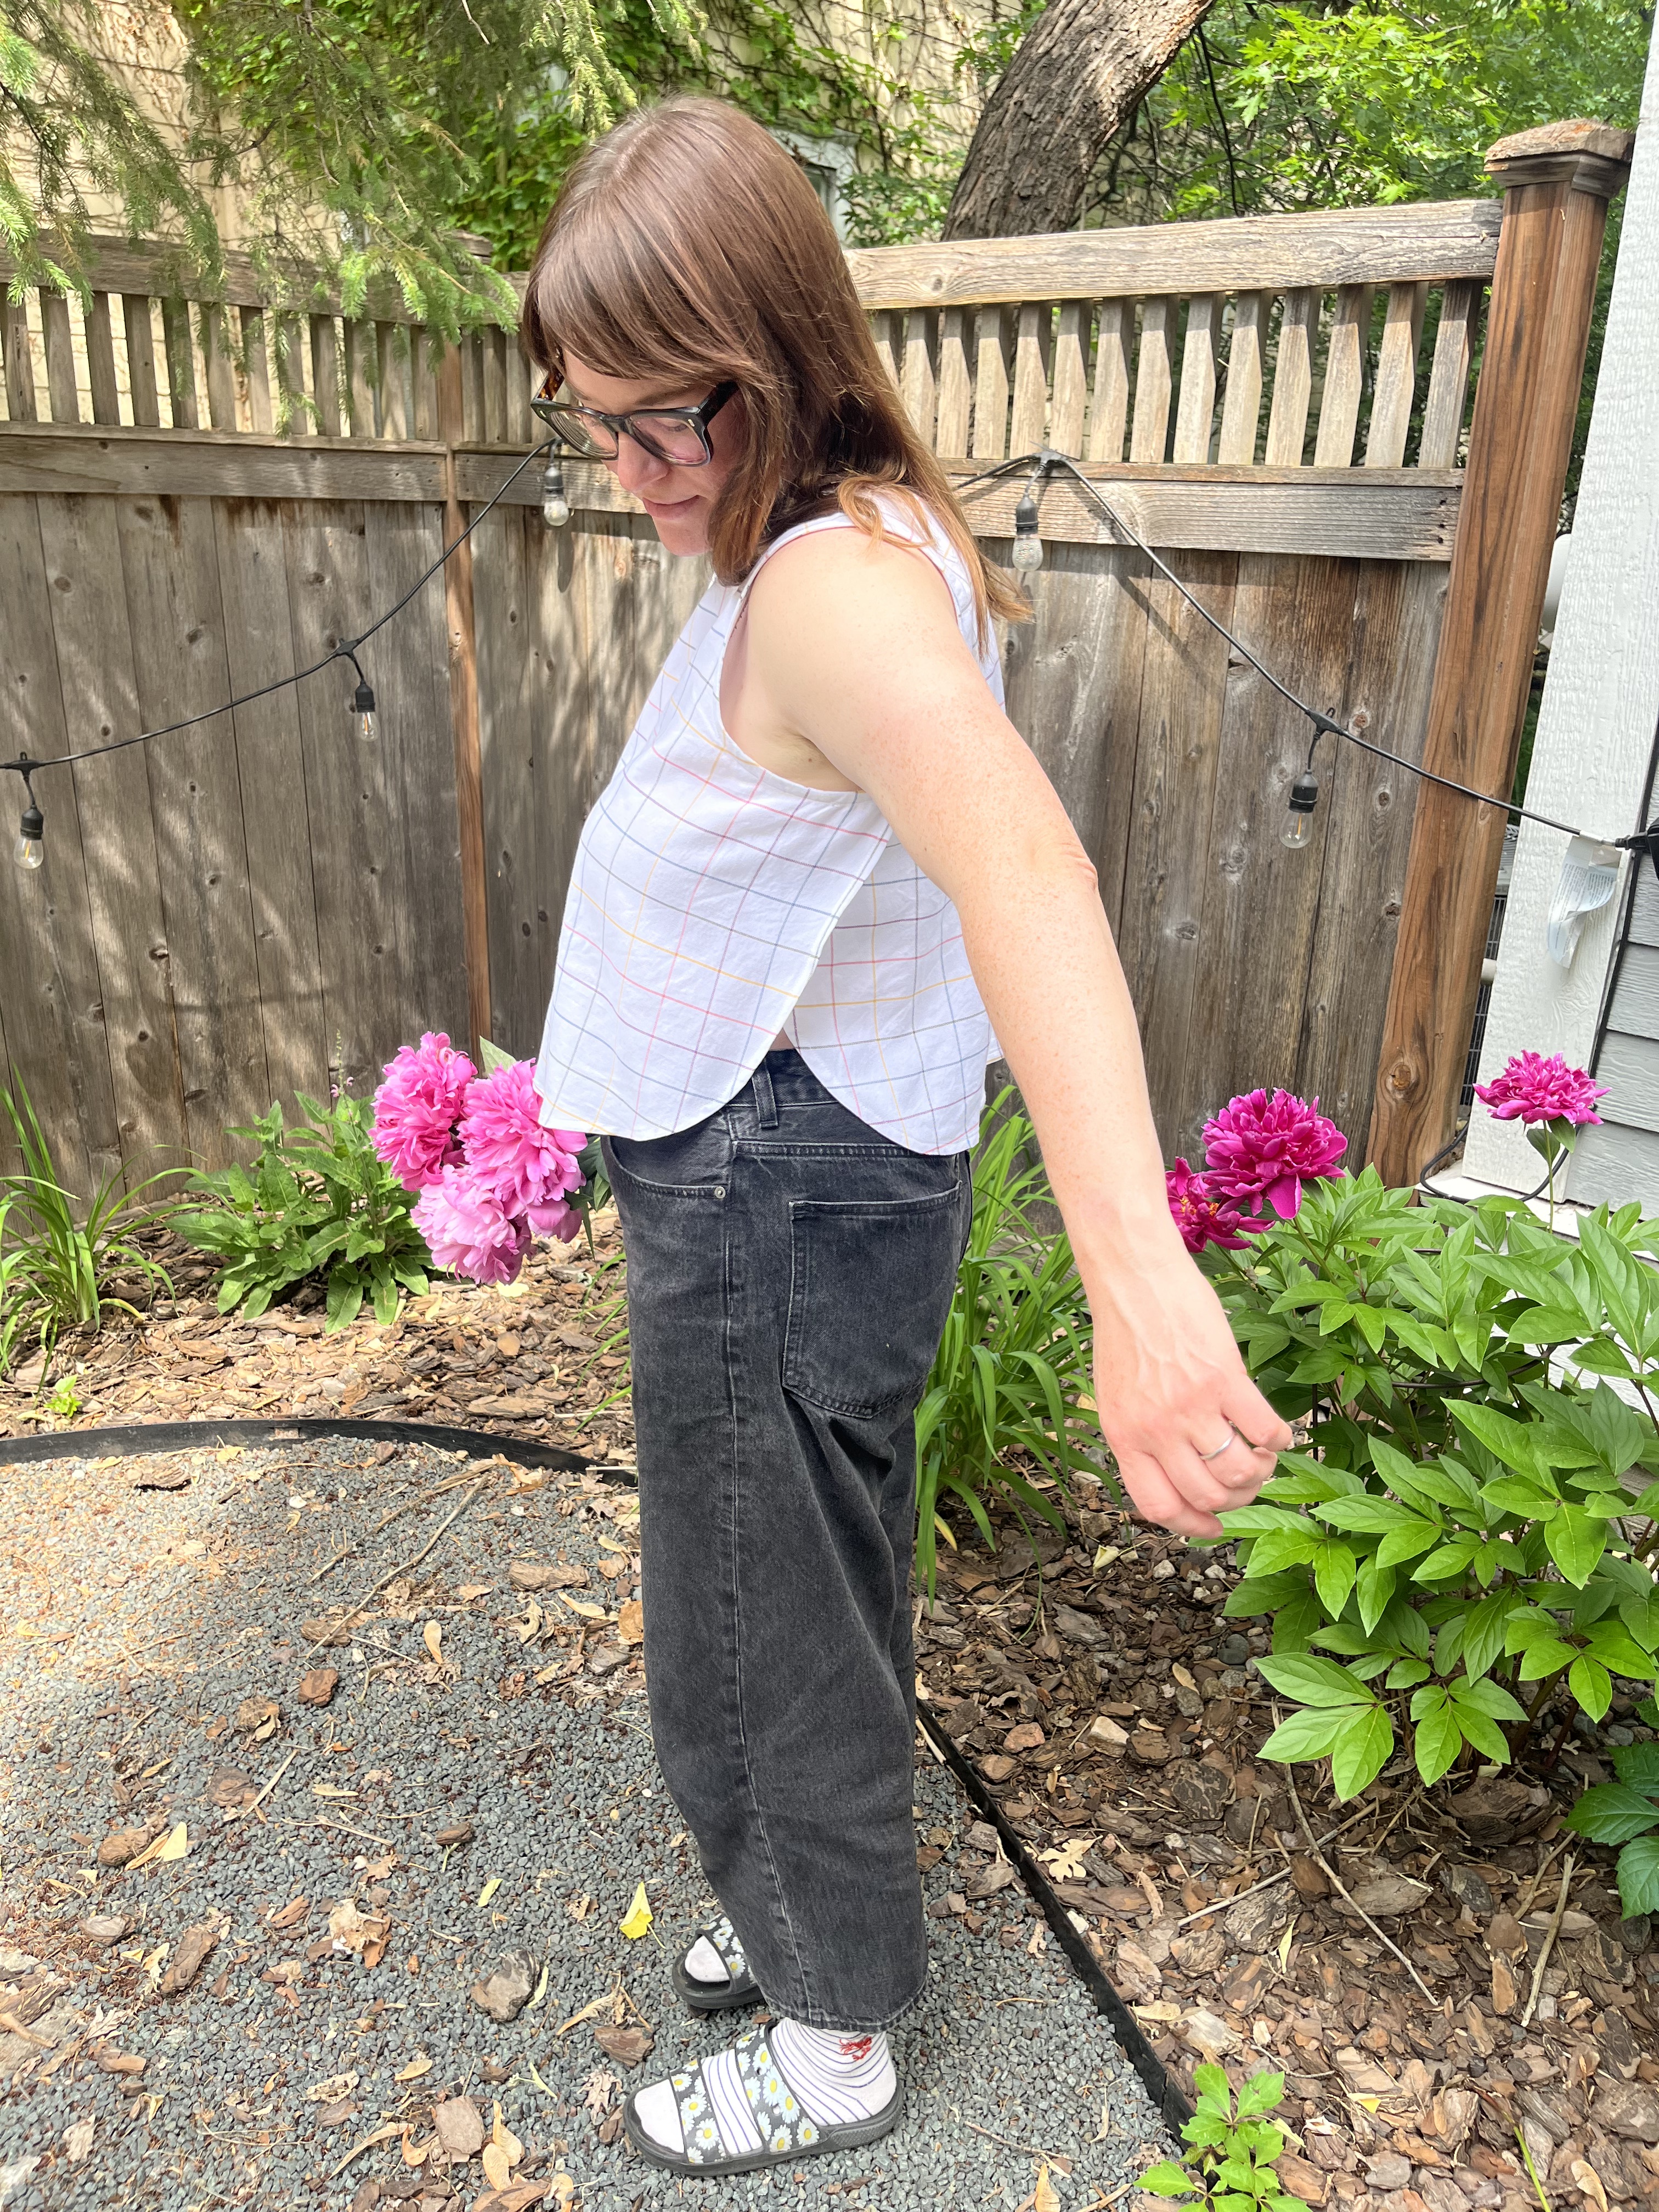
The worst part about sewing the Poppy Top is the curved hem. It is a gentle curve though. If you look at mine inside out: woof. It’s not so noticeable on the outside which is all I really care about in the end so of course I didn’t redo it. I like that the instructions have you do a French seam at the shoulders. I really do just love a French seam.

Fabric

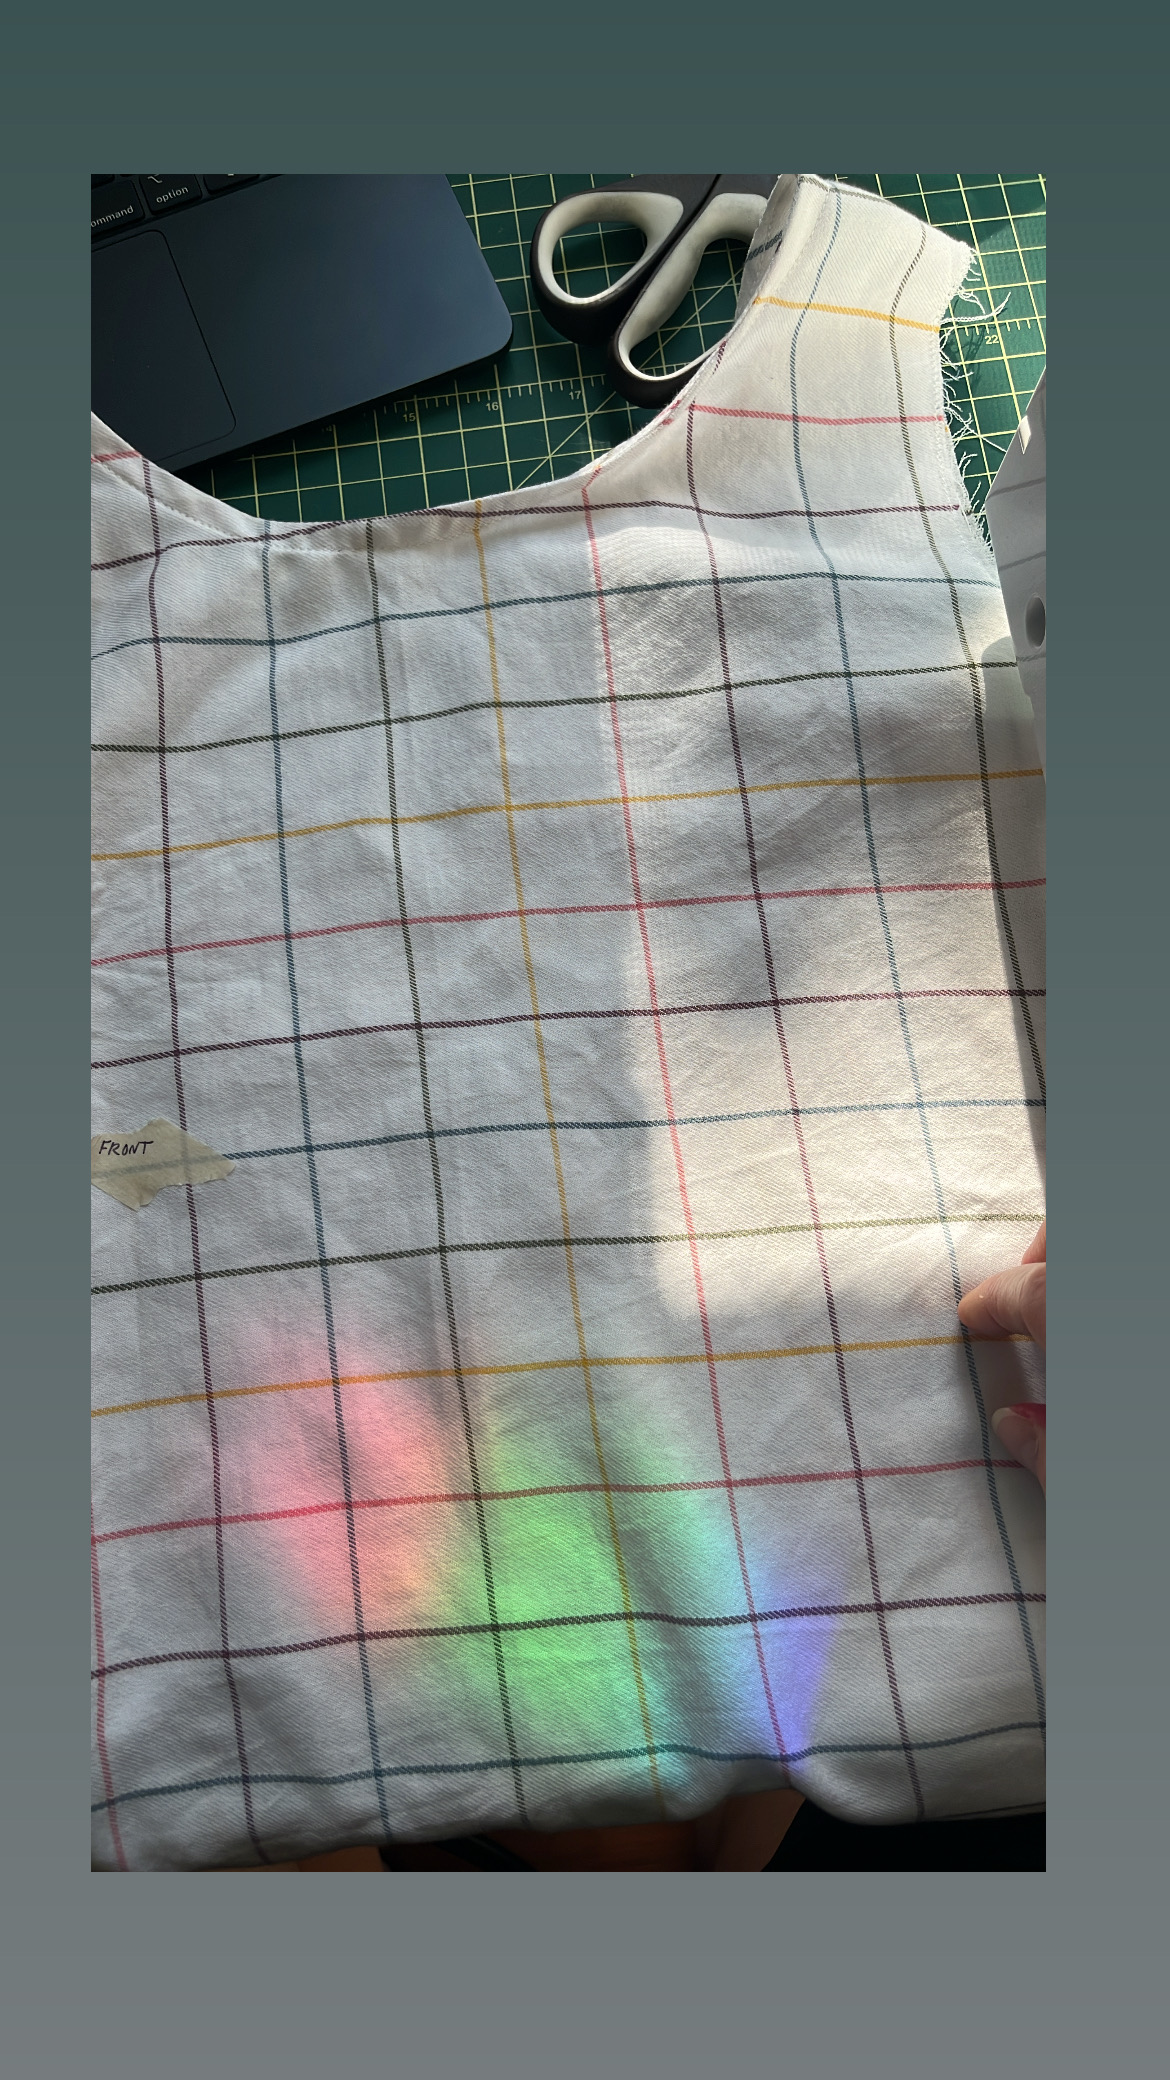
The fabric I used for this make came from Goodwill. When I thrifted it I didn’t know what I had and thought I’d probably use it for an oven mitt or tea towel since the grid pattern makes it look like it’s meant for kitchen linens. I’m glad I waited to use it though because a few months ago on the Maker’s Resale Instagram account someone was selling the exact same fabric and said it’s a cotton/viscose blend. It is pretty soft and light and I’m glad I waited to use it for a tank top.
Final Fit and Styling

The one real drawback to this pattern, I’d say, is that you cannot really do a lot of bending over without feeling exposed. It would be a pretty good tank for breastfeeding but if I were bending over picking up kids all day or gardening or something like that I wouldn’t want to wear it. I am considering tacking down the side at the hem to prevent the front from flapping wide open. It is a perfect flowy top though and matched with this fabric I feel like I’m hardly wearing anything. Though I again don’t really like it with any of my midrise shorts! It has gotten wear with jeans. I haven’t yet reached for this top quite like I have with my Ornellas.
Helen’s Closet Ashton Top

I’m not sure when the pattern was released, but Ashtons are everywhere, she is THE go-to shell tank. It’s gotta be one of the most popular patterns on Threadloop. I knew going into the Ashton that the instructions would be stellar and I was right! Helen is the queen of handholding instructions for the beginner sewist.

For my Helen I was inspired to pull out some precious linen scraps my neighbor gifted me last year (I seriously still can’t believe she gave me these, they’re so nice!). I have black, brown, pink and white and thought a Neapolitan ice cream inspired tank was the right move. I added a 5/8″ strip of paper to the front and back bodice pieces so I could do a brown/pink split front and a brown/white split back. I flat felled the center seams. Without any brown colored thread in my stash I decided to go with a dark green that blended enough, I thought it looked better than black actually.
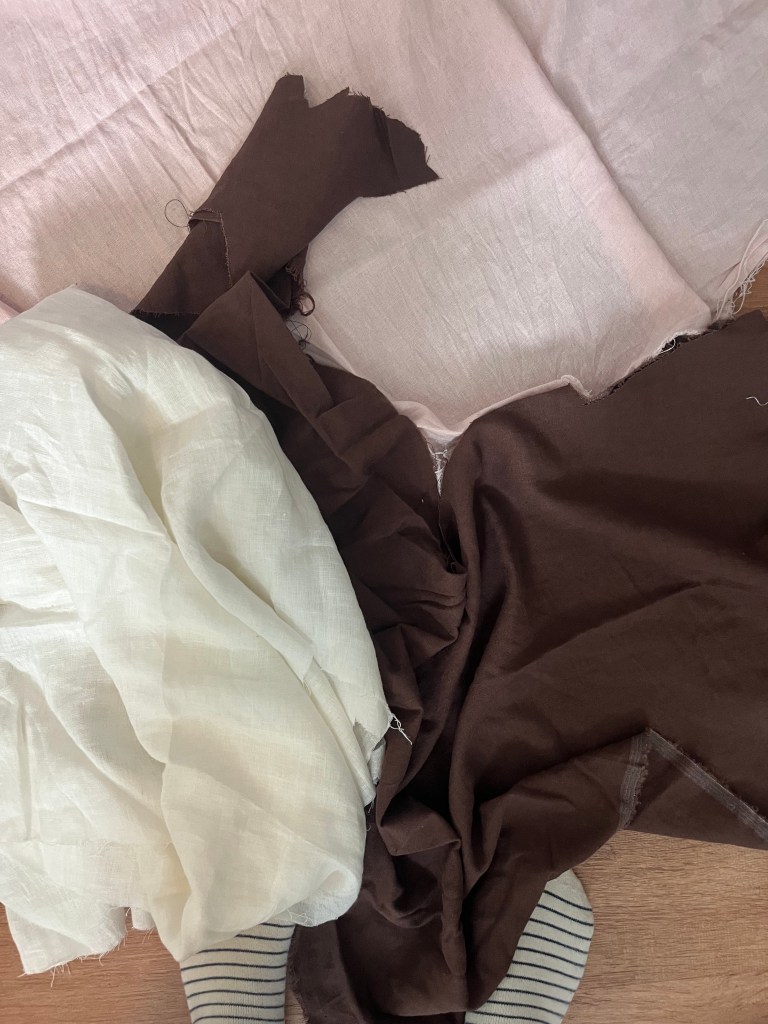
delicious linen scraps

The one thing about making a color blocked tank is it’s a total P.I.T.A. to keep switching thread color. For the white and pink fabrics I just used a white Coats and Clark thread from my stash. Switching thread color is worth it though, it looks nice. It’s also been a while since working with 100% linen. The weave on the white is pretty loose and tended to fray more, another annoyance but it all worked out ok.

There are two options when finishing the armscyes and neckline on the Ashton. I’d like to try the facing finish but went with what I knew and did a bias finish instead. The hem is finished with a facing for all views. The instructions are similar to The Poppy top. Before my Tanks For Nothing series I very much disliked making and sewing bias binding. I begrudgingly admit that the more I have made it and sewn it the easier it has gotten and now I almost enjoy the process. Go figure.
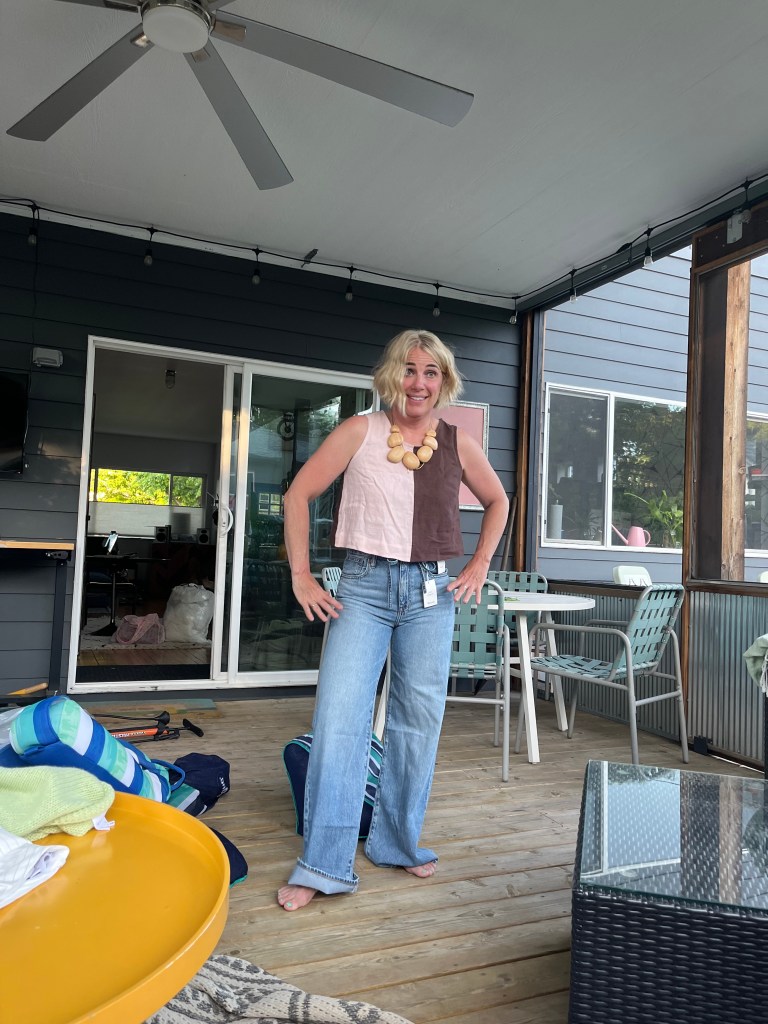
Kady modeling her Ashton with some new pants that another friend gets the privilege of hemming lol

As this tank was a gift for a friend I wasn’t quite sure what size to choose. I knew she was smaller than me so I just made a guess and made a size 8. It was tight on me so I was fairly confident it would fit her and I was right! What a relief. Doesn’t Kady look great in this top? If I make my size (probably a 12?) I may like it but shocker, wearing the wrong size wasn’t a great fit and I didn’t like it on me hahaha. I think this particular tank will look great dressed up or down so hopefully it’ll be a workhorse in her summer wardrobe. I’m extremely happy I paid such close attention to the finishing details for this Ashton and did French seams for the shoulders and sides, flat felled for the center front and back seams, bias bound neck and armholes and a hem facing. It truly is beautiful inside and out.
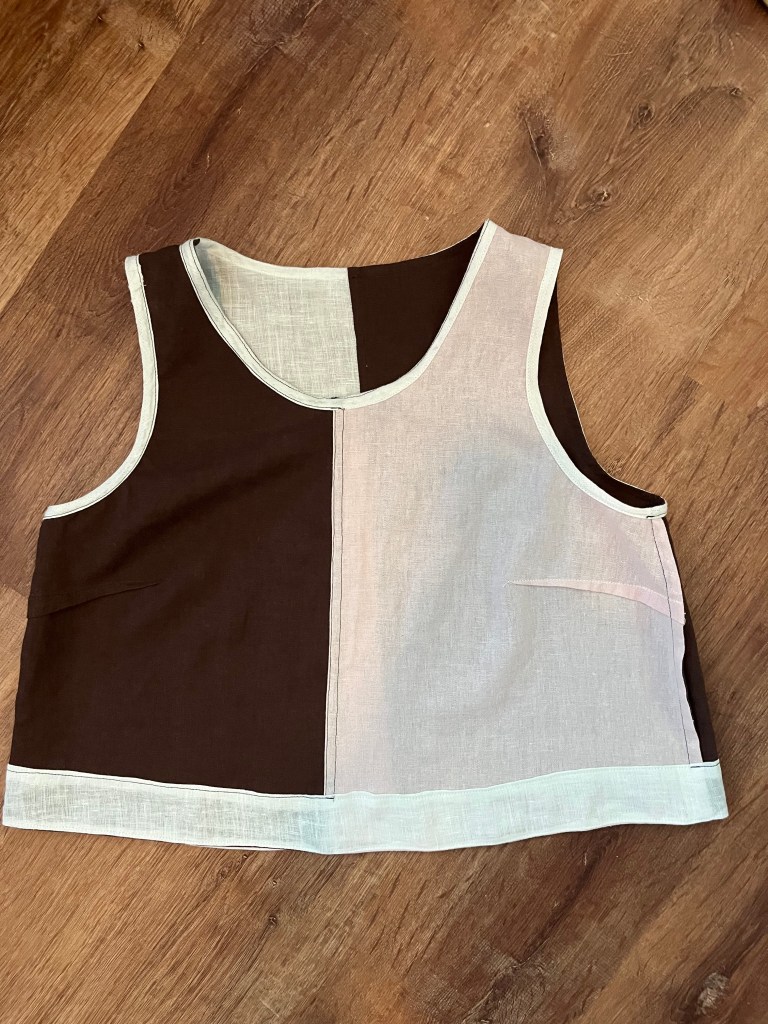
Inside out but still looks great!

Next Makes

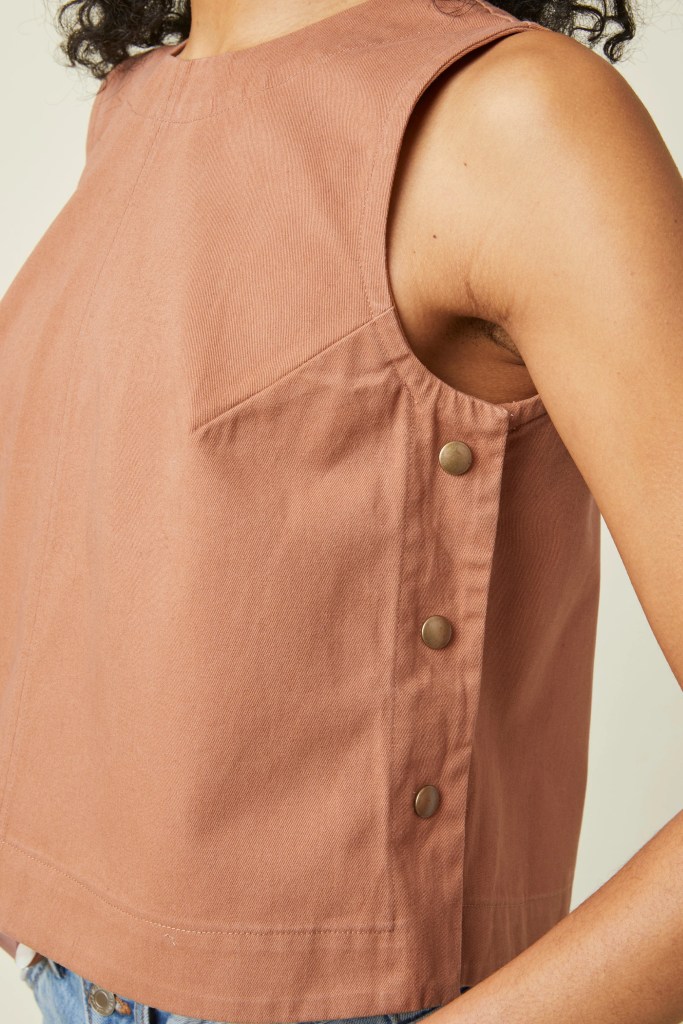
I don’t know where I first saw it (maybe here?), but the Atelier Brunette Le Top really grabbed my attention in the last couple months. It’s similar to the Ornella in that it’s a trapeze shaped top but has an invisible zip closure and some fun options for buttons or ties at the side seams. Whether on Instagram or Threadloop, I’m not seeing too many people make this tank yet which makes me a little nervous! I have to try it though. I have never done an invisible zipper but after making a few bags I feel confident enough trying it out. I also like the idea of doing a hack and finishing the neck with bias binding and doing ties or a button like the Ornella top. I have since thrifted some really great men’s button ups and also scored some incredible tablecloths from a neighborhood rummage sale. Tanks for nothing will continue!
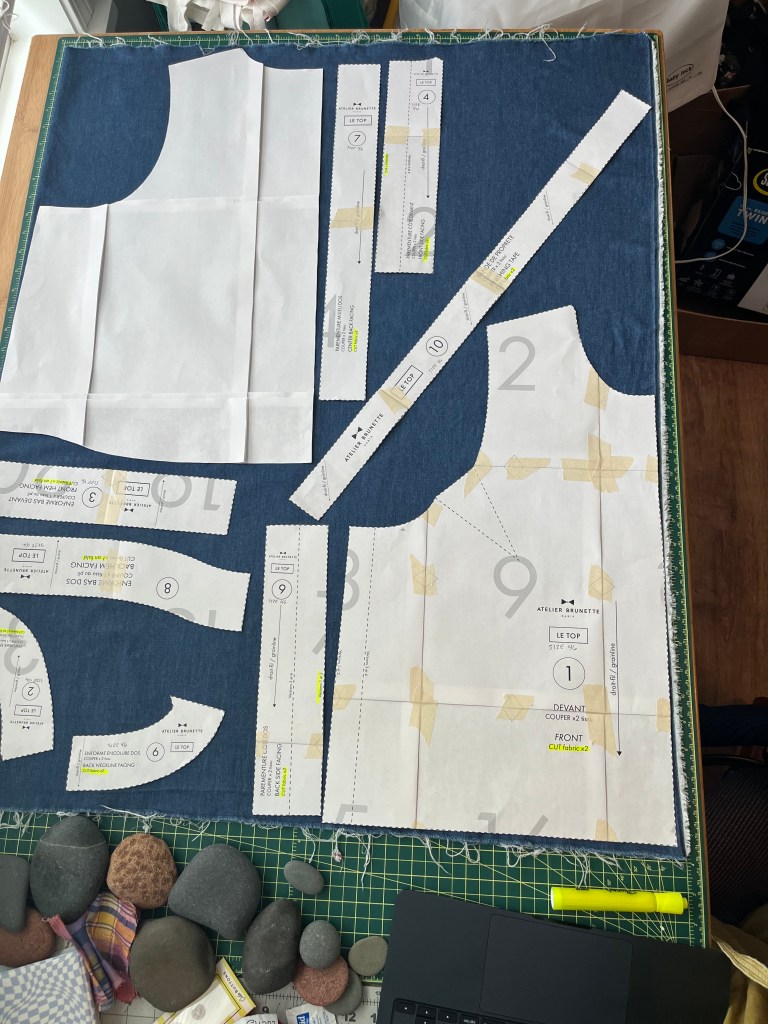
I’ve already printed, taped, and cut out Le Top out of a lightweight denim! The fabric came from the Textile Center sale, of course

Another hole in my summer wardrobe are shorts. I have some go-to RTW pairs that are a little more sporty but they’re also midrise. I’d like to try making some higher rise ones that I can wear with my new tanks. I grabbed the Helen’s Closet June shorts and pants pattern when there was a sale a week or two ago hoping this will be the ticket for a higher rise shorts pattern my closet needs.

As always, if you’ve read this far you’re a real one. Tanks for sticking around.

Ash
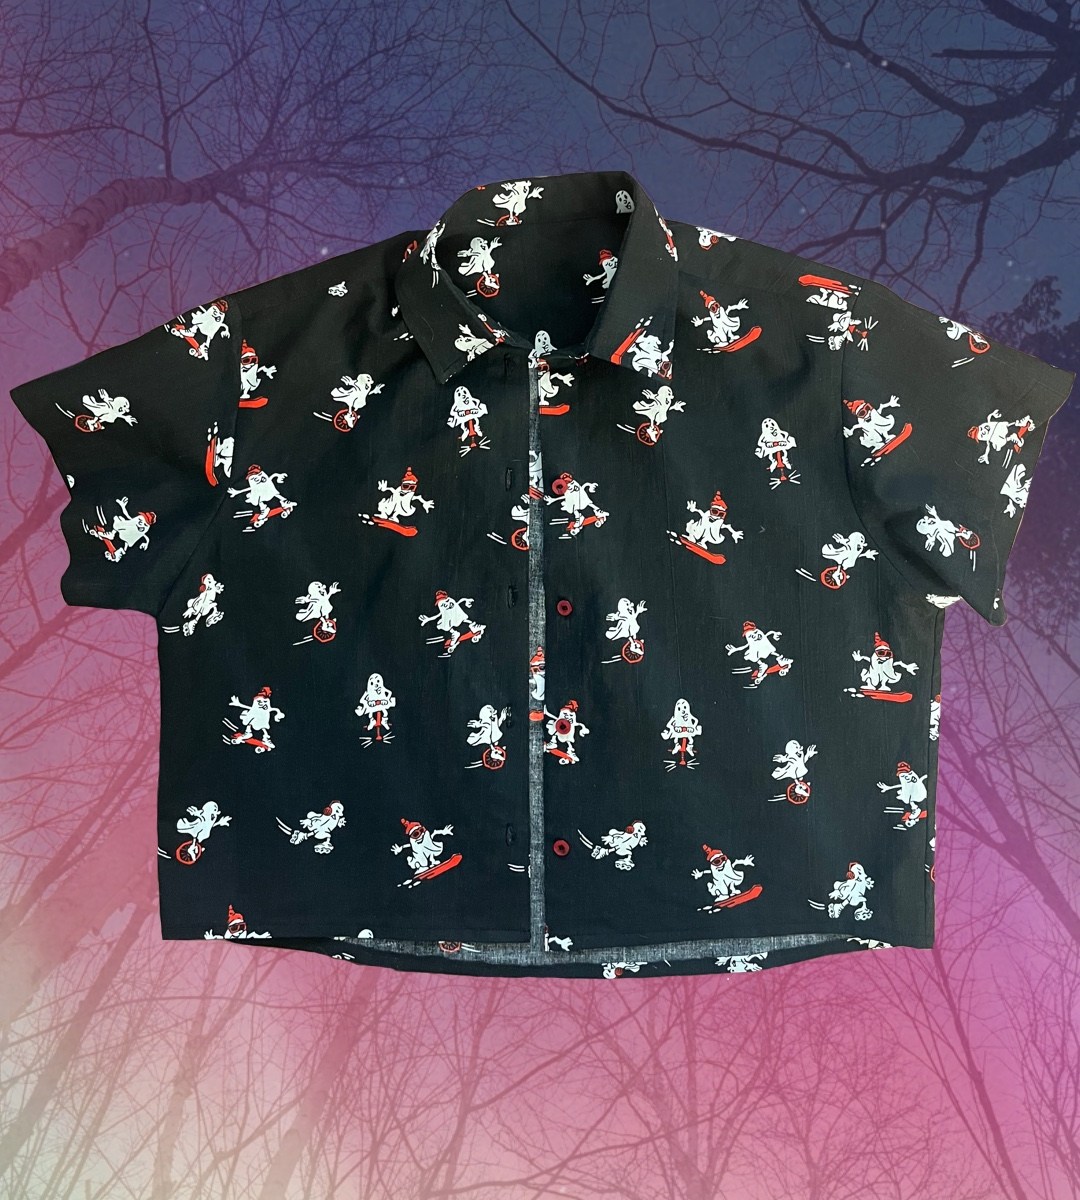
A Shirt So Nice I Sewed It Twice: My Second Bellbird Button Up

Hi hi hi! I did not mean to take such an extended break from writing about sewing but the start of the year around here was not great and I didn’t have much desire to sew. I have a few things to write about and share; today I’ve got another short sleeved shirt on deck!

👻 What’s Up With That Fabric?

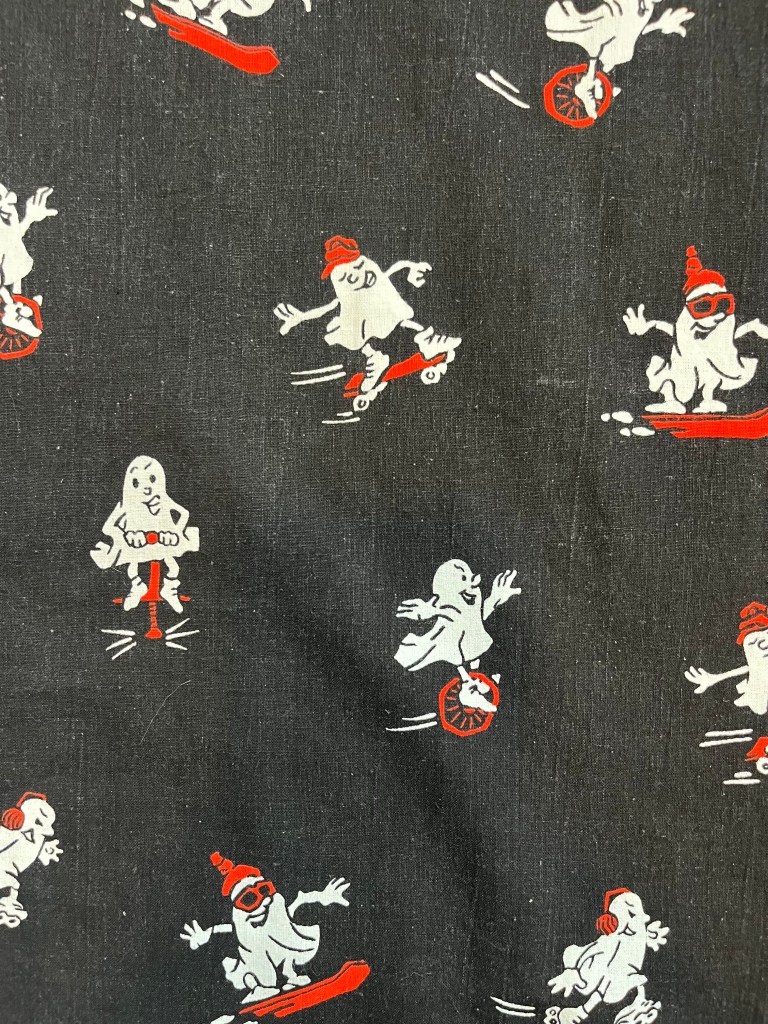
I love an interesting, secondhand fabric–the weirder the better. Back in September 2025 I yet again volunteered at the Textile Center’s garage sale and one of the fabrics I got was this cartoon athletic ghosts fabric, 1at least that’s what I’m calling it. I tried doing a reverse Google image search on it but I didn’t have any fruitful results. It seems like it’s from the late 1990’s or early 2000’s. I’m guessing it’s a cotton, though it may be a cotton/poly blend. It’s not the softest but it was just the right amount of ridiculous for me so I bought it! I had about 1.5 yards to work with.

The Path of Least Resistance: Using A TNT Pattern

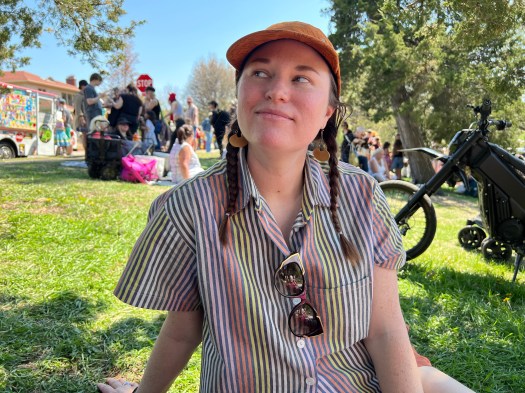
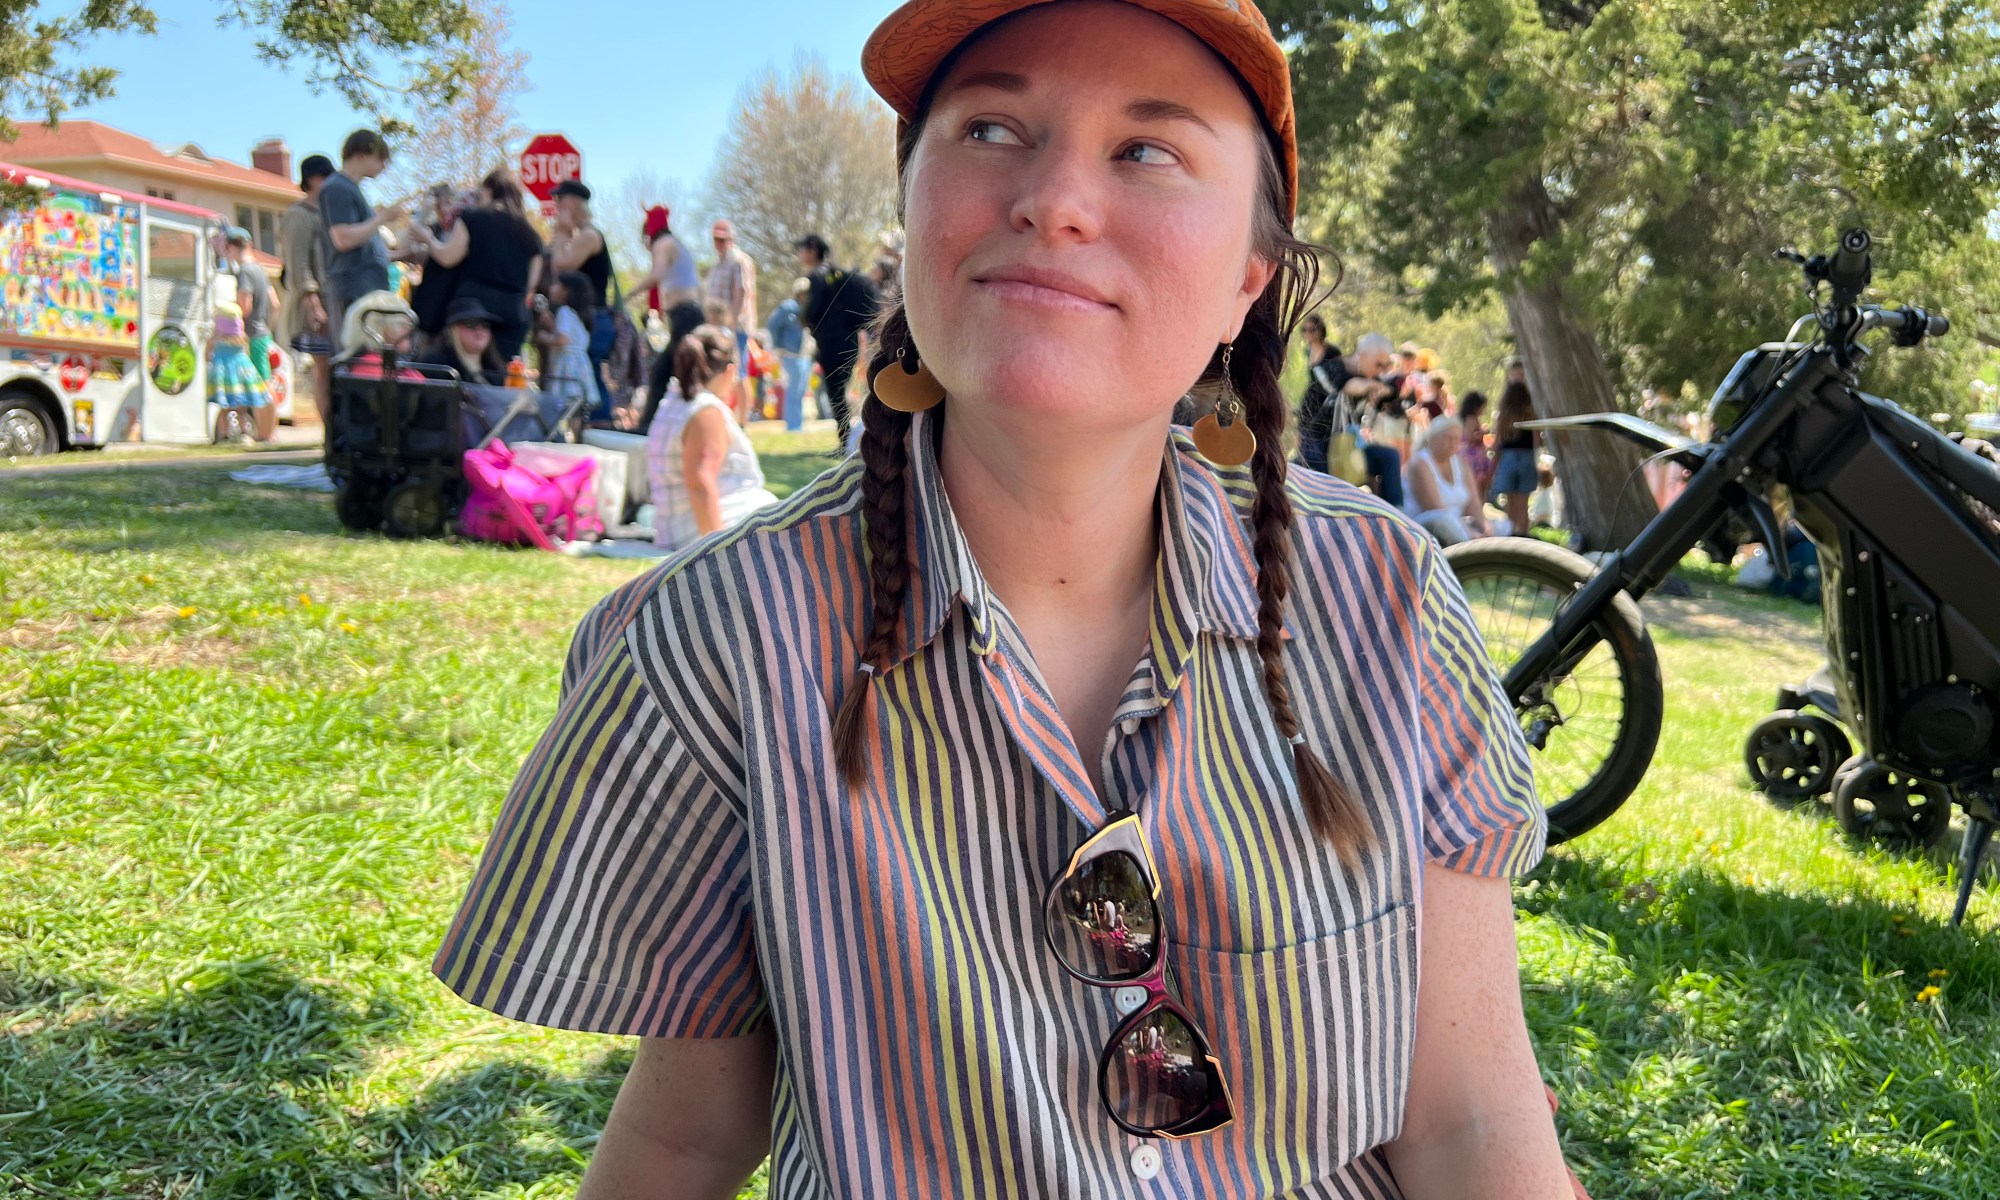
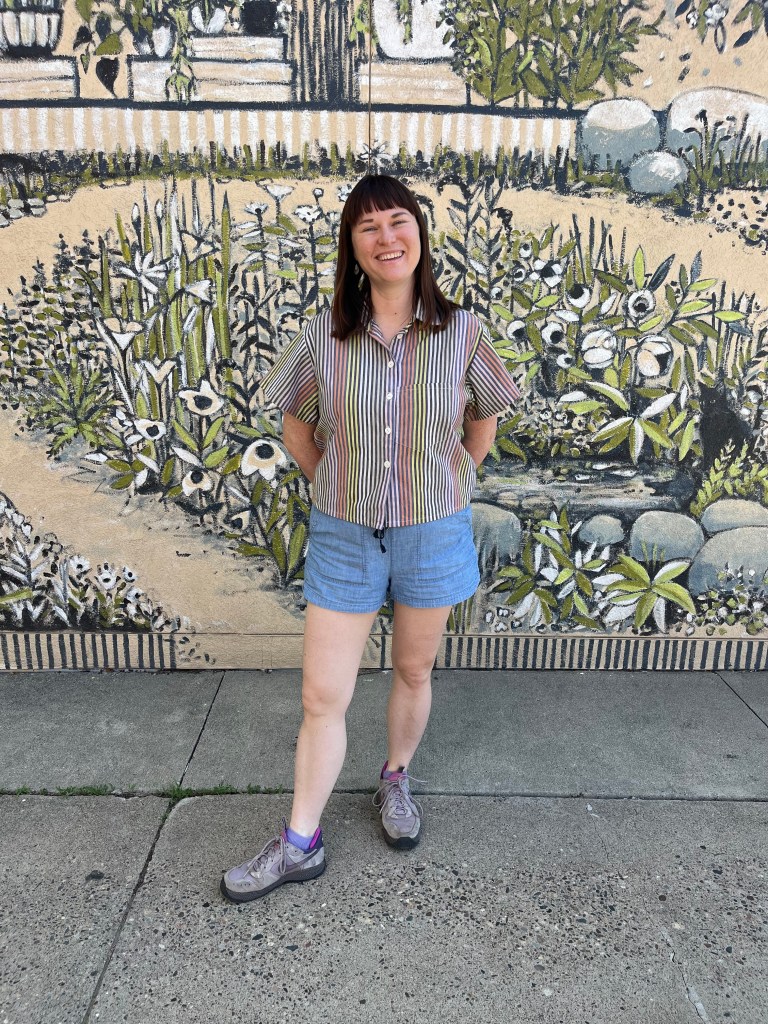
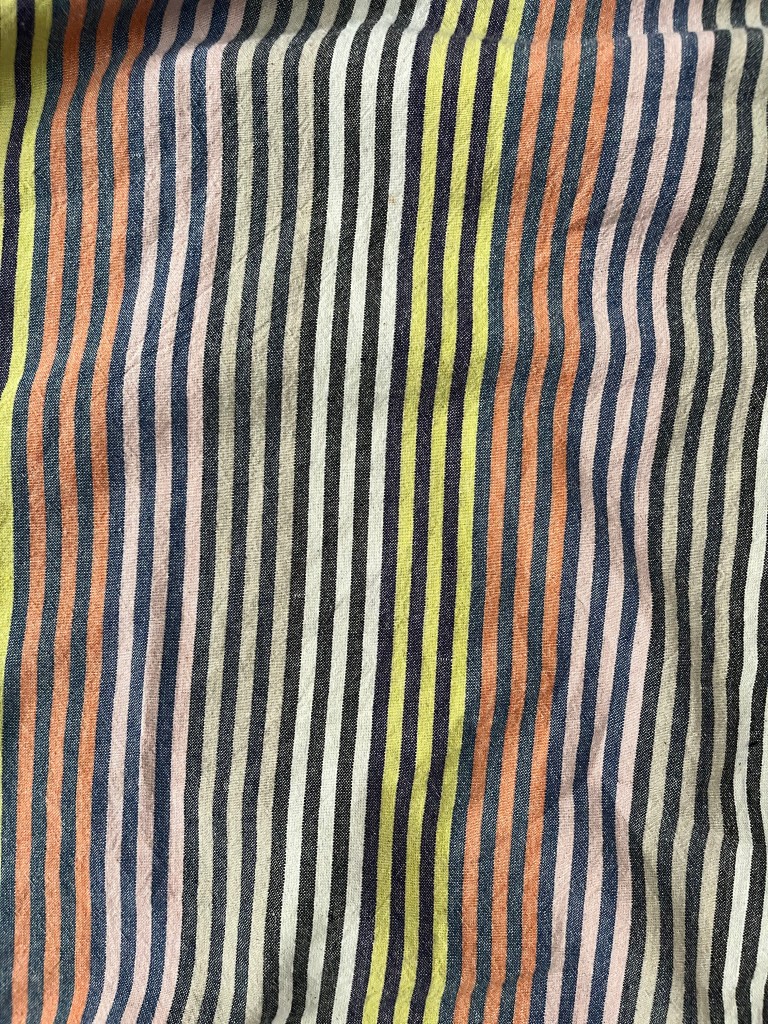
When my desire to sew something up finally came back online I thought a good way to ease back in would be to make a shirt using a pattern I’ve already sewn up before. I didn’t have to print or trace any patterns, hallelujah! Last year I made this Bellbird Button Up in a striped shot cotton. Out of all my shirts (made by me and ready to wear) it was by and large my most worn shirt in the spring, summer and fall! I still love it despite some flaws and can’t wait to wear it more now as the weather warms.

Hanging out in Powderhorn in my Bellbird Button Up

Always Learning

Even though I’ve made this shirt before I still learned more in the process. Here are some take aways from this shirt’s iteration (aka notes for my future makes!):

  • You don’t need to interface both collar pieces and both collar stand pieces (the instructions on this pattern make it seem like you should do this, but it is unnecessary). I looked at other pattern instructions for button ups I have and all the ones I consulted have you interface just one piece of each.
  • I think you should prepress your sleeve hems before sewing the sleeve into the bodice at step 14! It’ll make it easier when you get to step 18.
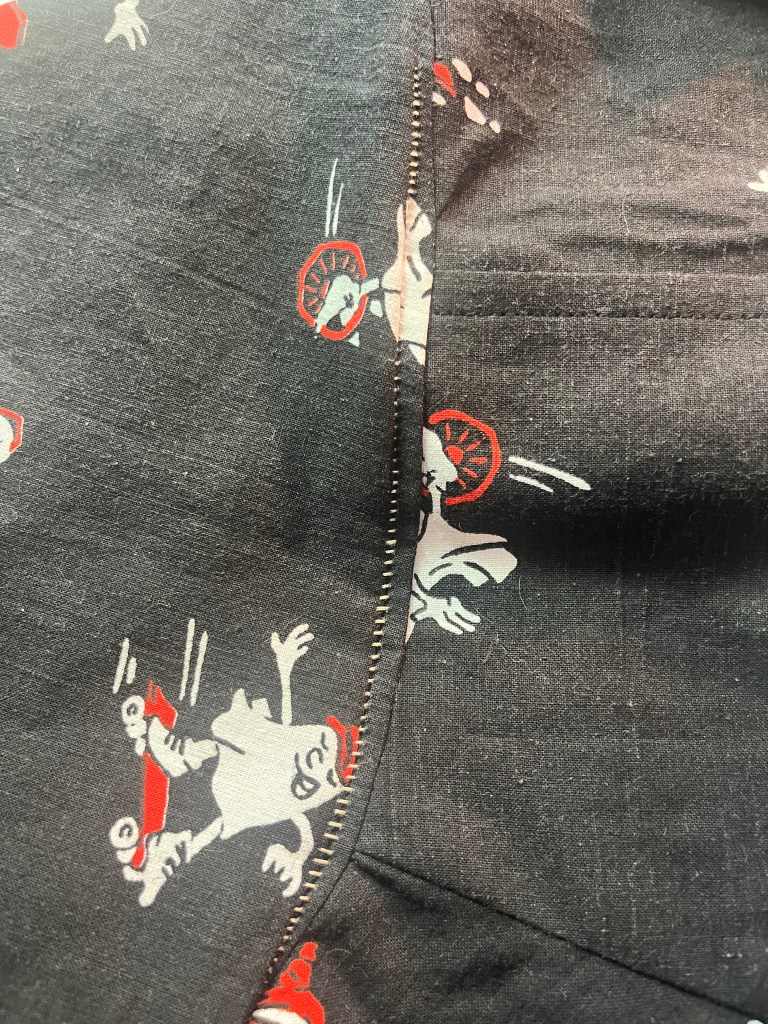
  • I had to seam rip the serged hem on both the sleeves 😦 I did a bad job and got a fold. Go slow!
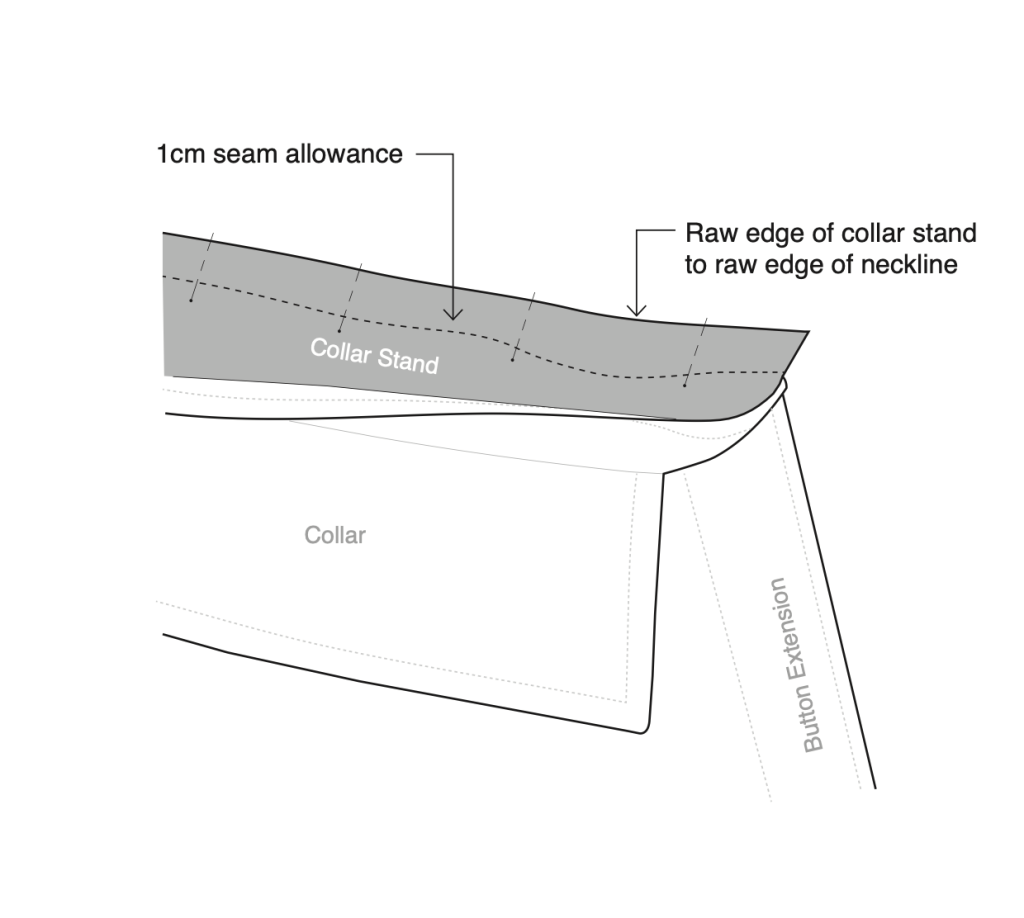
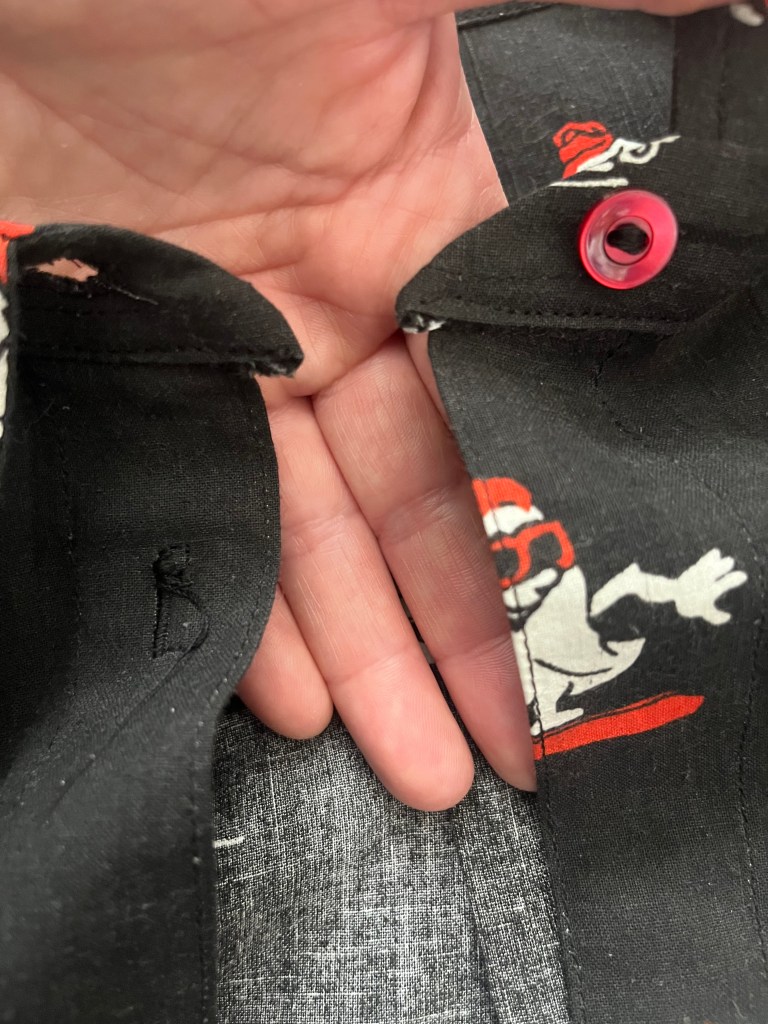
  • I am still really confused with the collar/button extension instructions! I did a bad job getting the collar stand to line up with the button placket again. I am a beginner at this, but I don’t think the illustrations for this step are really all that great either.
  • I still had an issue making the top buttonhole on the placket using my buttonhole foot. I have left that mess for now!
  • I did successfully make a buttonhole on the collar stand for the first time, yay!
  • I still haven’t decided on whether to add the pocket! Left it off for now.

Project Breakdown

Here’s my lazy assessment on how much the materials cost me:

  • Fabric: $3 (such a rough guestimate; you buy by the grocery bag)
  • Pattern: Already in my stash. But let’s say $3.08 since I originally paid $6.16 for it
  • Buttons: From the stash! I think they too came from the garage sale. .50 cents?
  • Thread: Black cotton Gutermann from my stash
Total: $6.58 ish? I didn’t buy new thread, needles, or interfacing and the amount used is small.

Wow, Are You Done Yappin’?

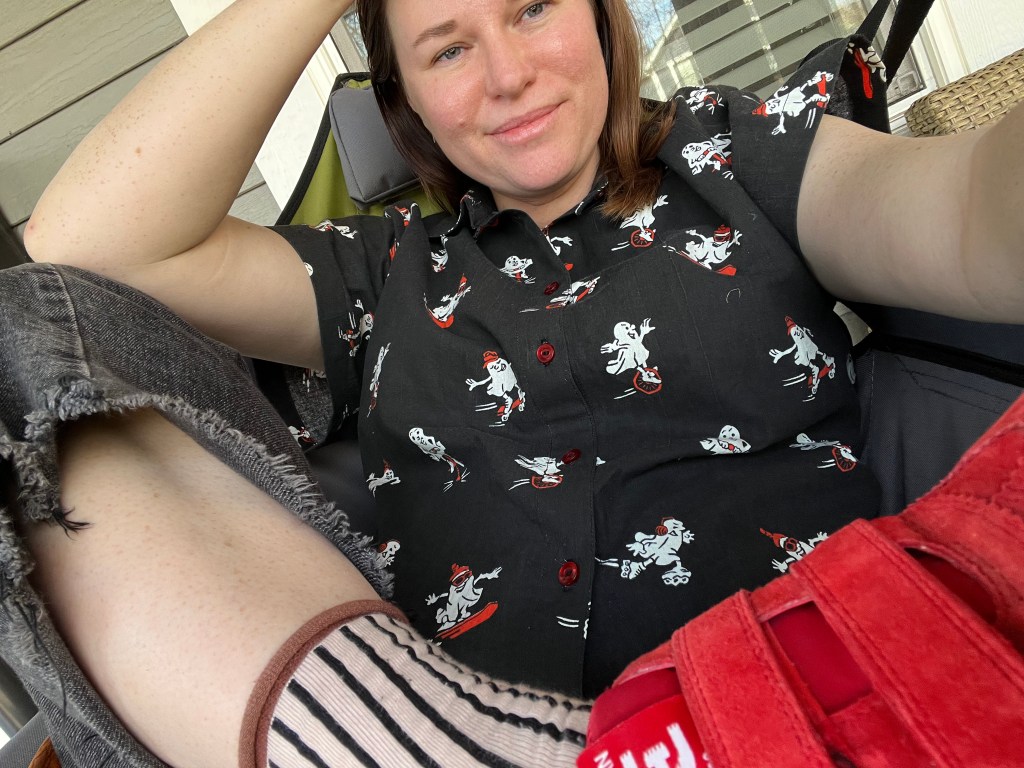
Yeah let’s wrap this baby up! Overall I’m happy with this make. As always, it feels SO GOOD to finish something. I started this shirt on February 26th, 2026 and finished on March 5th, 2026 (I think!). Time will tell how much wear I’ll get out of it, but likely not as much as my first Bellbird as the print isn’t exactly a versatile one 😂 I finally wore this one out of the house on our first hot day of 2026, Saturday March 21st (and to showcase the true lion and lamb of this month, I XC skied on the streets to my friend’s house just 6 days prior). My new shirt was great for biking and a playground hang. Front porch selfie below 🙂
It was 73 degrees Fahrenheit when I took this photo!!! My neighbor used his snowblower that morning because he couldn’t wait two hours for the snow to melt off a corner of his driveway

As always, thanks for reading!

  1. Trying to use Threadloop more to also track my fabric and document my makes there! ↩︎

Working With Knits: Sewing The Summerhaus Nico Pullover

So I haven’t posted since May…but is that right? Have I not sewn a garment since May?? I have done some other sewing, including another dress for my daughter. I will share it soon! Anyways, I finally have a new finish: the Nico Pullover a pattern by Summerhaus.

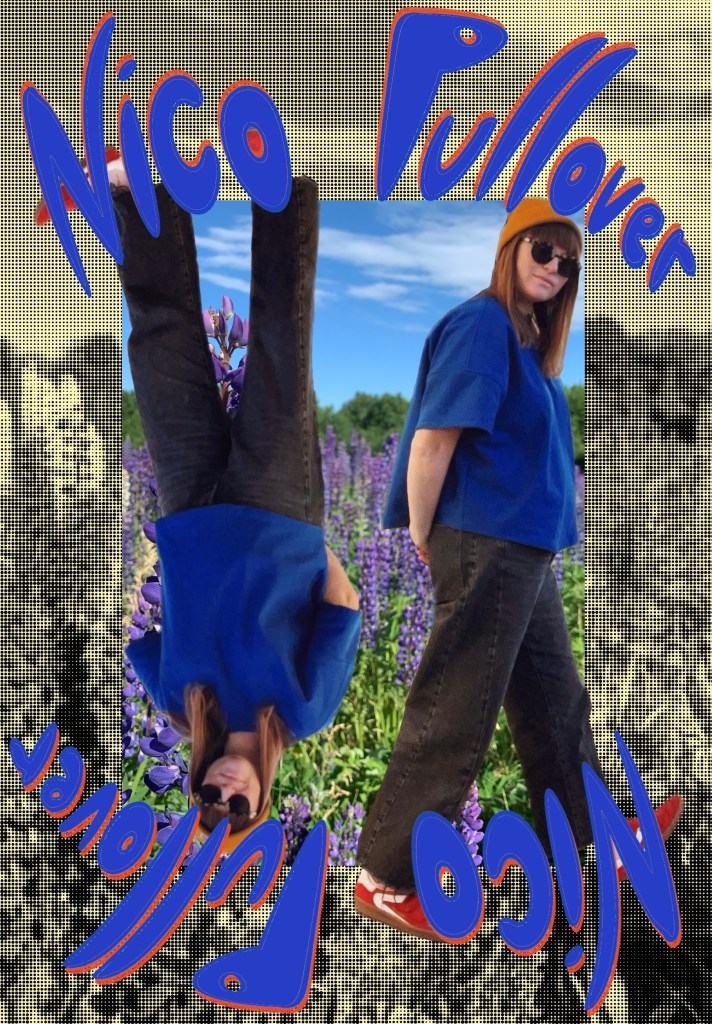
Sometimes writing a post is just an excuse for me to play around with images in Procreate

How This Top All Came To Be When I Was Afraid Of Knits

For a while now I’ve ignored patterns that are meant for knit fabric. I hadn’t tried sewing with them but heard that they’re frustrating and when I’m already getting frustrated with wovens why make things even harder on myself? So, what changed? There was a perfect storm here of supporting a good cause, getting a deal on a pattern that intrigued me, getting a deal on fabric, and finally wanting to stretch my skills a little and try new things.

In July Summerhaus had a pattern sale with profits benefiting Palestine so I bought her Poppy top and Nico Pullover patterns. While the Nico is sewn with a knit I really fell in love with the shape of the garment, knowing someday I would get over it and be brave enough to try working with a knit fabric.

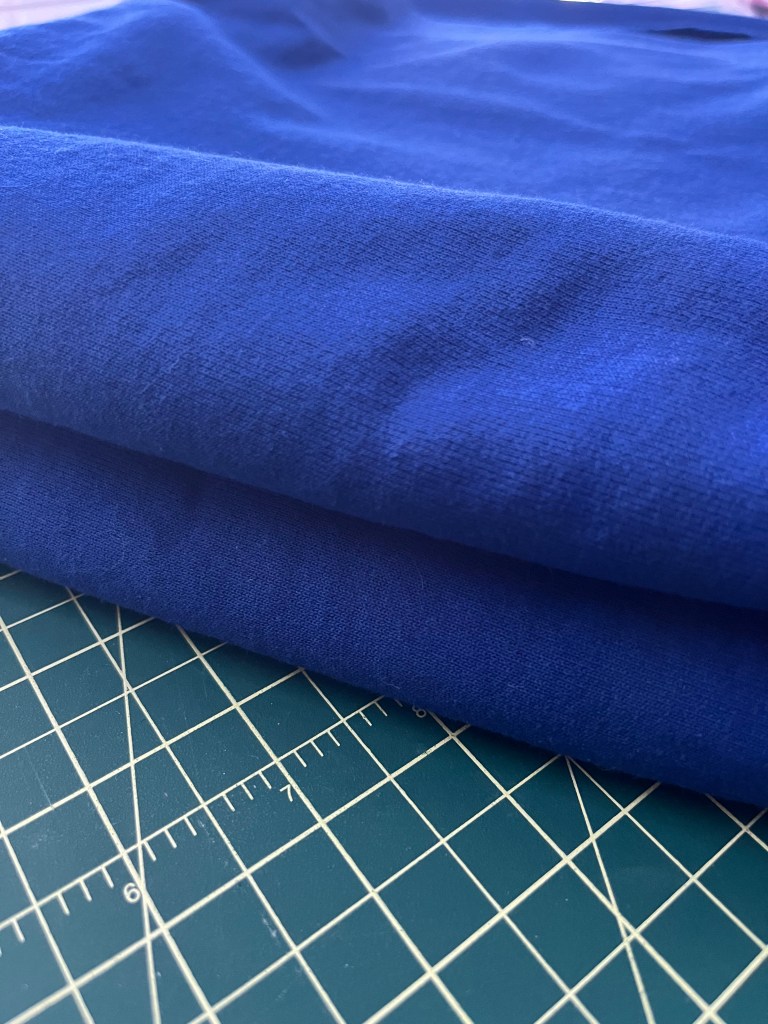
In October I had a great thrift haul at Saver’s and found a good sized piece of blue sweatshirt material for $3.99, plus I had a $15 off $40 coupon to use. I didn’t have a tape measure with me (adding this to my purse now for future thrifting!) but it looked like enough for a top. And it was! I failed to look for any stretchy fabric at the last Textile Center garage sale in September so I was so happy that I scored this sweatshirt fleece. Finding exactly what I need at a thrift store is the biggest thrill (and don’t get me started on the brand new 125 count box of 3 gallon compost bags I got for a fraction of the actual retail value, I’m still riding that high too).

folded blue sweatshirt fleece fabric sitting on a green cutting mat with yellow lines
Washed, dried and ready to go!

I’m also way WAY more likely to dive into a project if I have a secondhand material to work with. The stakes are SO LOW so if it doesn’t work out as intended I didn’t lose much money, only time and effort but I would gain ~knowledge.~ This thrifted fleece was exactly what I needed to give sewing with knits a first try. Time to face my fear and take the plunge!

The Pattern

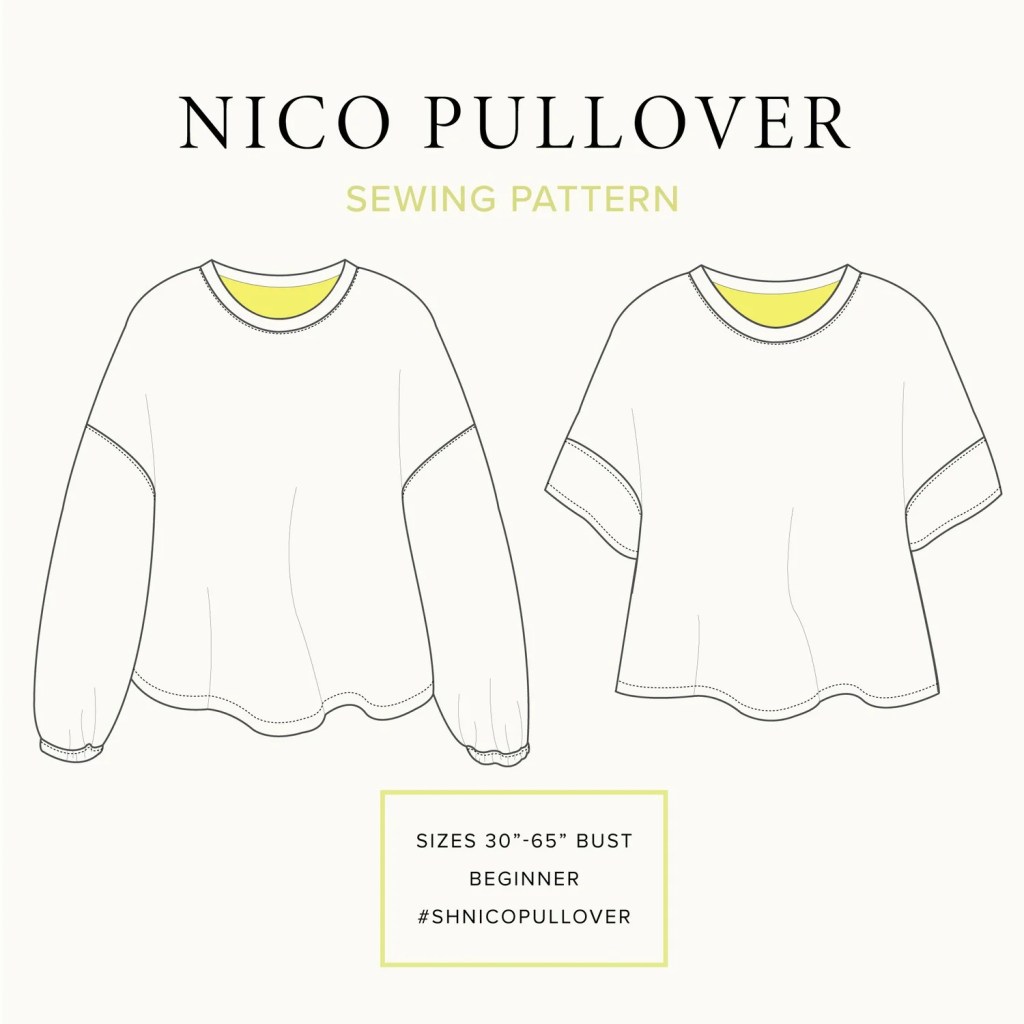
The Nico pullover is intended to be a boxy sweatshirt. It comes in two views, long sleeved and short sleeved. You can make it with a slightly curved hem or there are cut lines on the pattern for straightening it out. I think I had enough fabric to make a long sleeved version but decided I’d do the short sleeved version for two reasons: it’s quicker and I didn’t have any short sleeved sweatshirts in my closet. I also opted to keep the hem curved.

For the Nico you are only cutting out 5 pieces: a front, a back, the sleeves and the collar. To determine which collar pattern piece to use you have to figure out the stretch percentage of your fabric. There’s a handy chart in the instructions. If I had purchased this fabric online it likely would’ve had the stretch percentage listed but obviously there wasn’t any of this info on the Saver’s price tag 😆. This thrifted fleece was hardly stretchy and I determined the stretch percentage to be 20%.

This pattern is a quick sew! If you are an experienced sewist and especially experienced with knits you can knock this out in two hours. You don’t have to finish seams, there aren’t many pieces to sew, there’s minimal topstitching. Sewing with a knit was a fun challenge and it wasn’t as daunting as I made it out to be—perfect for helping me get back into garment sewing after a long break!

Sewing With A Knit

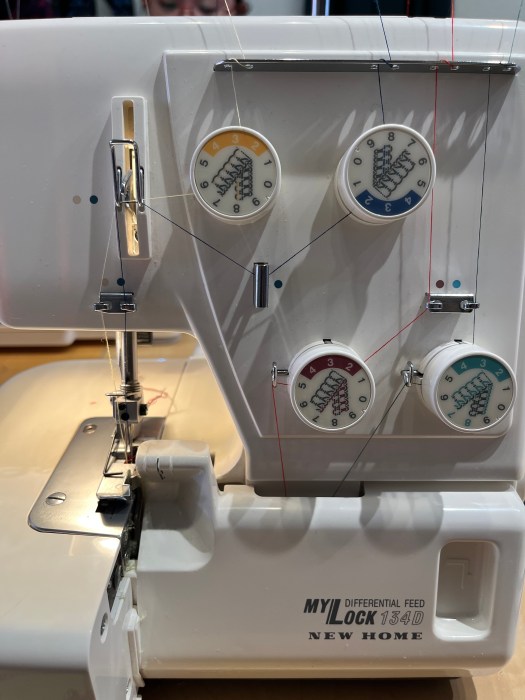
Having never sewn with a knit before I wasn’t even sure if I had the right needles. Thankfully after searching my stash I had a ballpoint needle and it worked great. I really couldn’t believe my luck while sewing this garment. It felt…easy?? I almost sewed this on my old but new-to-me serger (thanks auntie S!) but didn’t for 4 reasons:

  • I haven’t ever changed the needles on that thing (ope),
  • wasn’t sure if I could just use Schmetz needles in there,
  • really didn’t feel up for retheading it,
  • and I’m not that great at using it still.

Sewing it on my domestic machine it was!

You can see two puckers at the collar near the shoulder here; there is one more near the center back seam

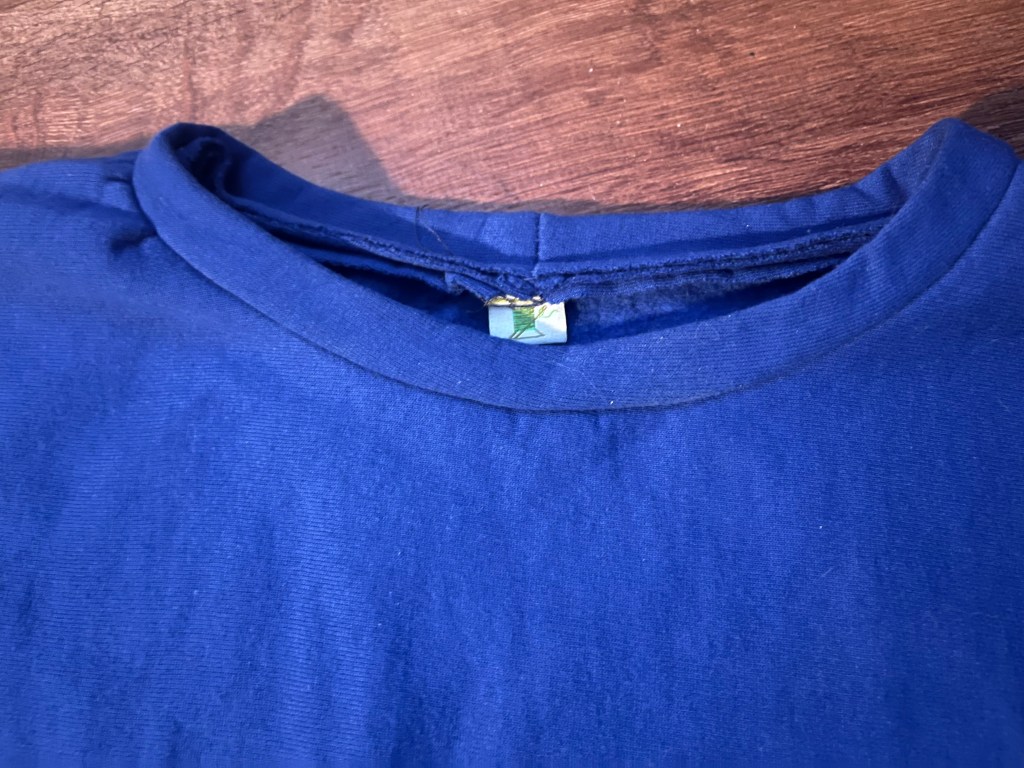
Everything really went well except for the collar and hem (more on that below). I got two puckers sewing it in and I still haven’t fixed it. I think I will…eventually. When I showed the almost finished product to the gal working at Sew Inviting she was so sweet and was like “the puckers just look like a design feature” (bless her). I also used a cute Cotton and Ochre sewing label I picked up at the equally cute Open Studio Sewing shop this summer but I totally put it in wrong. I’m VERY happy, however, that I have a label in as it’s not super obvious which is the front and which is the back, even if it doesn’t look the nicest!

Twin Needle Time!

Sewing the hem using a twin needle to get two parallel lines of stitching

The Nico pullover is the first pattern I’ve made that suggests sewing with a twin needle. My machine came with one when I bought it a year ago and now I finally got to use one! I wasn’t sure if the one I had was good for stretch so I went ahead and bought a new twin needle. With my track record of breaking needles lately I figured having an extra would be a good idea anyways.

Thank god for Babylock’s YouTube videos, they are short and sweet and save me from having to go hunting in my manual for what I need to learn (but OK the manual comes in handy too). I probably would not have thought to “tell” my machine that I was using a twin needle had I not watched that video. Threading the twin needle was a breeze too.

I tested out using the twin needle on some of the scraps and the stitching looked a little loose so for the first time ever with my machine I changed the tension. I went from a 4 up to a 6. It looks great! It’s a little tricky sewing the hem with a twin needle as there are a few places I didn’t catch the hem. You have to sew it from the front! I’m leaving it for now and hoping for the best that the stitches hold through multiple wears and washes.

Project Cost Breakdown

  • Pattern: $12.80 on sale
  • Fabric: $2.50 (ish)
  • Label: $1.25 (A pack of 8 cost $10)
  • New twin needle: $9.50
  • Thread: I used some navy blue cotton Guttermann in my stash but ran out. A new spool cost me $3.50 from Sew Inviting (where I also got my stretch twin needle)

I printed the pattern at home and tiled it together but I’m not going to breaking down that cost. Overall I’m going to say this sweatshirt tee cost me roughly $17.00. Woo hoo!

Final Thoughts

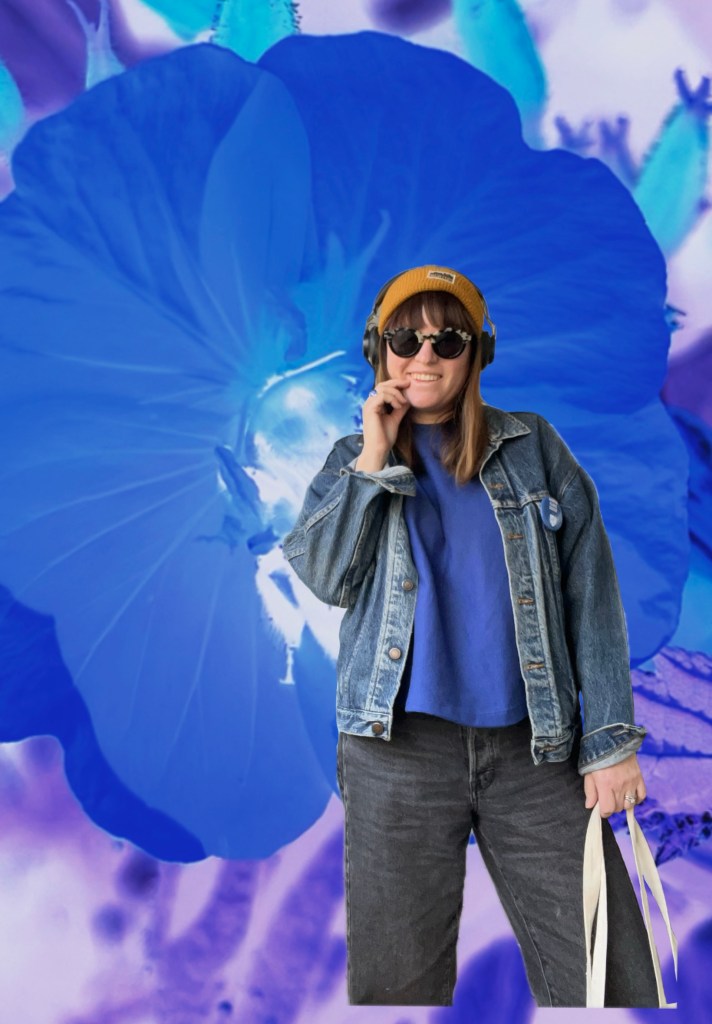
Pretty nice layered under my fave jean jacket

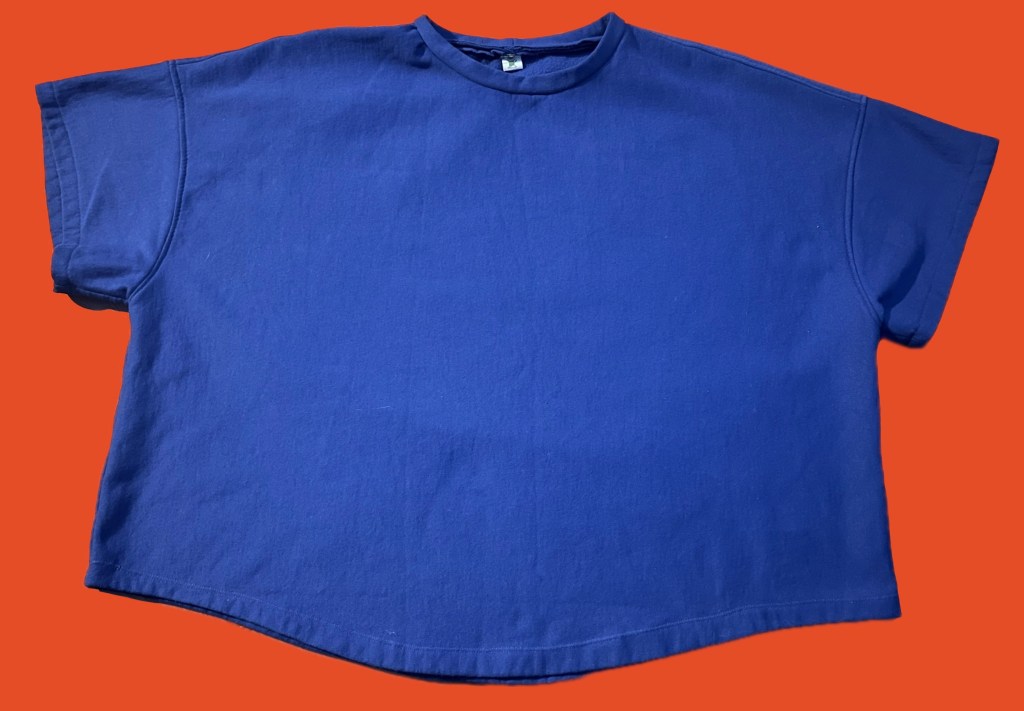
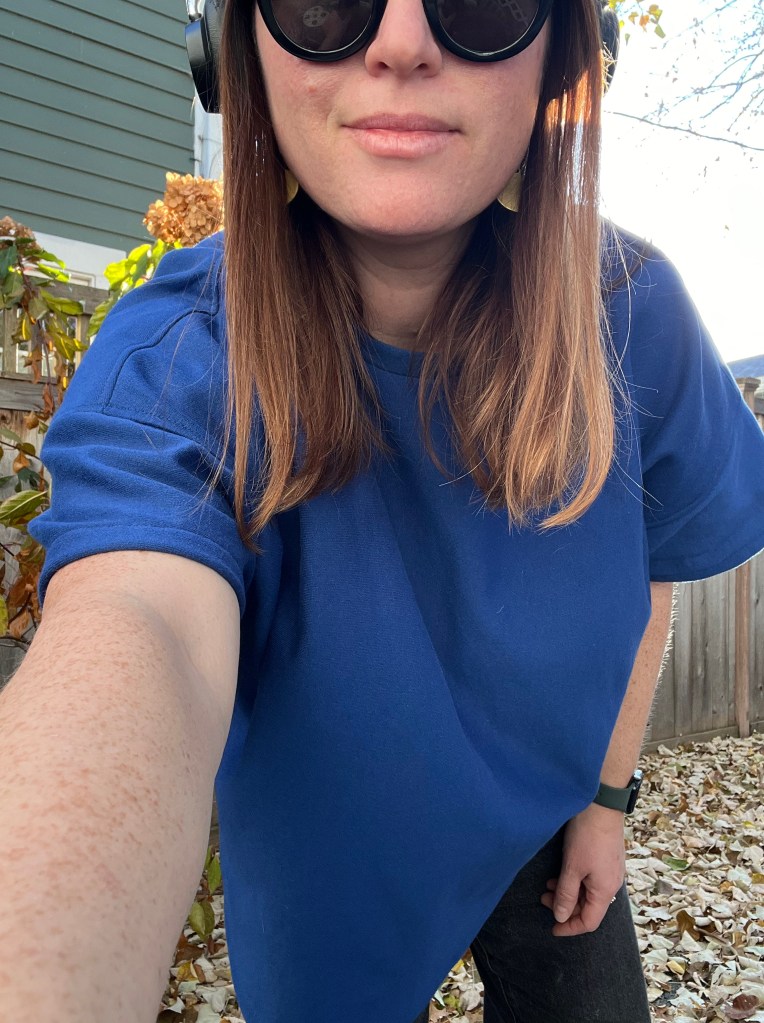
This sweatshirt tee is verrrry boxy. It’s comfy but I felt a little unsure about it when I finished it. I asked a few friends what they thought and the positive feedback gave me the push I needed to give it a go wearing it. I have since worn it several times now and I do like it! I finished this make in November before it got frigid (hi from a 6°F early December day). I took photos on a warm but not too warm sunny day and it was actually pretty perfect to wear on its own then. Lately, however, I have been layering long sleeved turtlenecks underneath it.

She’s a wide, boxy one!

If I make another sweatshirt I’d like to go down a size or even two more sizes, and I’d like to make the long sleeved version. I measured at a size 10 but went down one size to a size 8. A tee made out of jersey in this size would feel too big I think. I didn’t make any mods (it’s drafted for someone 5’ 5,” which is how tall I am) and I do like the cropped but not too cropped length. If I hold my arms straight out you can see straight in the sleeve to my bra which I don’t love; maybe going down a few sizes would fix that.

Lastly the instructions for this pattern are really great. They were clear and easy to follow as a new-to-knits sewist. Maybe it was the low stretch percentage of the material, but if you are like me and scared of knits, give it a try with sweatshirt fleece. It was easy and fun! And if you’re looking for a relaxed sweatshirt or tee or a quick sew to help get you back into the sewing groove I really can’t recommend this pattern enough!

Thanks for reading! xx

Ticking The Box On A Boxy Button Up: Sewing The Common Stitch Bellbird Button Up

Common Stitch Bellbird Button Up, Short sleeved view

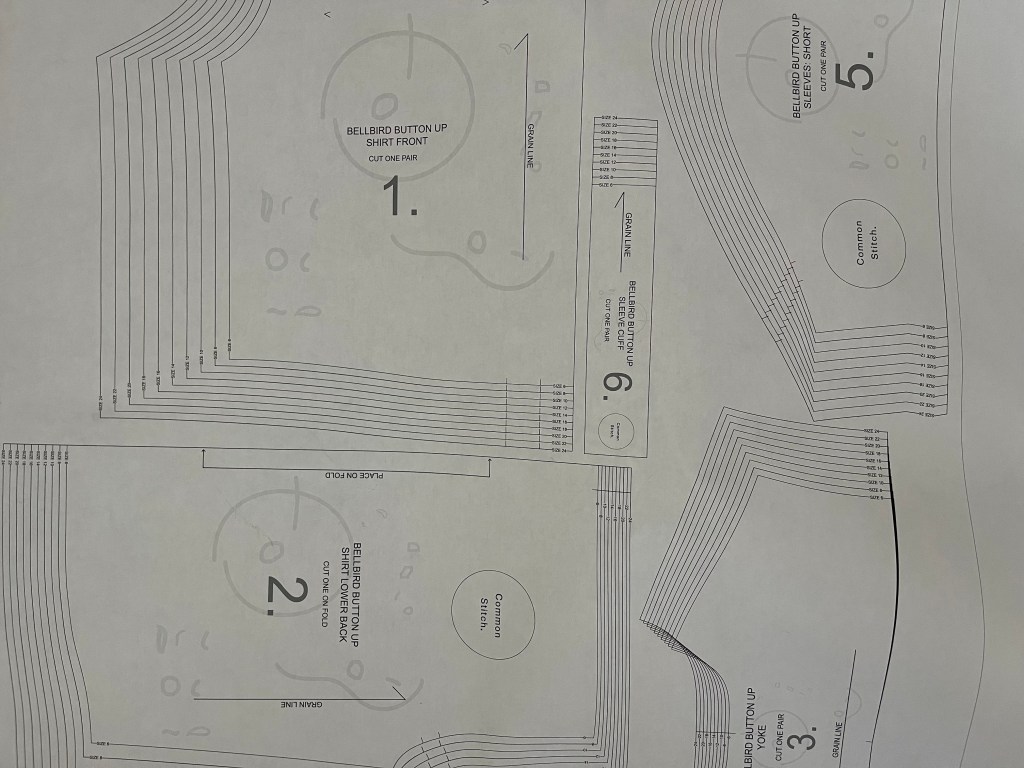
Well, after making Eric his own short sleeved button up shirt I got jealous and decided it was time to make my own. After looking at so many patterns of different button ups (been on my mind since Oct 2024!) I landed on the Bellbird Button Up by Australian pattern company Common Stitch. Really all it took was seeing two great Bellbird button ups on Instagram to seal the deal for me! This one by Bethany of @soberseamstress (she’s also the owner of Fluid Plus Drape) and this one by Emily of @ermthewormsews. Aren’t they both great? I hadn’t heard of this pattern company before seeing those two shirts. I liked the cropped sizing and boxy look and thought the box pleat on the back was a nice detail too. Before I get into allll the details, here’s the cost breakdown of my shirt:

  • Pattern: $6.16 (Normally $12.21 but I had a 10% off shop coupon ($1.22) and used $4.83 from the remainder of an Etsy gift card)
  • Fabric: $21 for 1.5 yards
  • Buttons: $2.00
  • Pattern Printing: $4.97

Total spent: $34.13

(A pink cotton Gutermann thread and weft Interfacing were already in my stash, I’m not going to include those in the total pricing.)

Roughly $35 for materials really isn’t bad in my book! This shirt is going to get a ton of wear.

The Fabric & Buttons

Diamond Textiles Cabana Stripes Sunburst fabric, a lovely shot cotton

Back in February I purchased 2.5 yards of this Cabana Stripes Sunburst fabric by Diamond Textiles from Seams Like Quilting in Spooner, WI. I purchased it without a plan and after staring at in my sewing space for months I decided I finally needed to use it, and use it NOW. It’s a medium weight, yarn dyed shot cotton. It feels sturdy, durable but not rough. I really love it and am glad I used it for a shirt since I don’t have something like it in my closet already.

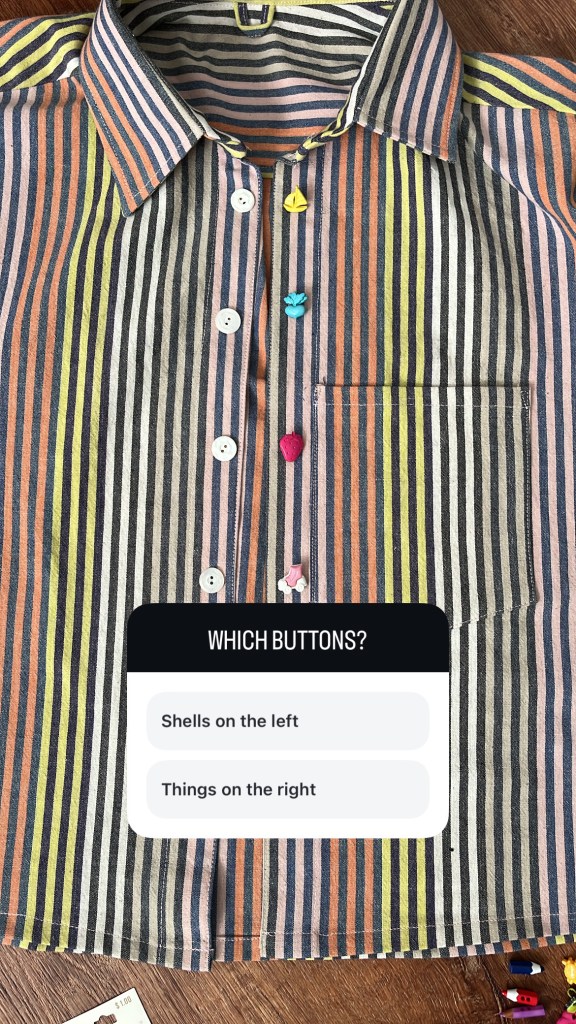
I really went back and forth on what buttons to use. Part of me wanted to go simple and traditional with these shell buttons I thrifted the same weekend I bought my fabric. Part of me also really wanted to use some of my ridiculous buttons I got from the Textile Center garage sale. After doing a poll on Instagram (where the results were really split) my husband tipped the scales over to the white buttons made from shells. I also honestly haven’t sewn a shank button before and that little extra work on looking up a how to (lol I’m sure it’s super easy) also had a hand in me going with the shells (I just wanted to finish the dang shirt!). I like the white ones but I don’t know, do you think I should’ve gone with the fun option?

Things To Consider

Since Common Stitch is an Australian pattern company, their measurements are in metric. I want to emphasize it is not a big deal to do the conversion from metric to imperial, but you do have to do the math when figuring out sizing and how much fabric. The seam allowances are in cm and mm.

I ran into a problem with printing the pattern as it’s formatted for A4 printer paper which is slightly narrower and slightly longer than US letter. You can’t just do “print to fit” as that will throw off the sizing. I think I could’ve gotten around this using US legal printer paper but instead opted to have my pattern printed at Sewing Lounge over in St. Paul (which, HOT TIP: it’s the cheapest spot I’ve found in the Twin Cities for large format A0/copy shop pattern printing at $3/page! The turn around was incredibly fast too ). 1 Another thing to consider is that when I opened the pattern in Acrobat I found that they didn’t layer their sizes so I couldn’t “turn off” printing the sizes I didn’t want. You’ll have to print all the size lines.

I guess it was nice not taping a bunch of sheets together. I used my Swedish tracing paper to trace off the size I wanted to use in case I make this again in a different size

This pattern has a lot of ease; it’s meant to be a boxy top. I made an Aus size 14 (roughly a US 10) even though my measurements had me at a 16 for the bust, 18 for the waist and 14 for the hips. I’m so happy I didn’t go any higher for the size and next time I would make a 14 again or maybe even size down to a 12. When I hold out my arms you can see straight through those arm holes and see my bra, ope! However, I really do LOVE the length of this shirt, it’s perfect for me. The pattern also doesn’t have a lengthen/shorten line so I figure if you wanted to change that you would do so just at the bottom hemline? There is also an option to make this pattern with long sleeves, but it doesn’t have a traditional placket for the long sleeves.

Me? Issues? Always

On That Collar Stand

It just looks a little rumpled while I’m wearing it but here you can clearly see the collar stand isn’t sewn to the top of the placket perfectly and the button hole isn’t finished.

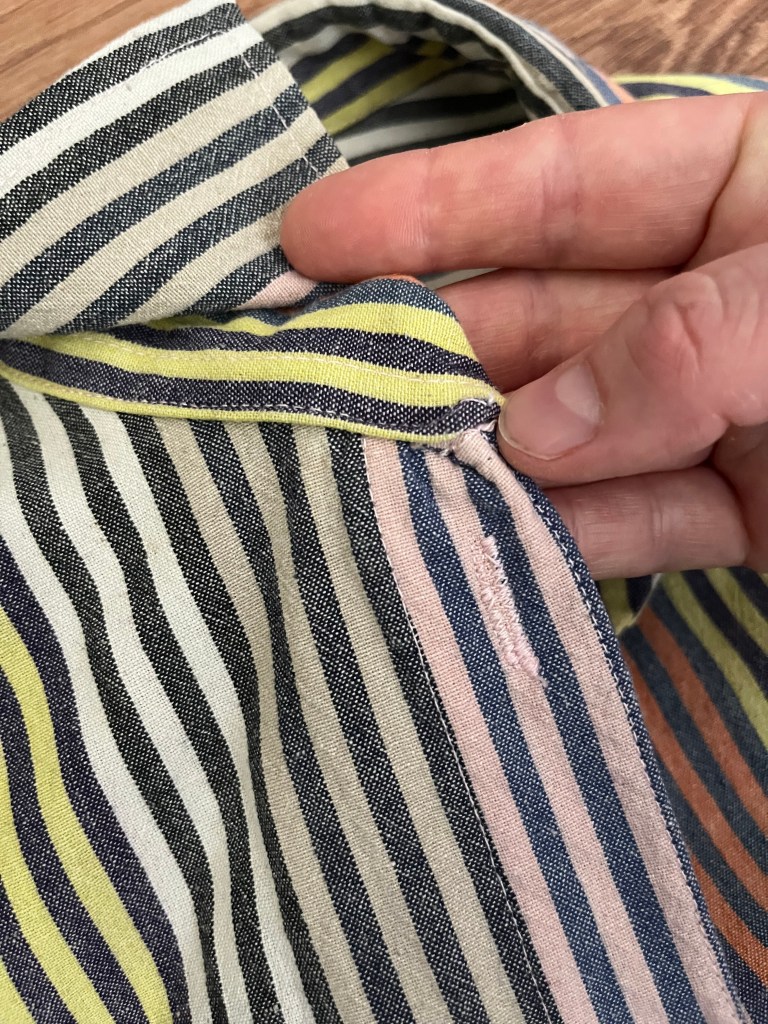
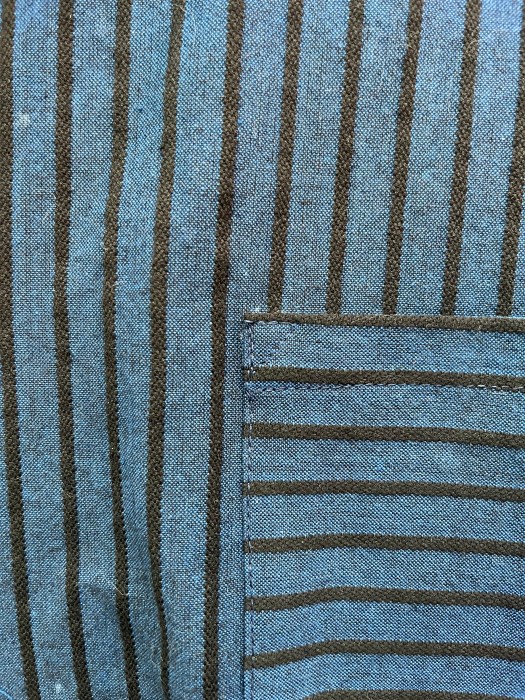
As this was my first go with a collar stand, I didn’t do the best job sewing it to the placket and just kind of had to do my best to jam it all in there. You’d have to be looking closely to notice, but I know and it does bother me some. I could try to fix it but I think I’ll just learn from my mistake and do a better job next time. I’m pretty sure this was my error and not the pattern. As it is so super thick up there I couldn’t use my buttonhole foot to make my top buttonhole. I left it as is, sewed the button on and figured I won’t really ever want to button that button. I didn’t even bother to sew a button and buttonhole on the collar stand. I may still fix the unfinished buttonhole but just haven’t attempted yet.

Pocket: Change?

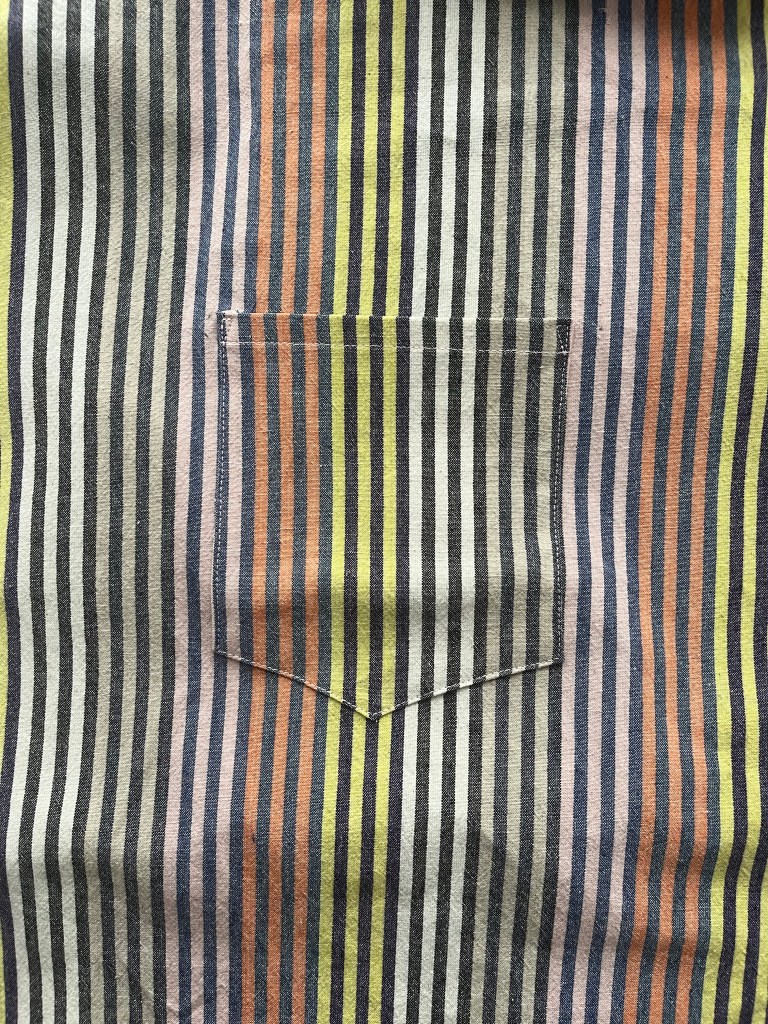
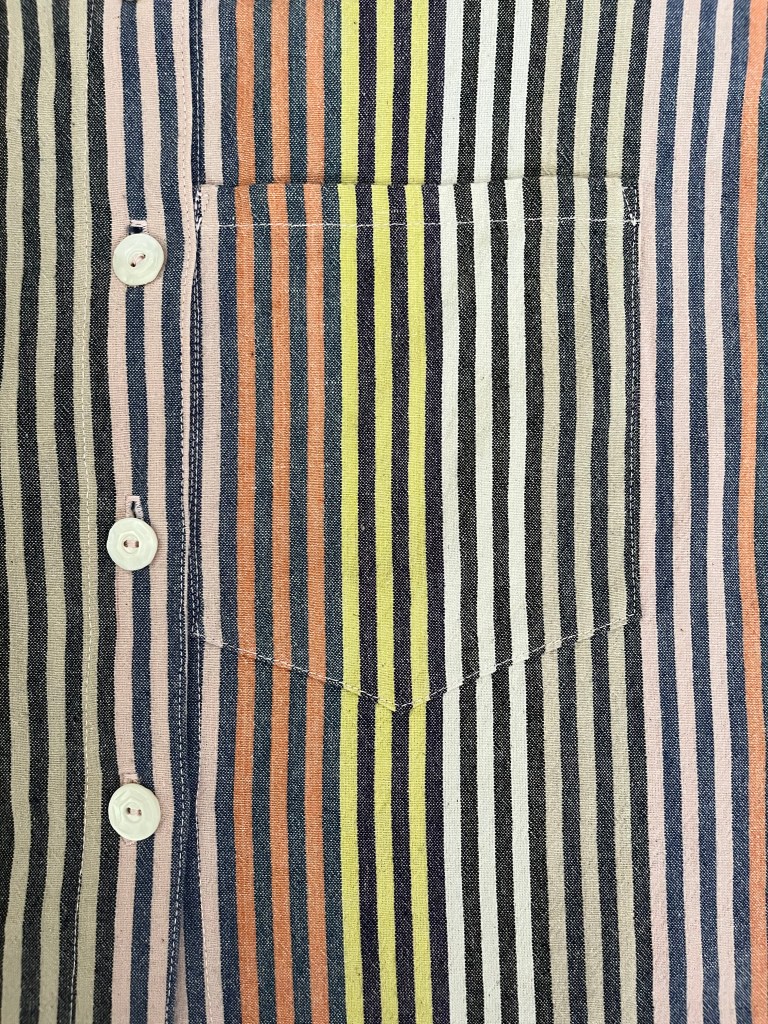
Here’s a word of caution: don’t do what I did and attach the pocket first thing. I really wanted to pattern match the stripes and in previous shirts I’ve made with pockets they have you attach the pocket first thing. This pattern doesn’t have you do that and I quickly found out why–you have to fold over and sew down the length of the front to make a placket and that could interfere with the pocket. I should’ve read through all the instructions before starting, this could’ve been avoided. Look how dumb it is that I put my pocket so close to the placket! Ugh. Do I seam rip it and ruin my beautiful pattern matching though? I also honestly think the pocket should also be moved up. Maybe for the next one I don’t even add a pocket.

Details! The Best Part Of Sewing Your Own Clothes

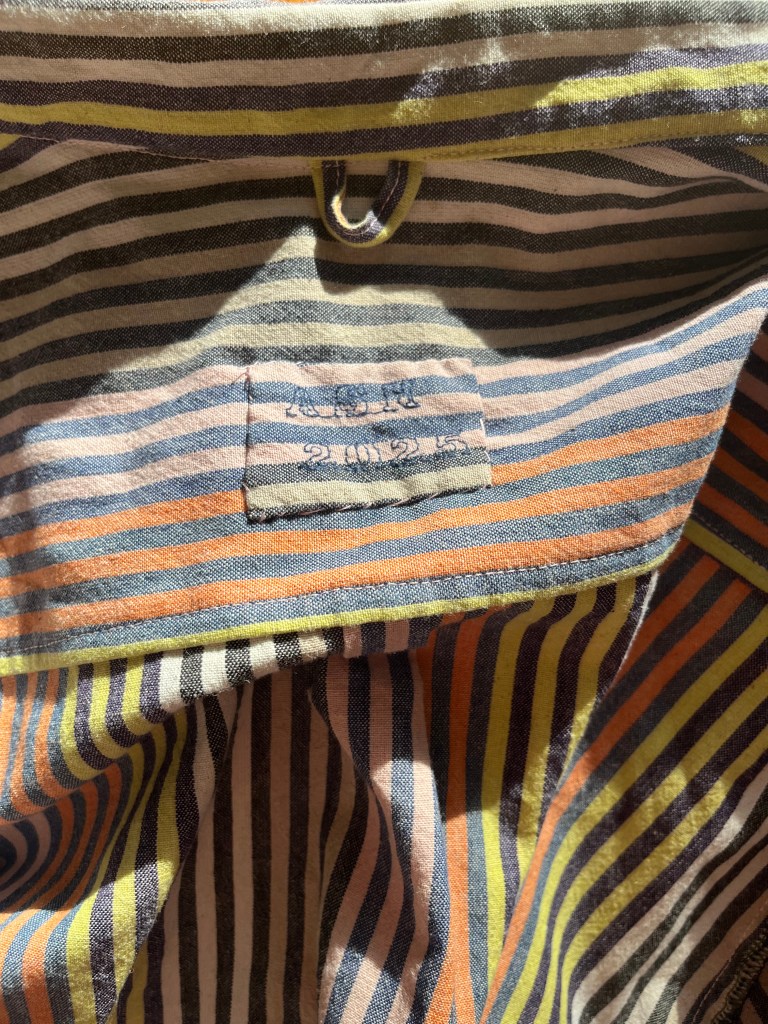
I couldn’t make a custom label for Eric’s shirt and not make one for myself, right? I like all of the woven “Made In 2025” labels that you can buy but I’m hesitant to buy those–what if I don’t use them and then they’re obsolete?! Using my machine to make a custom one is the perfect solution. I once again just whip stitched this to the yoke; I opted not to sew interfacing to the back of the label this time and it seems fine without it.

I also almost always like a little hanging loop on a shirt. I took a small scrap and made one and sewed it down before sewing the collar in. Worked great!

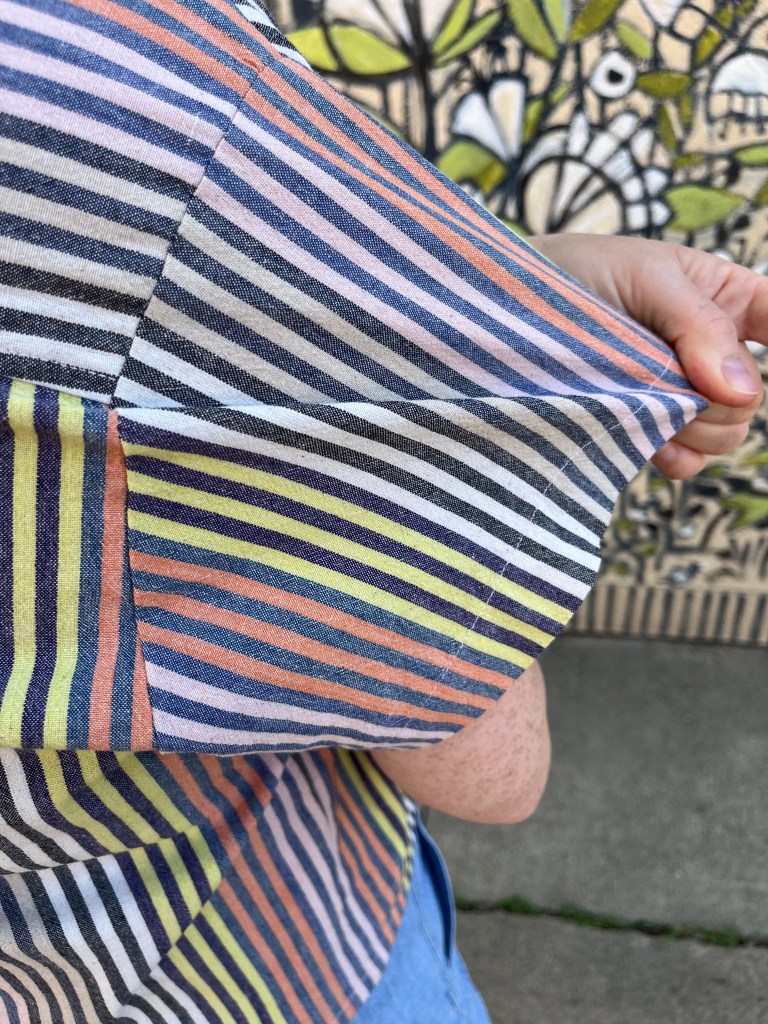
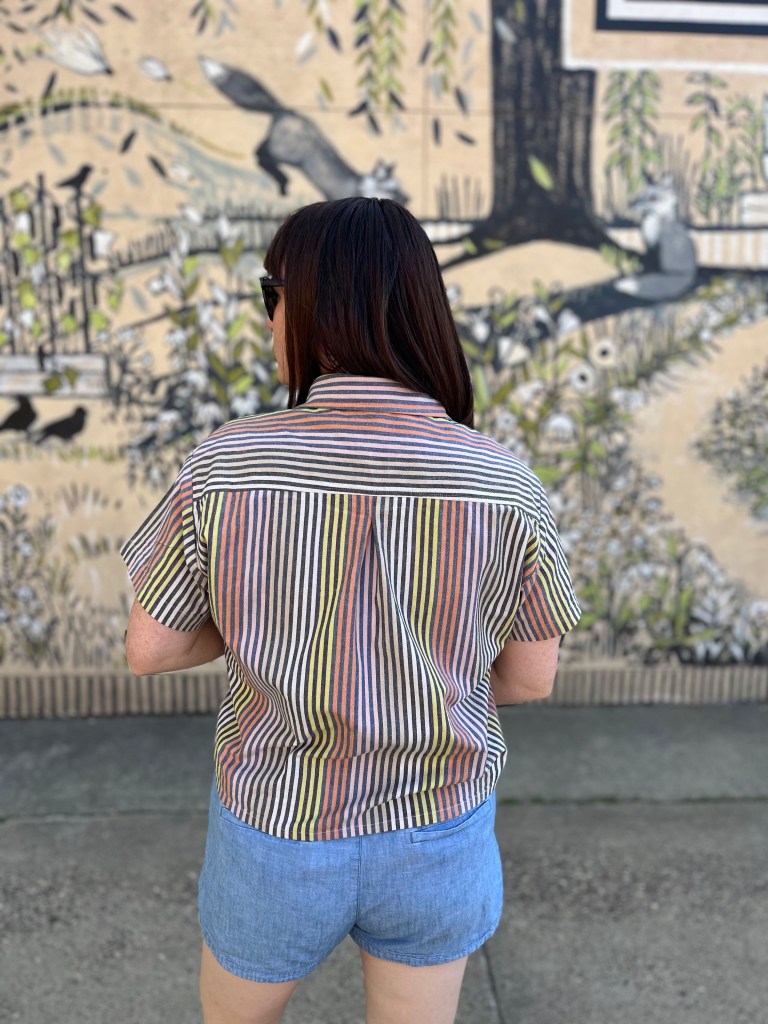
Look At how the stripes on the back yoke almost perfectly line up with the stripes on the sleeve! Wish I could say that was intentional but I just lucked out. (No, they are not lined up at all on the other sleeve lol)

Lastly, isn’t the box pleat cute? I had never made one before and this turned out great. It was so easy but it’s also such a nice detail.

Final Thoughts

I love this shirt, despite the flaws and I’m proud to have it in my closet! I’ve only had it for a little over a week, have already spilled ketchup on it (and got it out) and have worn it probably 4 times. I I’m nearly positive I’ll make it again and will pay closer attention to the details of where I went wrong like the collar stand and pocket. I’d like to have one out of a drapier fabric, like a linen, to see what the sleeves do because with this shot cotton they stick out a little more. Now that I’ve got a couple short sleeve button ups done I think it’s time I consider making a long sleeve button up! Maybe the Closet Core Jenna?

As always, if you got this far thanks for coming along!

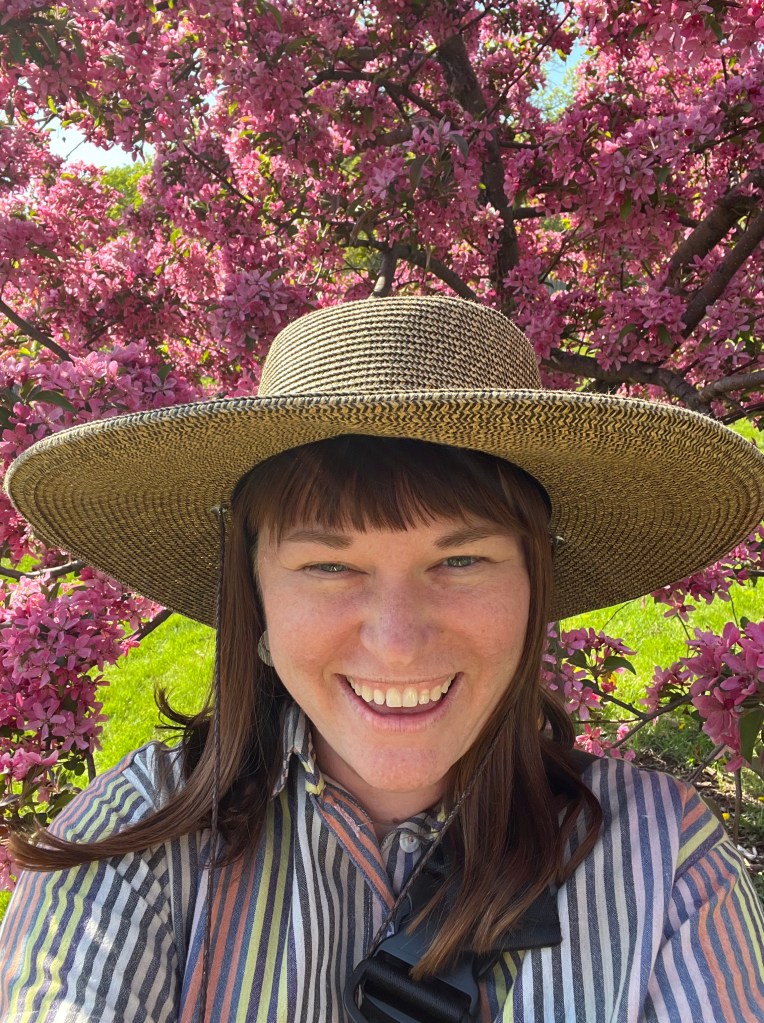
Mom hat: on! Moms love spring blooms and easy breezy shirts!!!

  1. The Sewing Lounge has some incredibly nice linens, hemps, poplins, sandwashed linen and other lovely high quality fabric, mostly for garment sewing. She (Maggy, the shop owner) doesn’t do online sales but you can get a nice feel for what she carries by looking at the site. I walked out of there with 2 yards of a super soft white sandwashed cotton with my printed pattern! ↩︎

Giddy Up, It’s My First Button Up!

Sewing The Tropical Research Laguna Shirt

I feel like I say this now with every new make of mine but I’m going to say it again: I truly cannot believe I made this! It’s been a goal of mine for some time to sew a button up shirt and I did it. It looks great, it feels great, it fits great. Let’s get into it!

The Pattern; Written Instructions and Sew Along Video

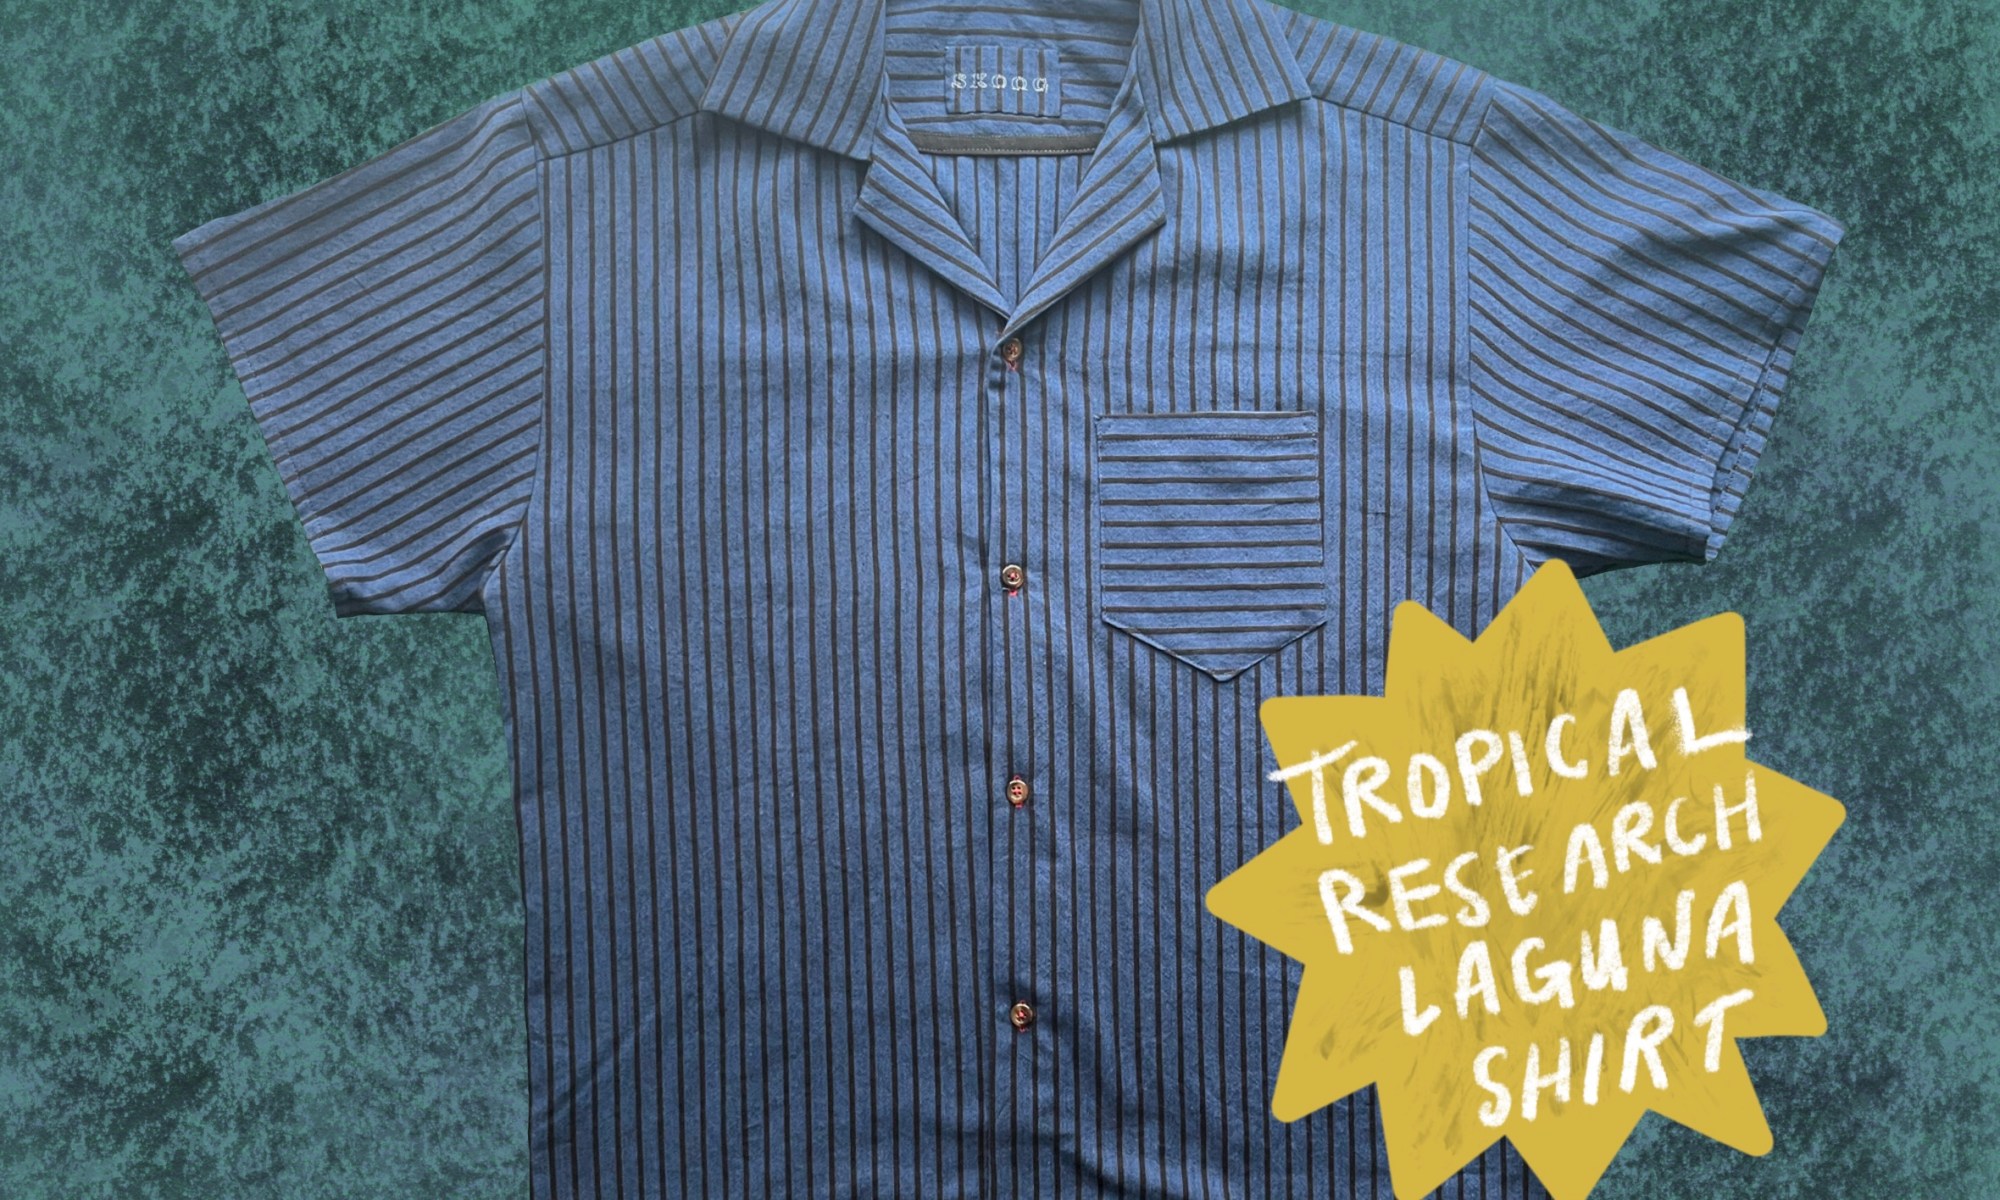
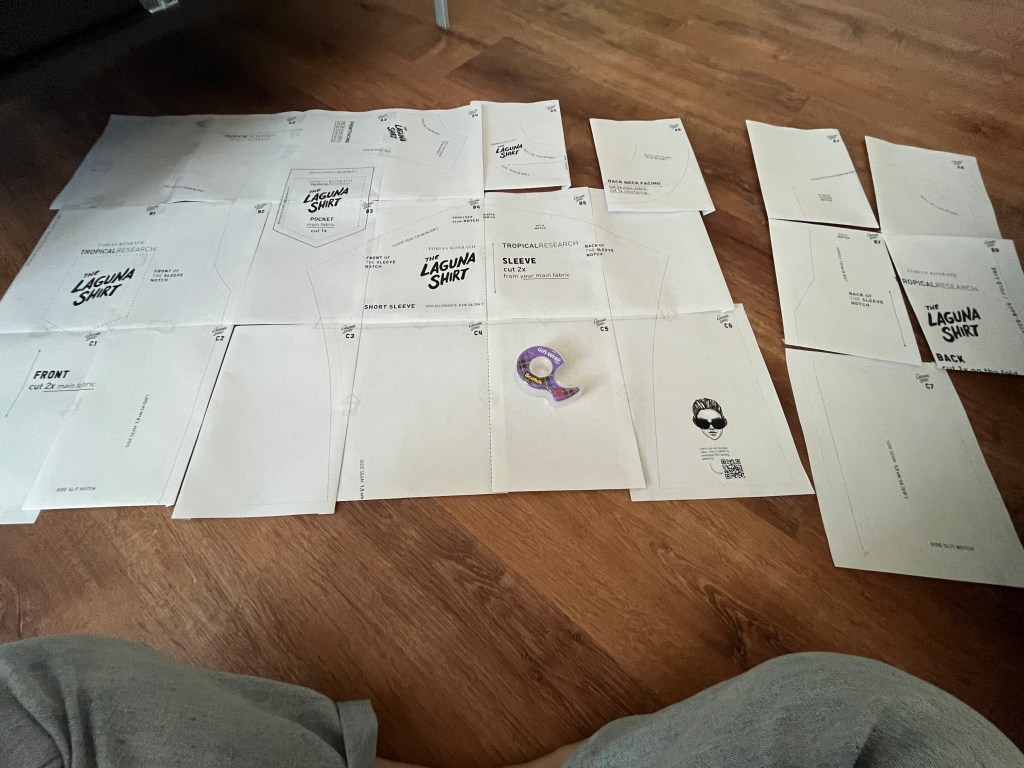
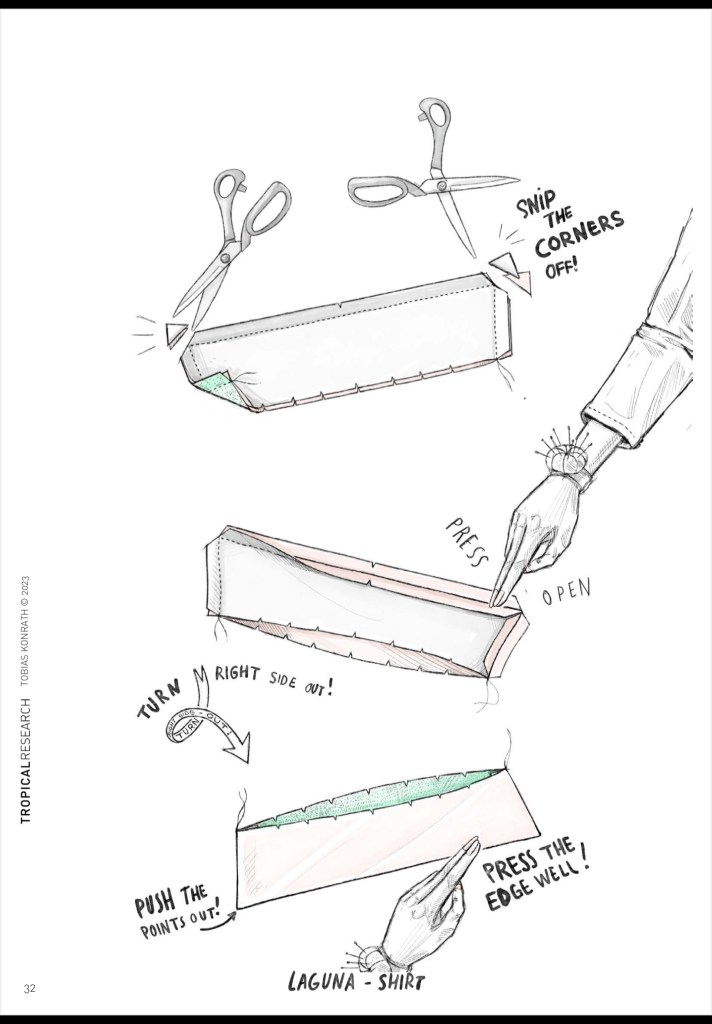
After conquering the Donny Shirt I knew I could tackle a button up, it was time, but which pattern would be best? I personally like a camp collar and after deciding I’d make a shirt for my husband Eric as a gift I landed on the Tropical Research Laguna Shirt, a pattern by Tobias Konrath. It’s a PDF and projector pattern that can be purchased for immediate download from Etsy. Eric agreed that the shirt looked like something he’d wear and something he could really use in his wardrobe for the spring and summer.

What really drew me into the Laguna Shirt pattern were Tobias’ illustrations, they were really clear and he has a fun style of doing them. Of course I was also incredibly happy to find that he has a full YouTube sew along video for the shirt as well! I watched it a few times but I’m finding I’m feeling more confident these days and don’t need to rely on sew along videos quite as much.

I will say, however, regarding the video, I do have a few gripes:

  • Most of the process is sped up. I get that nobody wants to watch an hour(s)+ long sew along but there were a couple points I was wishing the speed was normal.
  • I also noticed a couple spots in which his construction technique was different than the written instructions.
    • 1) In the video he sewed the bias binding to the facing before sewing it into the shirt (it’s the opposite of this in the written instructions). In this instance I went with the video’s instuctions and no regrets!
    • 2) I was walking downstairs to make a smoothie at 7:24am the day after finishing the shirt when I suddenly remembered something he did to the collar in the video (cutting little triangles out) that was not in the written instructions and it made me think if I had done the video instructions the collar might lay a little nicer. Wish I had caught this!
    • 3) He sews the sleeves into the shirt and then brings the whole shirt over to the serger to finish the edges, whereas in the written instructions he states to finish the edges first, then set the sleeves in. I really went back and forth on this and decided to set one sleeve in first and see how it went. I was worried about not being able to find my notches if I finished the edges first. It was a good call and again, no regrets doing it the video way.

Fabric and Notions

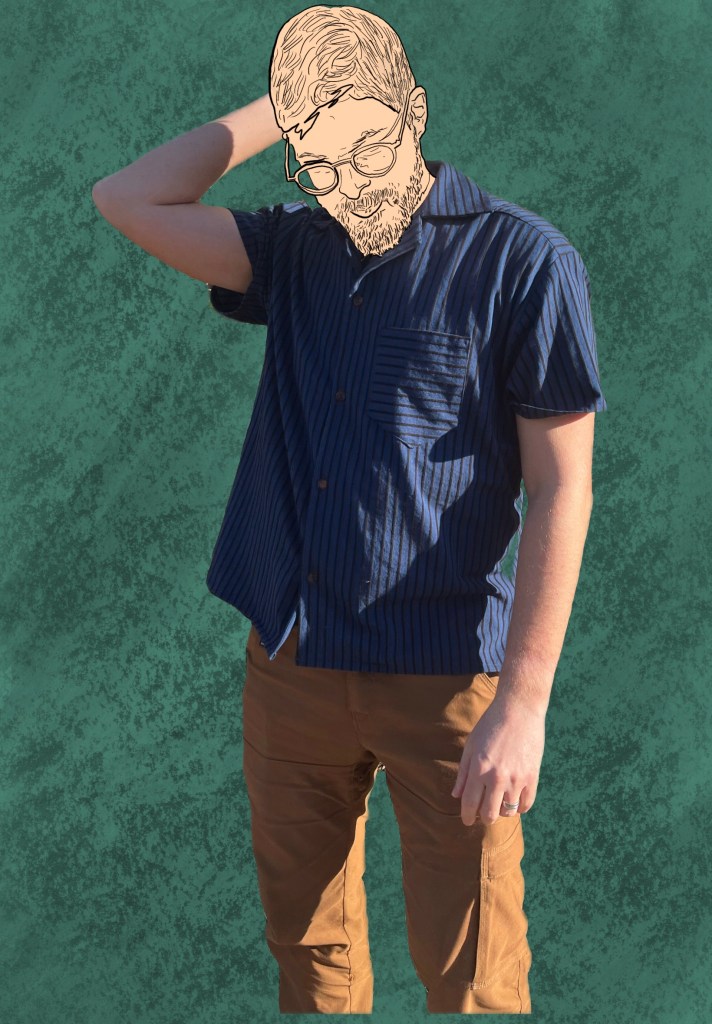
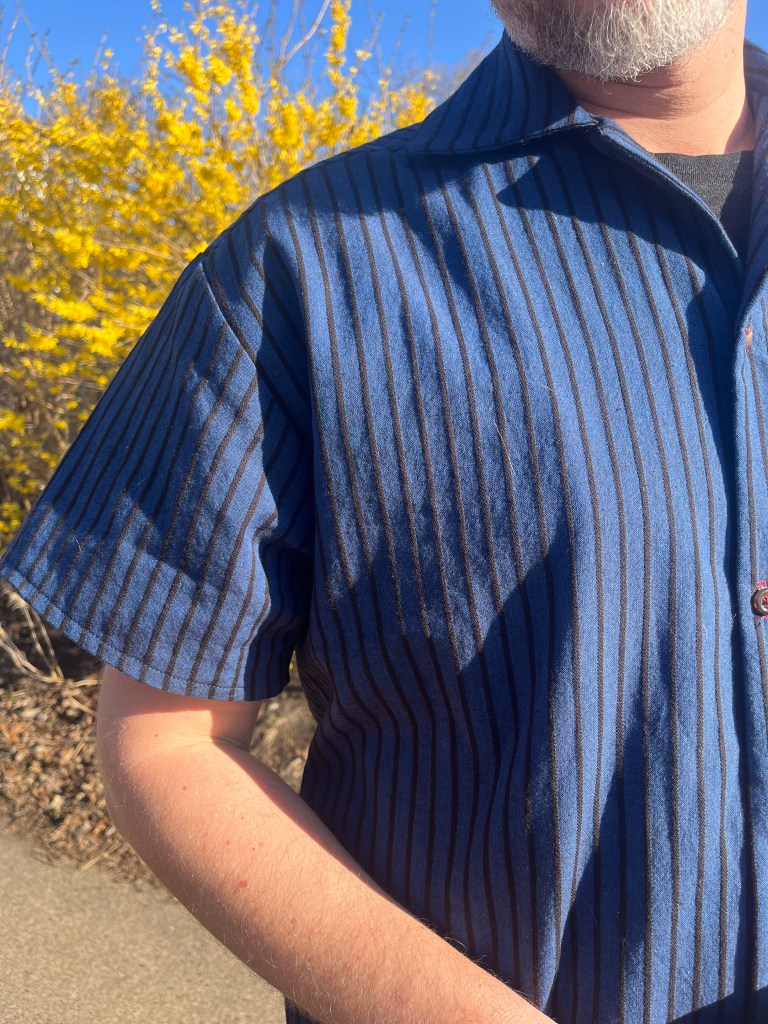
Since I wanted Eric to really like his shirt I took him to the fabric store and had him choose the fabric. We went to Lakes Makerie in south Minneapolis because they have a nicely curated selection of fabric and lots that work well for garments. It took him about an hour to nail down the fabric and buttons but we both had so much fun. In the end he selected a Ruby Star Society warp and weft woven yarn dyed cotton in a black and navy stripe (I believe it’s called Apron Stripe) from the Oh Lucky Lucky collection. I cannot find it on the website so here’s a link to an online shop with it currently in stock. WE LOVE THIS FABRIC. It is so so soft and has such a nice drape.

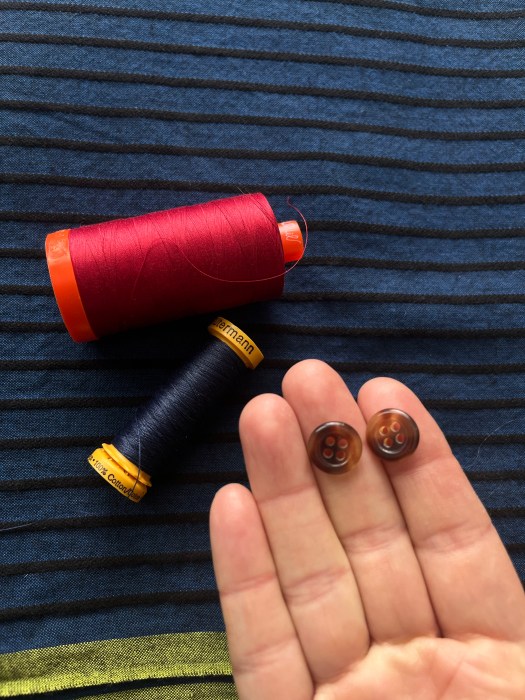
Ruby Star Society fabric, French buttons, Aurifil and Guttermann thread

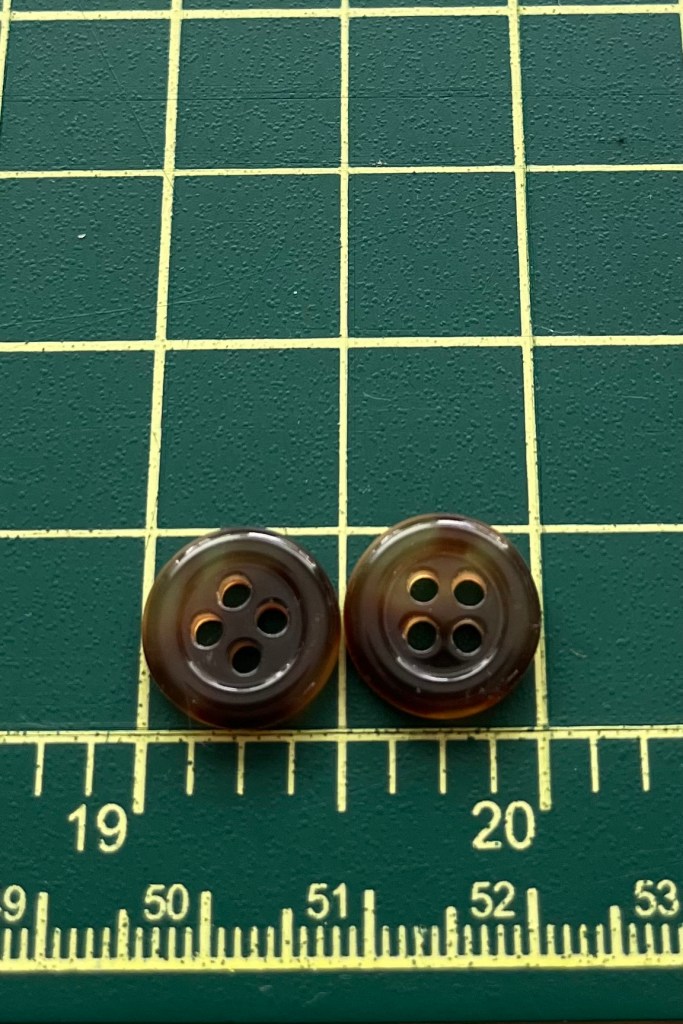
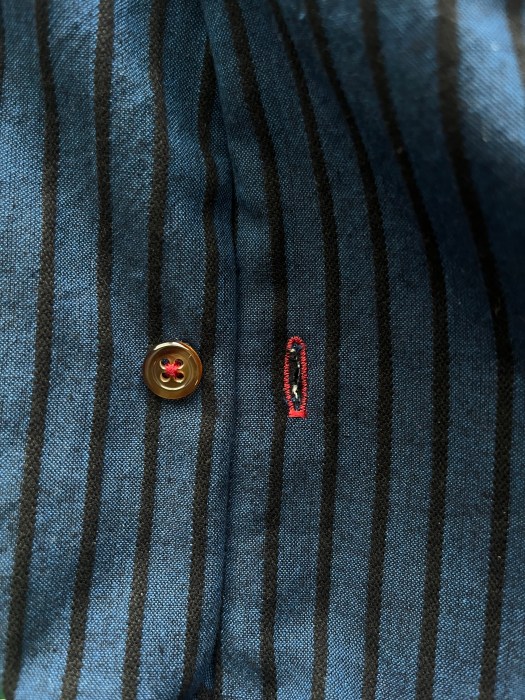
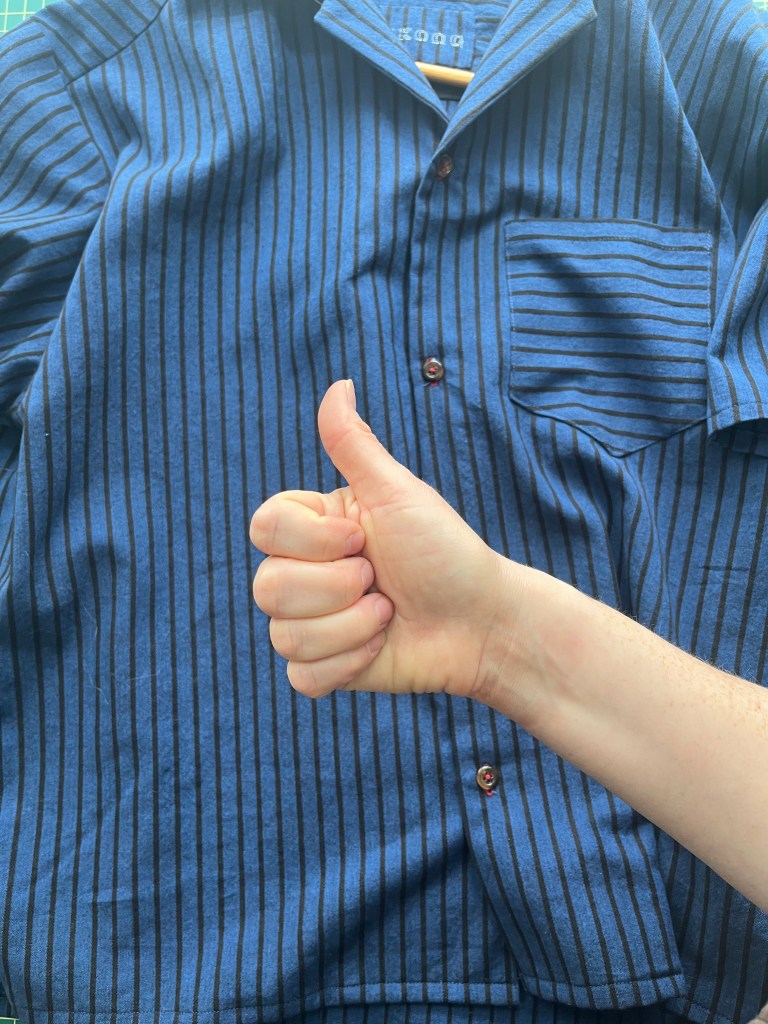
For buttons he chose some tortoise shell French buttons, which, I also cannot find on the site for the life of me. I tried steering him towards something green because the selvedge of the fabric is green and really pops but he loved the brown ones and wanted the buttonholes to be red. Fine! It’s his shirt haha. For what it’s worth the red buttonholes are a fun touch.

Project Breakdown

What did all of the major materials cost? Let’s break it down:

Pattern: Free

(Normally, $14. 22 but there was a 20% off coupon so I used $11.37 of an Etsy gift card!)

Fabric: $12.99/yrd, $39 for 3 yards (I bought too much because I accidentally bought enough to make long sleeves instead of short sleeves oops)

Buttons: $9 (That’s $1.50/button and while I only needed 4 I bought 2 extra as a just in case)

I already had cotton navy colored thread (Guttermann) at home and cotton red Aurifil for sewing the buttons and buttonholes. I also opted to not make my own bias binding for the facing and used some black polyester Wrights double fold that I probably bought at Joann’s (RIP). I interfaced the collar and the facing and already had that on hand too. I opted to print the PDF pattern at home and tile that sucker together with tape which I have a love/hate relationship with doing.

Modifications

After measuring Eric we went with a size large. I almost went straight with the pattern without any mods but when I took a closer look at the #tslagunashirt hashtag on Instagram it really looked to me like the back hem was an awful lot longer than the front. I like a high/low hem combo but this seemed like way too much longer, so with Eric’s blessing I chopped it way down and just kind of winged it. Honestly I shouldn’t have chopped so much off because it ended up the same length as the front (WHOOPS don’t wing it!!). We didn’t intend for that but he’s fine with it! Looks like I took almost 3 inches off; next time I would take maybe 1.75 inches off instead.

Every Day We’re Learning

I’ve made a collared, sleeved shirt before. I’ve done buttonholes before. I’ve put a pocket on before. Did I really learn new stuff? Yes!

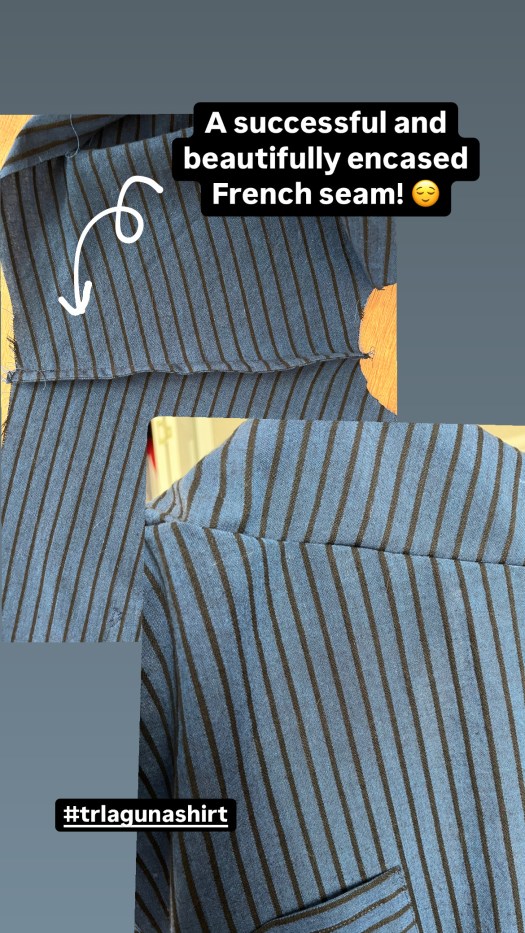
  • French seams: Tobias has you do the shoulder seams as French seams, which I loved and turned out beautifully. I love the clean finish!
  • Bias bound facing: New to me! I really like how it looks, despite my sewing off of the binding in a few spots (but thankfully that’s all internal and not noticeable when the shirt is worn).
  • Serged seams: I have my aunt’s Janome serger and for the first time I finally used it! I didn’t serge them perfectly but I think (hope) that the seams will hold up better than if I had only done a zig zag stitch to finish them. And because I forgot to finish the lower edge of the arm seams at the serger I ended up finishing those with a zig zag so I have 4 different seam finishes in this garment which I think is neat.
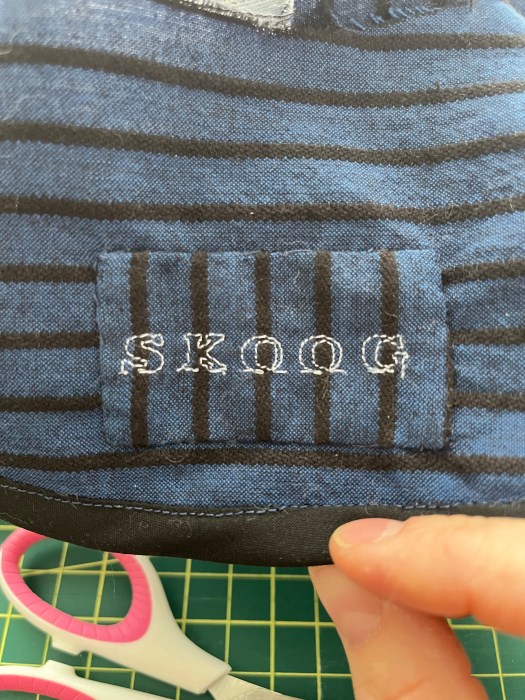
  • Sewn in custom garment label: I really wanted to set in a label into the collar but only have these woven ones that have quilt blocks on them. I realized I could use the alphabet stitch setting on my machine and easily make a sort of embroidered one for him! Skoog is his nickname. I hand sewed the label into the facing so you don’t see the stitches on the back of the shirt.
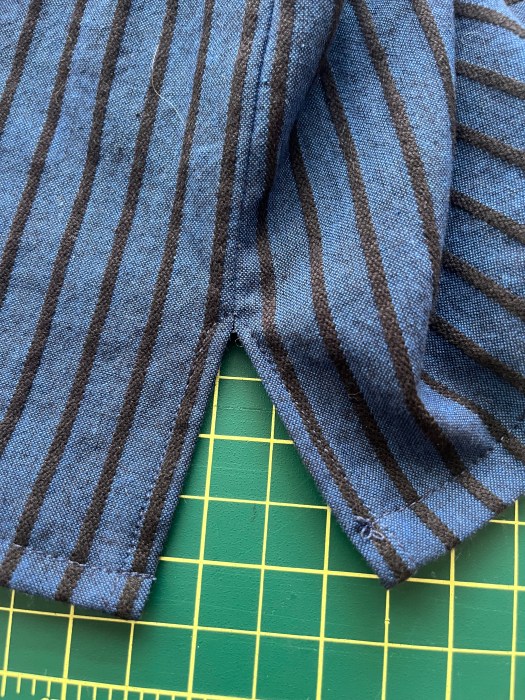
  • Split hem: Easy to do and I love the look!
  • Reinforced pocket corner: I almost skipped this as it seemed unnecessary but I really like the look of the little triangles in the corners of the pocket.

Final Thoughts

I wish I had done the topstitching along the shoulders. It was optional so I skipped it, but I think it would’ve looked nice.

The Genra shirt hanging out at Lakes Makerie

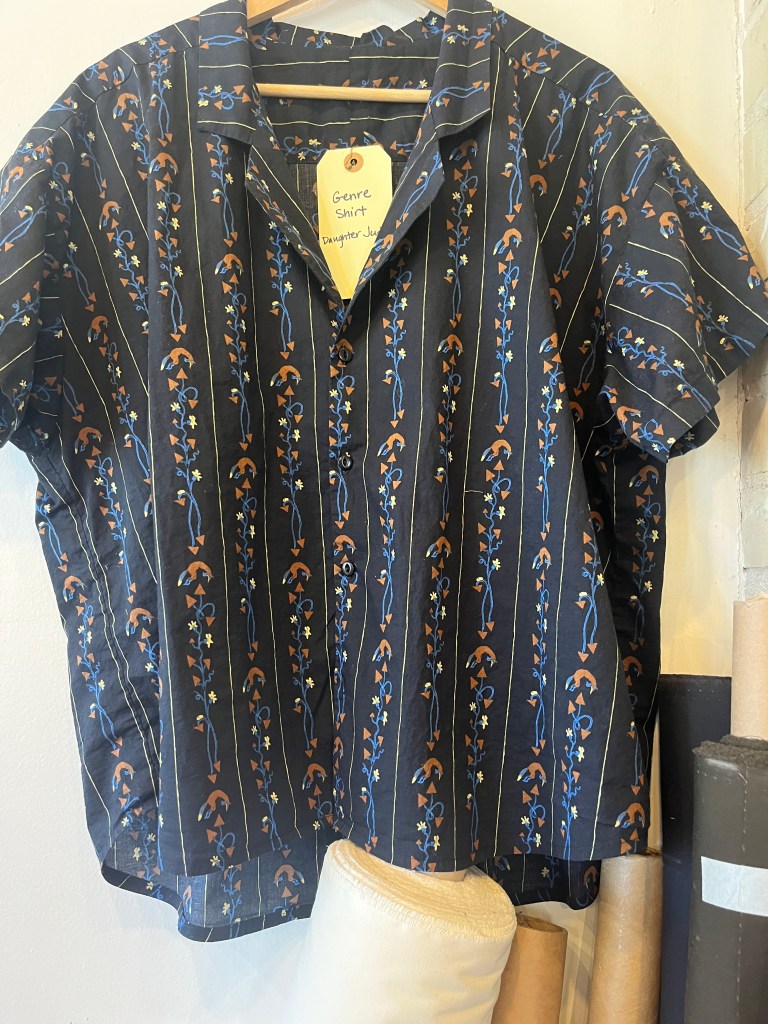
I feel like I’m chasing my white whale when it comes to button downs for myself. I’ve looked at sooo many patterns! The Laguna Shirt is billed as a unisex pattern and I like this shirt for Eric but it feels like it might be just too boxy for my liking. We both noted that the sleeves stick out just a little more than we’re used to seeing him wear, but change is good! For my button up, I’m leaning towards using the Daughter Judy Genra shirt pattern which I already own (nice camp collar but has a rounded hem) or the Closet Core Jenna (not a camp collar, curved hemline and straight hemline options; I like the loop detail in the back). Also intrigued by Helen’s Closet Cameron Button Up and the Gilbert Top (though I’ve read a lot of mixed reviews on the Gilbert!). I’ll be making my own button up soon enough!

If you stuck with this and read this far THANK YOU. Truly. Phew!

Crafting The Donny Shirt, A Belated Pt 2

You know when you go camping how exciting that experience starts out? You’re in the fresh air, everything is green, you’re living close to nature and you can’t believe you don’t do this more often. Then the reality of you situation sets in: everything you do in the woods is 10-80% harder. Going to the bathroom. Making food. Cleaning up after cooking–you get the idea. Then you go home and you reflect back on that experience: it was fun and I’m glad I went and I’m a better person for it and now I’m glad to be home where I have a special, nice room for going to the bathroom and fire starts in my kitchen for cooking at the push of a knob.

That’s a little bit how I think I feel about making clothes. I start off so excited and full of possibility but then reality sets in: I have to read the instructions and follow them and do the hard work of actually making the thing and learning something new. And now that my shirt is done (yes DONE!!!) I can reflect back on how I’m glad I made it and I feel like I’m a better person for having done it. I have a new found appreciation for how our clothes get made and all the work that goes into crafting them.

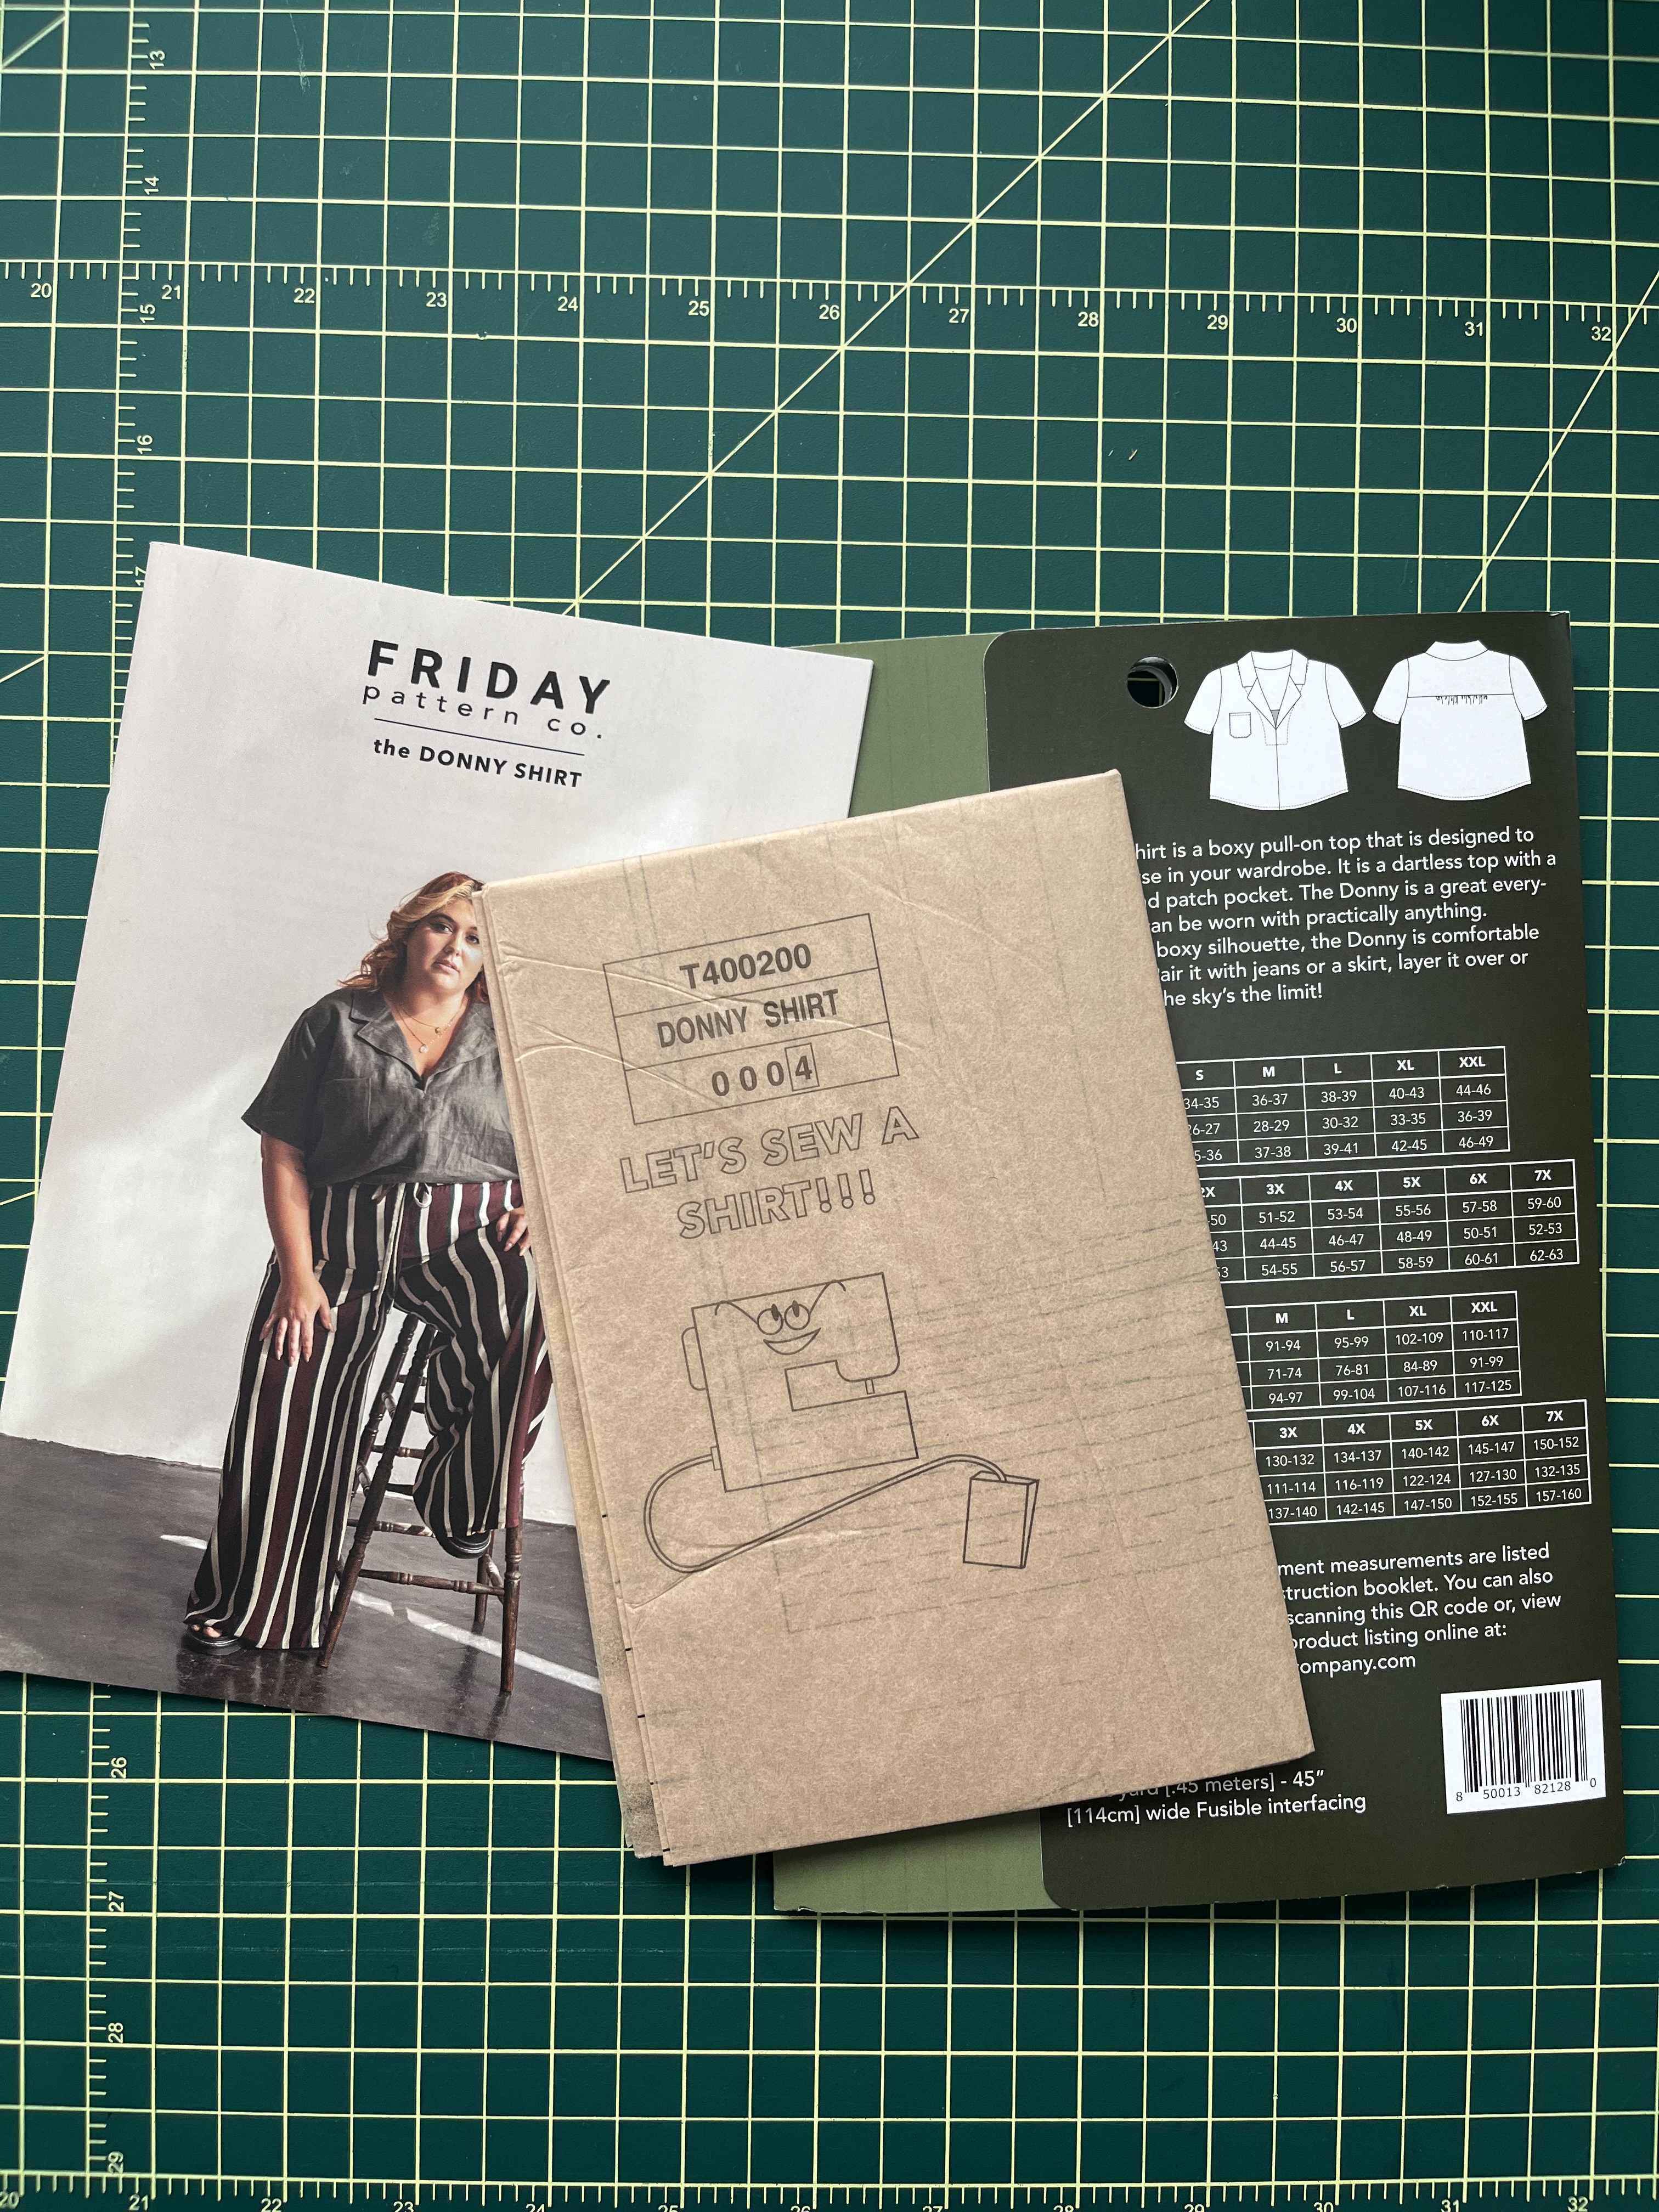
Pattern: The Donny Shirt by Friday Pattern Company (size range from 32″-60″ chest) I made a size L

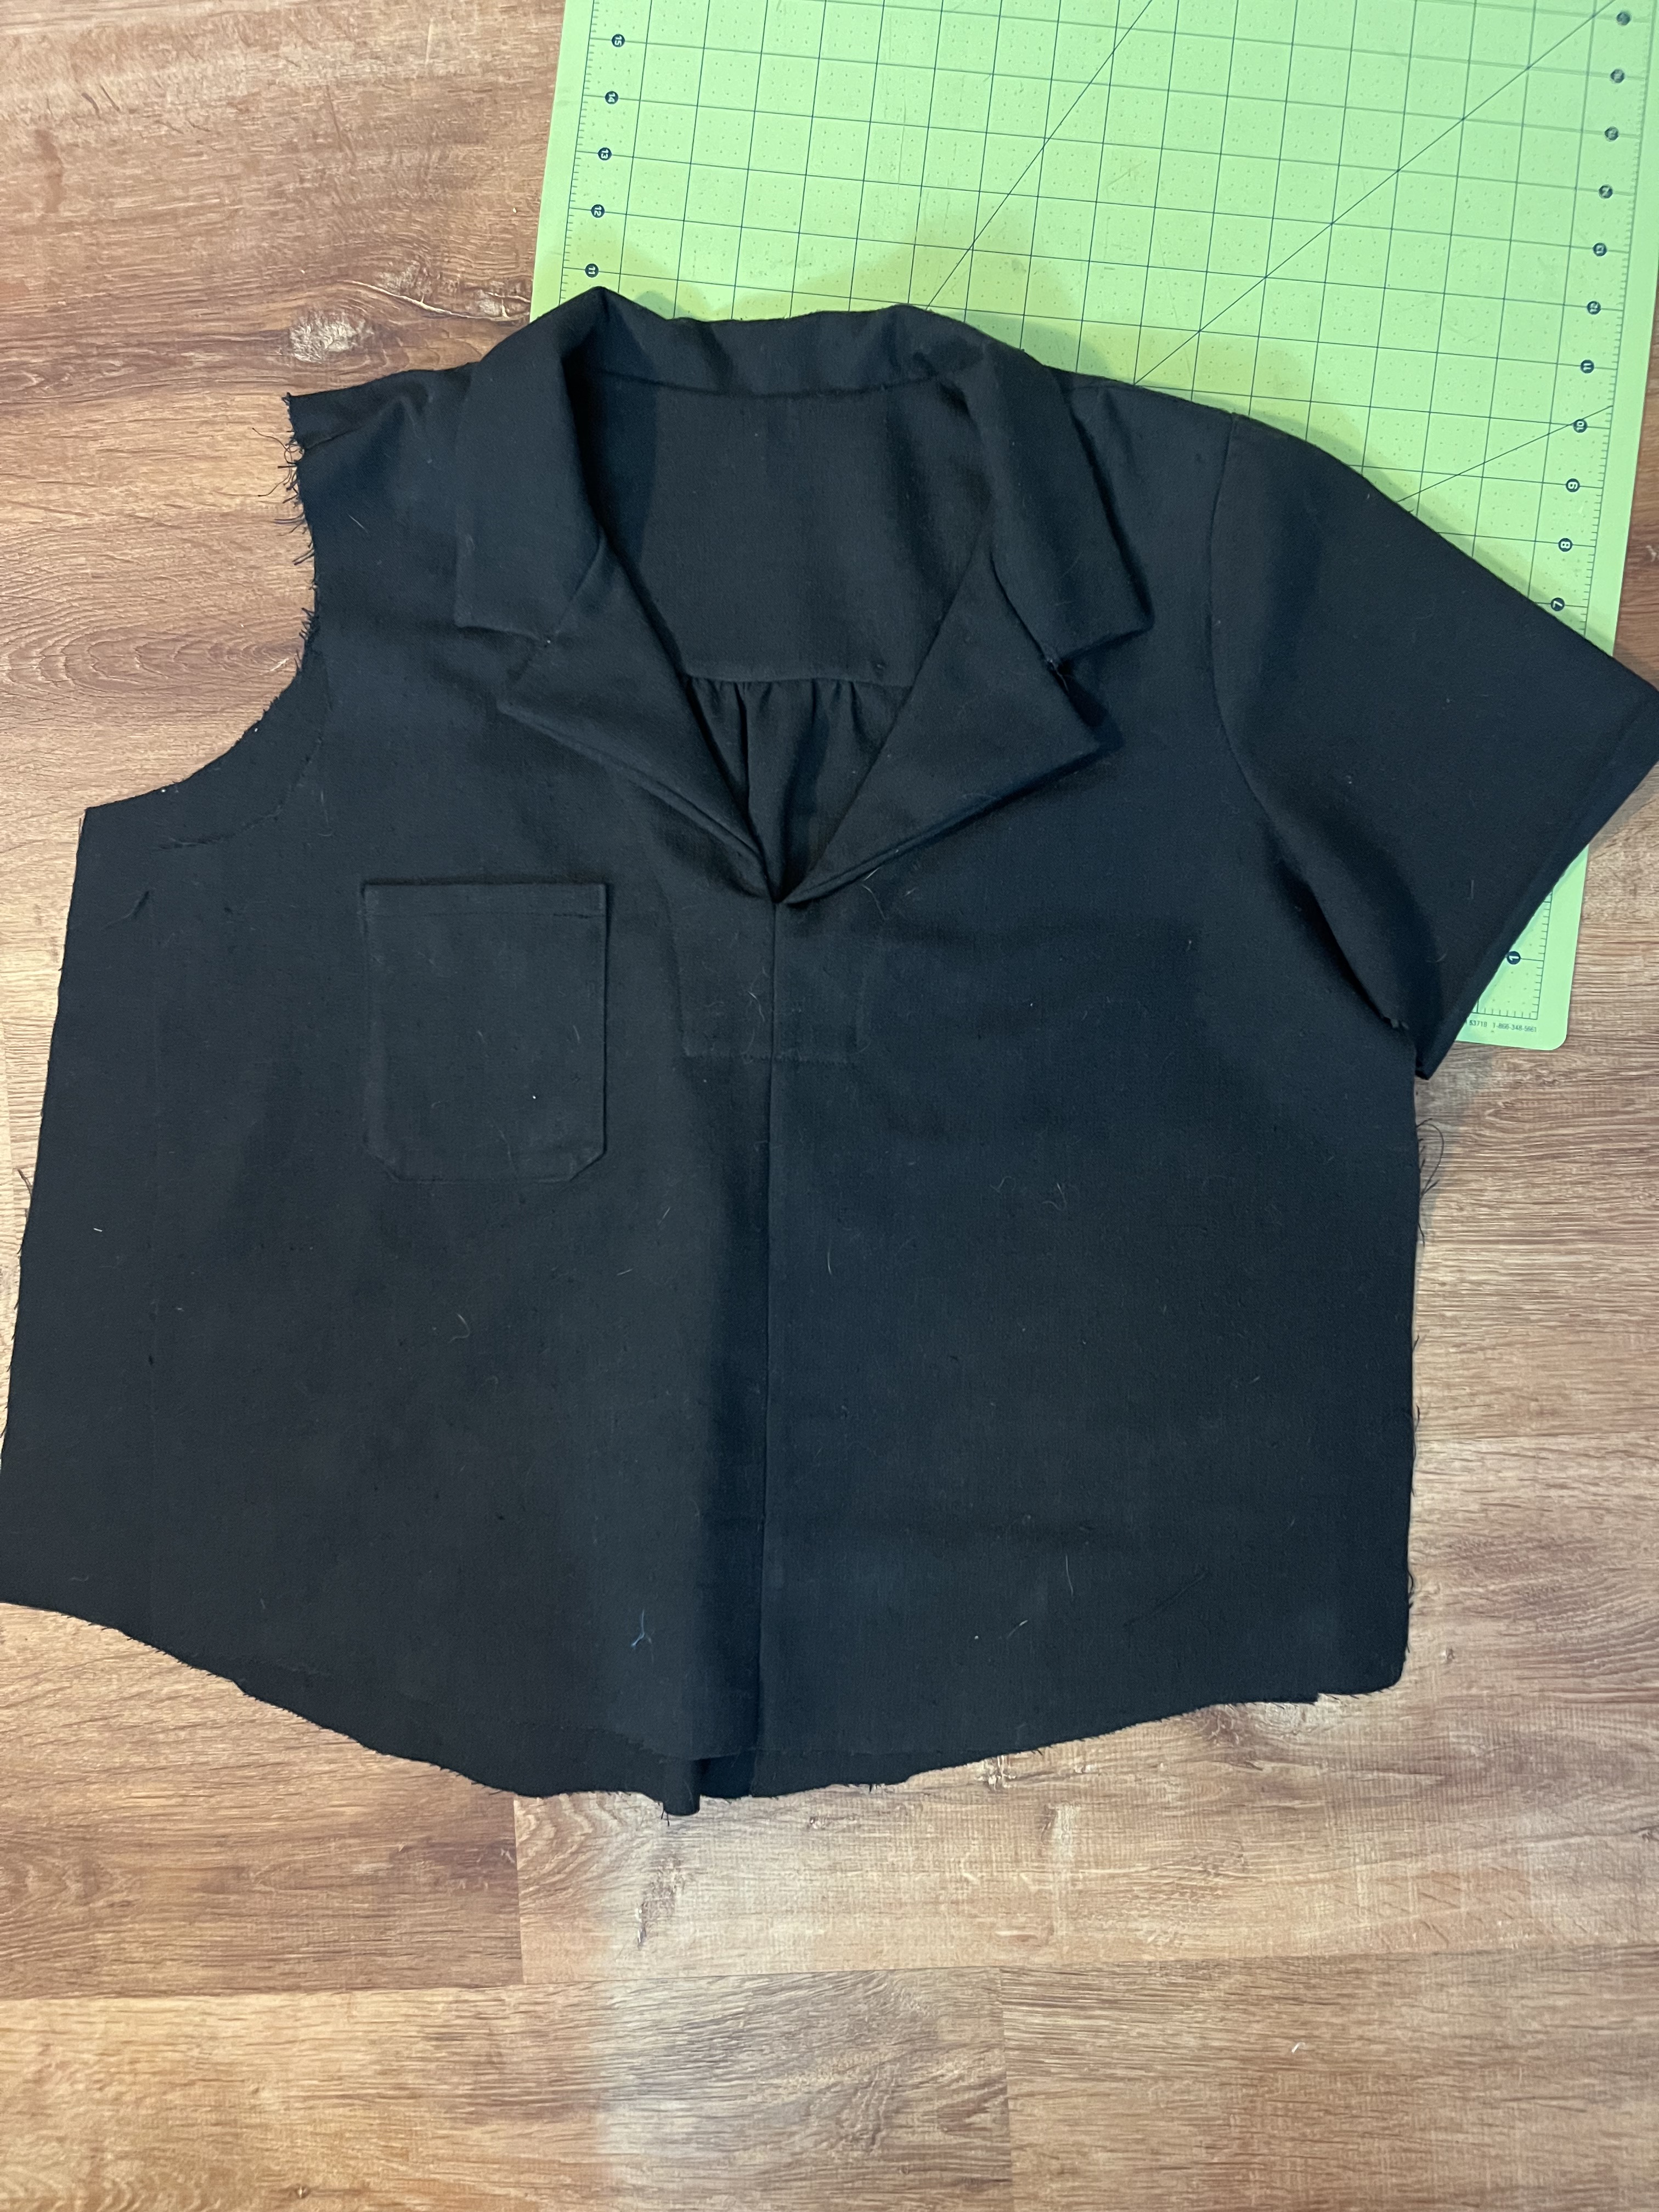
Fabric: Black linen (I think?) from the Textile Center’s garage sale. It came from the linen section but people make their best guesses when shelving fabric so it could be a blend. Not sheer, has a very lovely drape.

Notions used: Black Guttermann thread, Weft Interfacing

Modifications: Added 1.5″ length to the body

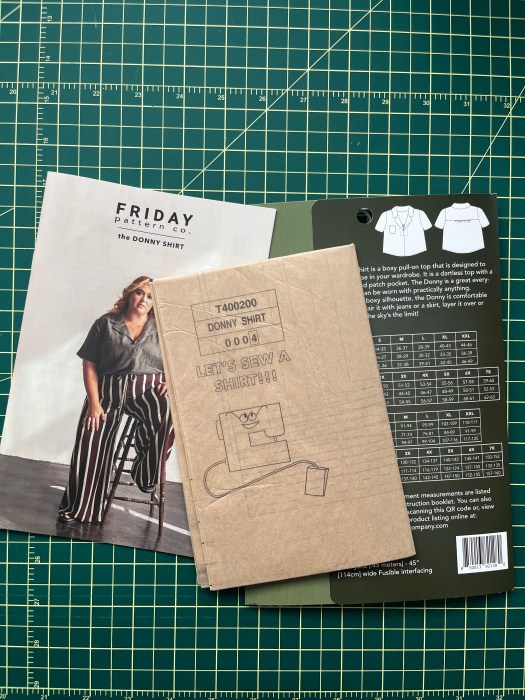
If you’ve been following along you may remember I selected this pattern in the fall of 2024 as one I wanted to make in a community education sewing class (here’s a post I wrote about getting started). I missed two of the six classes, once due to sickness and another for not having childcare. I spent most of my time in the class meticulously tracing and cutting out my pattern and cutting out my fabric. That’s it! Never got around to doing a single stitch. Sometimes I sign up for these classes as motivation to get started and while I technically started I didn’t get as far as I could/should have. I don’t think it was a total waste of time and money as I did get some valuable information out of the class and was able to start my project but I should’ve gotten a little further.

Project cost breakdown:

  • Pattern: $20, Paper pattern purchased at Lakes Makerie
  • Fabric: Let’s say $2? I got a grocery bag full of fabric at a sale and cannot remember how much the bag was ($5-15 range)
  • Thread: $3.50 from Joann’s
  • Weft Interfacing: $1. I got a 1 yard precut (plenty leftover for more projects) for $8.
  • Swedish Tracing Paper: $3. I spent About $20 for a roll, also from Lakes Makerie (but I can’t find it on their site currently).

Total: About $29.50

I would pay $50-$75 (maybe even more?) for a nice black linen shirt like this as a wardrobe staple, so $30ish all in feels good to me. The pattern will over time also pay for itself as I definitely plan to make more. I can make more in different sizes since I traced it rather than cutting out the original.

It’s important to remember too that for me, anyways, the bottom line isn’t to always save money. Mostly it’s just fun, and that’s good enough of a reason! The act of making, getting to be creative, use my hands and learn a new skill are also all prime motivators for me.

Pattern Selection and Modifications

The Donny Shirt at Lakes Makerie

I went to Lakes Makerie to buy the pattern and they happened to have an already made Donny shirt on display in the store. They graciously let me try it on–it was a medium and while it fit I wanted a little more ease. This was such a great bonus, to be able to try on before I sewed! I feel so lucky to have a good shop in my city that is so focused on garment sewing and lets their customers try on a made garment.

Based on the made shirt I tried on and reading about other’s experiences on Instagram making the Donny, I decided to lengthen the body by 1.5″. I don’t have a particularly long torso but I don’t like a super cropped shirt. It ended up being a good decision! I’m very happy with the length.

Working With The Fabric

I really hate to take the added step of prewashing my fabric (hassle) but I didn’t know what kind of life this fabric had before it came to me and you gotta prewash so your made garment doesn’t shrink after the first wash. I did it, I prewashed. I made the absolute boneheaded mistake, however, of prewashing it with a load of laundry and no color catchers. DON’T DO THIS, IT WAS SO DUMB OF ME because of course the color ran and stained a bunch of clothes. Going forward I think I need to wash this shirt separately from everything else because how will I know if it’s going to bleed again? I mean, if you have any tips please reach out (can I soak it in something?) because I do hate to have clothes that are fussy to wash.

If you’ve ever sewn with a woven or linen you know that they are more prone to fraying and this fabric was no different. I don’t love that but it wasn’t a deal breaker, I still love to work with linen because of how soft the fabric is.

This was my first time making a black garment and I will say, it was pretty tricky at times to see everything and I don’t think my eyes had anything to do with it. I utilized daylight, an Ottlite, my overhead light, the built-in light on the sewing machine and two lamps just so I could see what the heck I was doing. On the plus side, sewing black thread on black fabric is very forgiving. Can you see any of my crooked stitches? No? Me neither. I think the most challenging part of sewing the black fabric was when I was finishing some of the inside seams with a zigzag stitch and really couldn’t tell if I was doing a good job or not. They’re not pretty but hopefully they’ll prevent the seams from fraying further.

Sewing With Real Fear: Setting The Sleeves

I’m getting better, but there’s almost always something with every sewing project that incites some fear into me. For The Donny shirt it was setting in the sleeve. Having never done this, I was afraid. I was told it was tricky and that’s all my little brain needed to hear for me to go oh no this is hard RUN AWAY. What if I screw it up?? I really have to work against my own brain here to tell myself there’s nothing to be afraid of, you’re not like, sewing a wedding dress for someone who is getting married tomorrow (but oh great, now I will probably have that happen in a dream). You are literally making a shirt for yourself from cheap fabric FOR FUN. THIS IS FUN. So I did it and ya know what? I didn’t even have to seam rip the sleeve, I did a great job. I did accidentally create a crease while doing the zigzag stitch finishing of the sleeve but I just did a little seam ripping and tried again. IT WAS FINE!!! And I am very brave.

Fun Bits: I Love To Learn

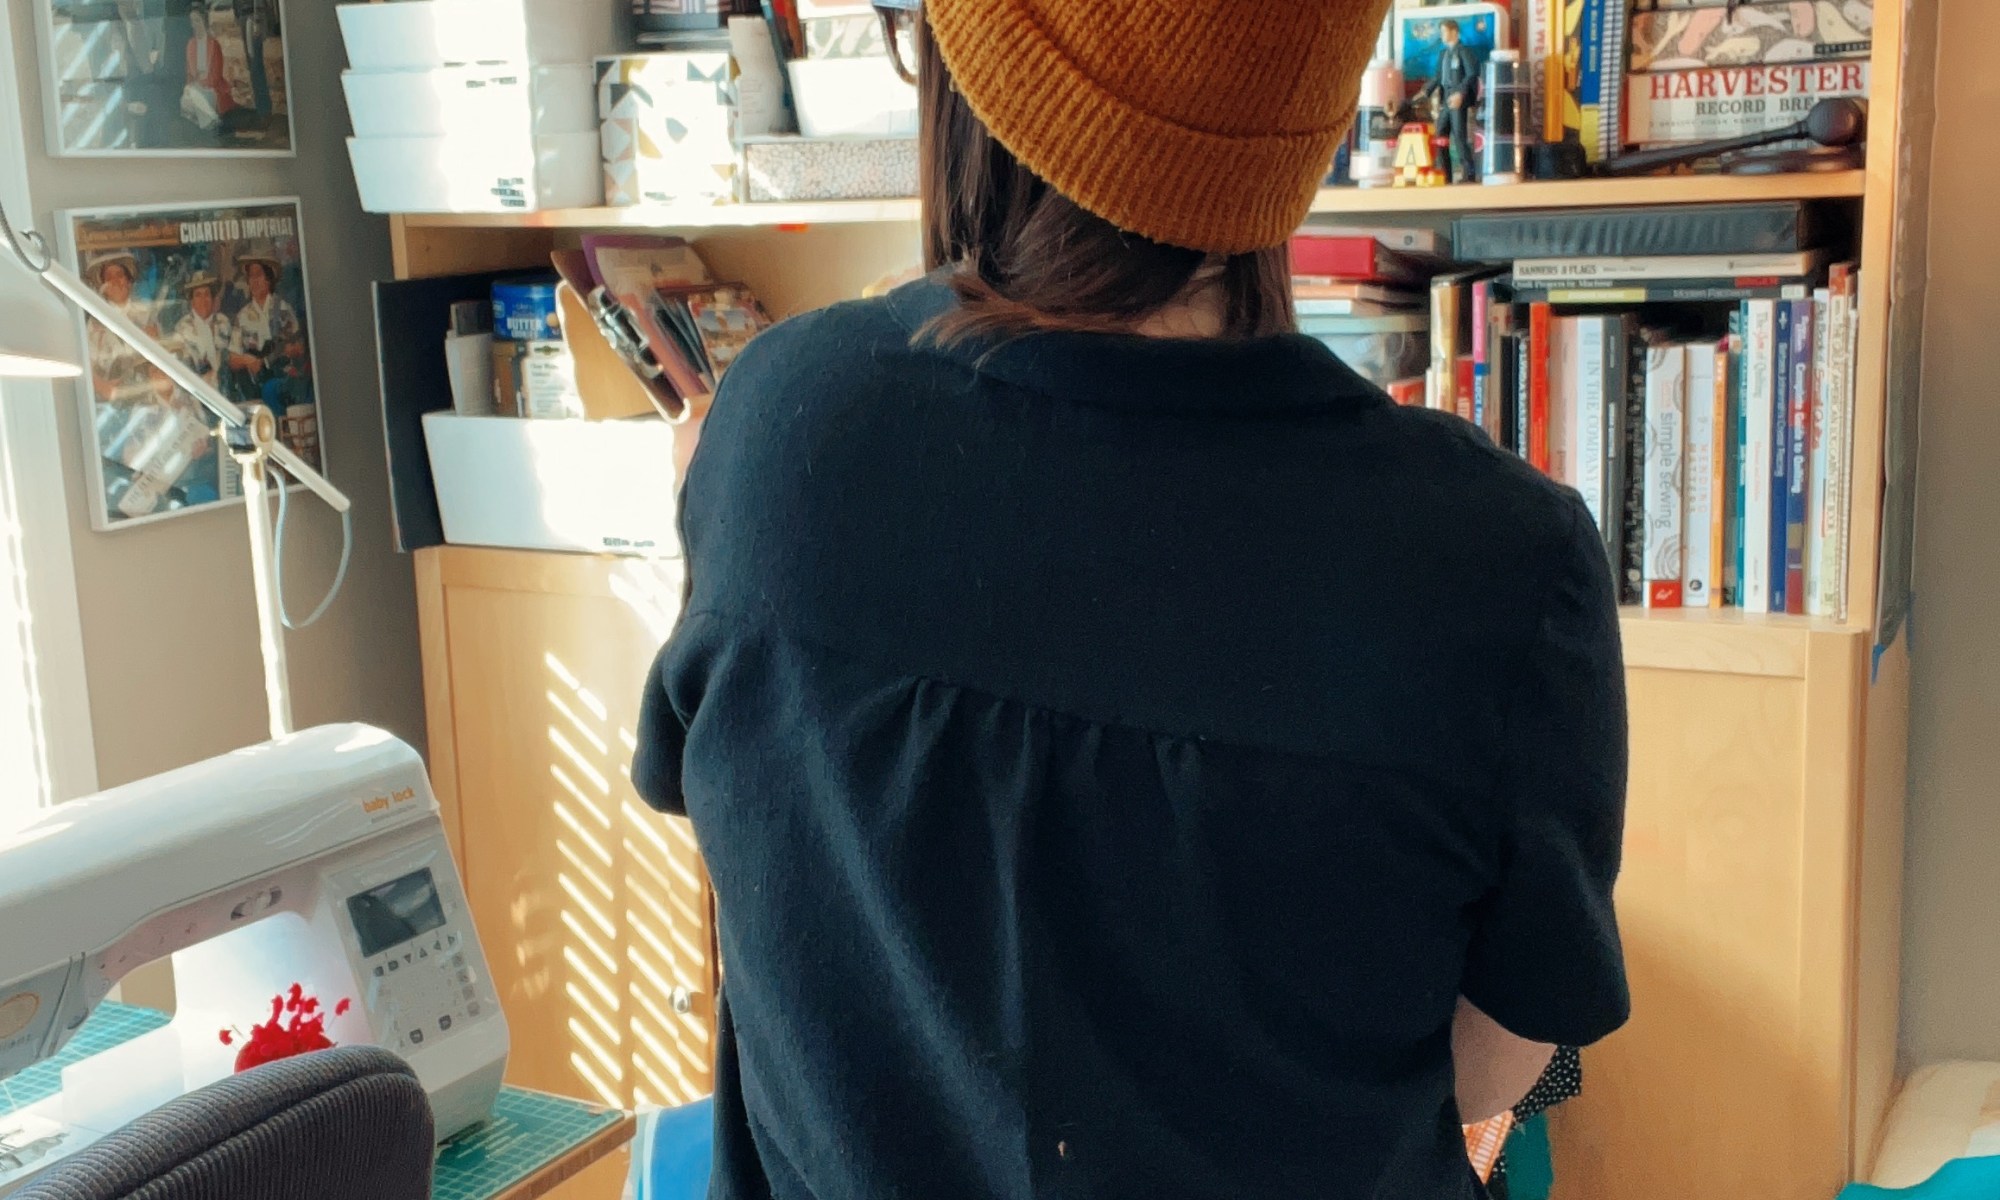
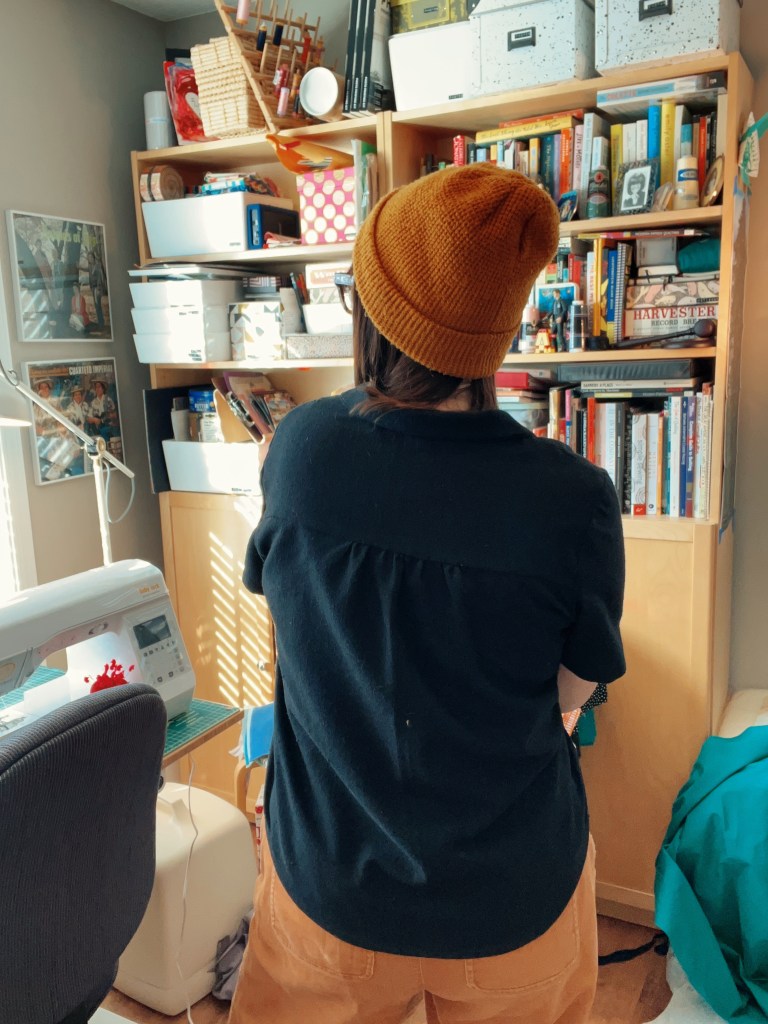
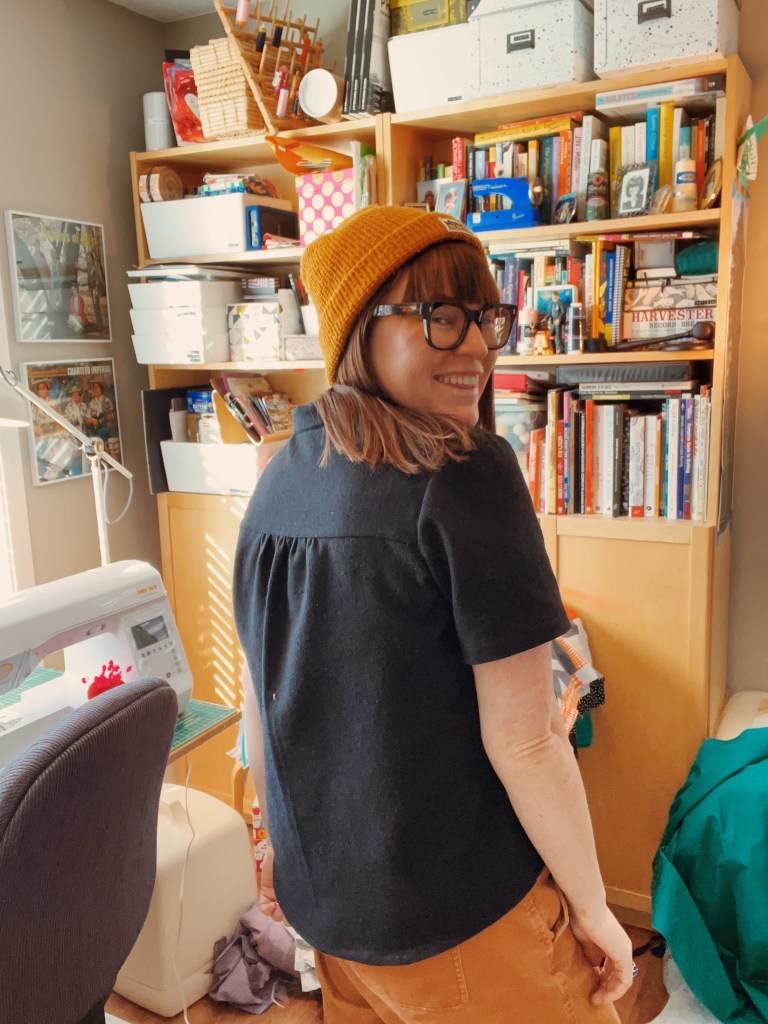
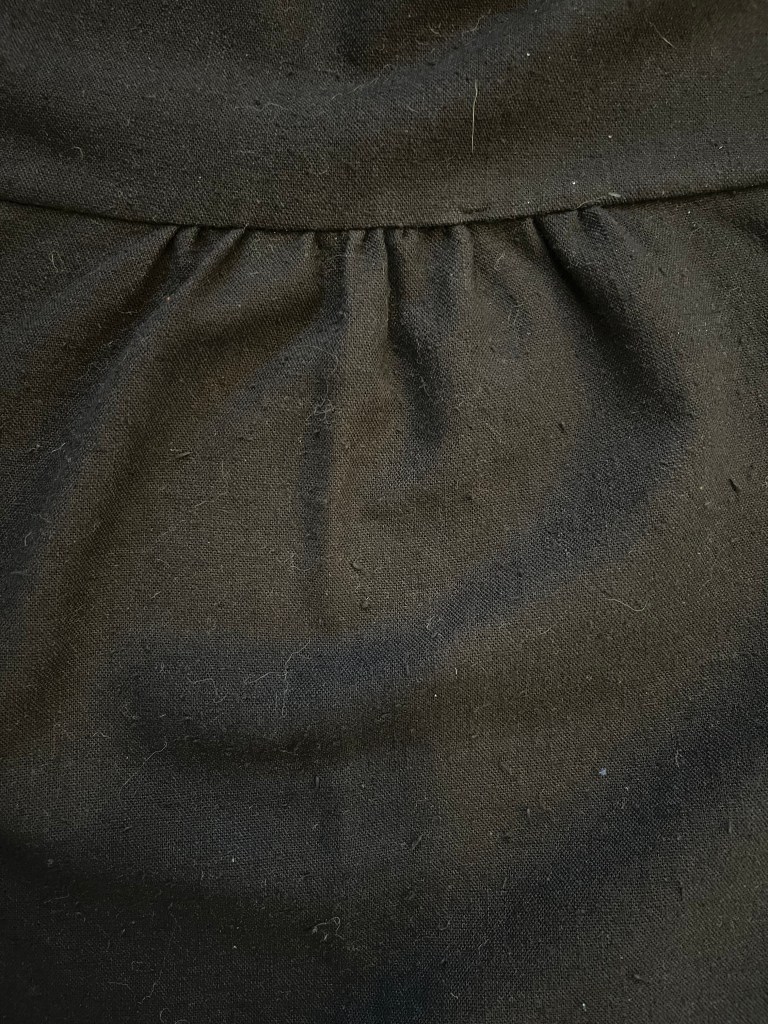
Aside from learning how to set a sleeve I also did gathers for the back of the shirt. My mom happened to be in town while I was at that step so she assisted (mostly just checked my work, thanks ma) and that was nice to have her there for that new skill. I really liked pulling on those threads to make the cute gathered back at the back yoke!

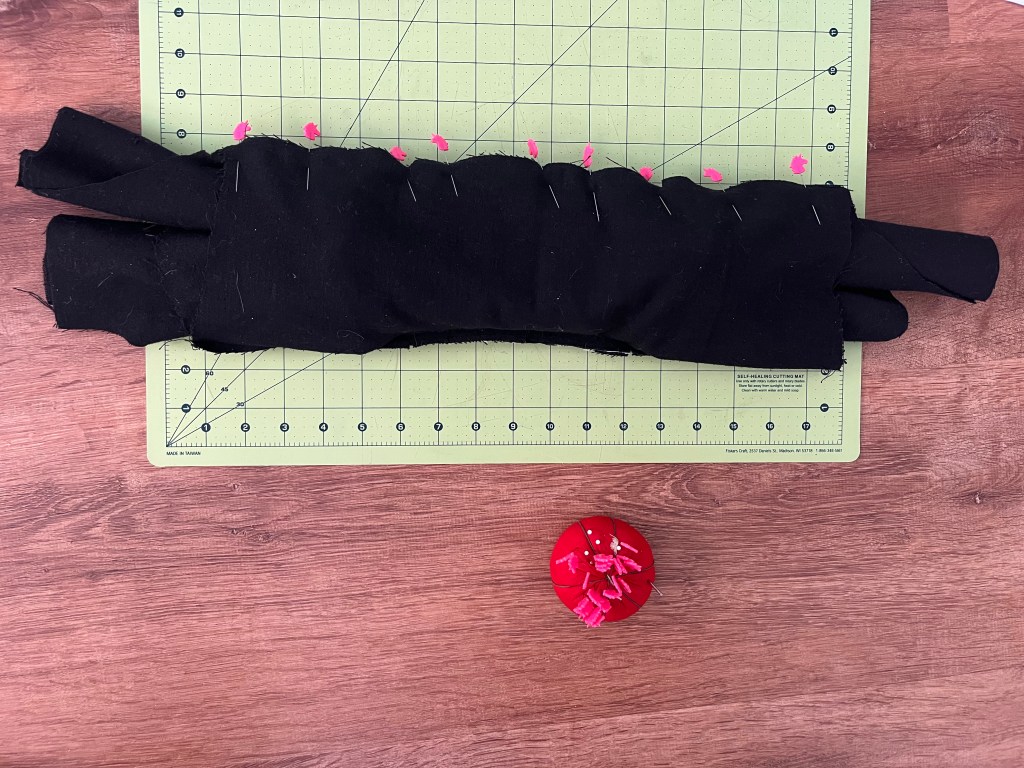
The other fun new thing was doing the “burrito method” for sewing the two back yoke pieces together. This is where the YouTube sew along really came in handy and the pattern instructions even calls out the fact that you might want to watch the video on how to do this step. It looks totally confusing and weird but encases the back seam of the yoke really nicely. It’s fun to learn!

Future Donnys

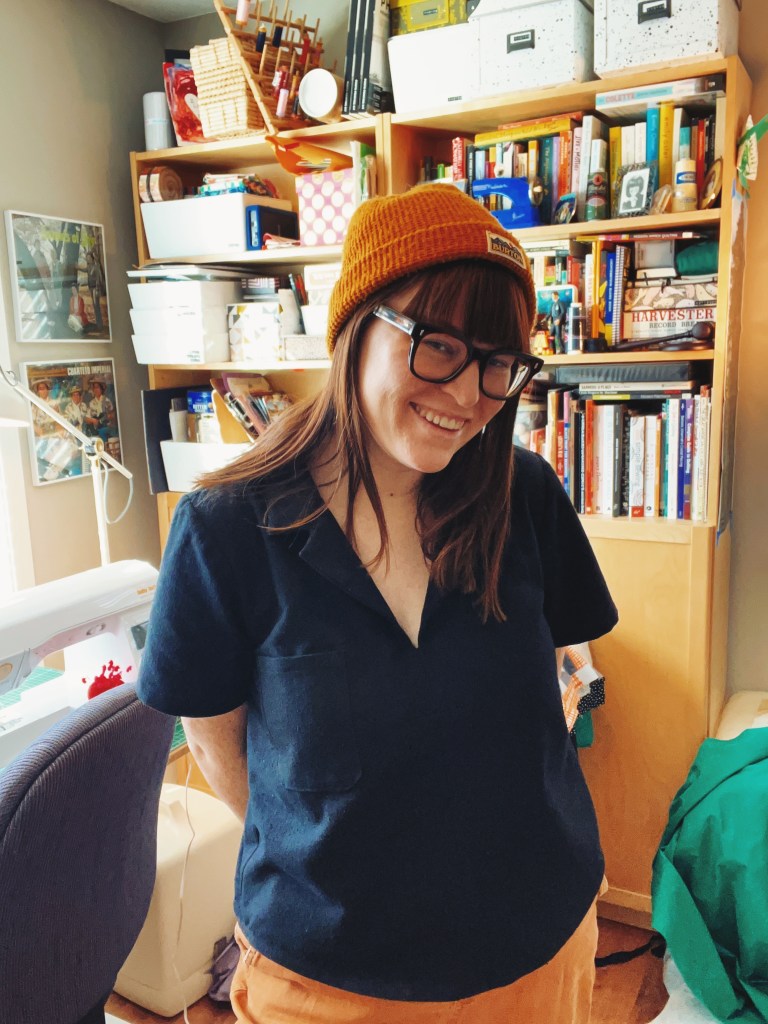
As I already said, I’m glad that I selected a large and lengthened the body, that was the right move. I’m not 100% sold on the low V and right now, at the end of January it feels a little chilly to wear it. For my next Donny I’d likely modify the V so it doesn’t go so low (I think Francesca of Made By Francesca has done this for her Donny’s but I can’t find a post on it right now).

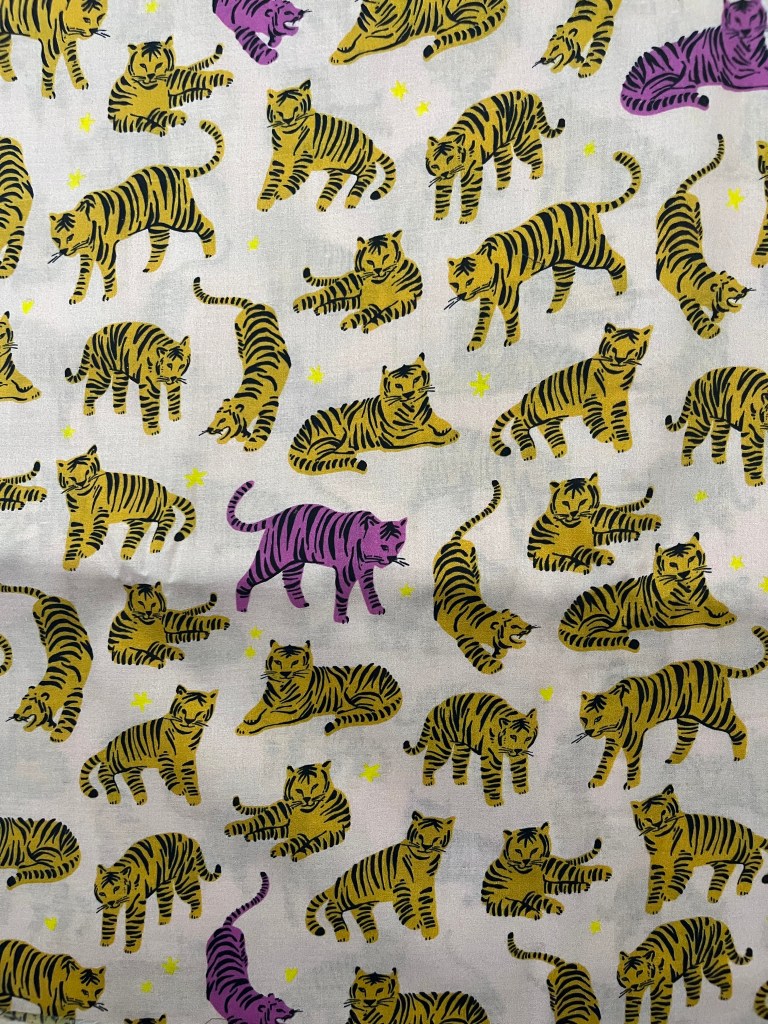
As for fabric, I’d like to make one in a print and I’d like to try out double gauze, I think that in particular would look really nice as a Donny shirt and I don’t have any double gauze shirts! I also have 3 yards of a cute tiger fabric from SR Harris that I intended to use for pajamas but a Donny shirt as a summertime PJ shirt would be p. cute.

Wild and Free Tigers by Hello! Lucky for Robert Kaufman Fabric

I finished the exposed inside seams with a zigzag stitch, as stated earlier, but these seams really would look nice if they were serged. I’d like to face my fear and learn how to use the serger.

Oh, and lastly, let’s talk about that pocket! I 100% wanted to place the pocket on the left. My next Donnys will have a pocket on the left. That’s what I thought I was doing when I was sewing it on. I was SO MAD I did it incorrectly, it really bothers me that I put the pocket on the right. I could move it. I could’ve moved it at the time. It bothers me. I’m not going to move it though hahahaha.

Final Thoughts

If I could turn back time I would probably make a different fabric selection and start with using a print, rather than a solid. That would’ve made it easier to follow directions and follow along (and also see what I wrote above specifically about working with black fabric). I’m not mad that I made a black–it’s exactly what I wanted for my closet and will absolutely become a staple.

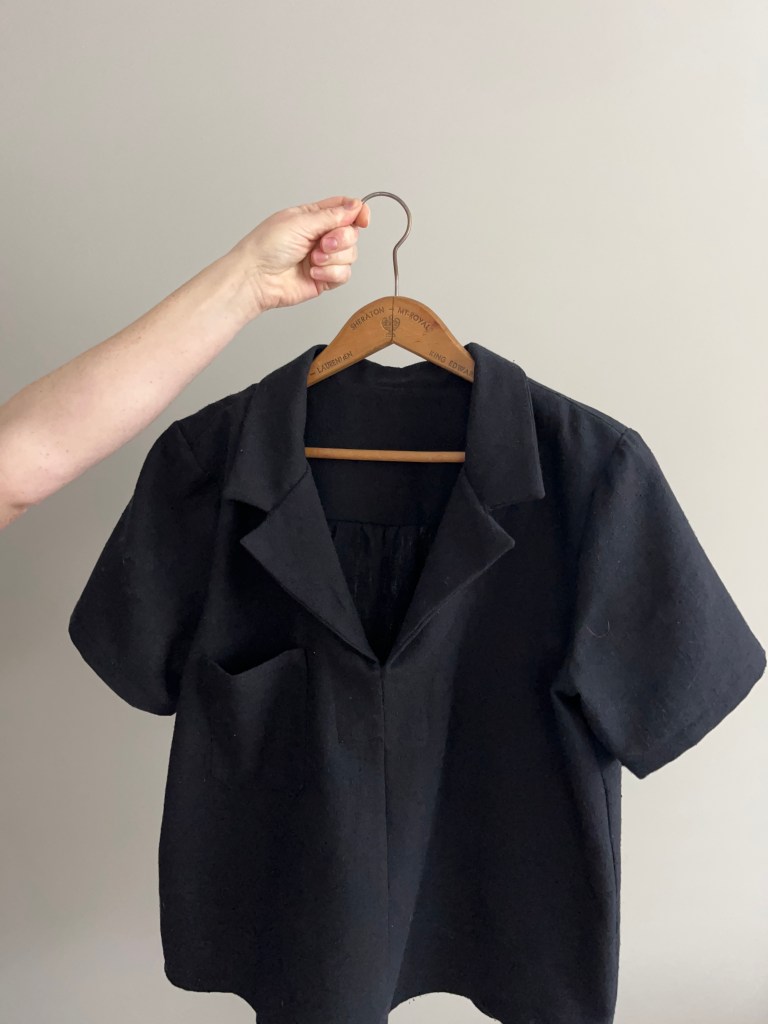
Wooden hanger worthy

When I finished up the hem and pulled it off of my machine I was in total awe. I really, truly cannot believe I made this shirt! It looks like something I would buy and that’s what’s really blowing my mind. I remember thinking at one point in my life that making clothes seems so challenging. Making clothes that fit well? That you want to wear? It feels like a revelation to have something in my closet that ticks those boxes.

This might be the most ethical garment in my closet? I bought a pattern from an indie pattern designer from a local independently owned shop and I got the fabric secondhand at the Textile Center’s biannual garage sale.1 Please clap!!!! #savetheearth #earthmama #natureishealing

Making this shirt was just the confidence booster I needed to keep going and stretch my skills. I think I’m ready to tackle a button up, or maybe I will finally get at that Tamarack jacket I have all cut out and ready to sew. Thanks, as always, for reading!

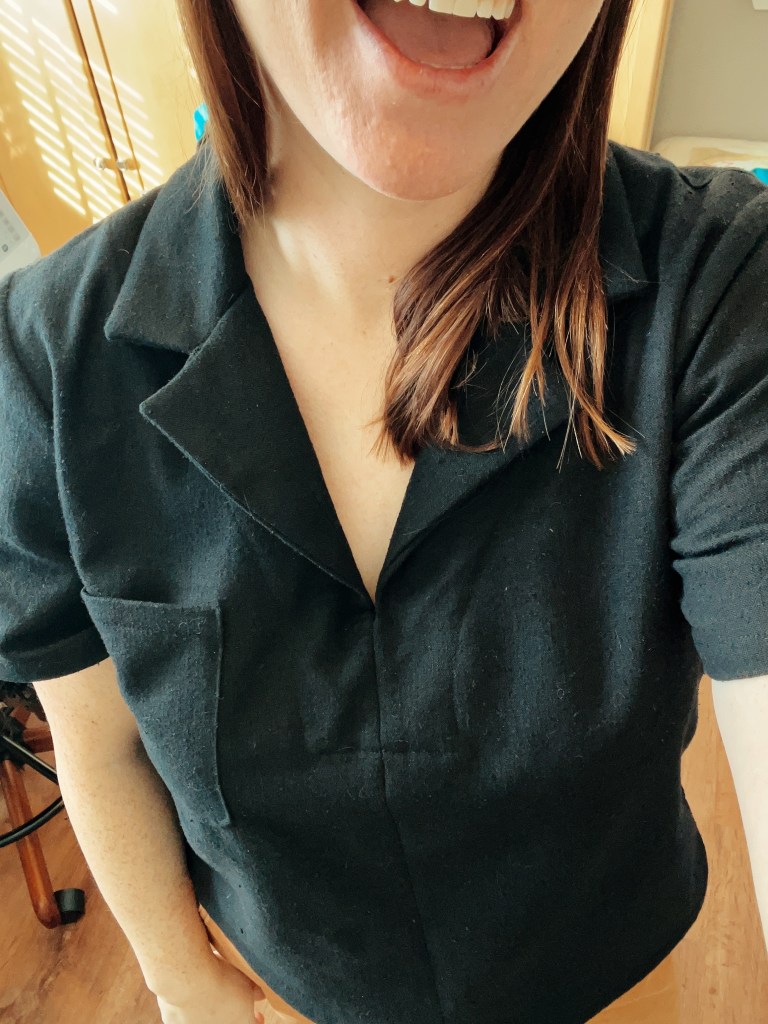
Ecstatic!!!
  1. Speaking of that garage sale, if you are in the Twin Cities and sew, knit, crochet, embroider, weave, etc you definitely need to check it out, it is bonkers good and I highly recommend it. People donate fabric, notions, yarn, patterns, embroidery hoops, sewing machines, weaving looms, books, etc etc, anything related to fiber arts and you can get them for a fraction of the cost anywhere else. I got 2 grocery bags full of fabric for $15/bag. Or was it $5? Honestly either is fine with me, proceeds go to the Textile Center which is a nonprofit. I volunteered which helped me to get in early and also get a good overview of what’s on offer. In addition to the fabric I got patterns, an acrylic ruler, pins, bias binding, elastic, rickrack, a tailor’s clapper, patches, two tailor’s hams, snaps, and bias tape makers. I probably got more than this but that’s just what I remember off the top of my head! The next one is in the spring, April 11-13th, 2025. ↩︎

Crafting The Donny Shirt: My Sewing Class Experience (Pt. 1)

I am once again in the hopeful, bright-eyed honeymoon stages of a new project. It’s autumn, it’s October, and this week I started a new community education sewing class called Sewing 2.

The class is 6-1.5 hour weekly sessions for $65. That’s roughly $11/class! What an incredible deal. I think there are 7 or 8 students total with one instructor who has a significant background in sewing. This is my 4th community education class, I think, and already I can tell it’ll be a good one.

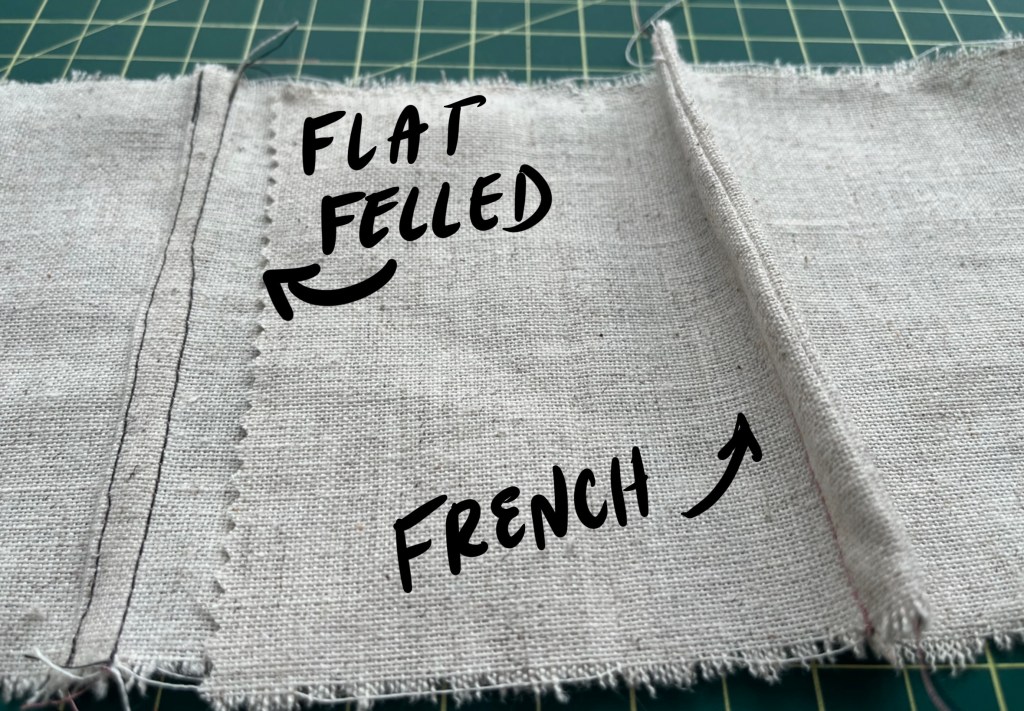
The focus of the class is on seam finishes. I’ve only made one simple garment as an adult and for that I just used the zigzag stitch on my machine to finish the edges. It does the trick but there are so many other seam finishes to learn. The instructor showed us examples of pinked edges, bias tape bound finishes (aka Hong Kong seams), overlocked (aka serged), French, flat-felled, and turn-and-stitch. We then tried our hand at doing our own seam finishes on some scrap muslin fabric. I only tried French and flat-felled but found them to be easier than I anticipated. I’m hoping to do French seams for my garment.

Examples of flat-felled and french seams on a rough muslin fabric

For the next class we are tasked with bringing a pattern and prepared (washed, ironed) fabric. We were given only two directions on this:

  1. When choosing a pattern we should select a shirt pattern that we want to make that has sleeves so we can learn this tricky aspect of sewing.
  2. The fabric should be a woven (so, no knits/anything with stretch).

I’m glad we aren’t all making an instructor-selected pattern. It makes it easier to get excited for the class when I can choose a pattern I’m looking forward to making. This is where my dopamine goes crazy as I look at all the possibilities for a pattern and fabric. I love this part of a project, DUH, it’s absolutely the most fun part. Nothing has gone wrong yet and everything is possible.

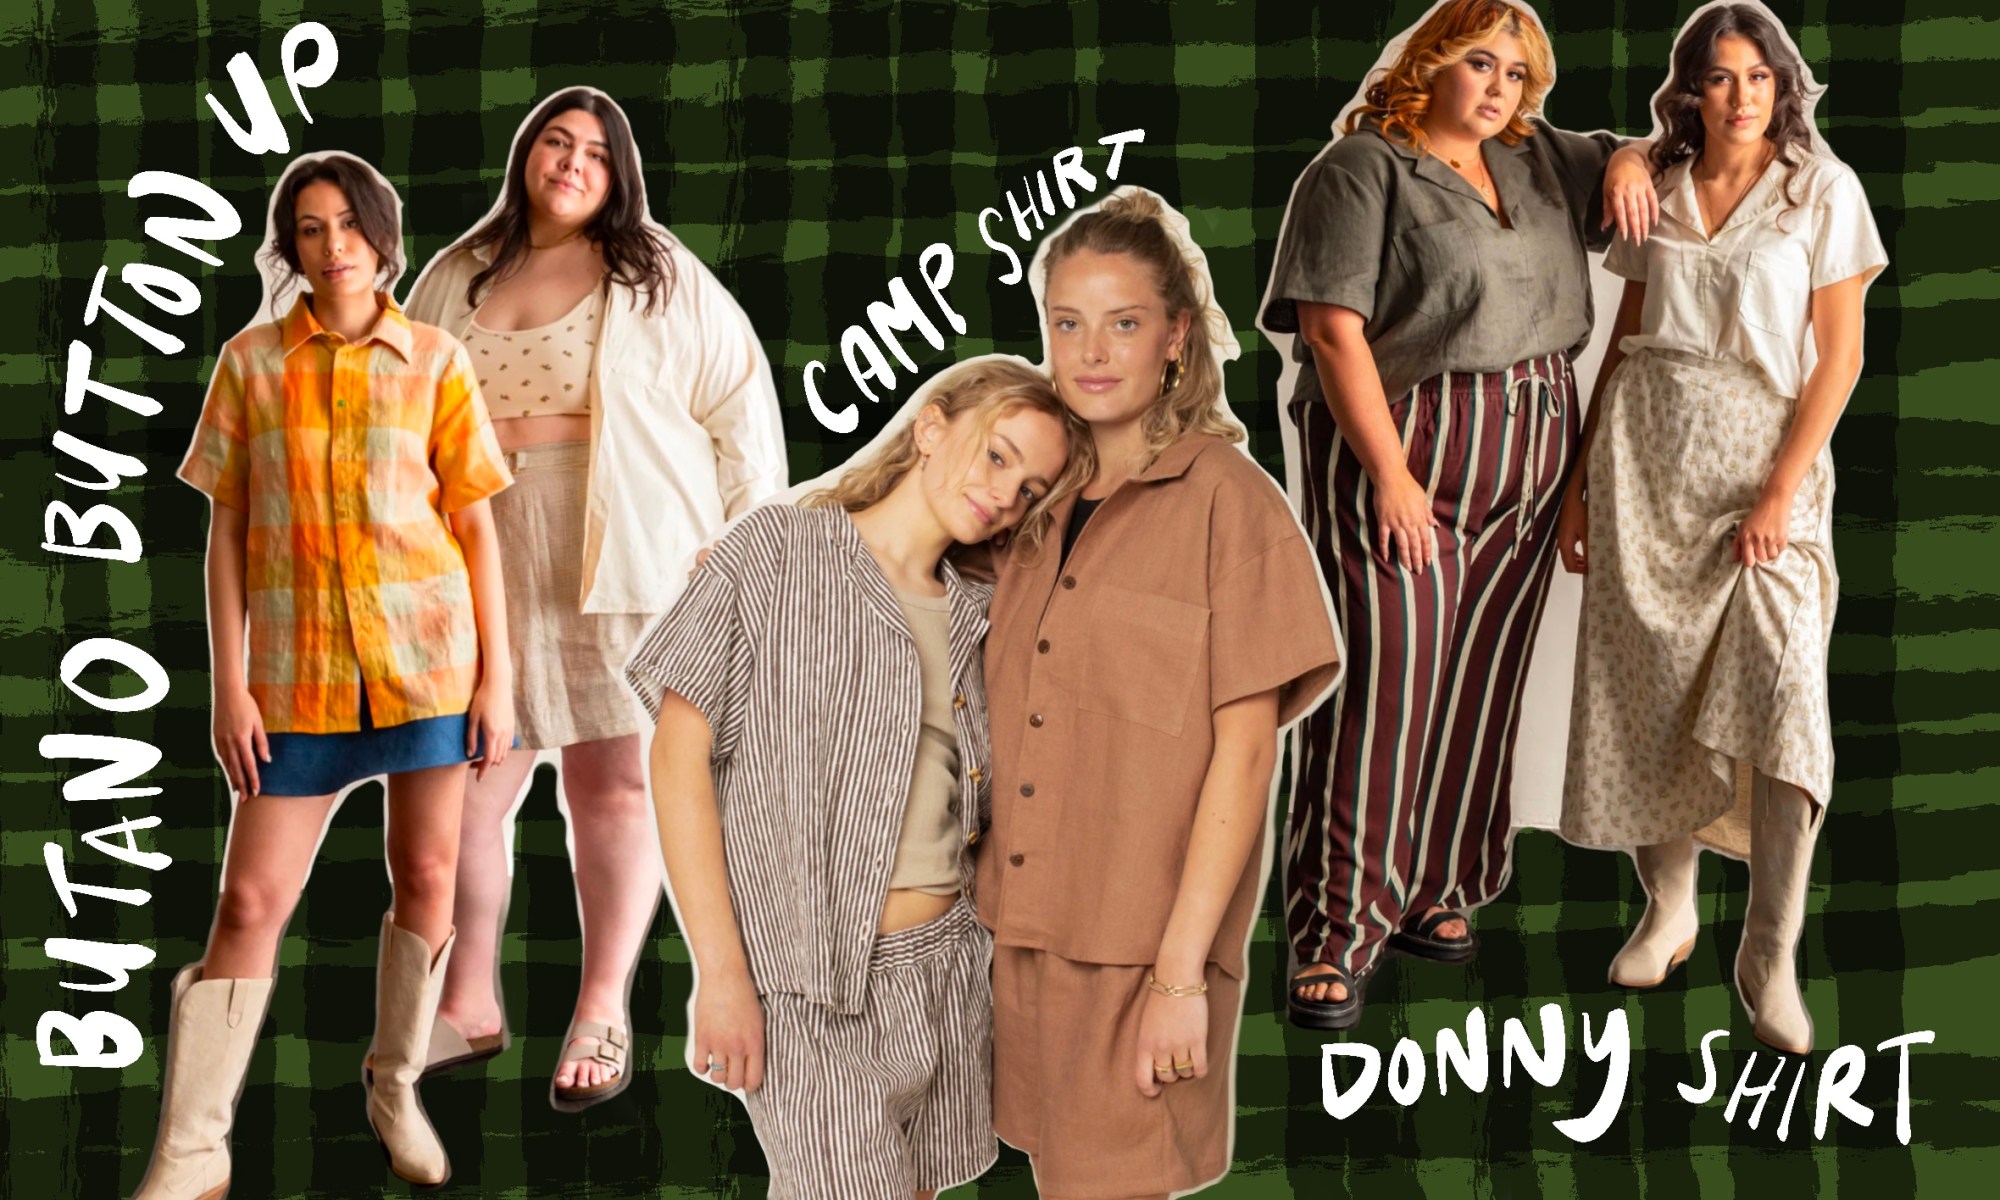
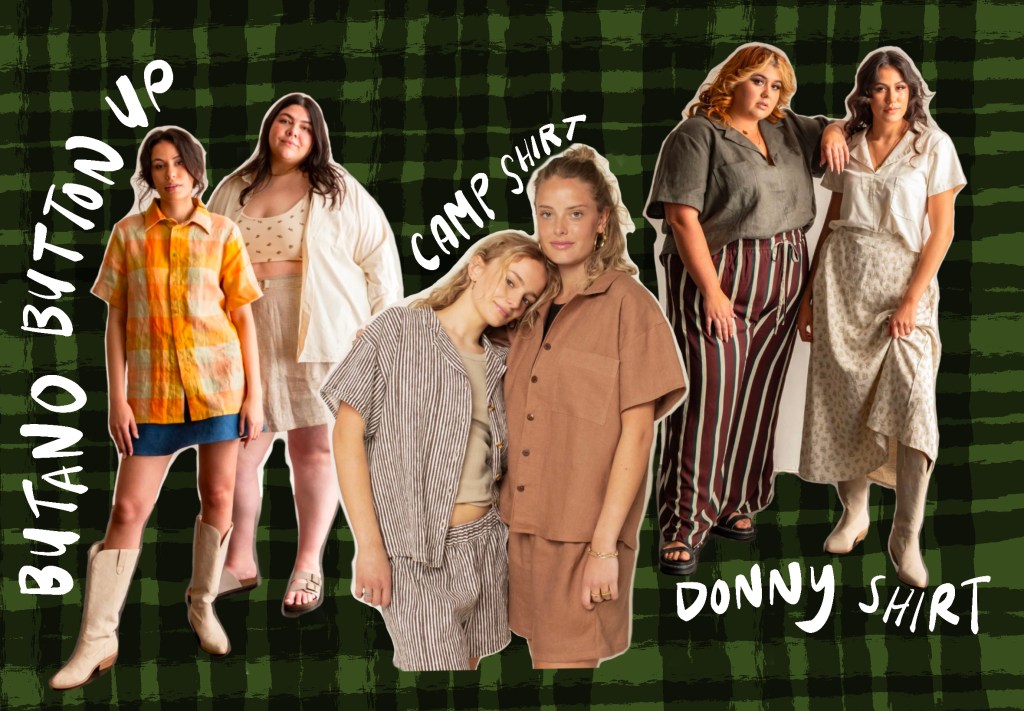
So what patterns have I been considering? Initially I had my sights set on three indie patterns: The Butano button up, The Camp shirt, and the Donny shirt. I found all these patterns simply by being on Instagram looking at home sewist’s accounts and seeing them often. The Butano and The Donny are both by Friday Pattern Co. The Camp shirt is by Wardrobe By Me.

Butano, Camp and Donny Shirts

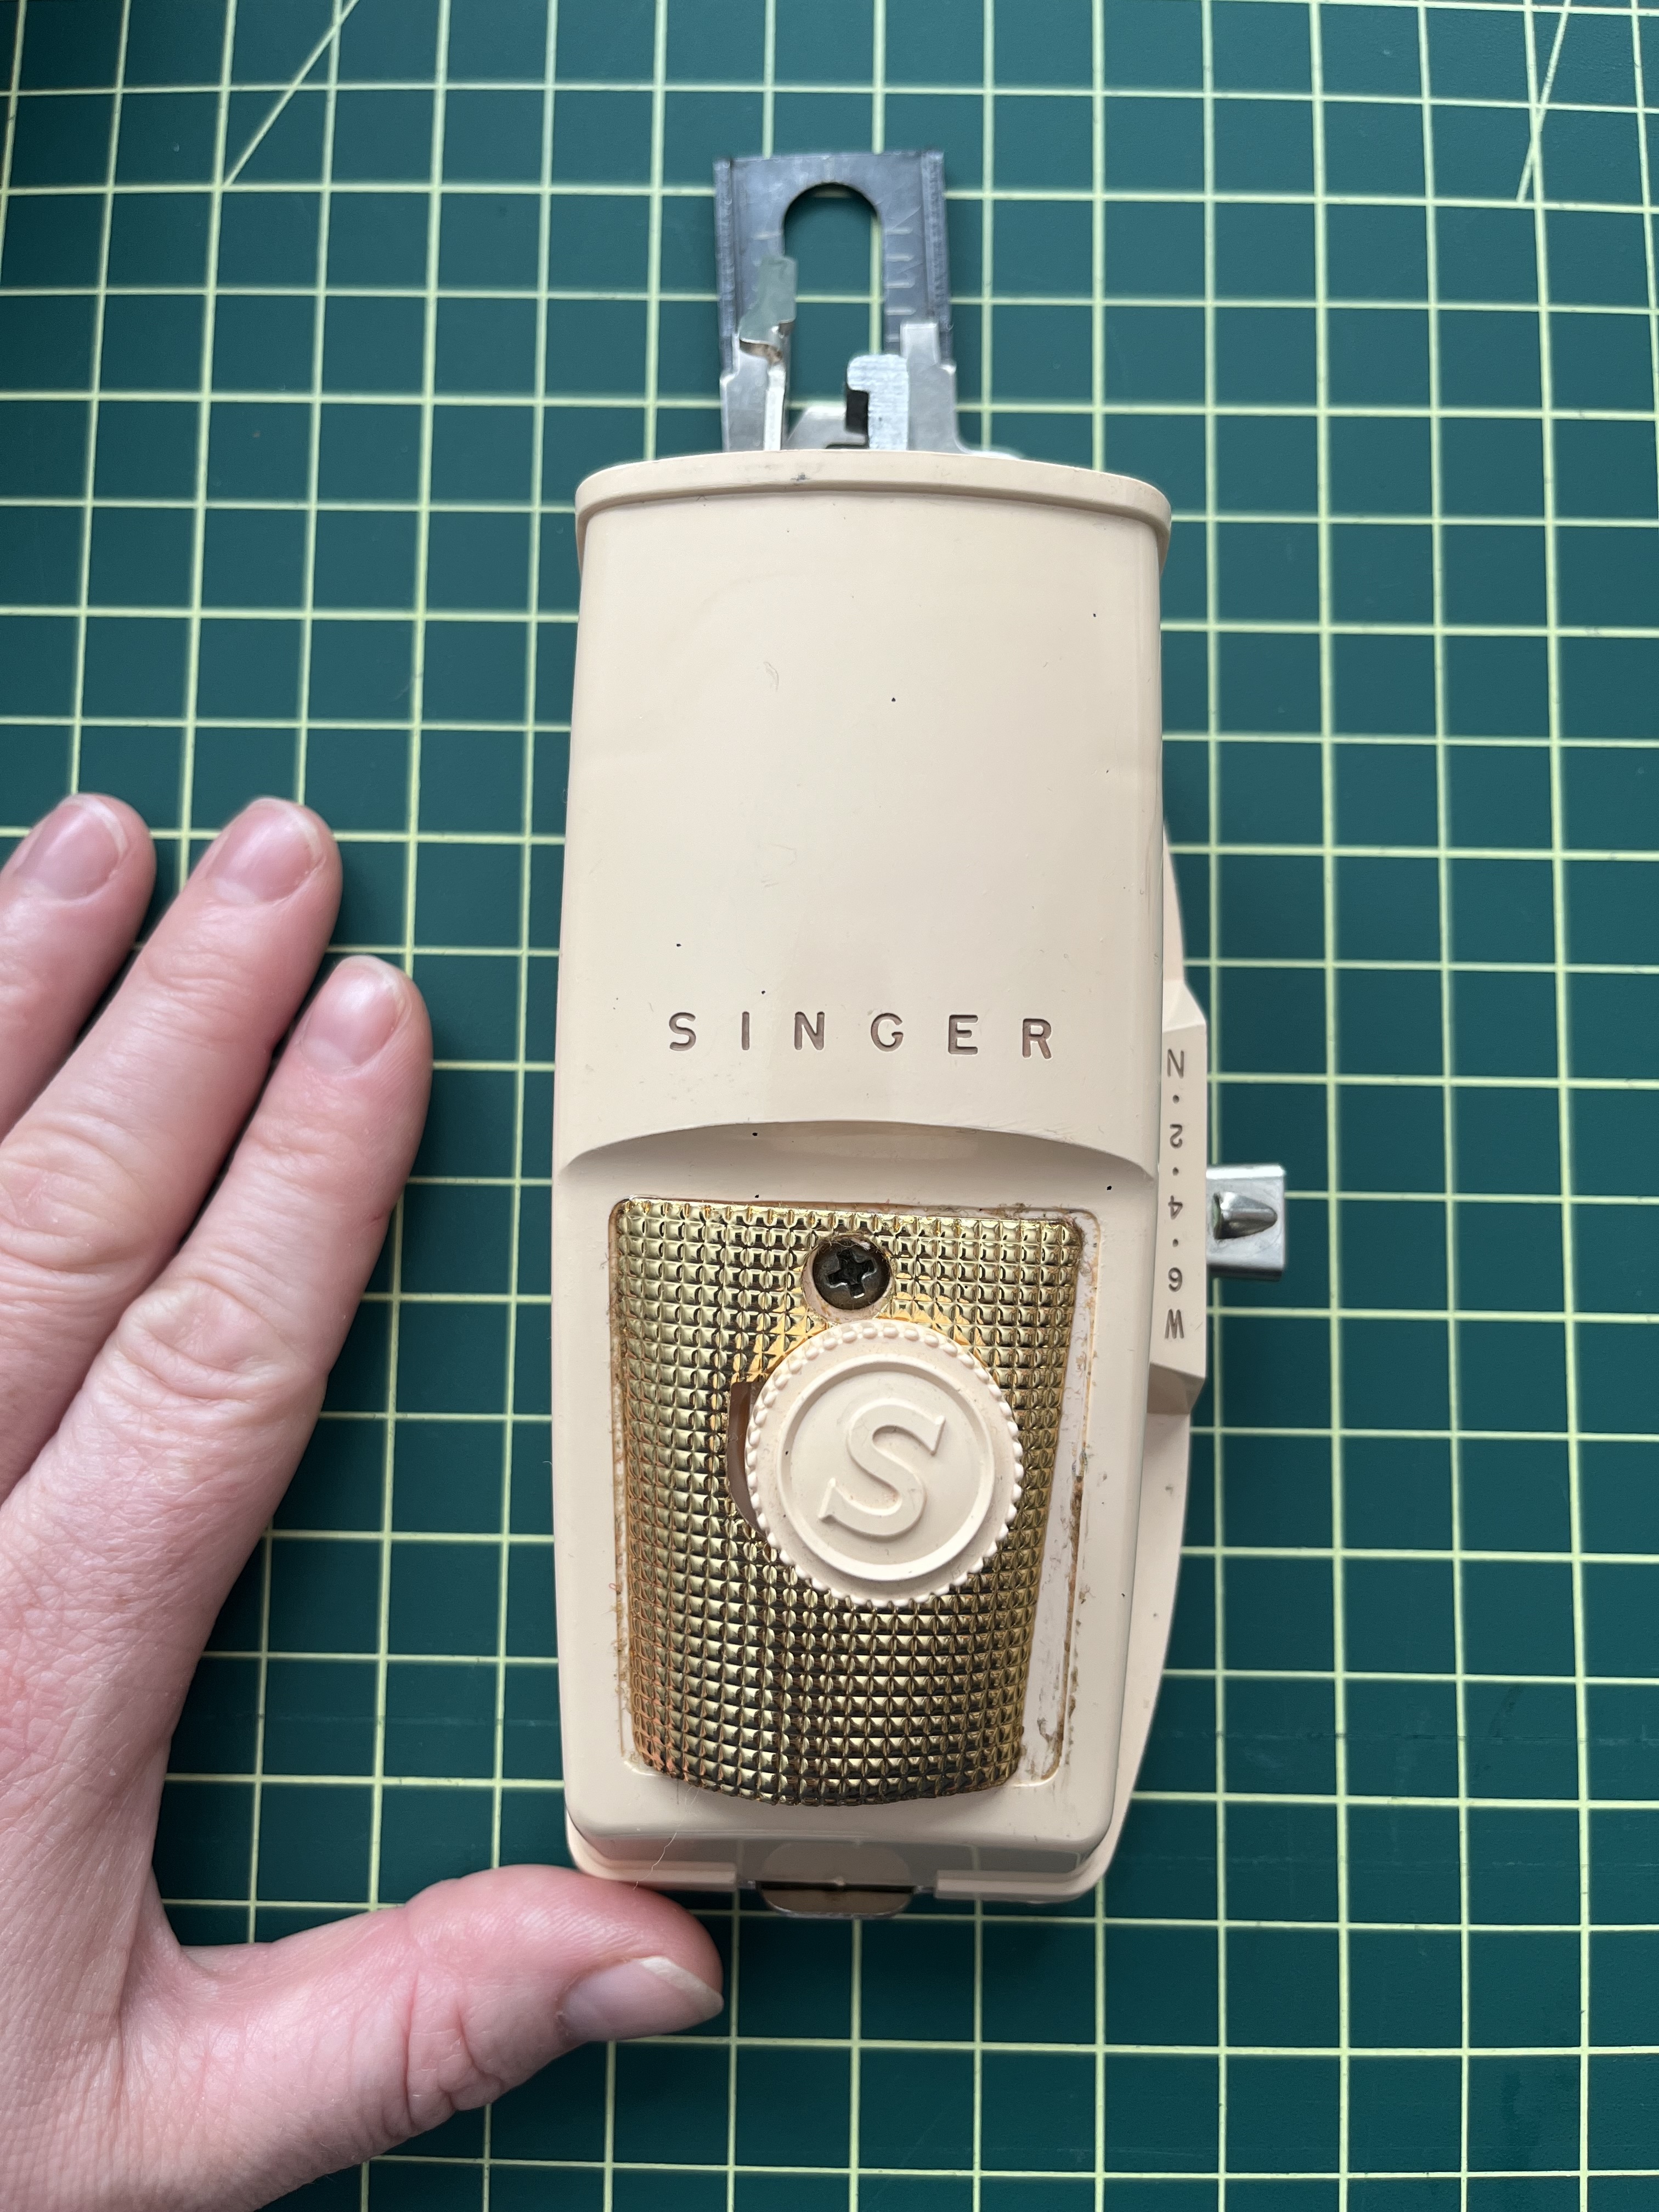
I do love a button up shirt. Making one though? I gave it some more consideration and buttons seem…challenging. Not to mention, I am absolutely terrified of the buttonholer attachment for my Singer. I mean, just look at that thing. So while a button up top would probably get a lot of wear, for this project I think I need to go a little simpler. The Donny shirt it is! It has some challenges that I’m willing to try tackling like inserting a collar and sleeves but there are no closures.

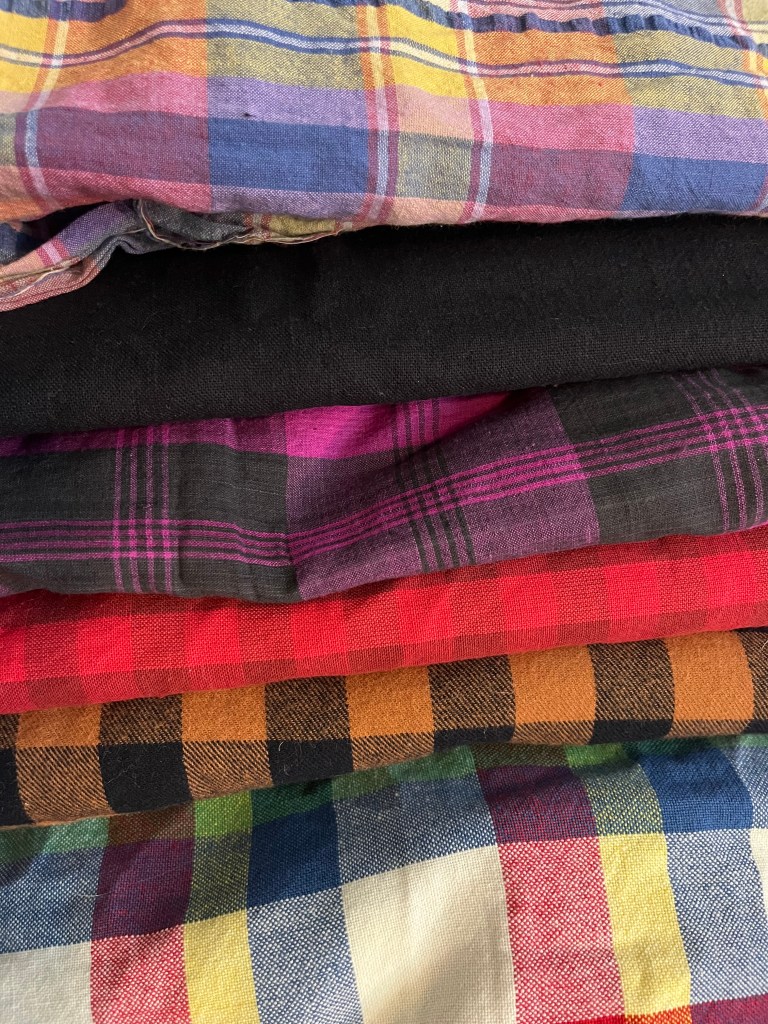
For the fabric, I learned my lesson on my last shirt project: no quilting cottons! I recently loaded up on fabric at the Textile Center’s annual garage sale, and I mean LOADED up. I felt so lucky, I got some really incredible fabric I’m really excited about, especially some of the linens and patterned cottons. I came home with two grocery bags full! I pulled out my options and started holding them up to my body and to the light to determine drape and opacity. The photo below has my favorites that I’m considering for this sewing project.

Fabrics from the Textile Center fabric sale except for the brown and black flannel (that came from SR Harris)

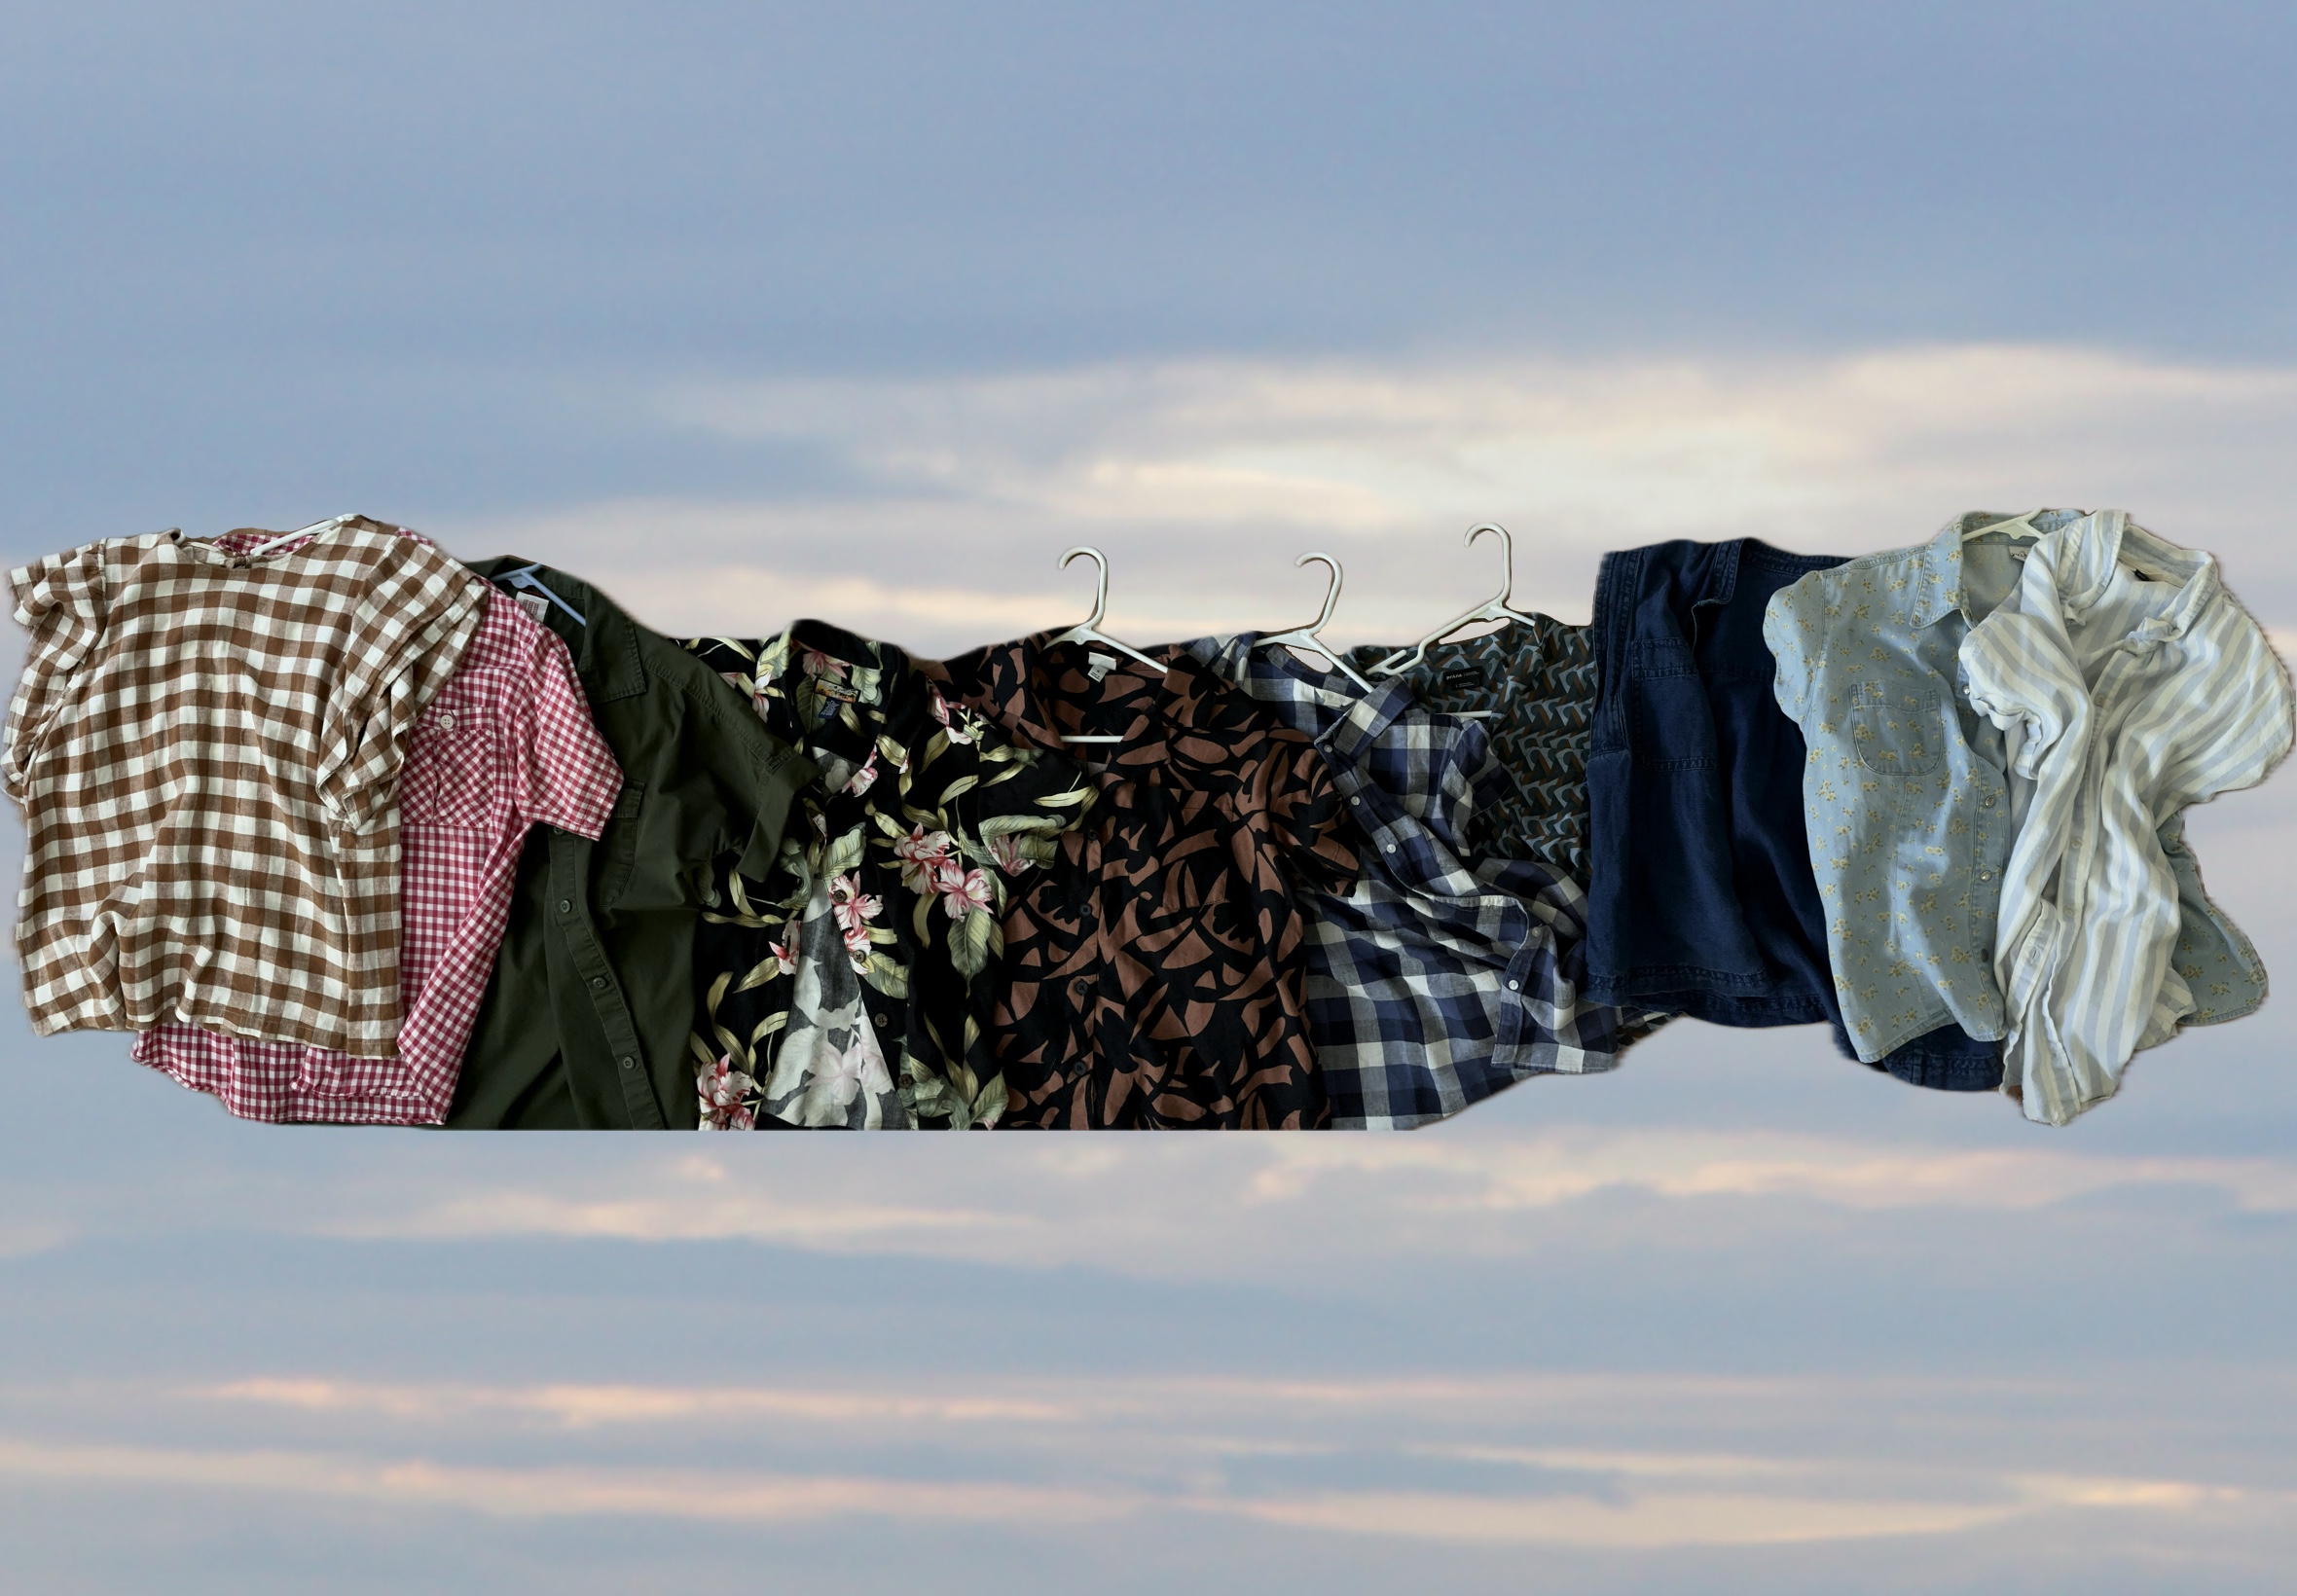
I also wanted to be mindful of what I actually wear and what I just aspire to wear when it comes to color. When I look at my closet it’s a little humorous–there’s a whole lot of navy, grey, black, plaid, and stripes. What can I say? I like what I like. Probably no florals this time around. My most-worn t-shirts are black.

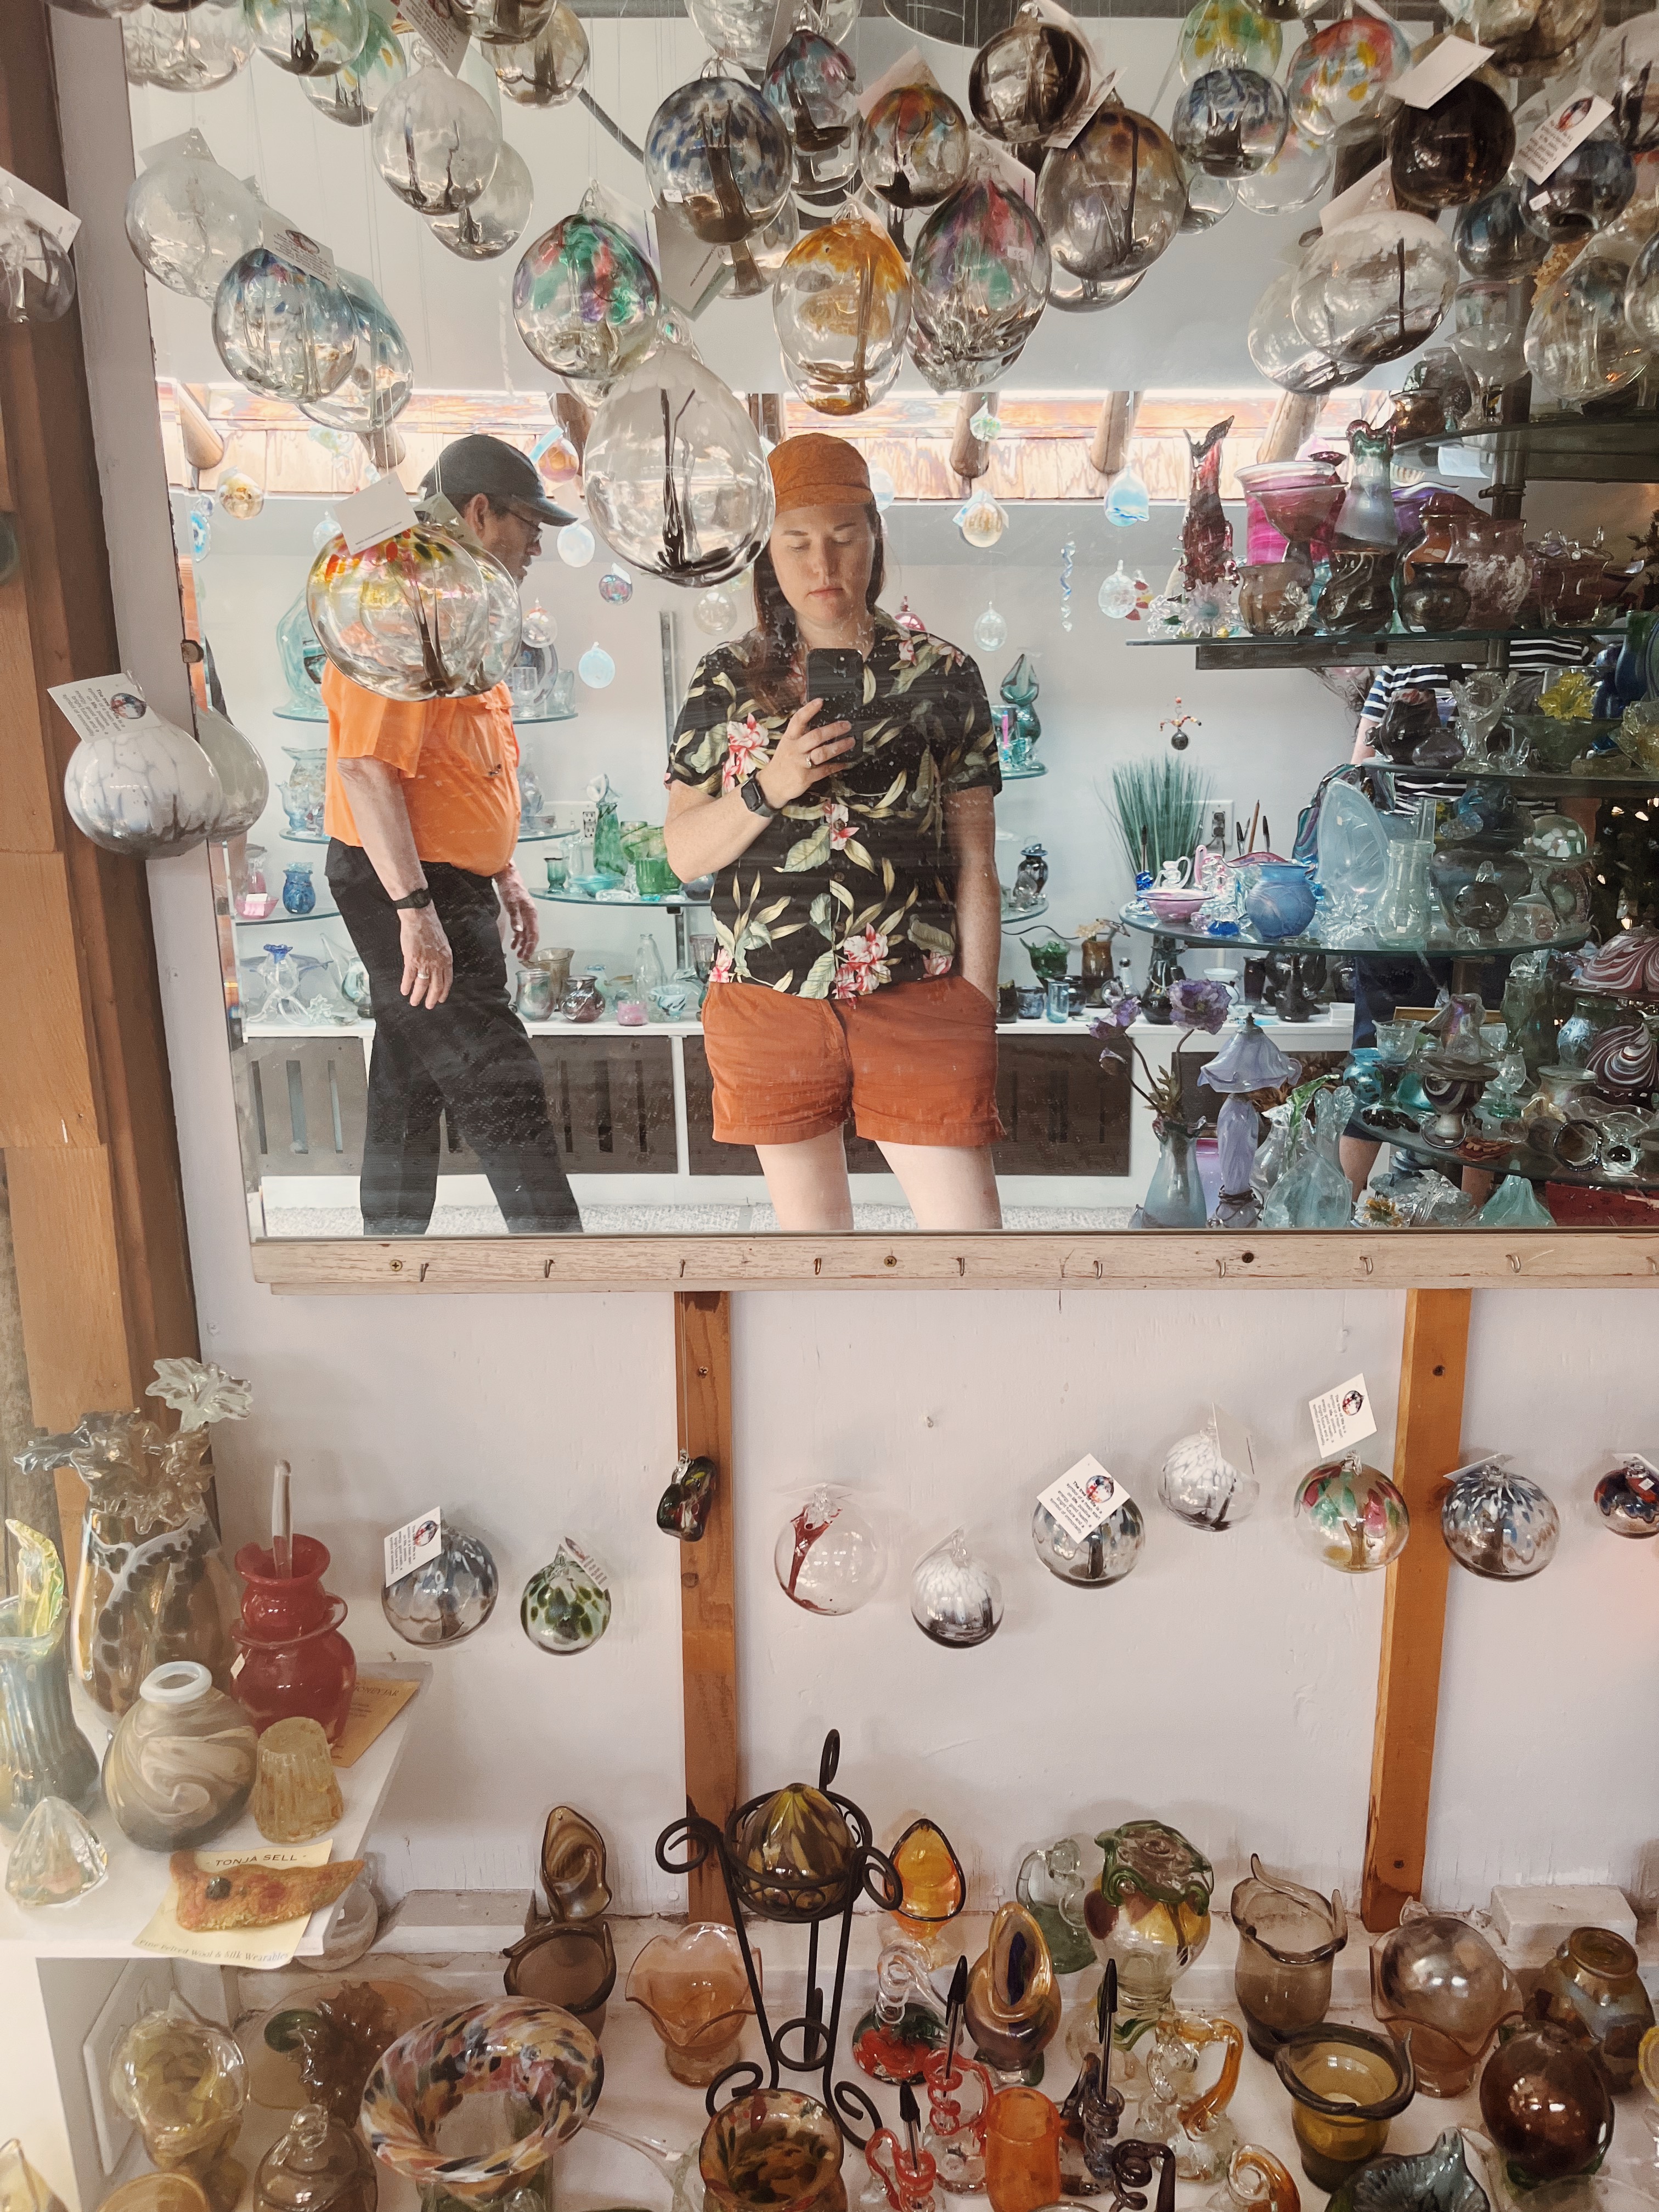
I found it really helpful to pull out my button down tops to look at their colors and patterns too. My favorite favorite shirt to wear right now is that black Hawaiian shirt, funnily enough. I bought it this summer in the curated vintage clothing section of a little shop in Cornucopia, WI. I like the cut, the drape, the feel of the fabric, the black with the bold floral–basically everything about it. It’s 100% rayon. I can’t believe this is my only black top that’s not a t-shirt! And it’s not even a solid black. This is beneficial data.

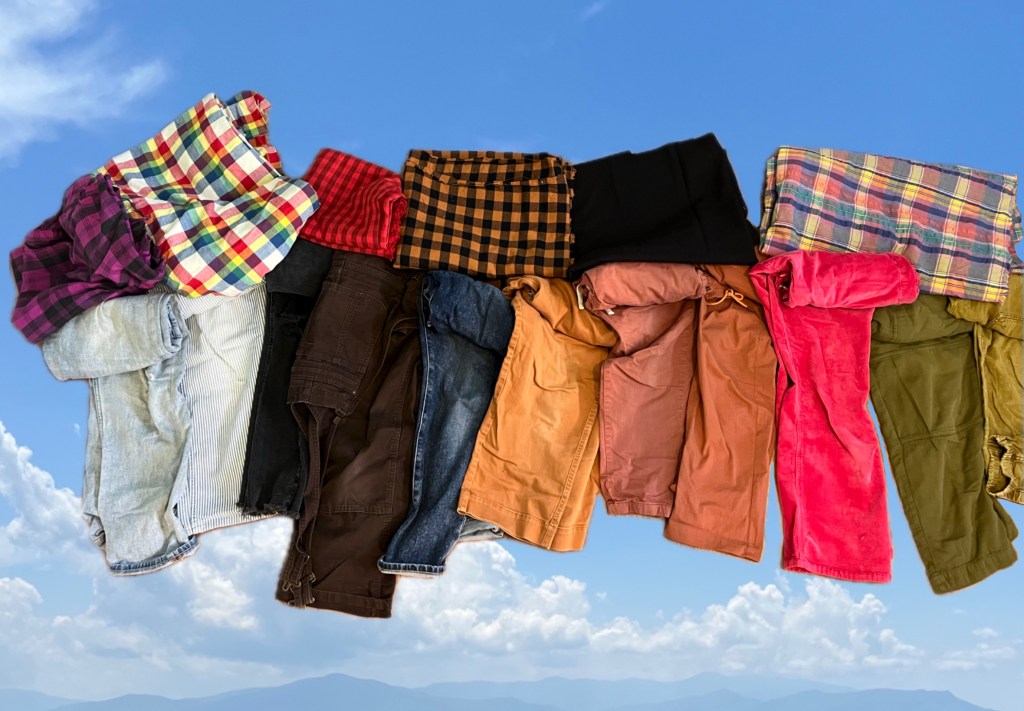
The other extremely helpful idea I had was to pull out my favorite/most worn pants (and overalls) to see if the fabrics I’m auditioning work with them. I’m really liking some of these fabrics with my pants. Which fabric would you choose?

pants with fabric in spaaaaaace

I bought the pattern at a local shop! I’m glad I didn’t have to get this one printed, but I will still trace it using Swedish tracing paper so I can choose to continue to use the pattern over and over. I’m hoping to write weekly about this project so check back in on my progress and to see what fabric I chose. Thanks for checking in!

Ash