

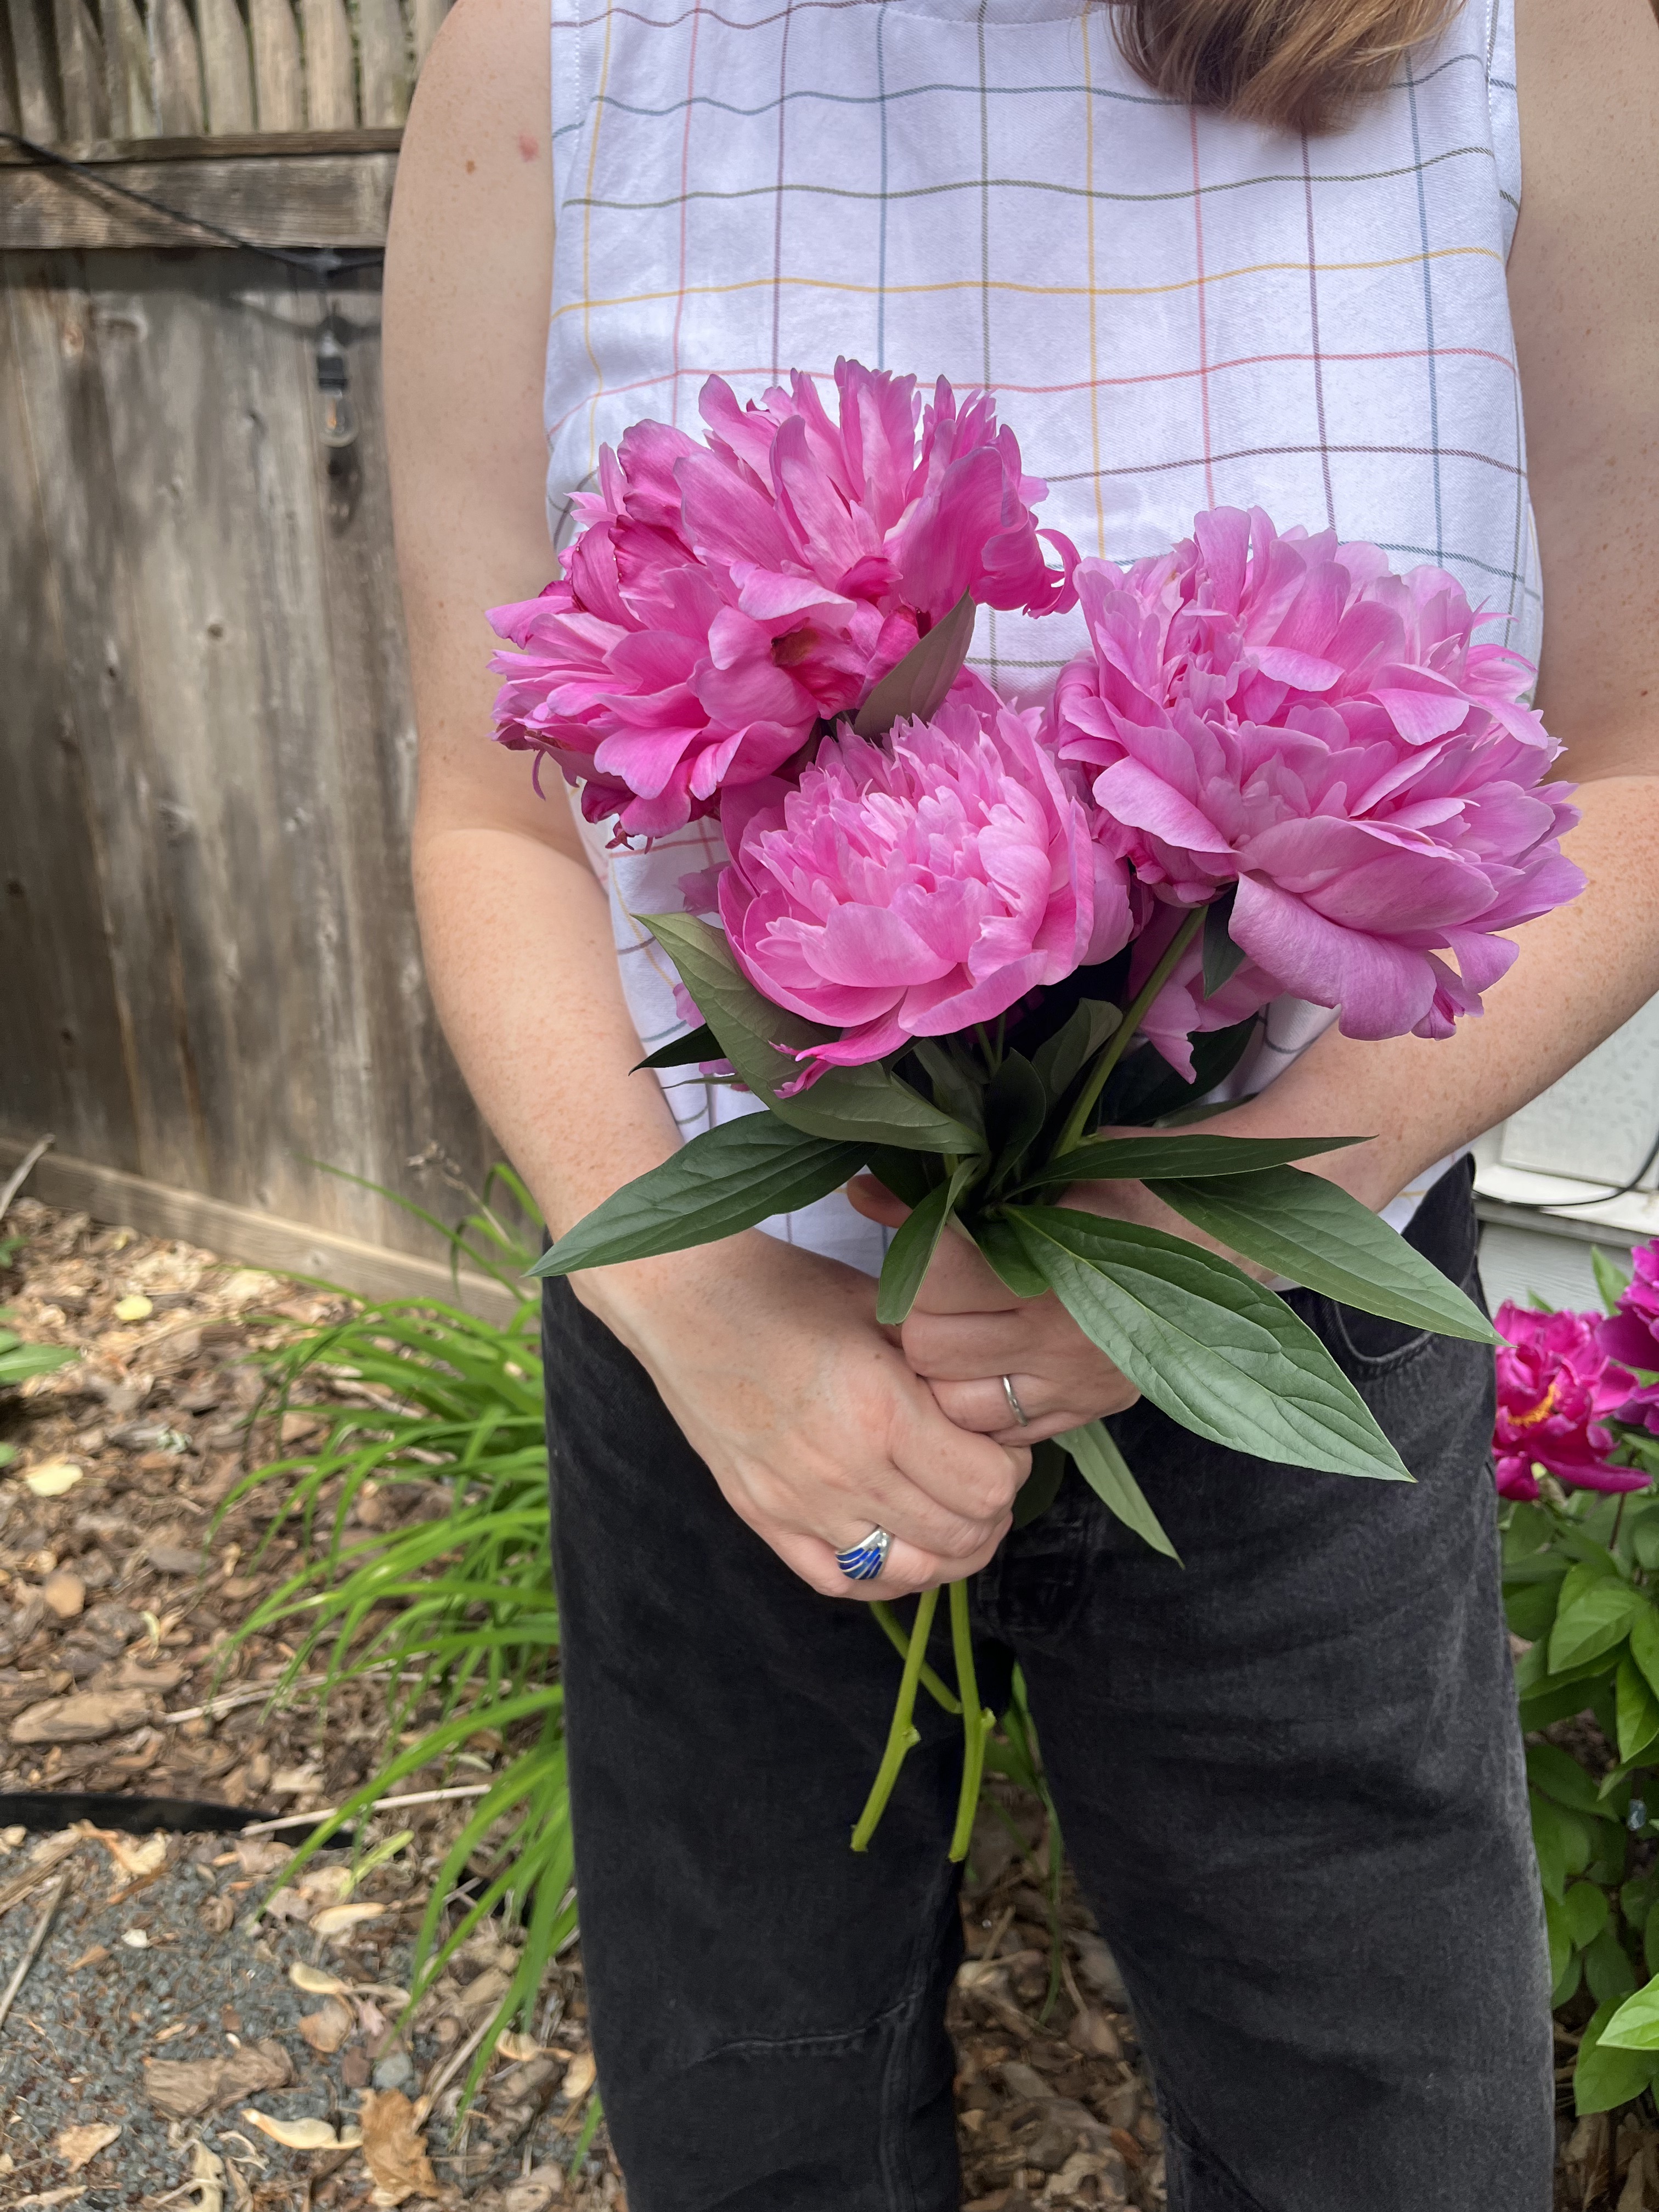
Tanks are one of those necessary evils of a summer wardrobe for me. I wear them, but a bit resentfully. Part of the reason is I have this (what I think is a) dermatofibroma on my front right shoulder, and another on my back left shoulder, hanging out like a year round zit or mosquito bite. They’re ugly! I also am a bit picky about necklines and don’t like anything too low, it’s just not a style I think looks best on me and I find most patterns have a lower neckline. I want to both feel like myself and look my best in clothing, but when the weather calls for it I will lean towards whatever will be the most comfortable, which is often a tank.
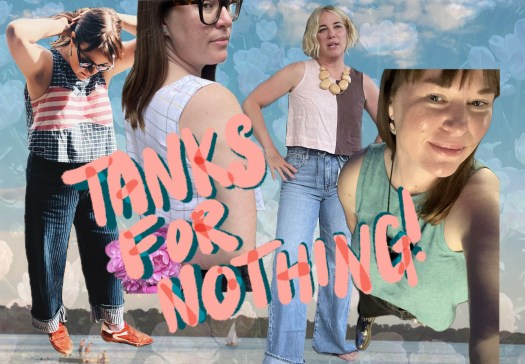
With that in mind, this summer I decided to embrace tank making and try to find a style I love so I can feel my best. I’ve already made four and I’m having a blast! They have all turned out cute, making me want to wear them more, even on days when I could comfortably wear a shirt with sleeves. What a thrill. In true Shash fashion I have used thrifted, gifted, and even found fabric for all of these makes, prompting Eric to call this my Tanks For Nothing series. In today’s post I’ll talk about the tank patterns I’ve made so far, what I think of them, and what other tank patterns I’d like to try out as well as what I plan to sew this summer.
Spaghetti Western Sewing Ornella Top
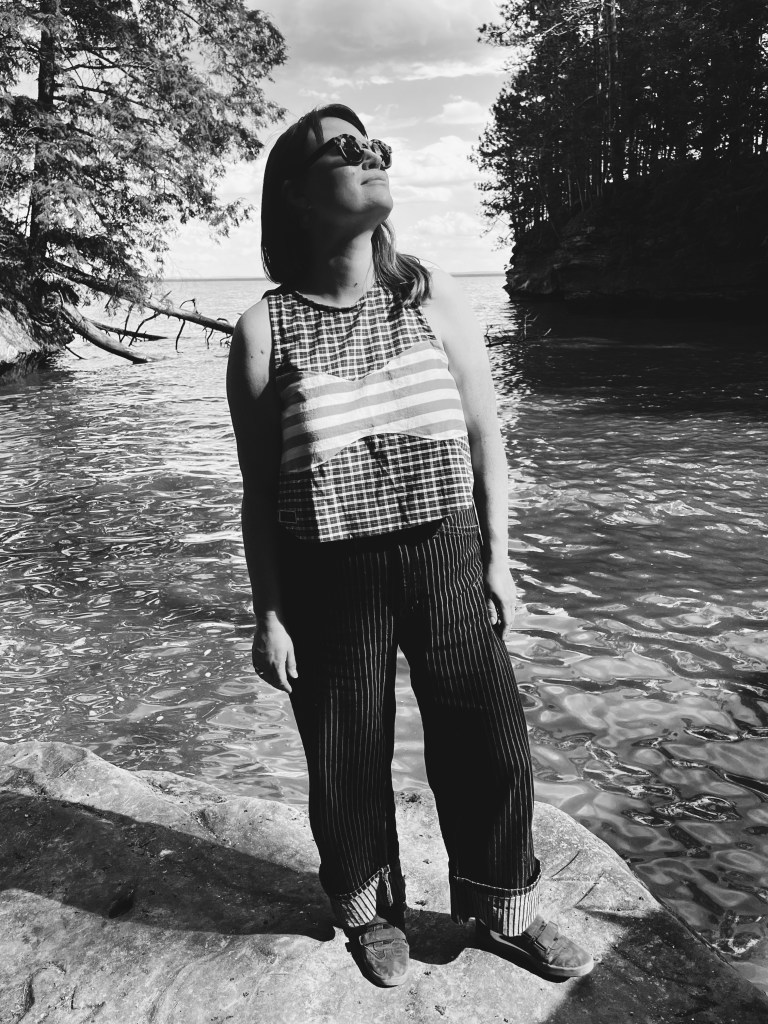
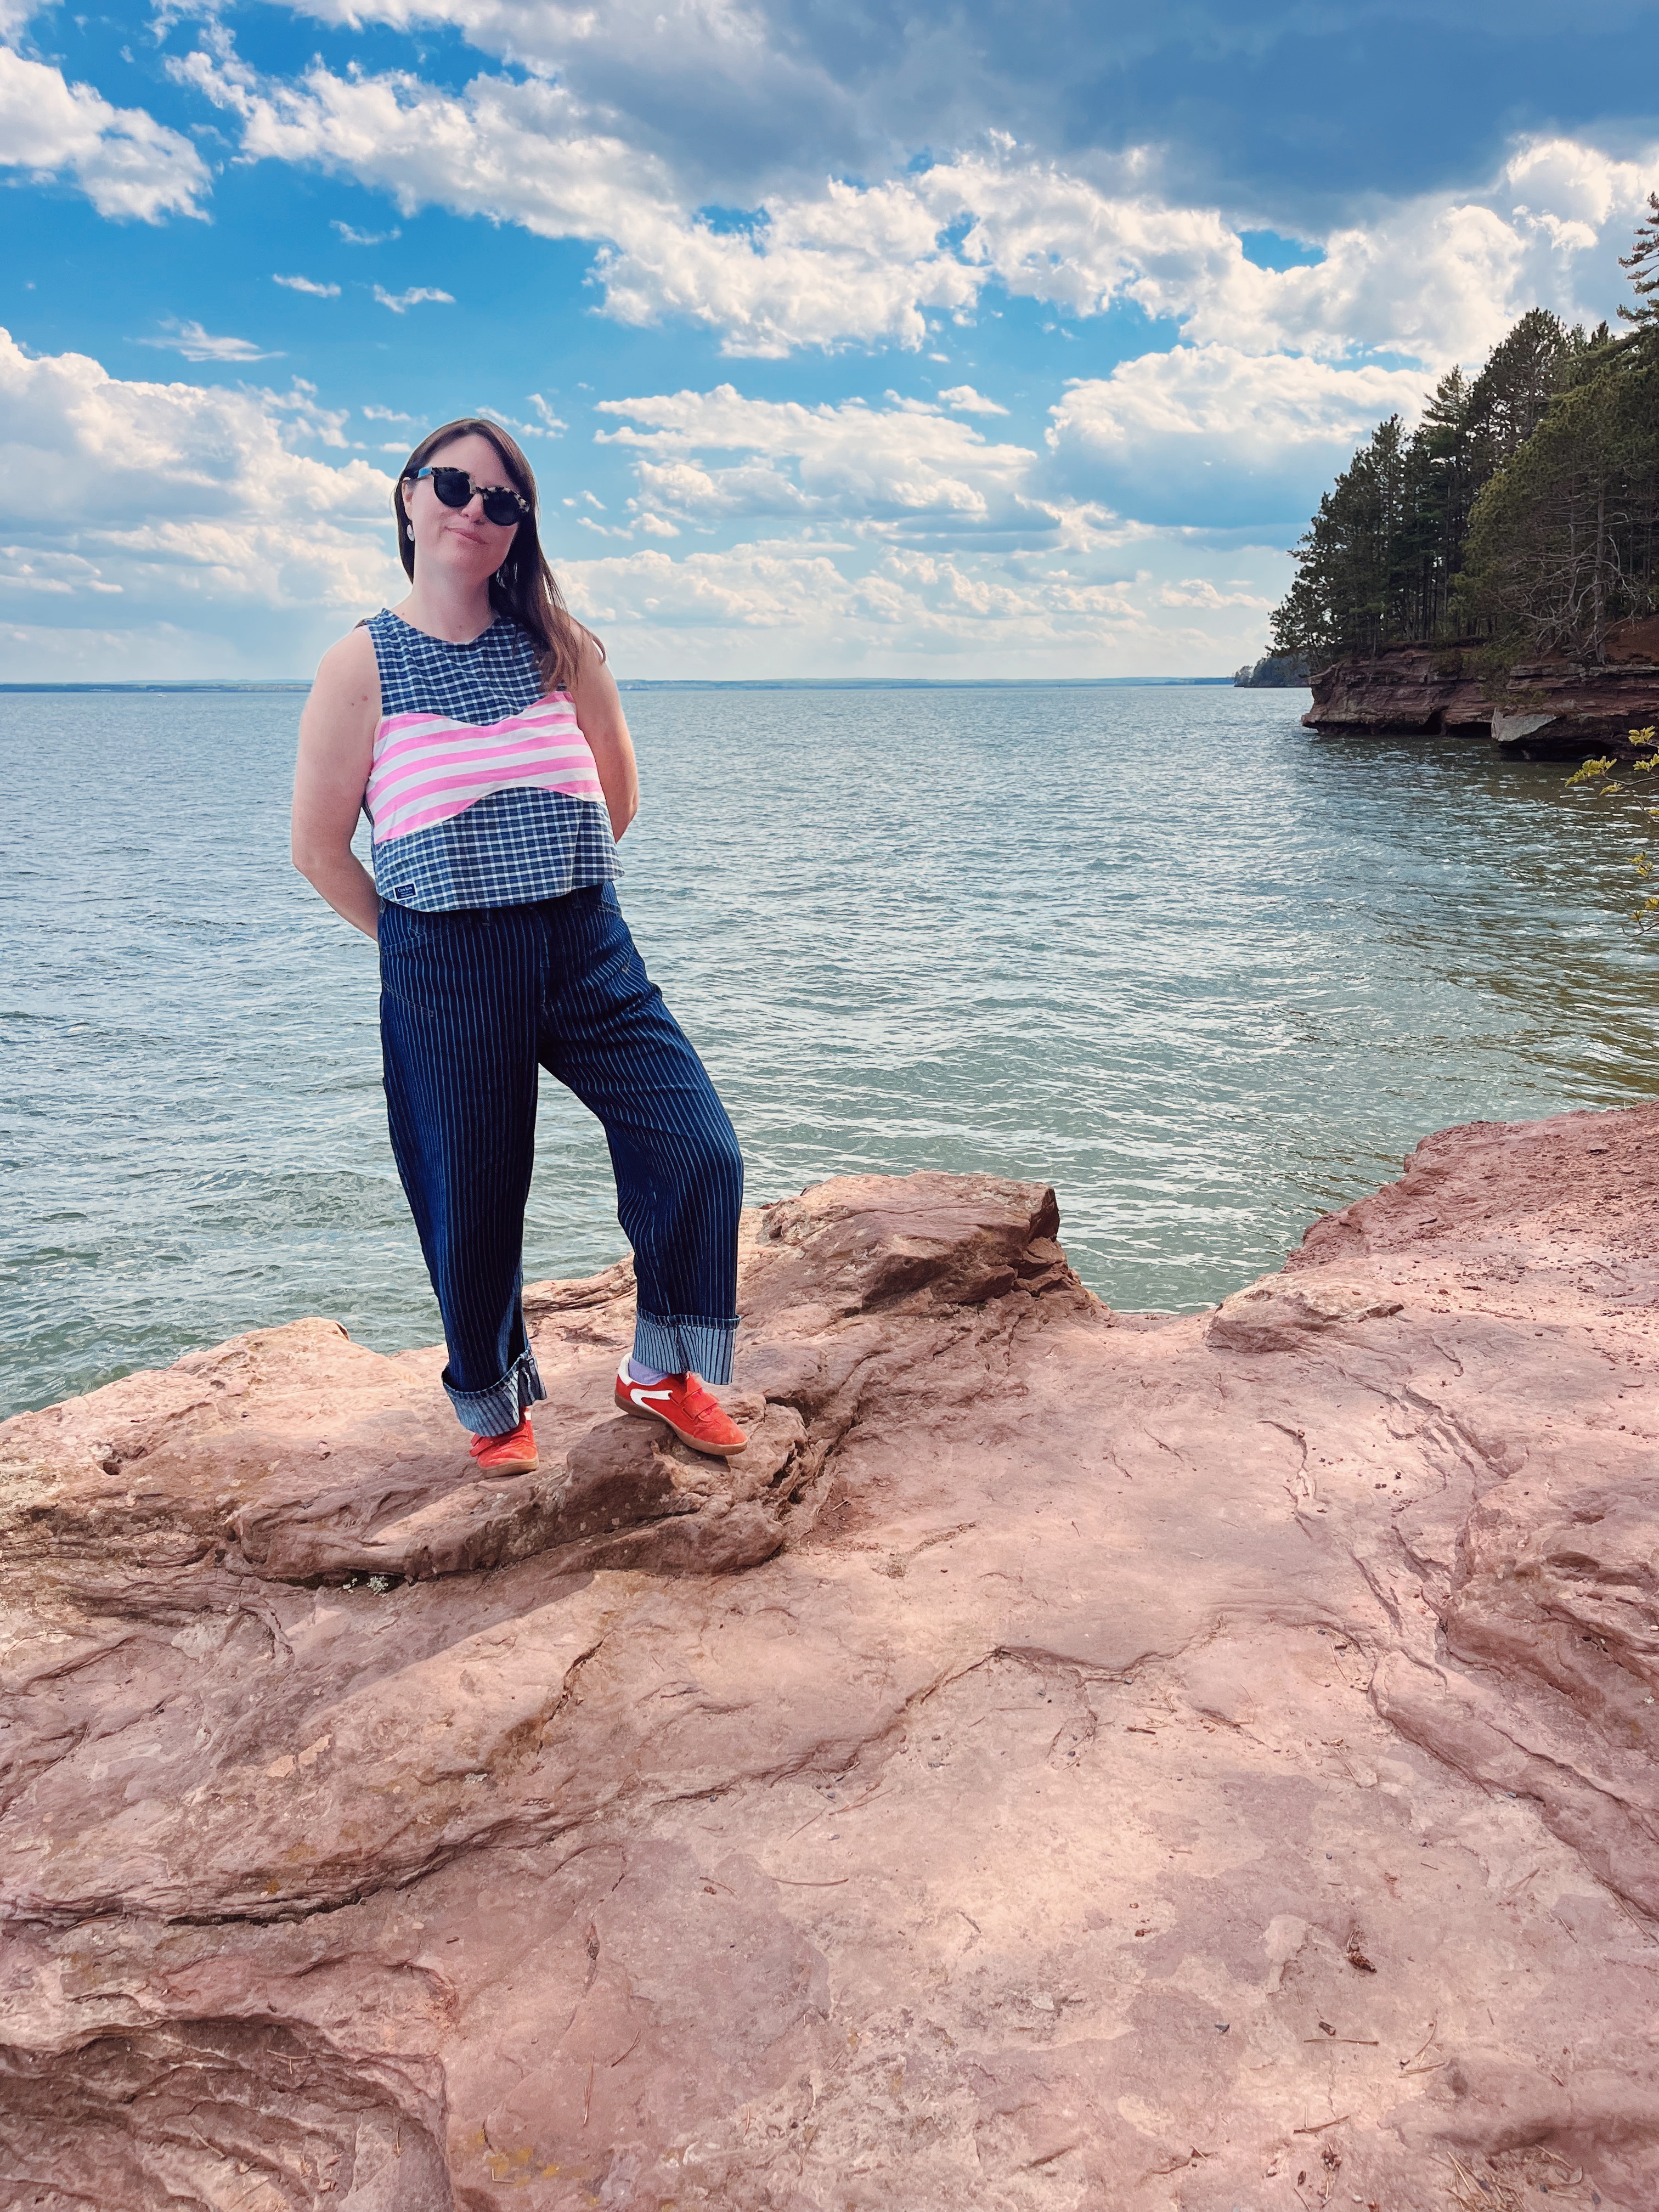
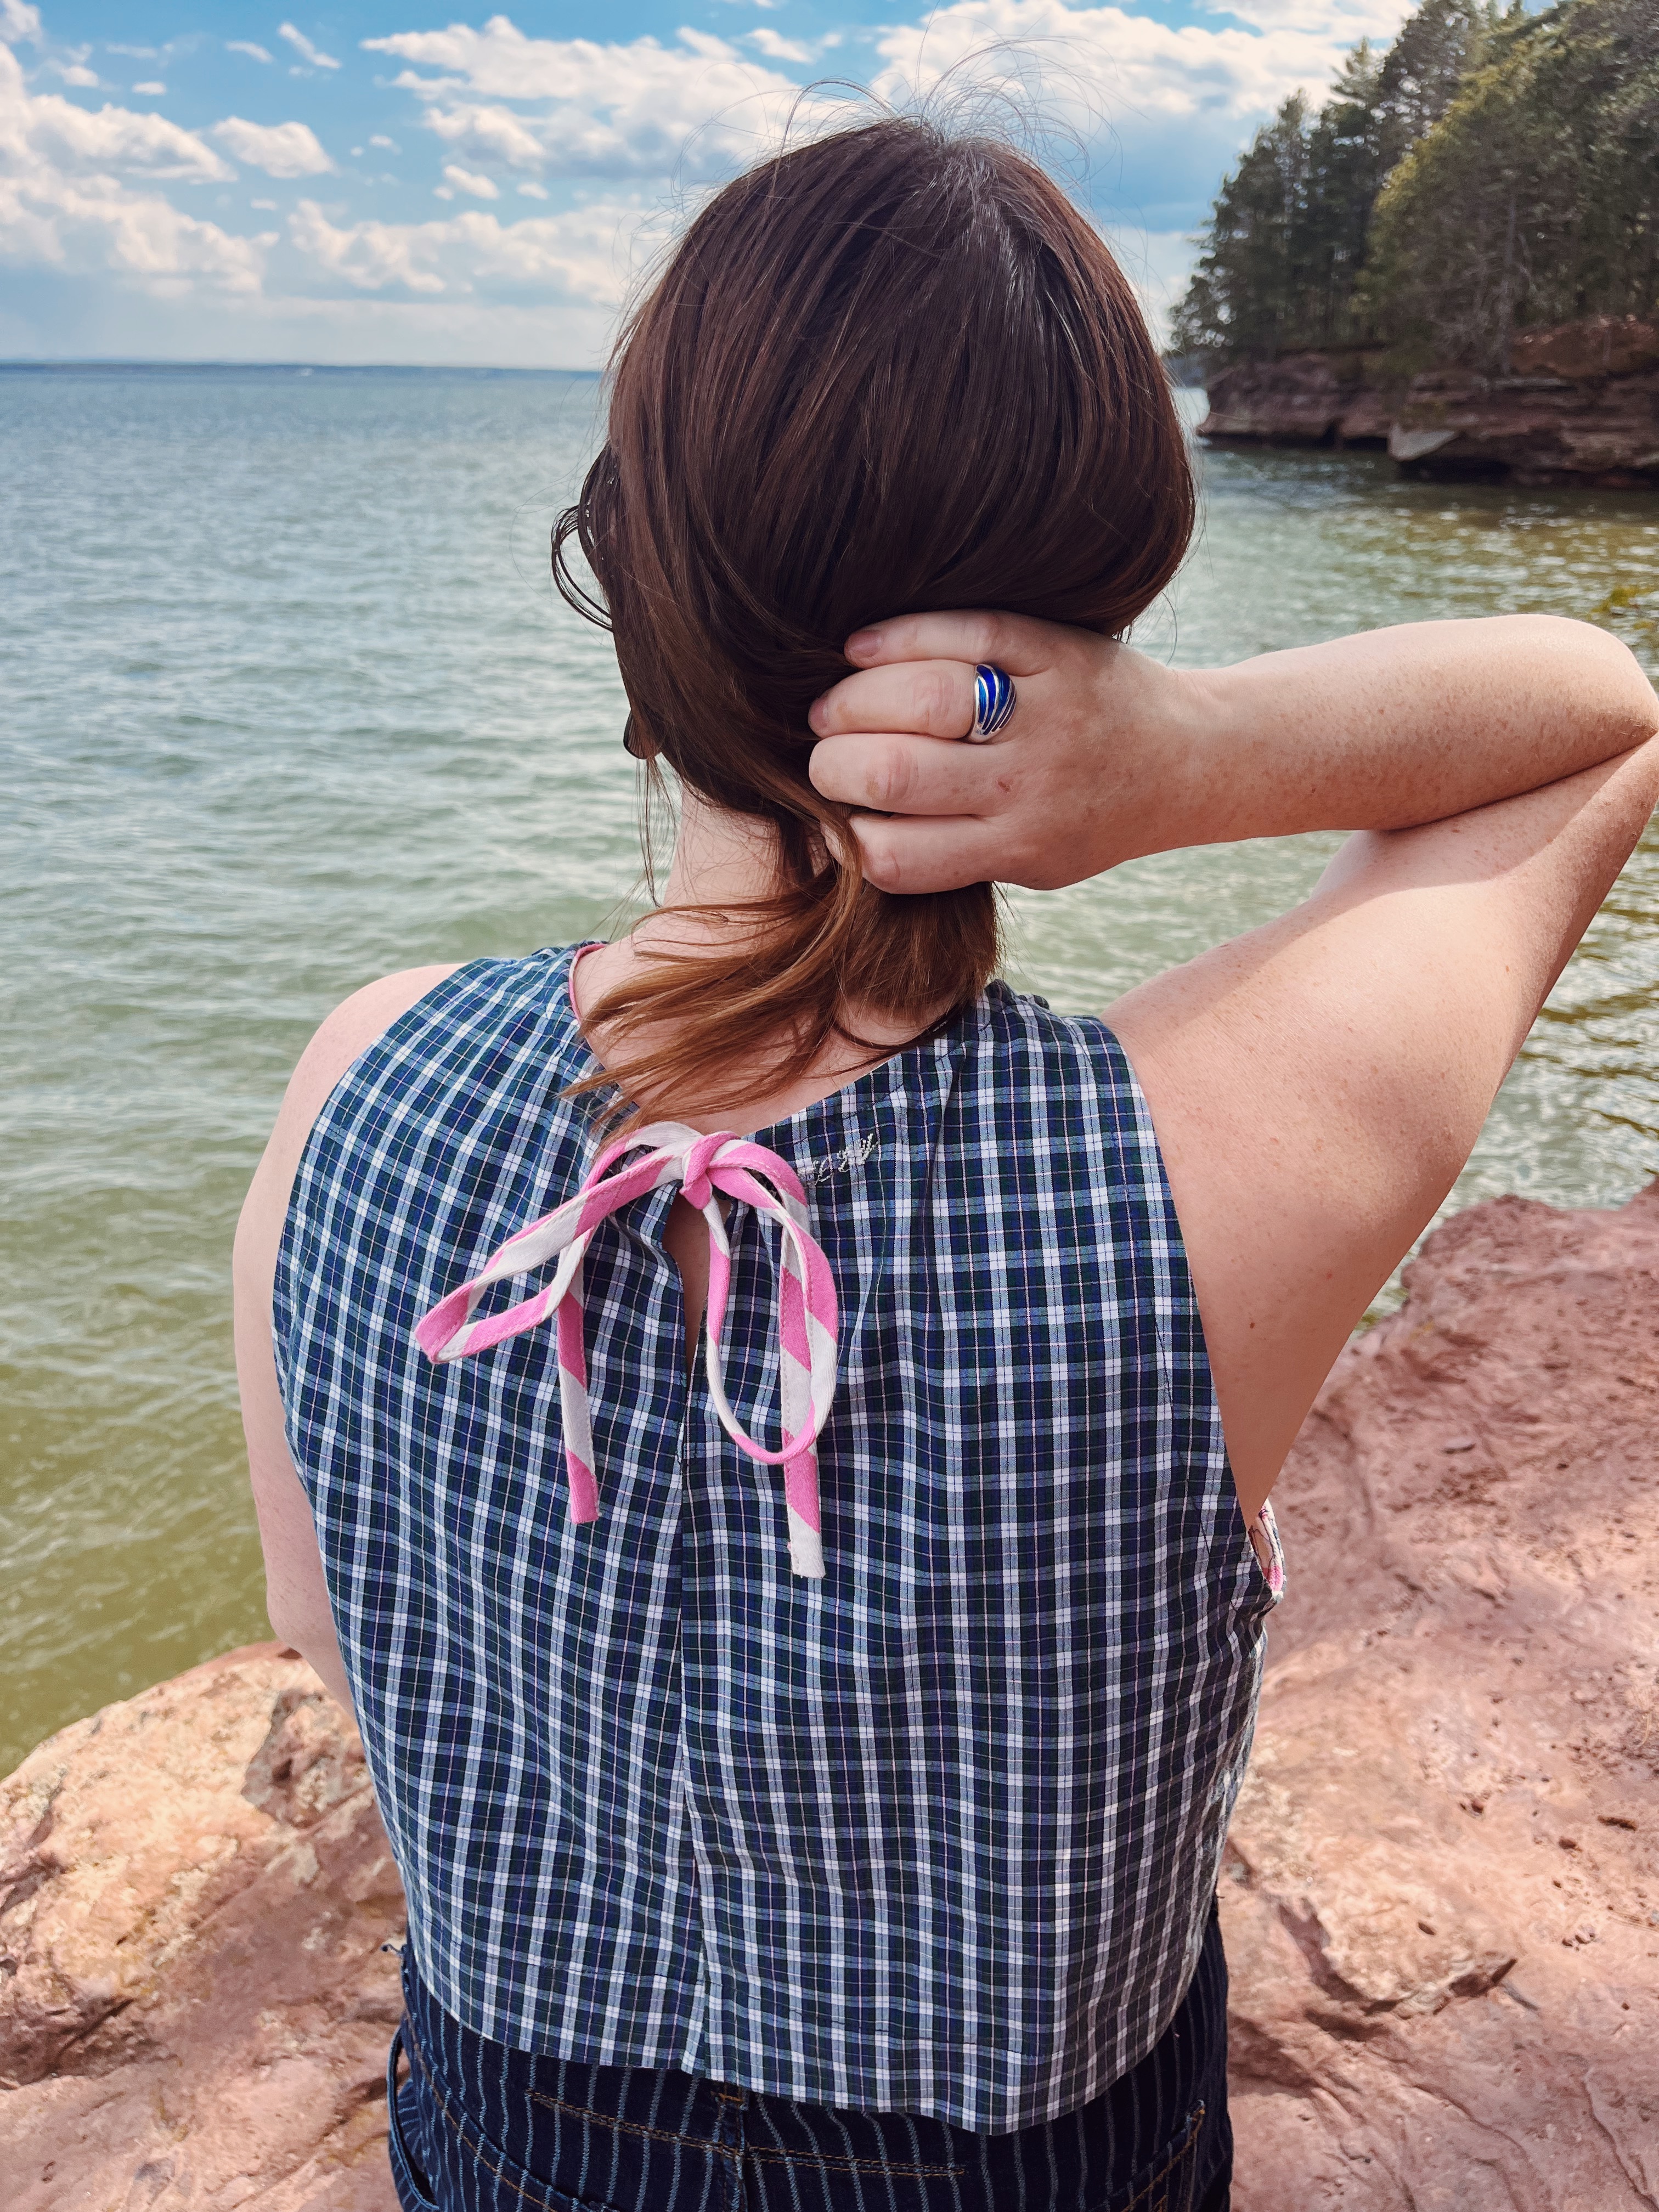
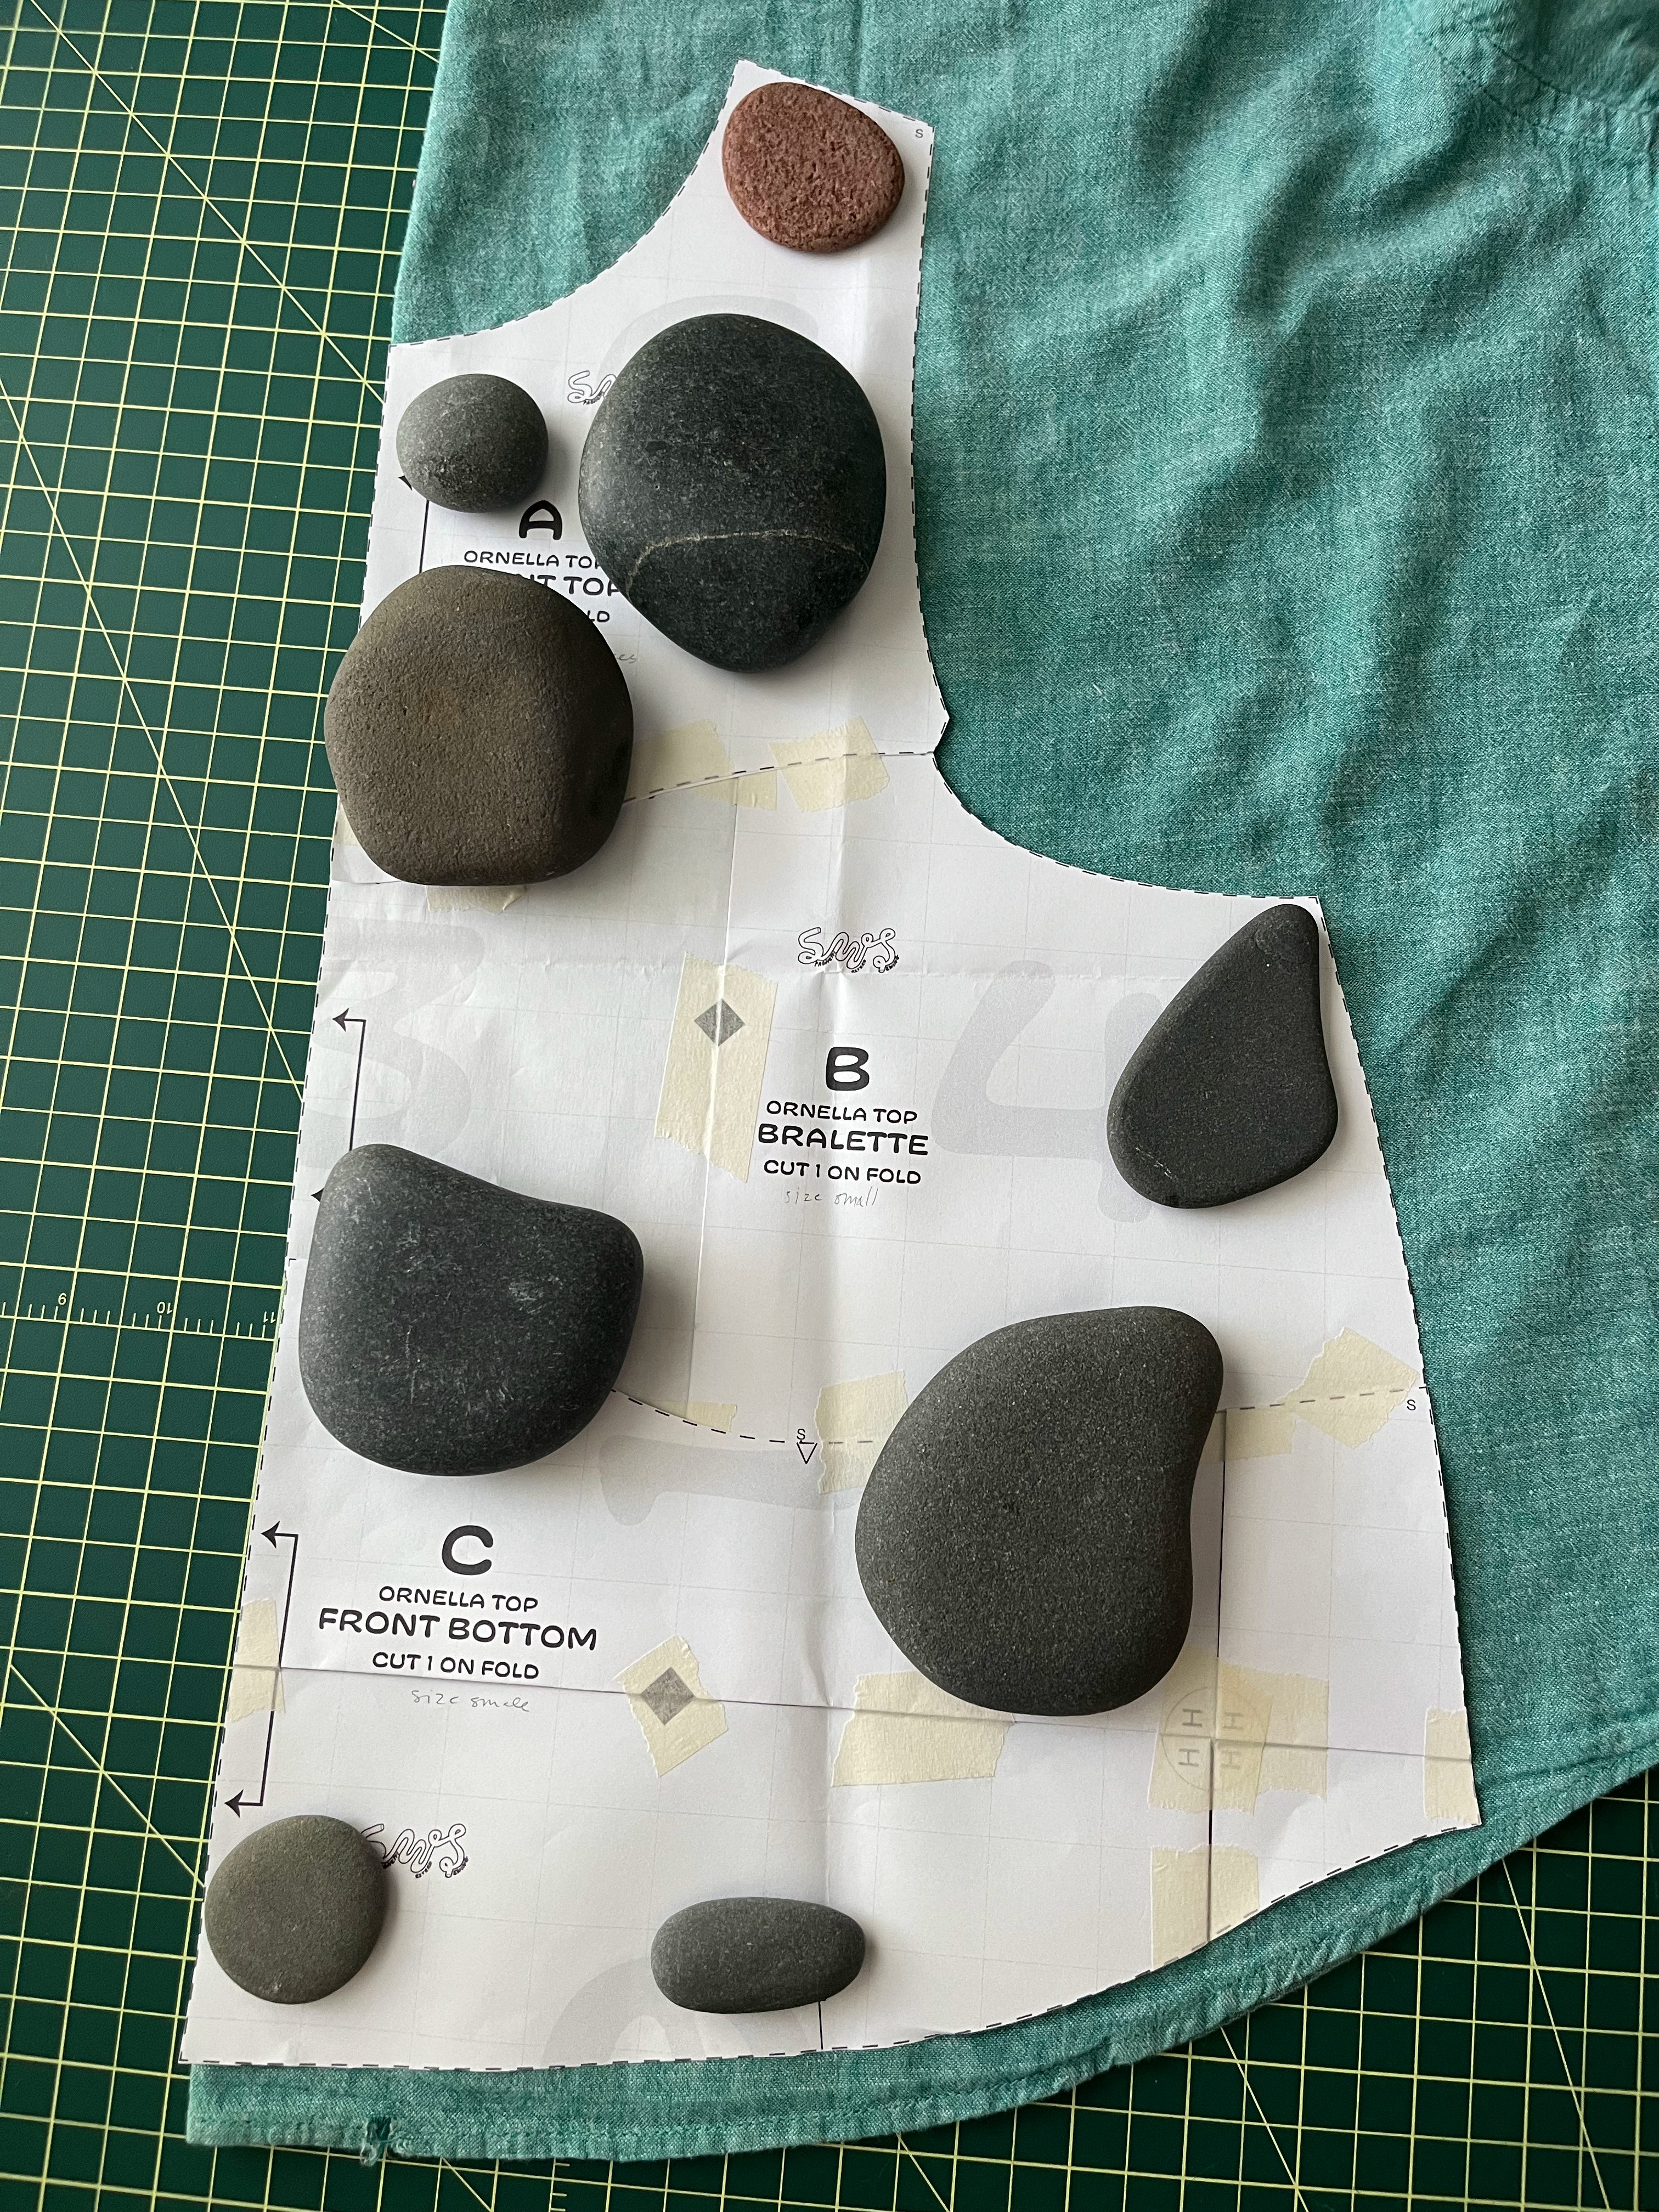
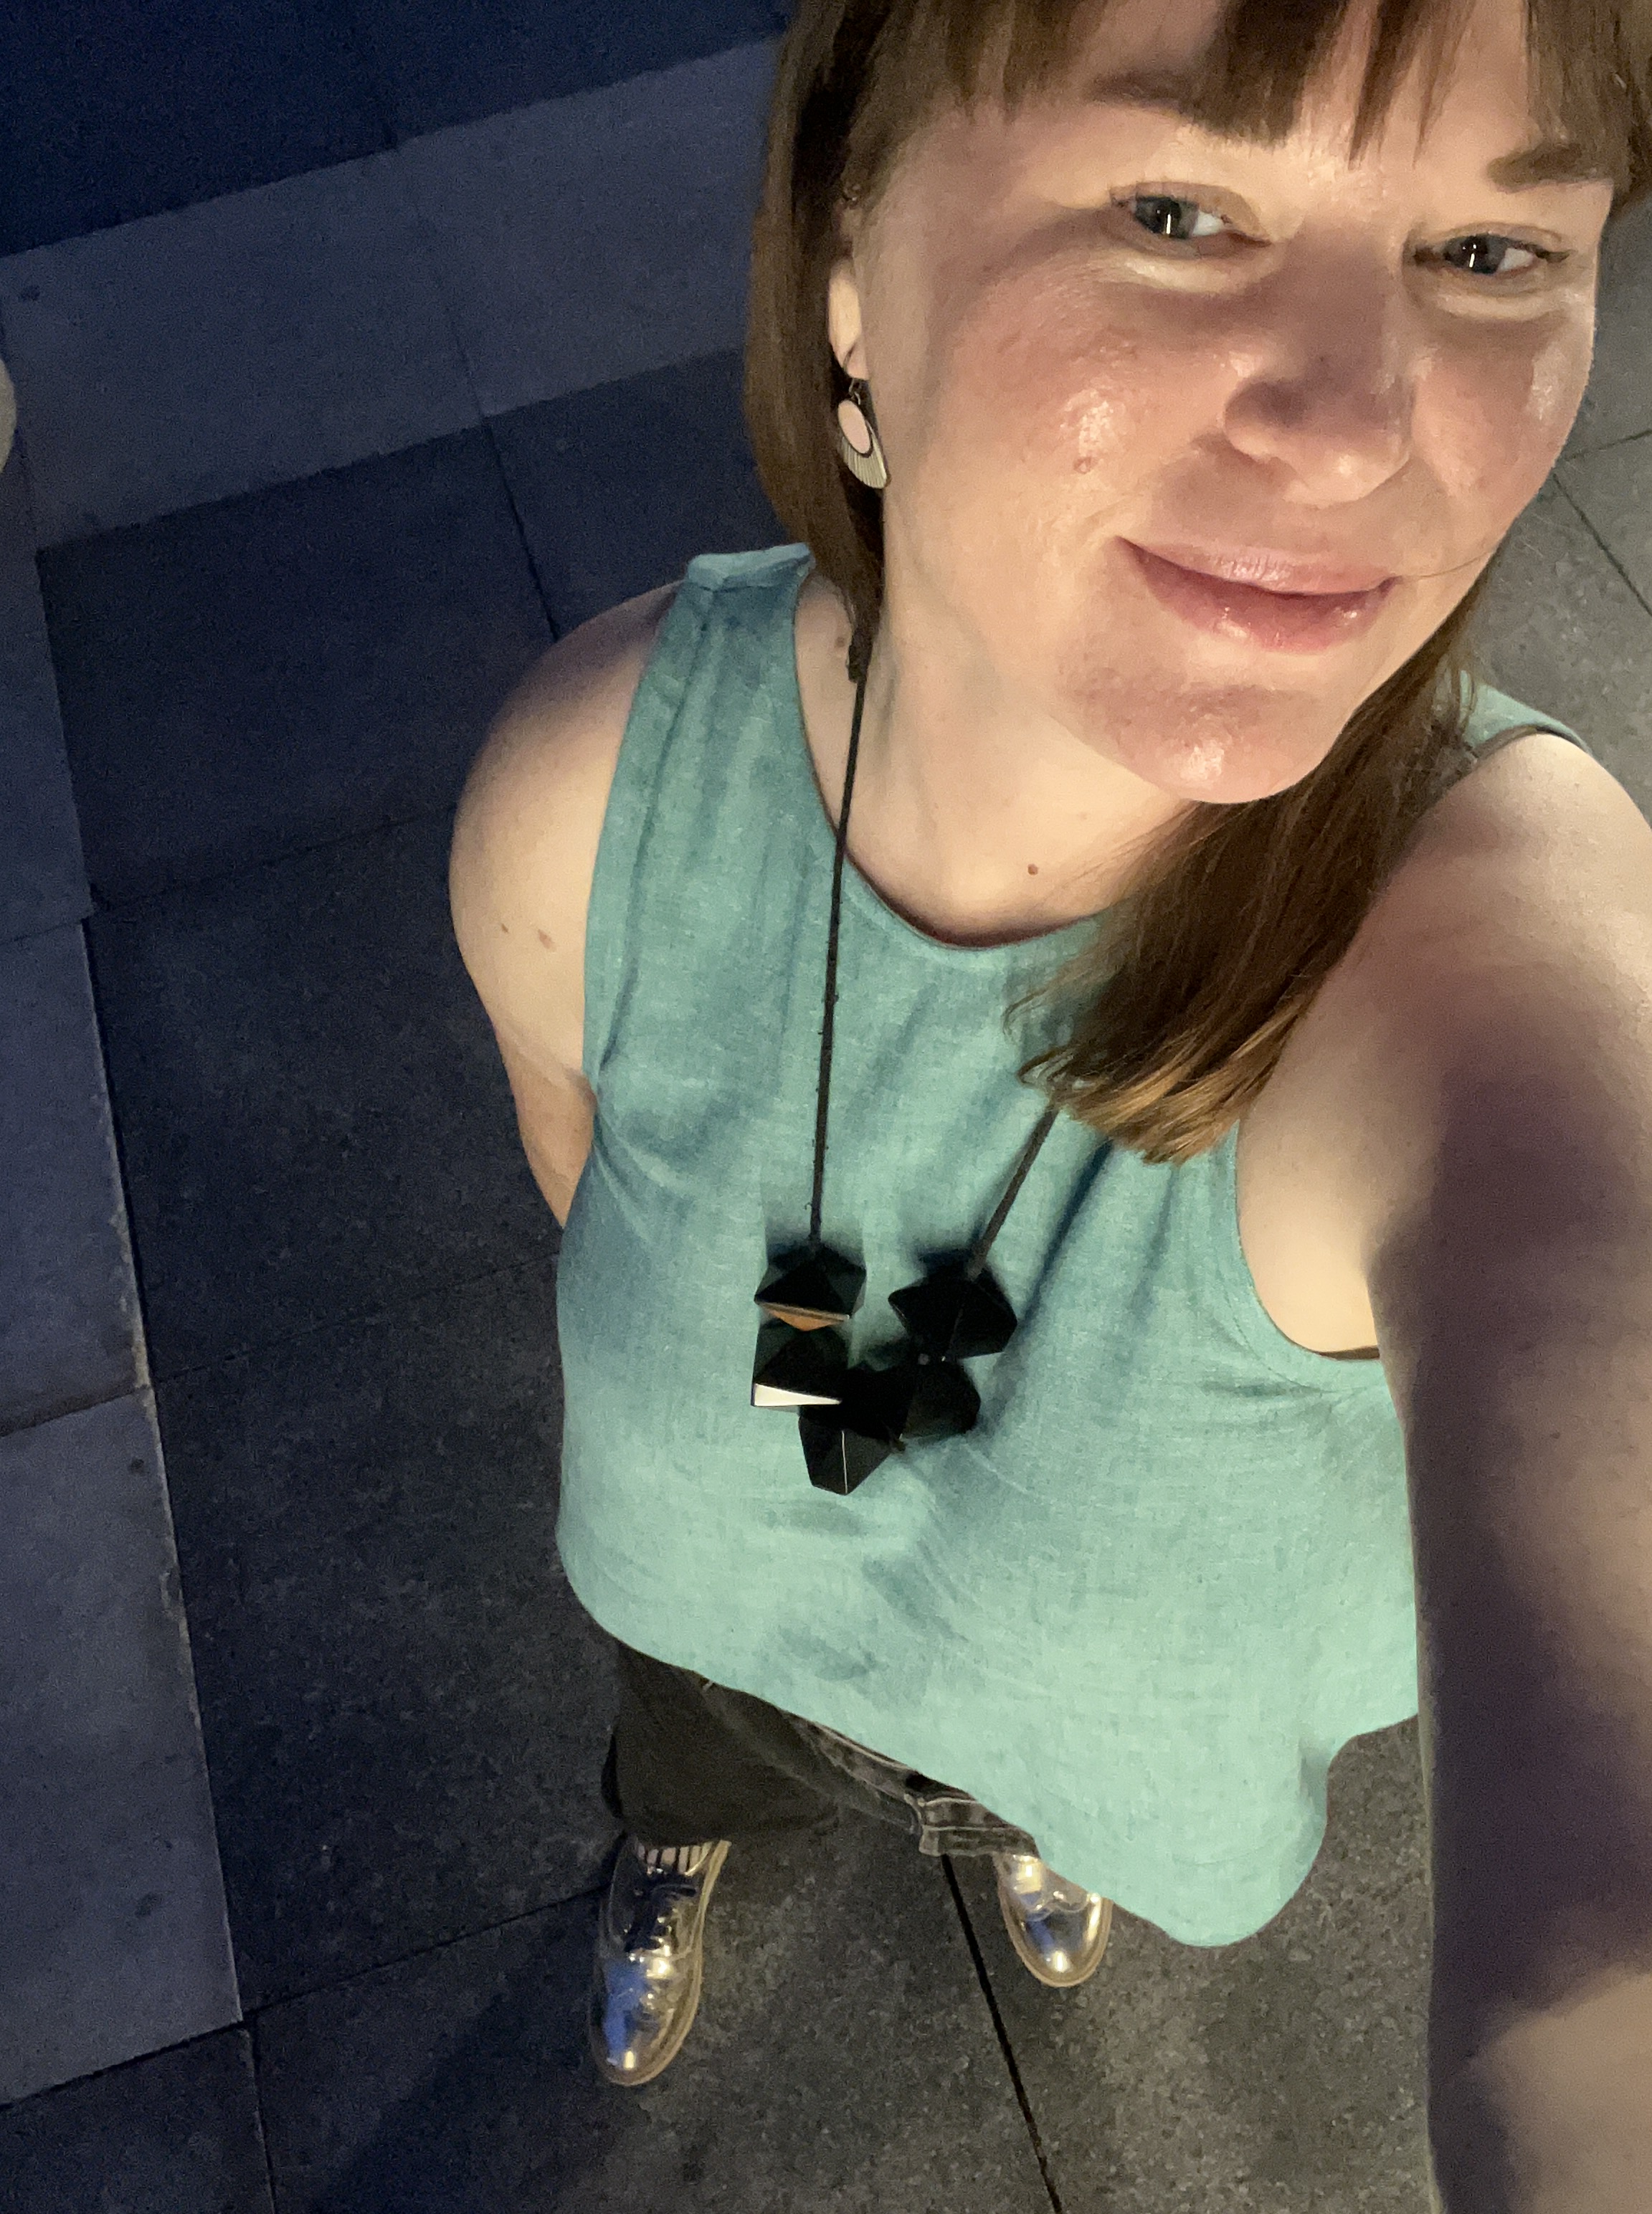
When I first saw the Ornella pattern being teased on Instagram I actually did not like it. I have always hated those tacky tourist t-shirts with the printed bikinis on them, and this pattern is a nod to those. I did not think it was for me, and that’s ok. But that’s the thing with being so online these days, after a while you get used to seeing something, it worms its way into your brain and then you see a version you actually love and then it’s time to buy it and make your own! I came around to the fun, playful, effortlessness of this tank. It also has a higher neckline, thanks to the split back with either a tie or button closure.
For my first Ornella I made a medium based on my bust size. It’s drafted for a 5’2″ person and I’m 5’5″. I didn’t do any mods, mostly out of laziness. The pattern doesn’t come with lengthen/shorten lines which is a little annoying, especially for a sewist like me who just wants to follow the recipe as written without having to think too much. That being said, I am mostly happy with the final length of the garment I made. I’ll talk more about the length later!
Fabric
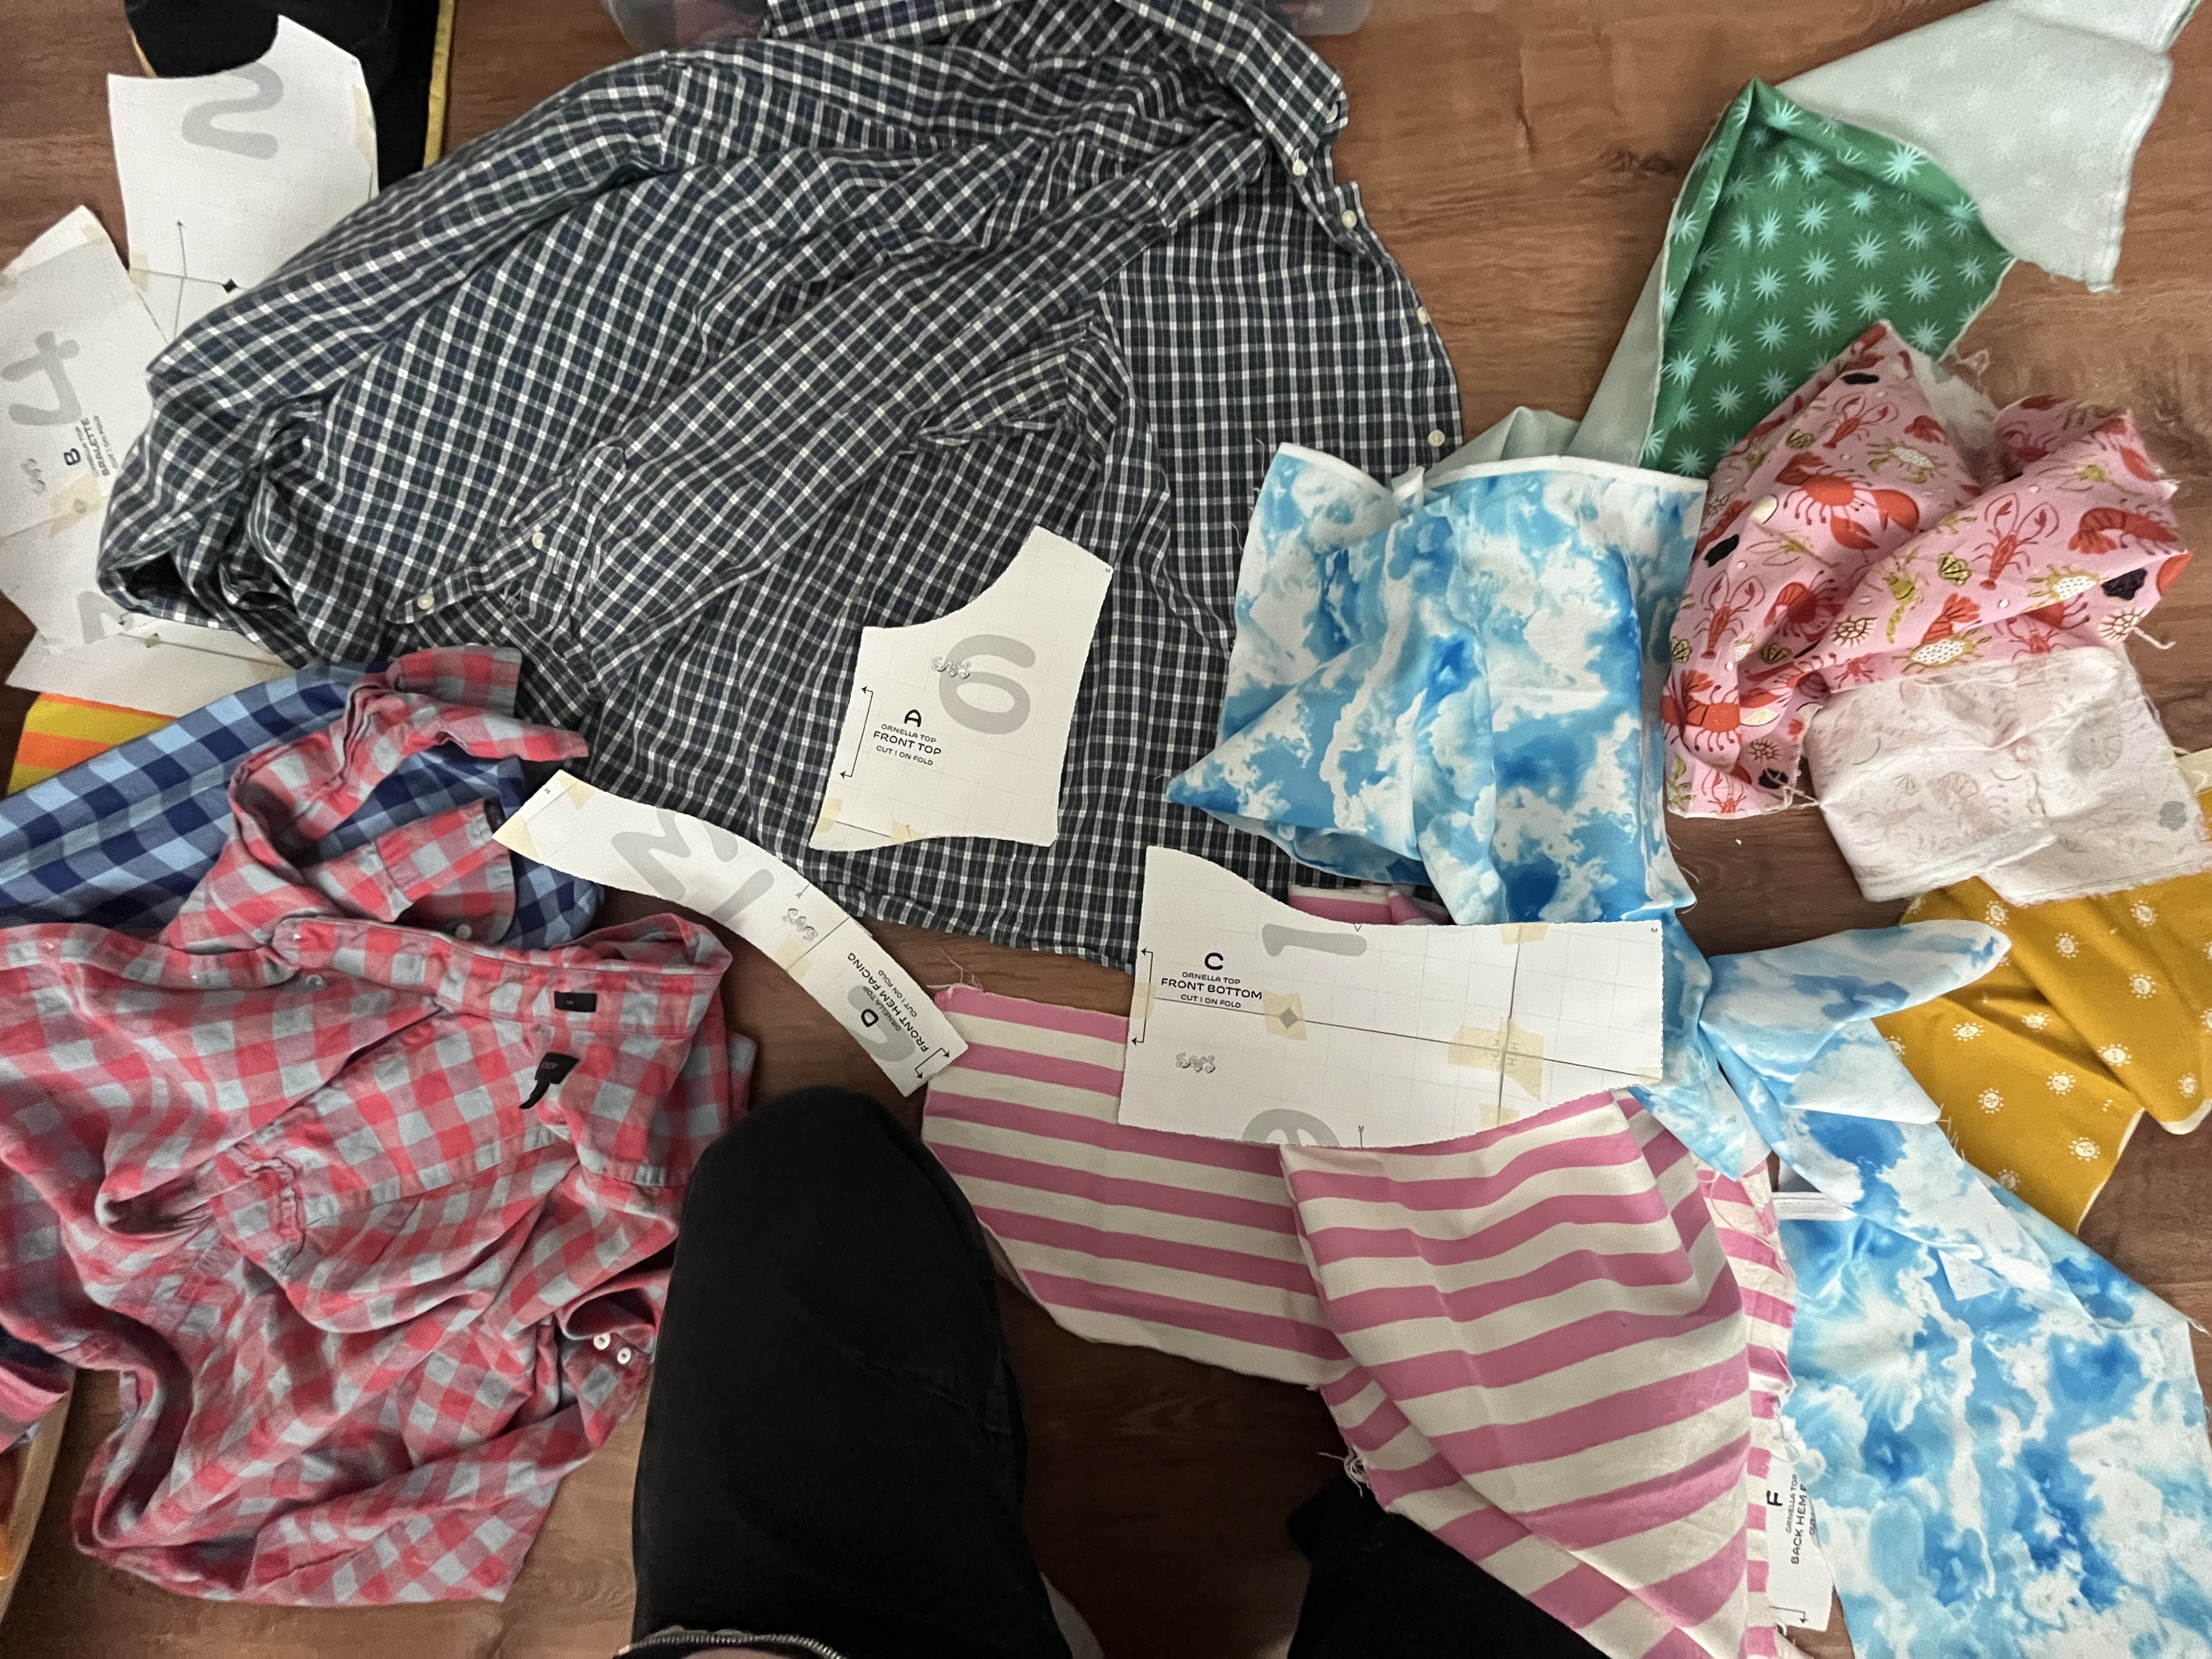
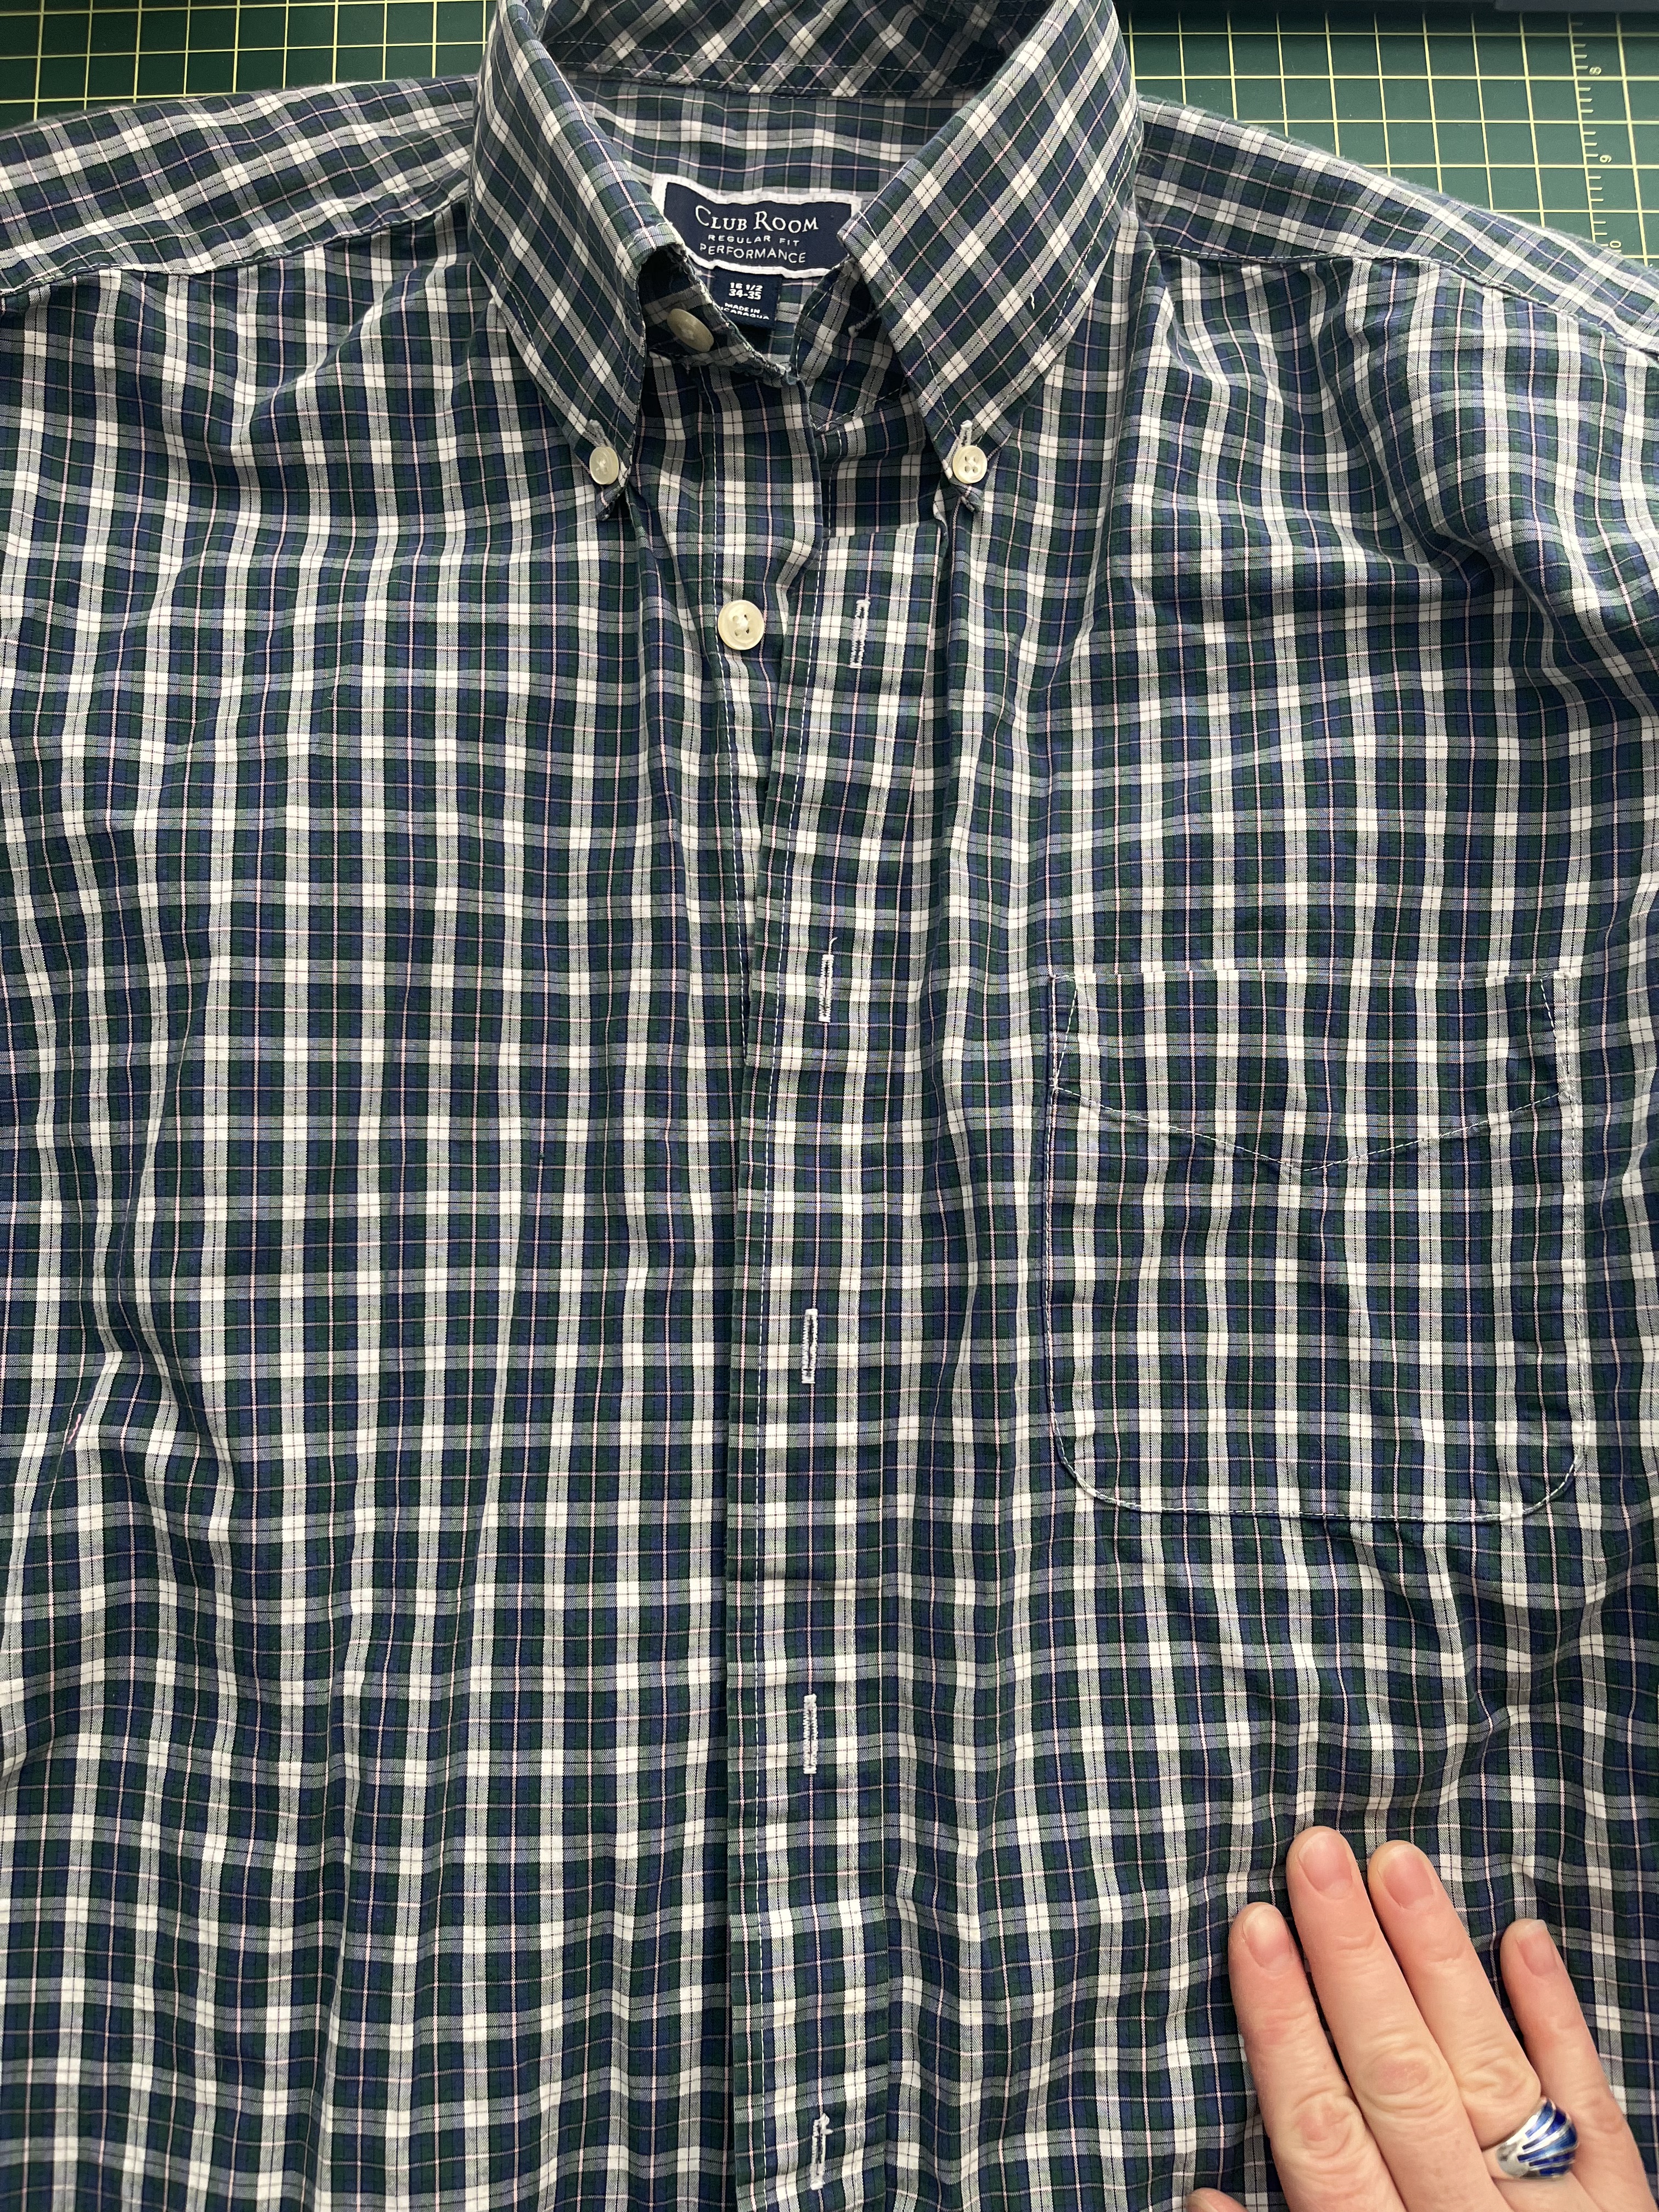
For my fabrics I used a thrifted men’s shirt for the top and bottom of the front bodice and for the two back pieces. I could’ve pieced more together to use it for the facings and bias tape but again, I’m lazy, so I used the striped canvas for my hem facing and bias. The canvas I actually found in the community ed sewing room this spring, buried deep in the communal sewing supplies. I’m actually so glad I used the stripes for the neck bias/ties, it really gives it that extra illusion that I’m wearing a bikini on top of my tank. Who am I? I like this style now. I think these two fabrics work so well together too; The casual candy-pink stripes is a fun juxtaposition against the polish of the men’s plaid.
Sewing It Up
I made this tank top in a day, I think; I really wanted it for the steamy Memorial Day weekend we were in for. The worst part of sewing this is the bralette piece. I have eased in sleeves before, but easing in the top curve of the bralette to the top piece of the bodice really sucked. I had to unpick puckers and resew a few times. Maybe I was rushing too much but it was hard! The final look of it is still not perfect but I am a “mostly good enough” sewist and I don’t think most people can tell that it’s not perfect. I used the alphabet setting on my machine to put my name at the back. I also tried doing the year but it got all jammed up so I unpicked it and opted to not try it again.
Final Fit and Styling
Since making this top I am finding I prefer to wear this with my jeans, and that means I am not wearing this on humid days. The tank is a bit cropped which I like the look of in the back but not so much in the front. My shorts are all midrise, which means if I want to wear this without showing too much stomach I have to make some higher rise shorts! Since wearing it and posting about it I have gotten a lot of compliments which definitely feels good, I’m not gonna lie. I think getting to tell someone you made your garment is always going to be a thrill.
Hacked Ornella
After I wore the hell out of my first Ornella on Memorial Day weekend I decided I didn’t have much to lose by making another one a size down. There was enough ease in the bust and armscye that I thought I could get away with it and it worked out pretty well!
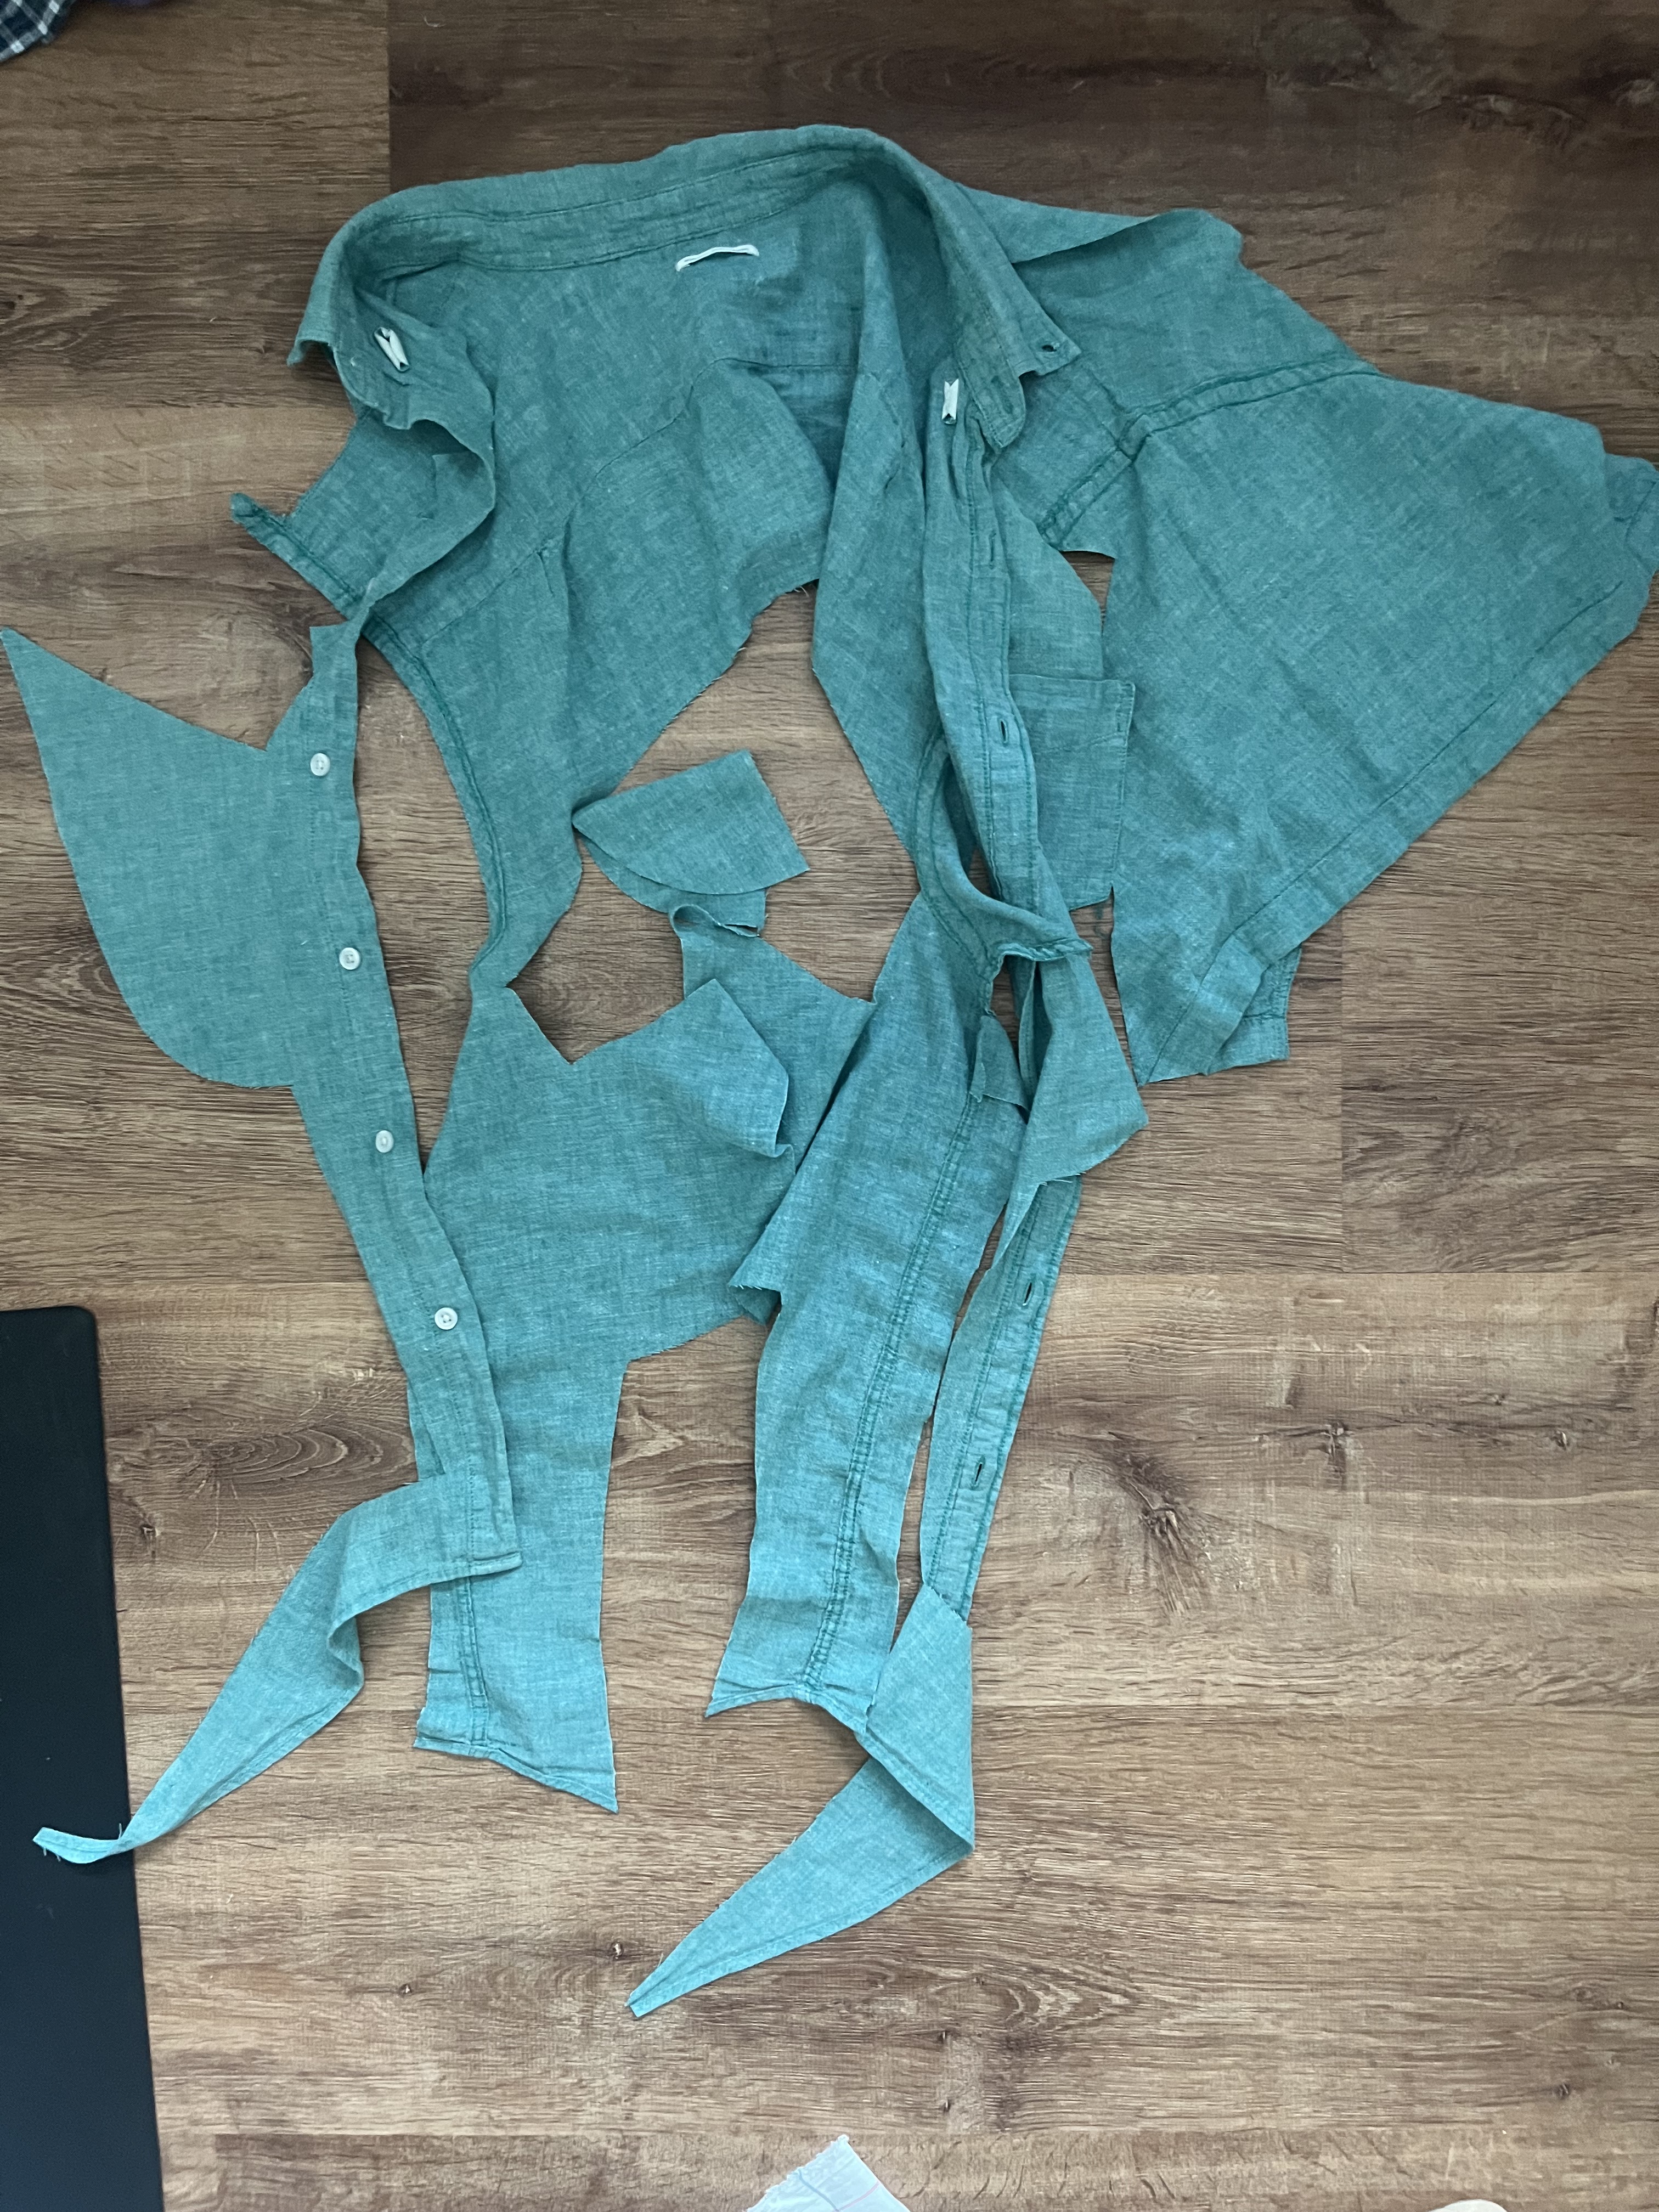
I had this thrifted linen/cotton blend short sleeved Old Navy men’s shirt laying around that I decided to make into my sized small Ornella. I wanted to try mashing together the bodice pieces to have a solid front tank without the contrasting bralette to have a tank that’s a little more polished looking. It was so easy and came together great! I just overlapped each front bodice piece by 3/8″ and taped them together. There were a few holes and blemishes in the shirt to work around and I had to do a lot piecing to make long enough bias tape. My first outing with it was to see The Wizard of Oz at The Children’s Theater with my family (recommend, it was so fun!). The small fits pretty well but not perfectly. There’s some tightness across the chest and it rides up a little more at the neck causing a little discomfort. I will continue to wear this one, but unless I try grading between a medium and small I will probably make a medium from here on out.
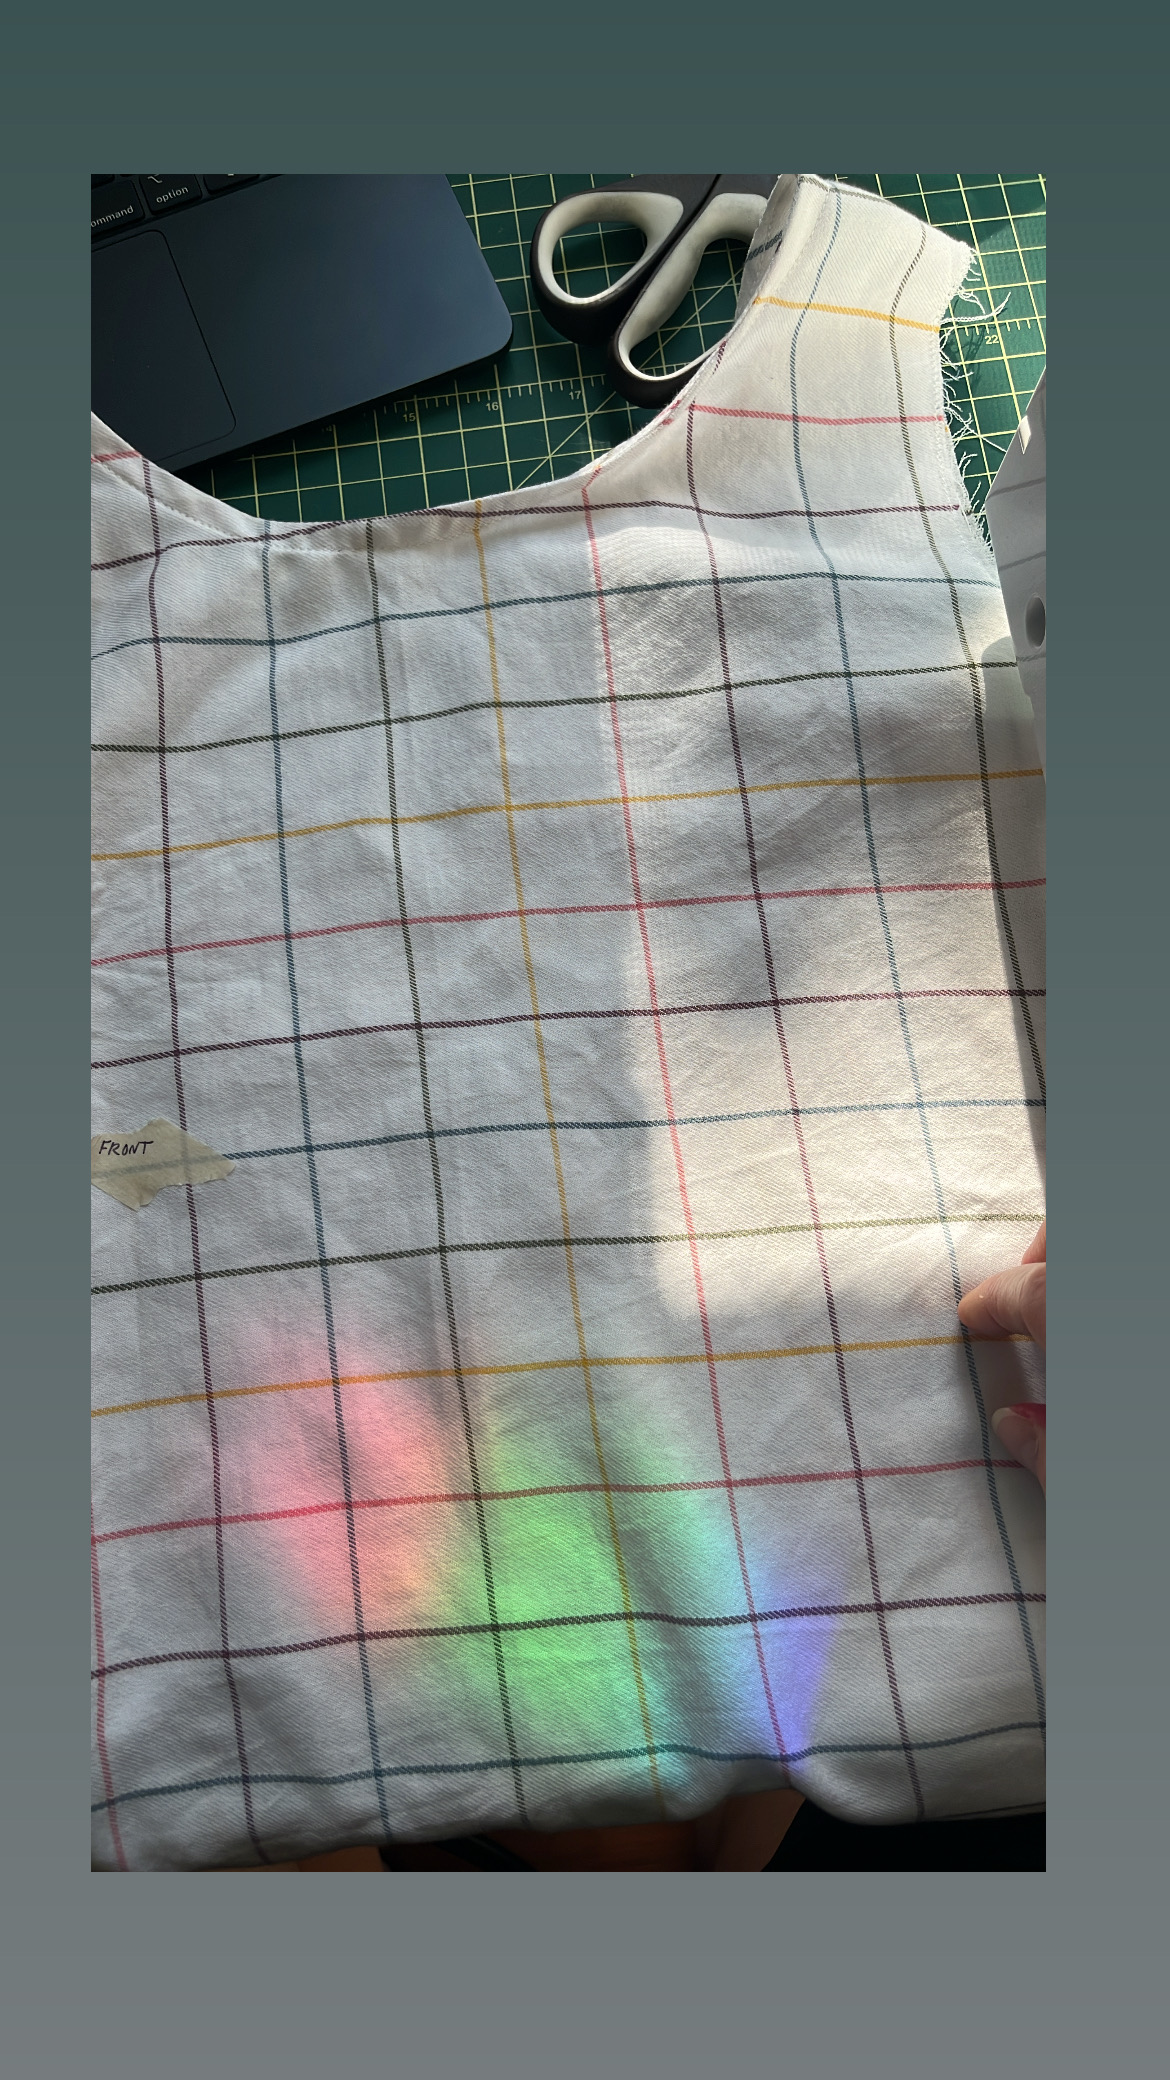
Summerhaus Poppy Top
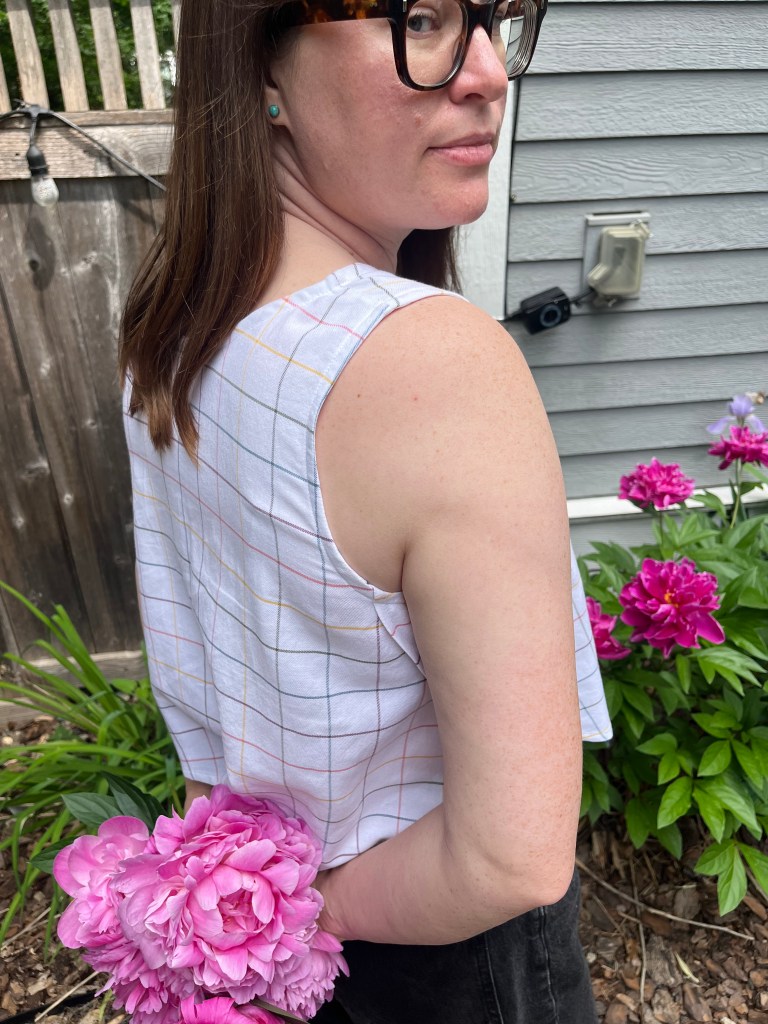
With two new tanks down it was time to finally try the poppy top. I believe I bought this pattern in the summer of 2025 but I just now got around to it. There was one particular make that really grabbed me to this pattern (seen here). Isn’t that one cute? Cyanotype printing is on my summer make list too.
The last Summerhaus pattern I made was The Nico Pullover, which I wrote about here. Kristine’s instructions really are top notch, and this pattern was no different. I especially like that she gave instructions on how to piece together shorter pieces of bias strips, it was a good reminder because I definitely screwed this up a few times while making the bias tape for my Ornellas. I also think her instructions for putting bias on is better than the Ornella; with my first Ornella I had too much bias for the armhole despite carefully measuring it so I don’t know what went wrong there. For the Ornella the instructions have you sew the loop together before sewing it onto the armhole so ending up with the extra bias was annoying. The way Summerhaus’ instructions are written you don’t sew it into a loop before sewing it on and hence won’t end up with extra bias.
The worst part about sewing the Poppy Top is the curved hem. It is a gentle curve though. If you look at mine inside out: woof. It’s not so noticeable on the outside which is all I really care about in the end so of course I didn’t redo it. I like that the instructions have you do a French seam at the shoulders. I really do just love a French seam.
Fabric
The fabric I used for this make came from Goodwill. When I thrifted it I didn’t know what I had and thought I’d probably use it for an oven mitt or tea towel since the grid pattern makes it look like it’s meant for kitchen linens. I’m glad I waited to use it though because a few months ago on the Maker’s Resale Instagram account someone was selling the exact same fabric and said it’s a cotton/viscose blend. It is pretty soft and light and I’m glad I waited to use it for a tank top.
Final Fit and Styling
The one real drawback to this pattern, I’d say, is that you cannot really do a lot of bending over without feeling exposed. It would be a pretty good tank for breastfeeding but if I were bending over picking up kids all day or gardening or something like that I wouldn’t want to wear it. I am considering tacking down the side at the hem to prevent the front from flapping wide open. It is a perfect flowy top though and matched with this fabric I feel like I’m hardly wearing anything. Though I again don’t really like it with any of my midrise shorts! It has gotten wear with jeans. I haven’t yet reached for this top quite like I have with my Ornellas.

Helen’s Closet Ashton Top
I’m not sure when the pattern was released, but Ashtons are everywhere, she is THE go-to shell tank. It’s gotta be one of the most popular patterns on Threadloop. I knew going into the Ashton that the instructions would be stellar and I was right! Helen is the queen of handholding instructions for the beginner sewist.
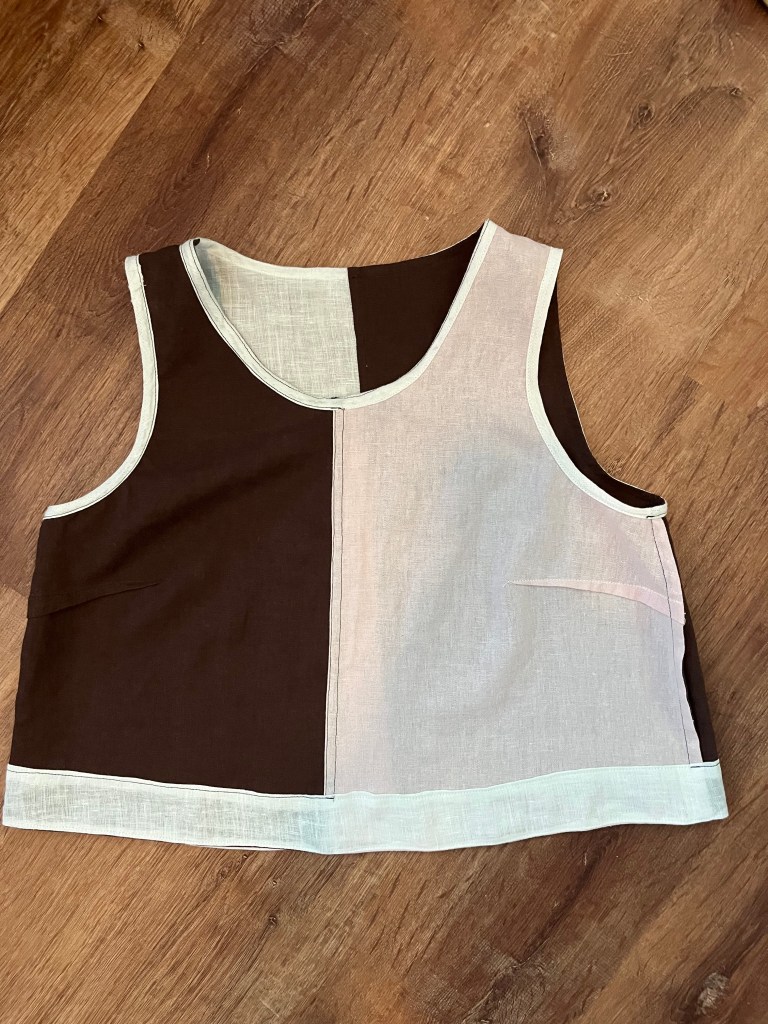
For my Helen I was inspired to pull out some precious linen scraps my neighbor gifted me last year (I seriously still can’t believe she gave me these, they’re so nice!). I have black, brown, pink and white and thought a Neapolitan ice cream inspired tank was the right move. I added a 5/8″ strip of paper to the front and back bodice pieces so I could do a brown/pink split front and a brown/white split back. I flat felled the center seams. Without any brown colored thread in my stash I decided to go with a dark green that blended enough, I thought it looked better than black actually.
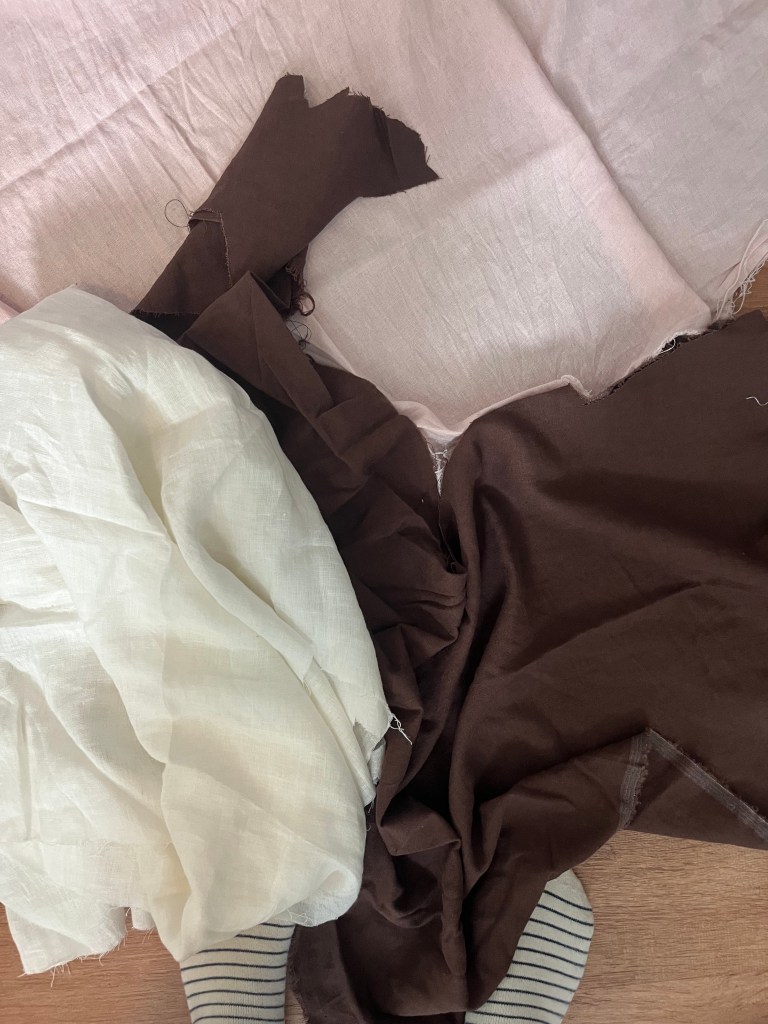
The one thing about making a color blocked tank is it’s a total P.I.T.A. to keep switching thread color. For the white and pink fabrics I just used a white Coats and Clark thread from my stash. Switching thread color is worth it though, it looks nice. It’s also been a while since working with 100% linen. The weave on the white is pretty loose and tended to fray more, another annoyance but it all worked out ok.
There are two options when finishing the armscyes and neckline on the Ashton. I’d like to try the facing finish but went with what I knew and did a bias finish instead. The hem is finished with a facing for all views. The instructions are similar to The Poppy top. Before my Tanks For Nothing series I very much disliked making and sewing bias binding. I begrudgingly admit that the more I have made it and sewn it the easier it has gotten and now I almost enjoy the process. Go figure.
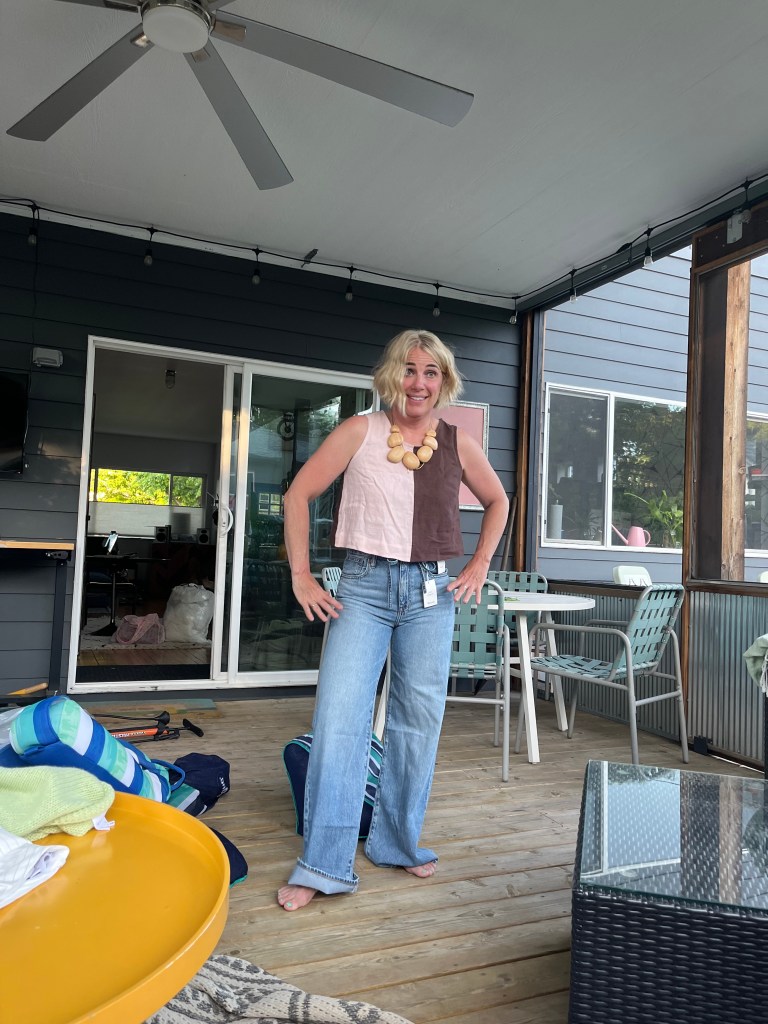
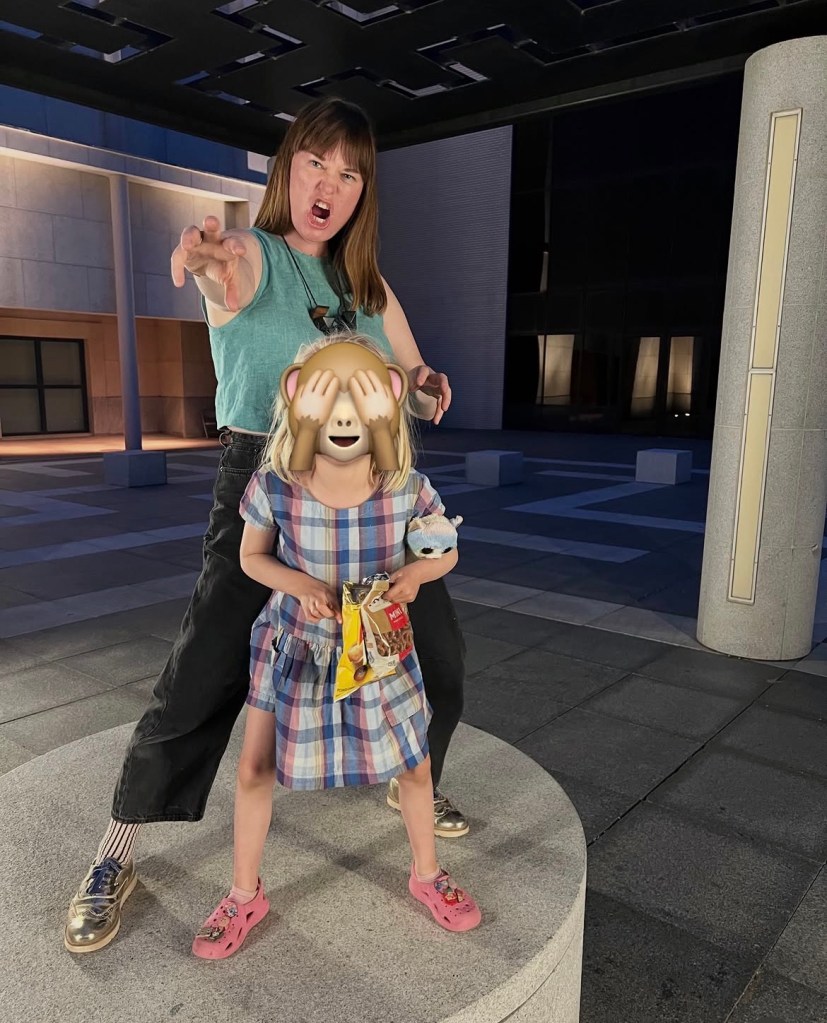
As this tank was a gift for a friend I wasn’t quite sure what size to choose. I knew she was smaller than me so I just made a guess and made a size 8. It was tight on me so I was fairly confident it would fit her and I was right! What a relief. Doesn’t Kady look great in this top? If I make my size (probably a 12?) I may like it but shocker, wearing the wrong size wasn’t a great fit and I didn’t like it on me hahaha. I think this particular tank will look great dressed up or down so hopefully it’ll be a workhorse in her summer wardrobe. I’m extremely happy I paid such close attention to the finishing details for this Ashton and did French seams for the shoulders and sides, flat felled for the center front and back seams, bias bound neck and armholes and a hem facing. It truly is beautiful inside and out.
Next Makes

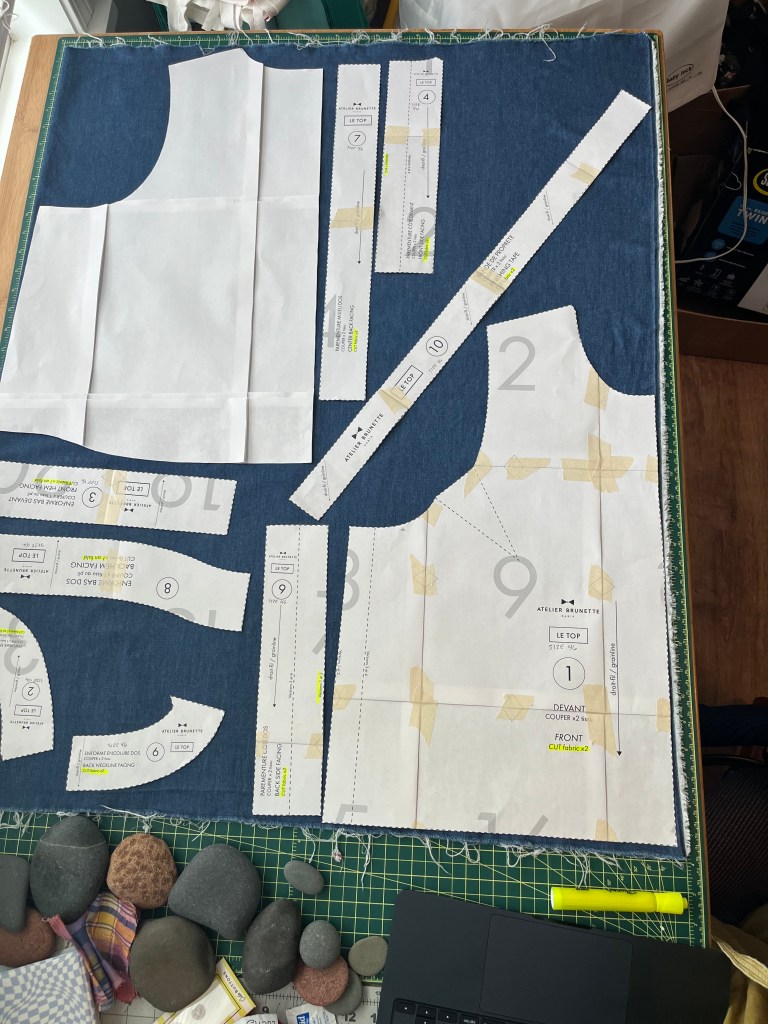
I don’t know where I first saw it (maybe here?), but the Atelier Brunette Le Top really grabbed my attention in the last couple months. It’s similar to the Ornella in that it’s a trapeze shaped top but has an invisible zip closure and some fun options for buttons or ties at the side seams. Whether on Instagram or Threadloop, I’m not seeing too many people make this tank yet which makes me a little nervous! I have to try it though. I have never done an invisible zipper but after making a few bags I feel confident enough trying it out. I also like the idea of doing a hack and finishing the neck with bias binding and doing ties or a button like the Ornella top. I have since thrifted some really great men’s button ups and also scored some incredible tablecloths from a neighborhood rummage sale. Tanks for nothing will continue!
Another hole in my summer wardrobe are shorts. I have some go-to RTW pairs that are a little more sporty but they’re also midrise. I’d like to try making some higher rise ones that I can wear with my new tanks. I grabbed the Helen’s Closet June shorts and pants pattern when there was a sale a week or two ago hoping this will be the ticket for a higher rise shorts pattern my closet needs.
As always, if you’ve read this far you’re a real one. Tanks for sticking around.
Ash
