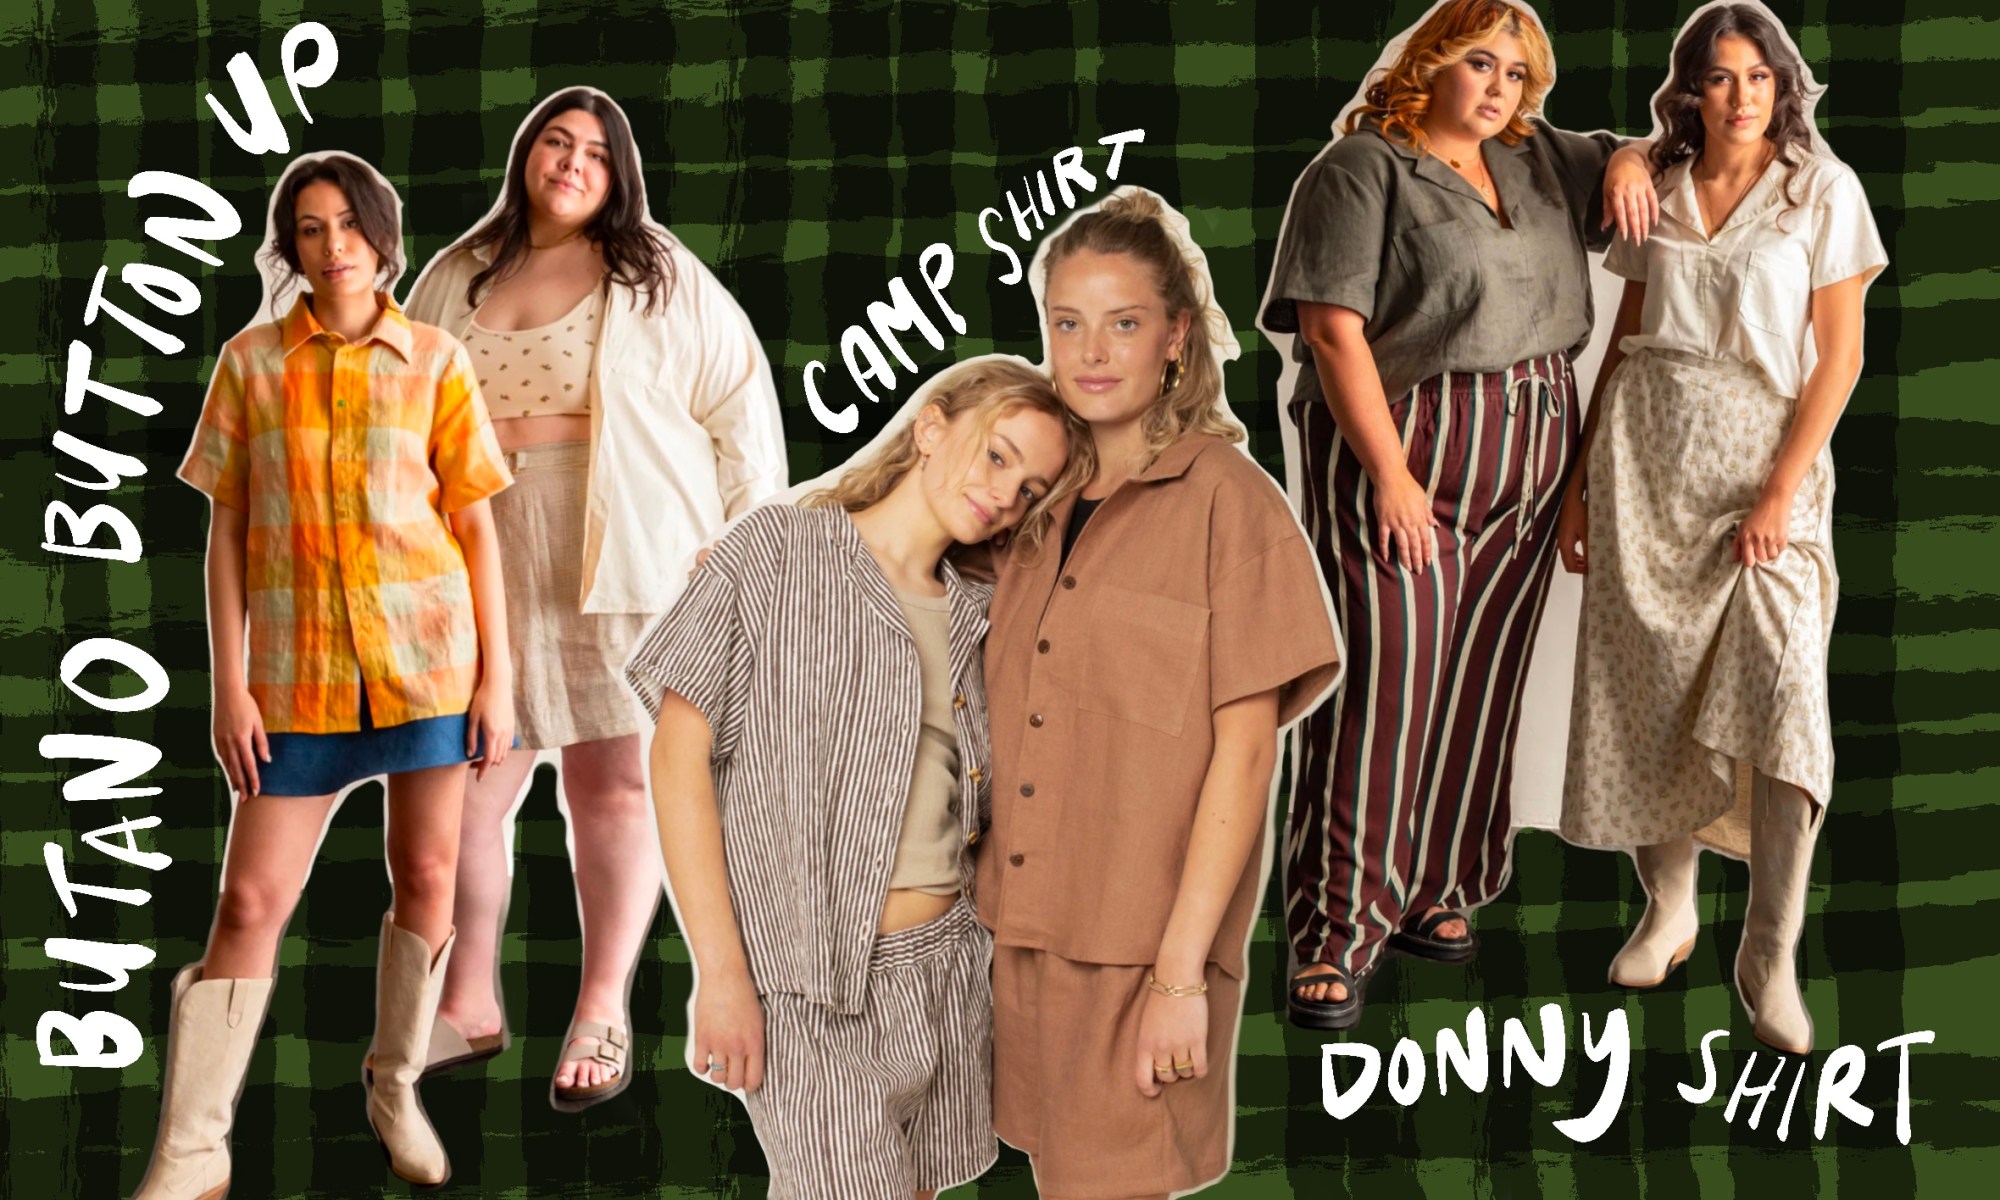
Crafting The Donny Shirt: My Sewing Class Experience (Pt. 1)

I am once again in the hopeful, bright-eyed honeymoon stages of a new project. It’s autumn, it’s October, and this week I started a new community education sewing class called Sewing 2.

The class is 6-1.5 hour weekly sessions for $65. That’s roughly $11/class! What an incredible deal. I think there are 7 or 8 students total with one instructor who has a significant background in sewing. This is my 4th community education class, I think, and already I can tell it’ll be a good one.

The focus of the class is on seam finishes. I’ve only made one simple garment as an adult and for that I just used the zigzag stitch on my machine to finish the edges. It does the trick but there are so many other seam finishes to learn. The instructor showed us examples of pinked edges, bias tape bound finishes (aka Hong Kong seams), overlocked (aka serged), French, flat-felled, and turn-and-stitch. We then tried our hand at doing our own seam finishes on some scrap muslin fabric. I only tried French and flat-felled but found them to be easier than I anticipated. I’m hoping to do French seams for my garment.
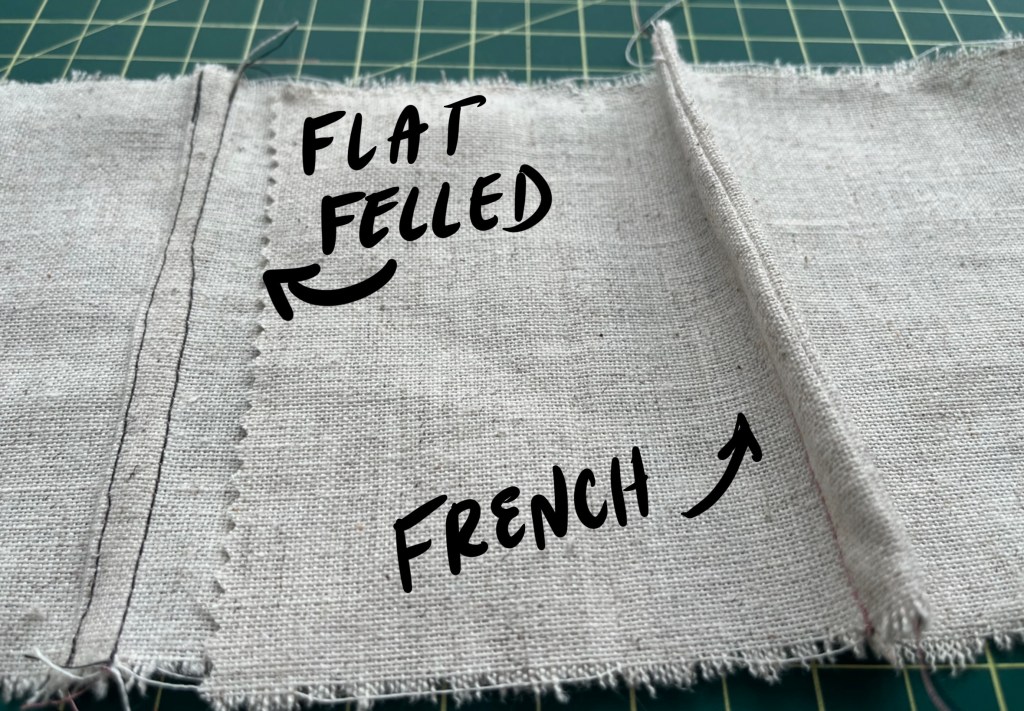
Examples of flat-felled and french seams on a rough muslin fabric

For the next class we are tasked with bringing a pattern and prepared (washed, ironed) fabric. We were given only two directions on this:

  1. When choosing a pattern we should select a shirt pattern that we want to make that has sleeves so we can learn this tricky aspect of sewing.
  2. The fabric should be a woven (so, no knits/anything with stretch).

I’m glad we aren’t all making an instructor-selected pattern. It makes it easier to get excited for the class when I can choose a pattern I’m looking forward to making. This is where my dopamine goes crazy as I look at all the possibilities for a pattern and fabric. I love this part of a project, DUH, it’s absolutely the most fun part. Nothing has gone wrong yet and everything is possible.

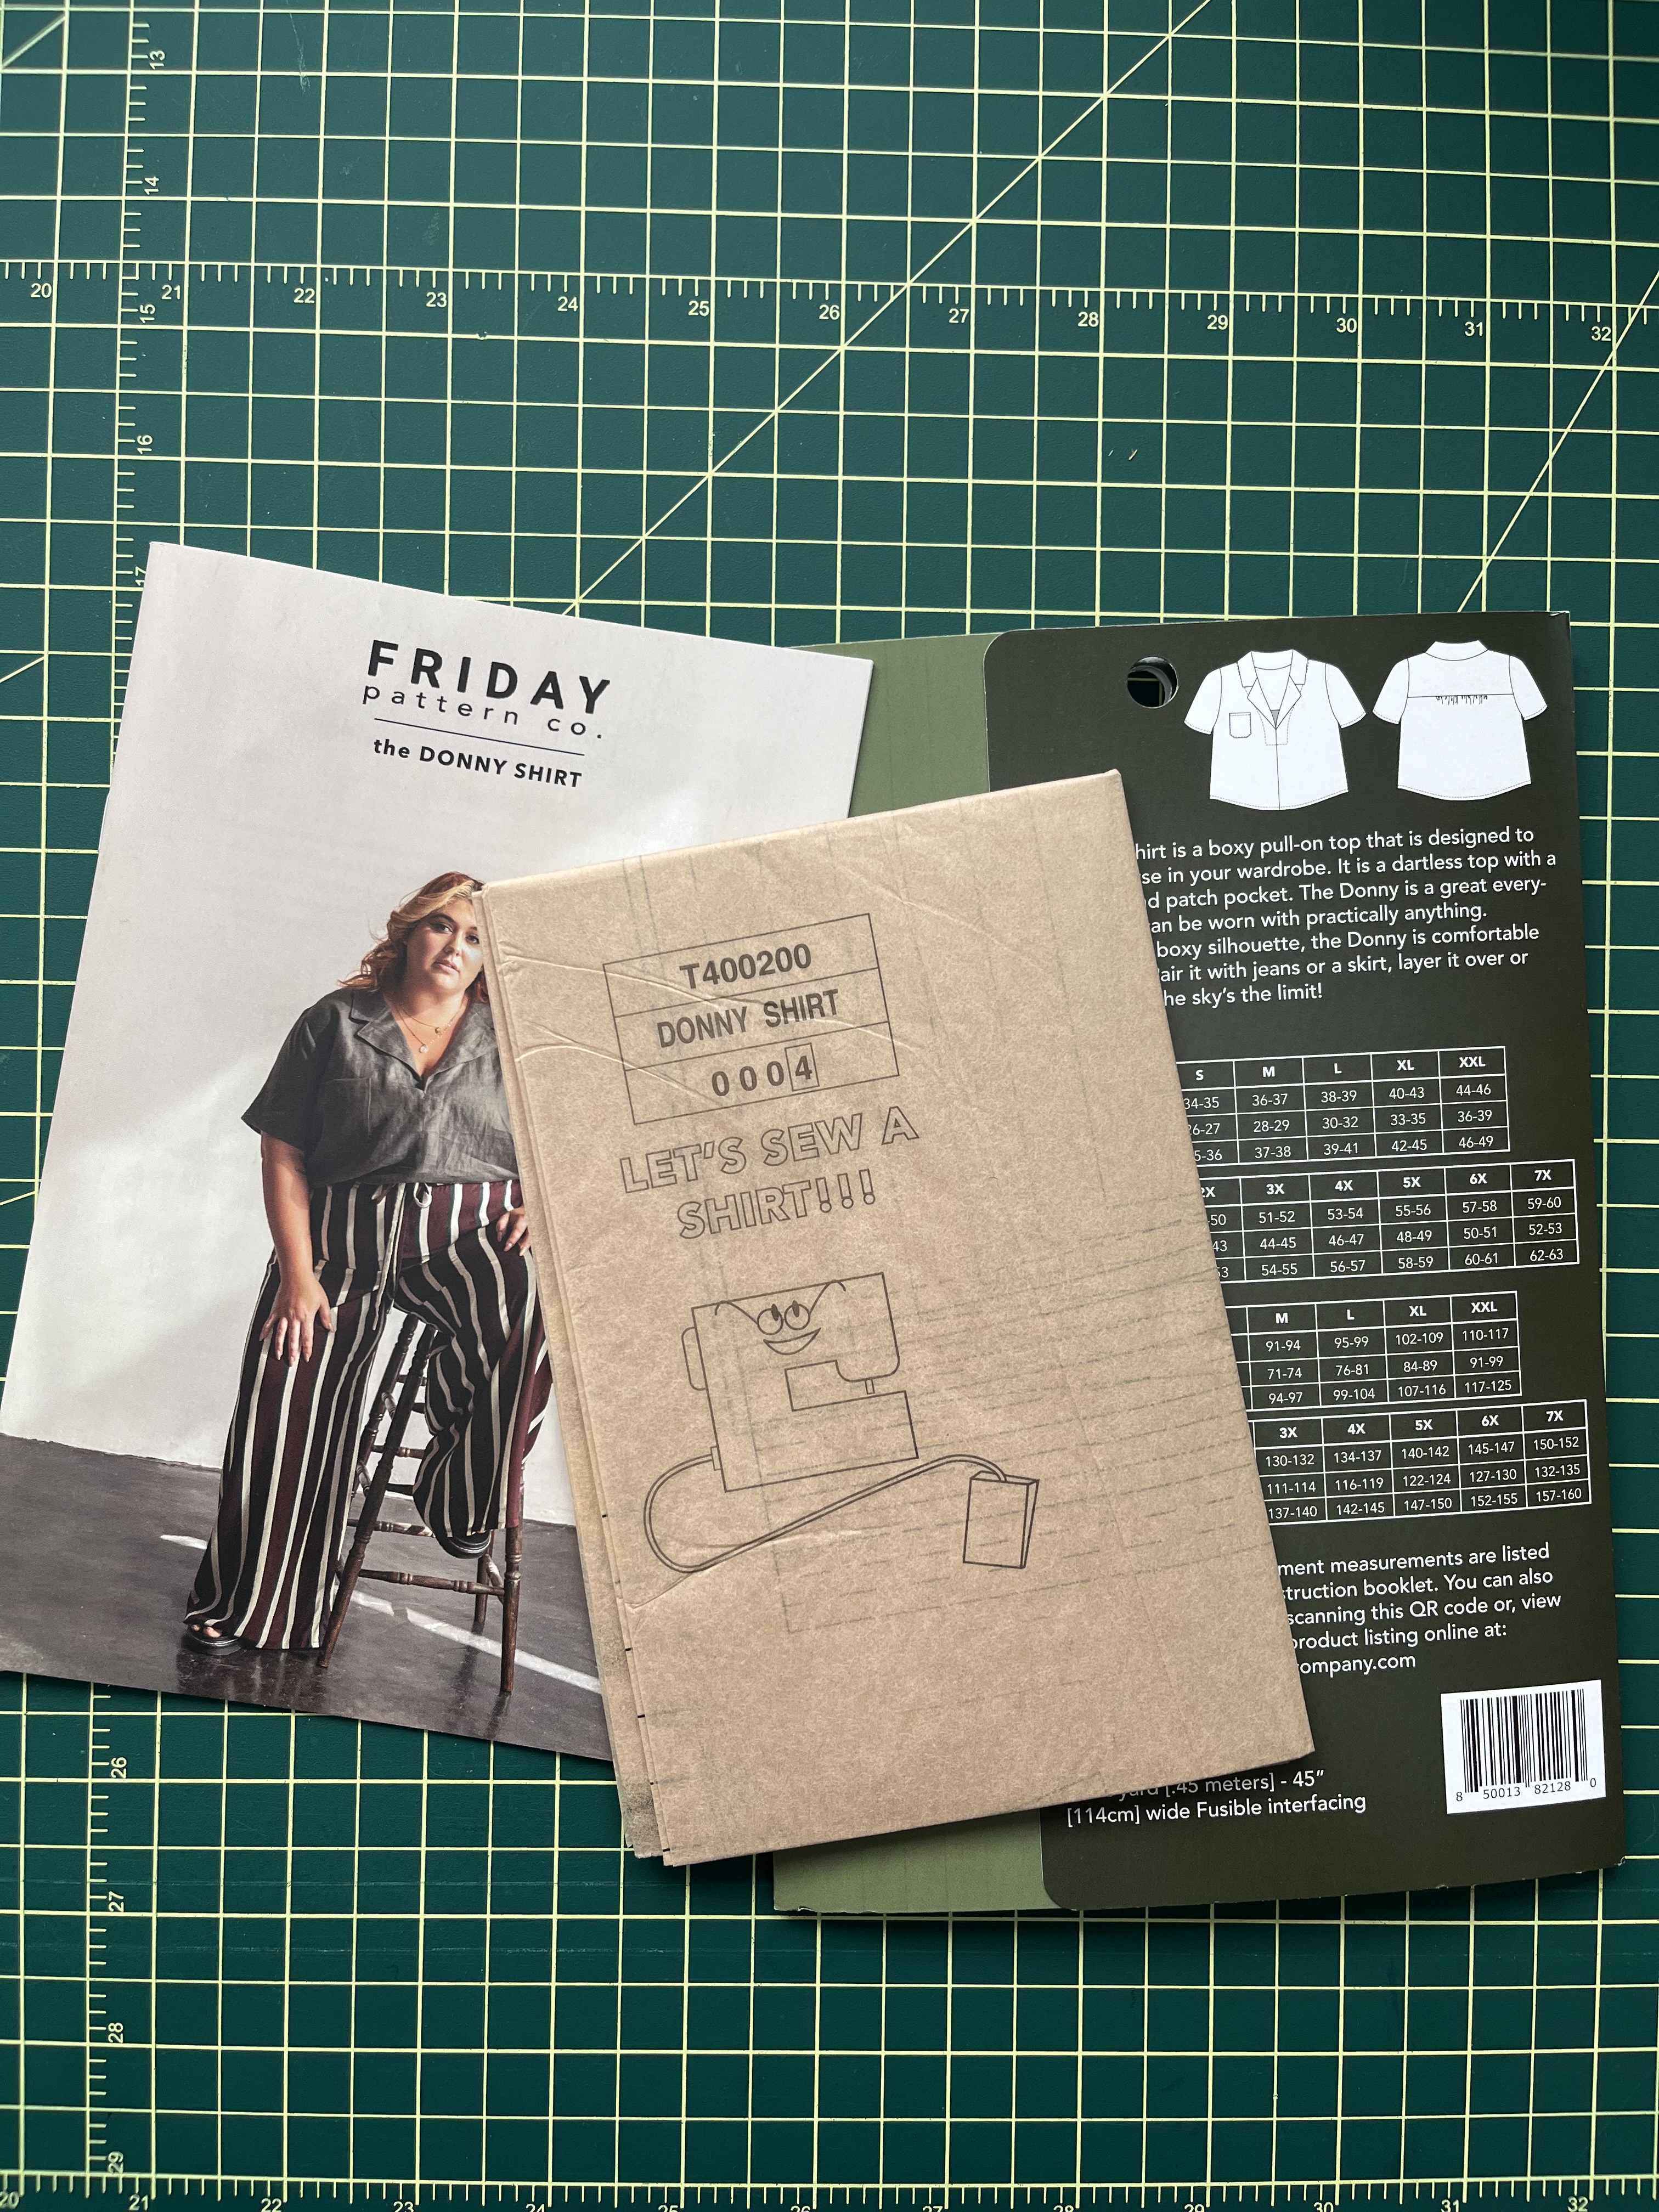
So what patterns have I been considering? Initially I had my sights set on three indie patterns: The Butano button up, The Camp shirt, and the Donny shirt. I found all these patterns simply by being on Instagram looking at home sewist’s accounts and seeing them often. The Butano and The Donny are both by Friday Pattern Co. The Camp shirt is by Wardrobe By Me.
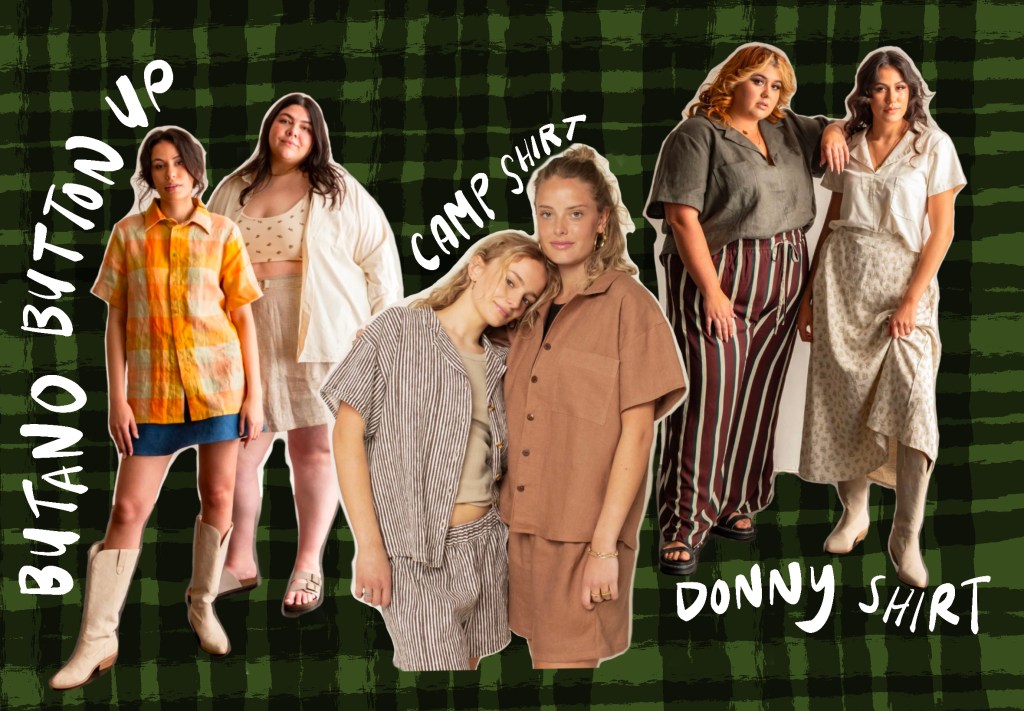
Butano, Camp and Donny Shirts

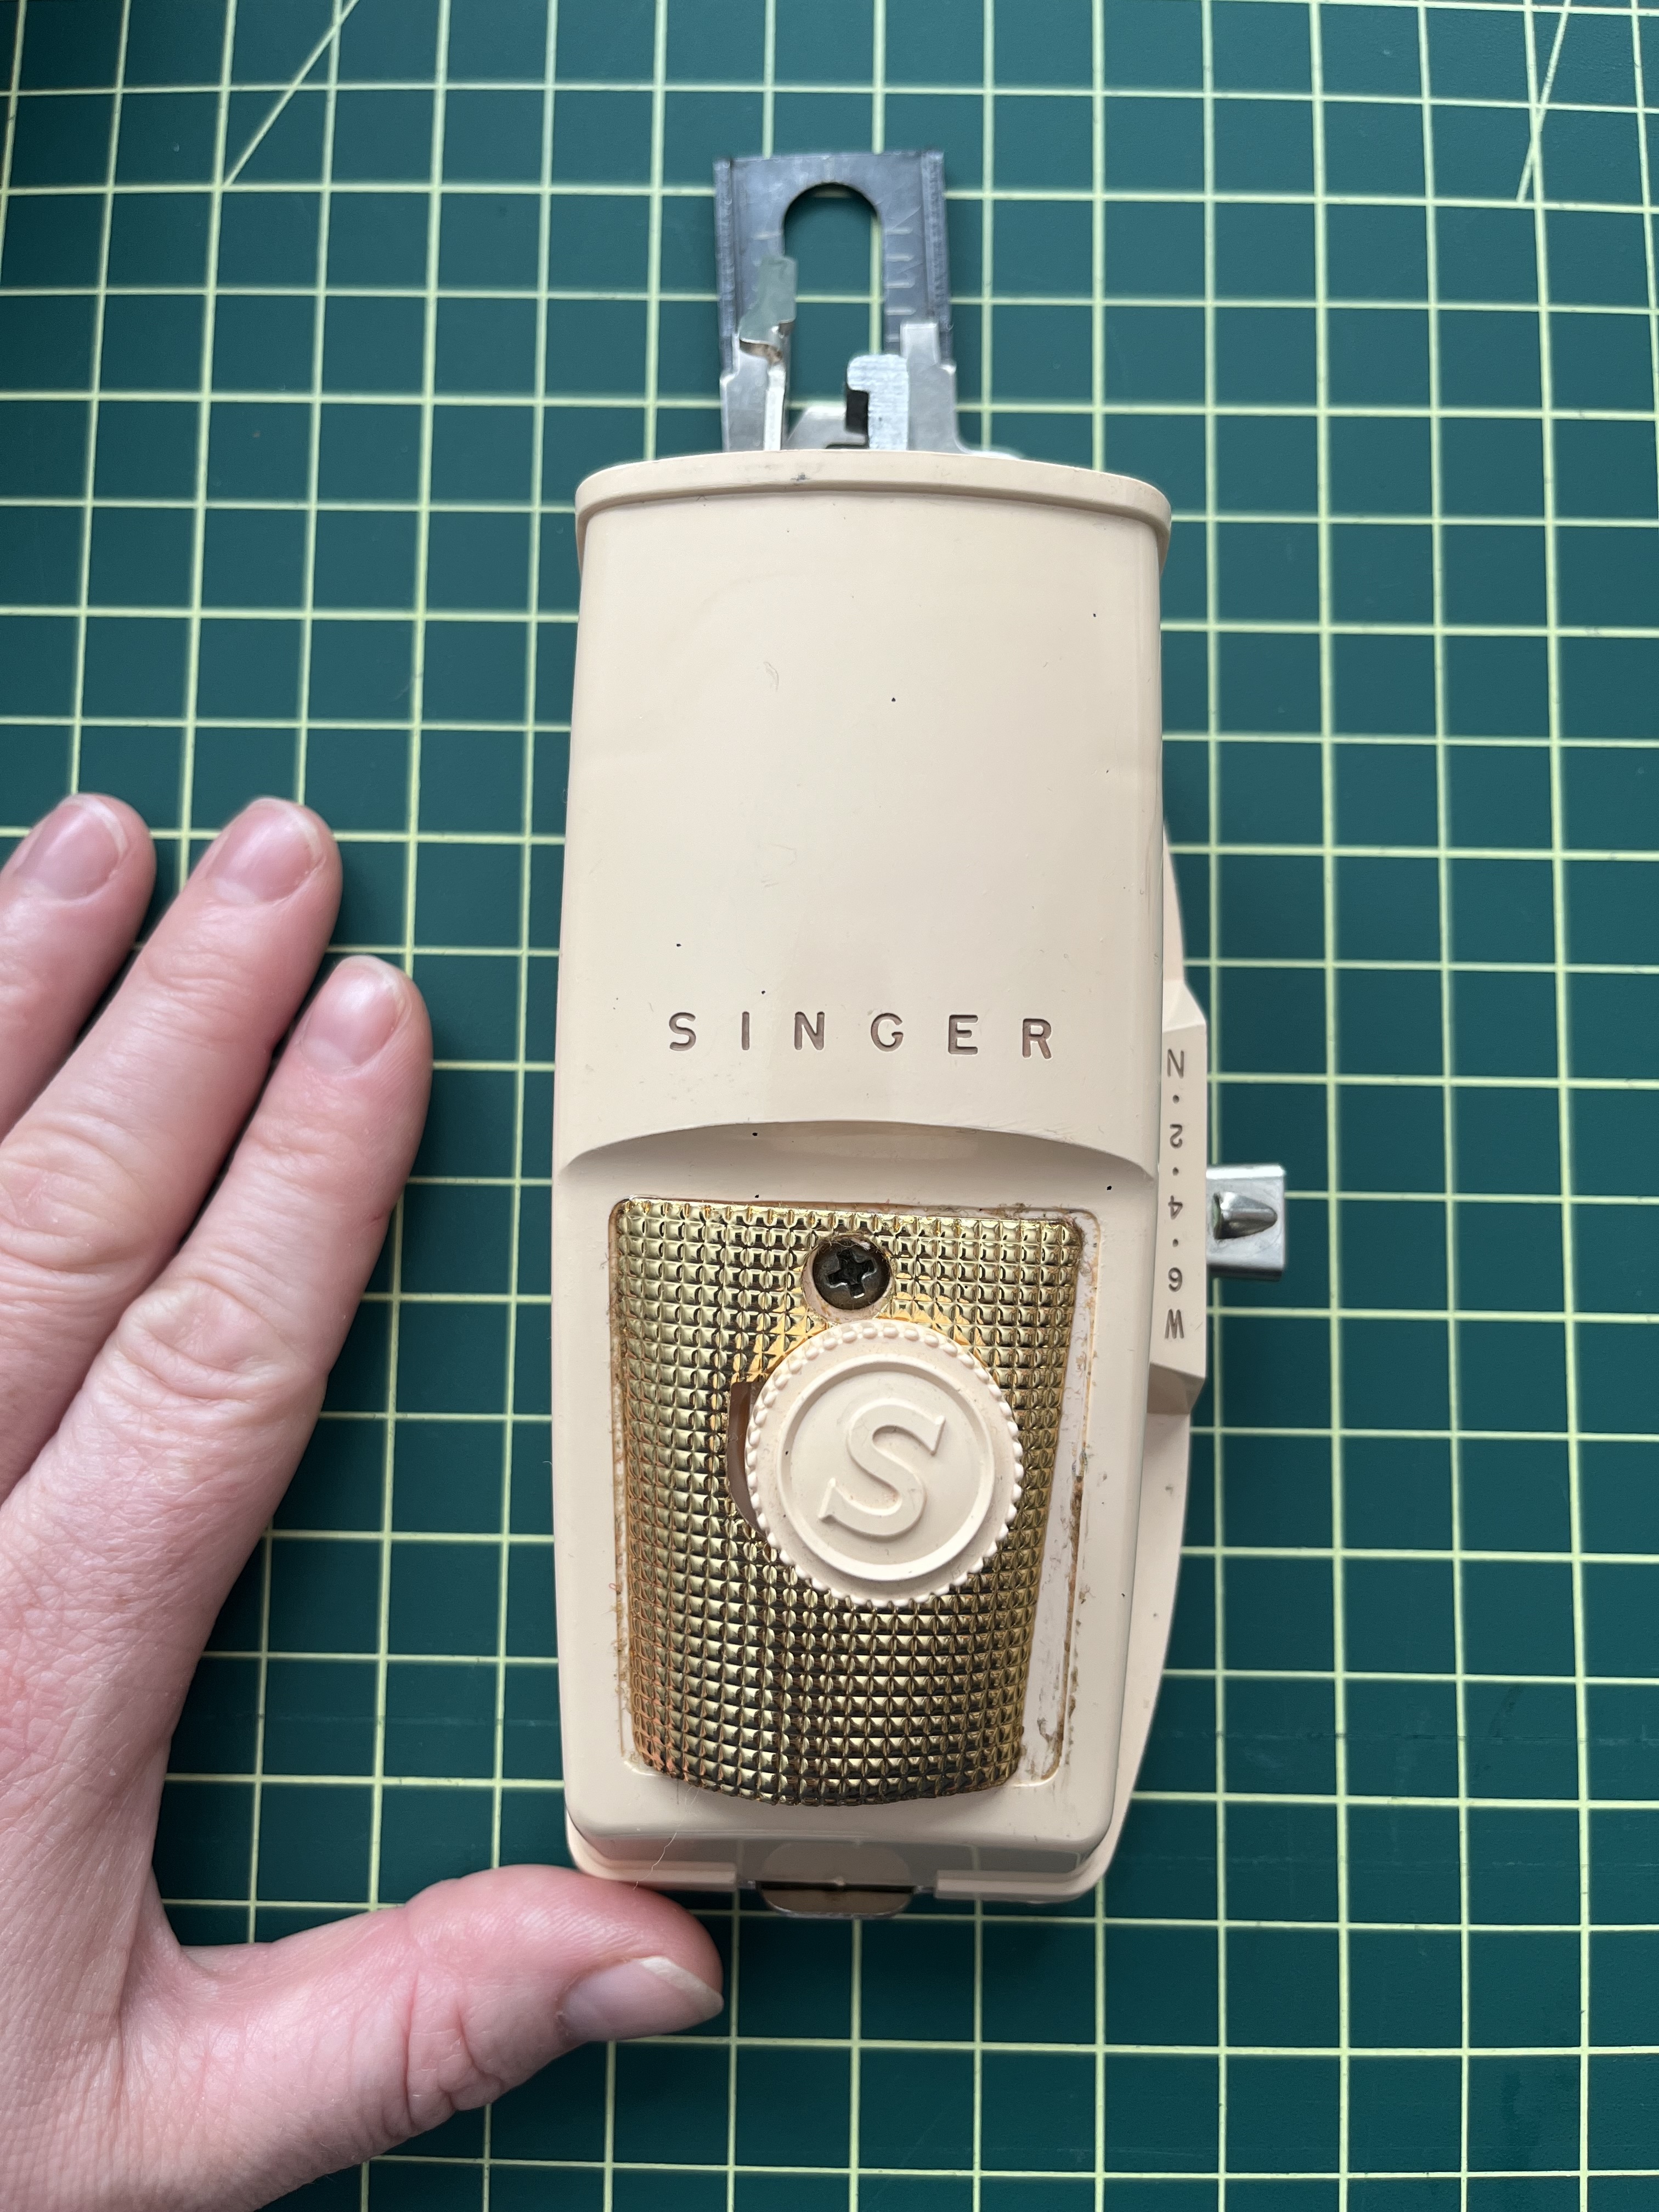
I do love a button up shirt. Making one though? I gave it some more consideration and buttons seem…challenging. Not to mention, I am absolutely terrified of the buttonholer attachment for my Singer. I mean, just look at that thing. So while a button up top would probably get a lot of wear, for this project I think I need to go a little simpler. The Donny shirt it is! It has some challenges that I’m willing to try tackling like inserting a collar and sleeves but there are no closures.
For the fabric, I learned my lesson on my last shirt project: no quilting cottons! I recently loaded up on fabric at the Textile Center’s annual garage sale, and I mean LOADED up. I felt so lucky, I got some really incredible fabric I’m really excited about, especially some of the linens and patterned cottons. I came home with two grocery bags full! I pulled out my options and started holding them up to my body and to the light to determine drape and opacity. The photo below has my favorites that I’m considering for this sewing project.
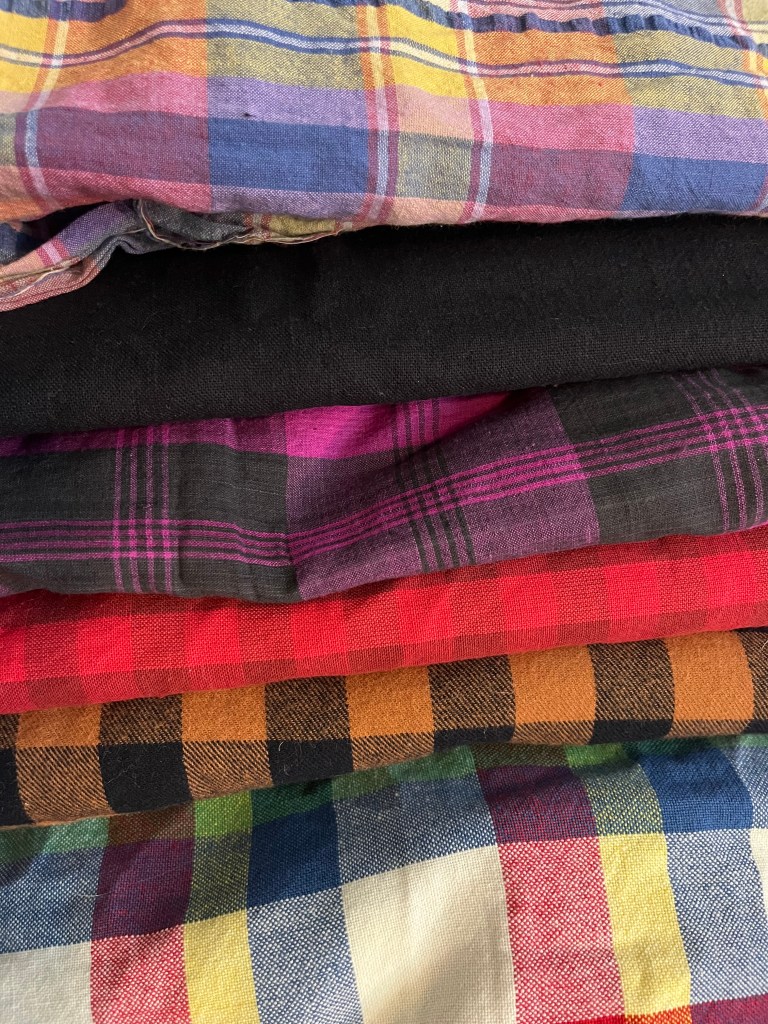
Fabrics from the Textile Center fabric sale except for the brown and black flannel (that came from SR Harris)

I also wanted to be mindful of what I actually wear and what I just aspire to wear when it comes to color. When I look at my closet it’s a little humorous–there’s a whole lot of navy, grey, black, plaid, and stripes. What can I say? I like what I like. Probably no florals this time around. My most-worn t-shirts are black.

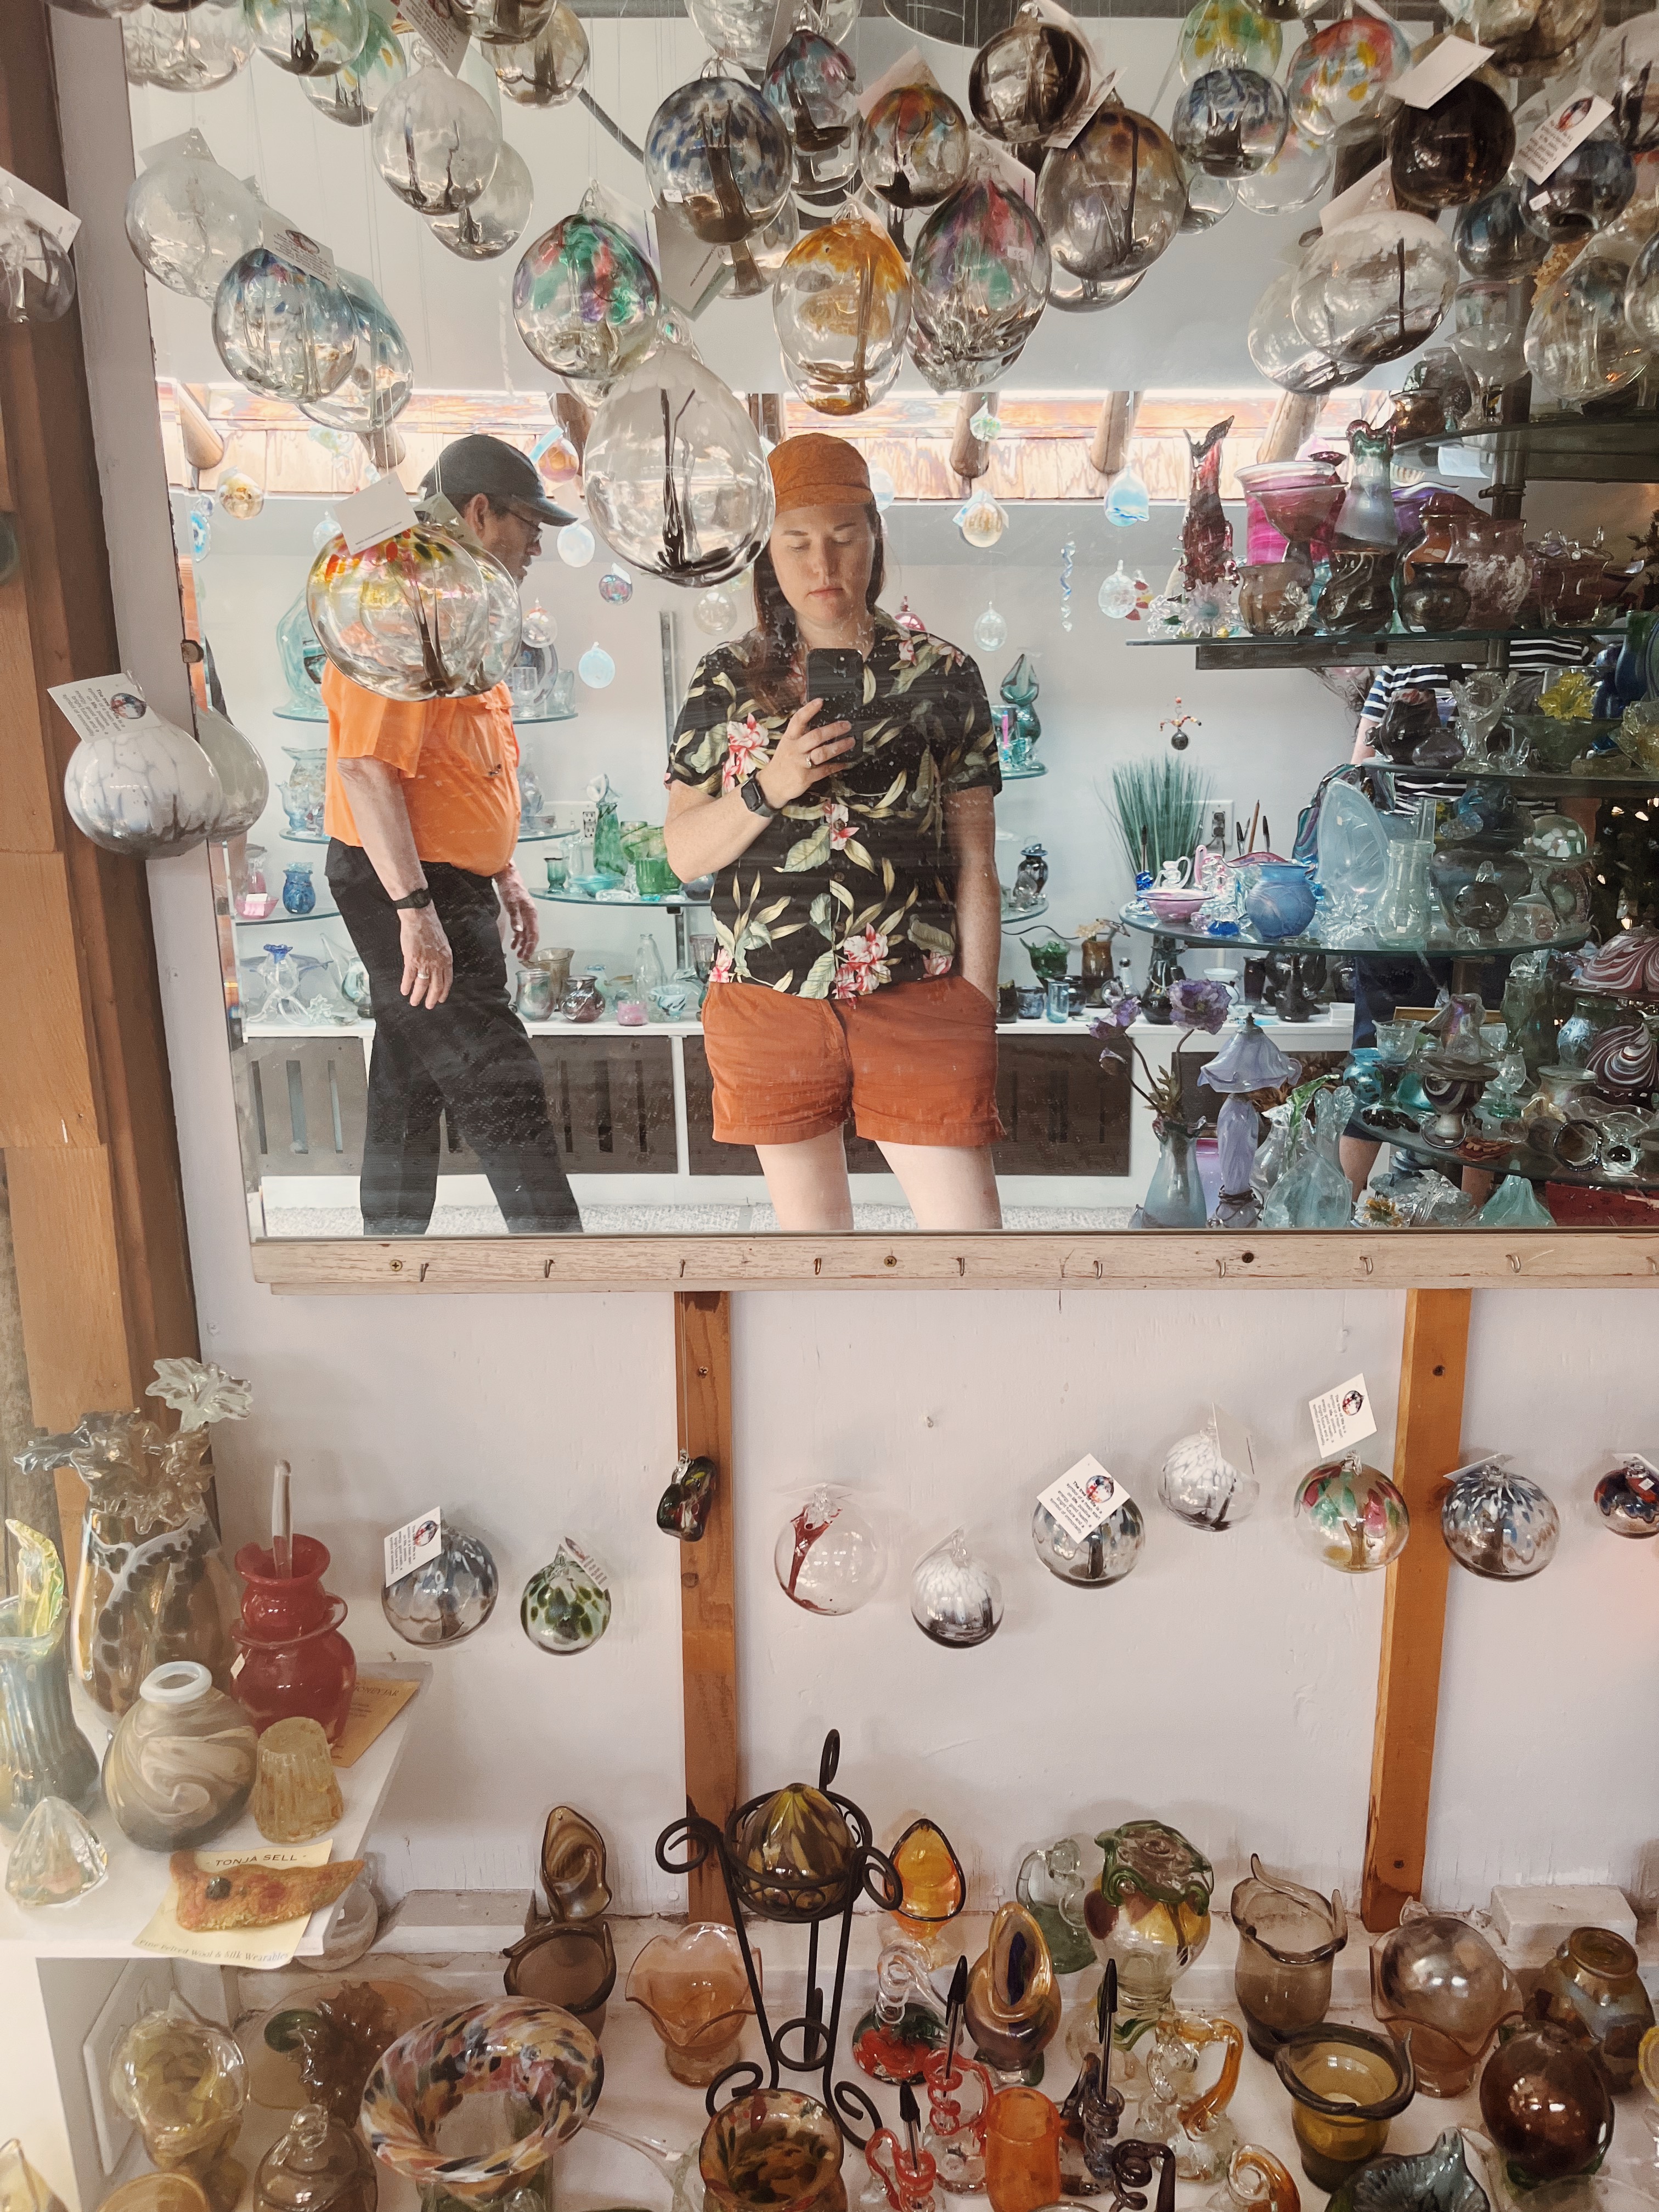
I found it really helpful to pull out my button down tops to look at their colors and patterns too. My favorite favorite shirt to wear right now is that black Hawaiian shirt, funnily enough. I bought it this summer in the curated vintage clothing section of a little shop in Cornucopia, WI. I like the cut, the drape, the feel of the fabric, the black with the bold floral–basically everything about it. It’s 100% rayon. I can’t believe this is my only black top that’s not a t-shirt! And it’s not even a solid black. This is beneficial data.
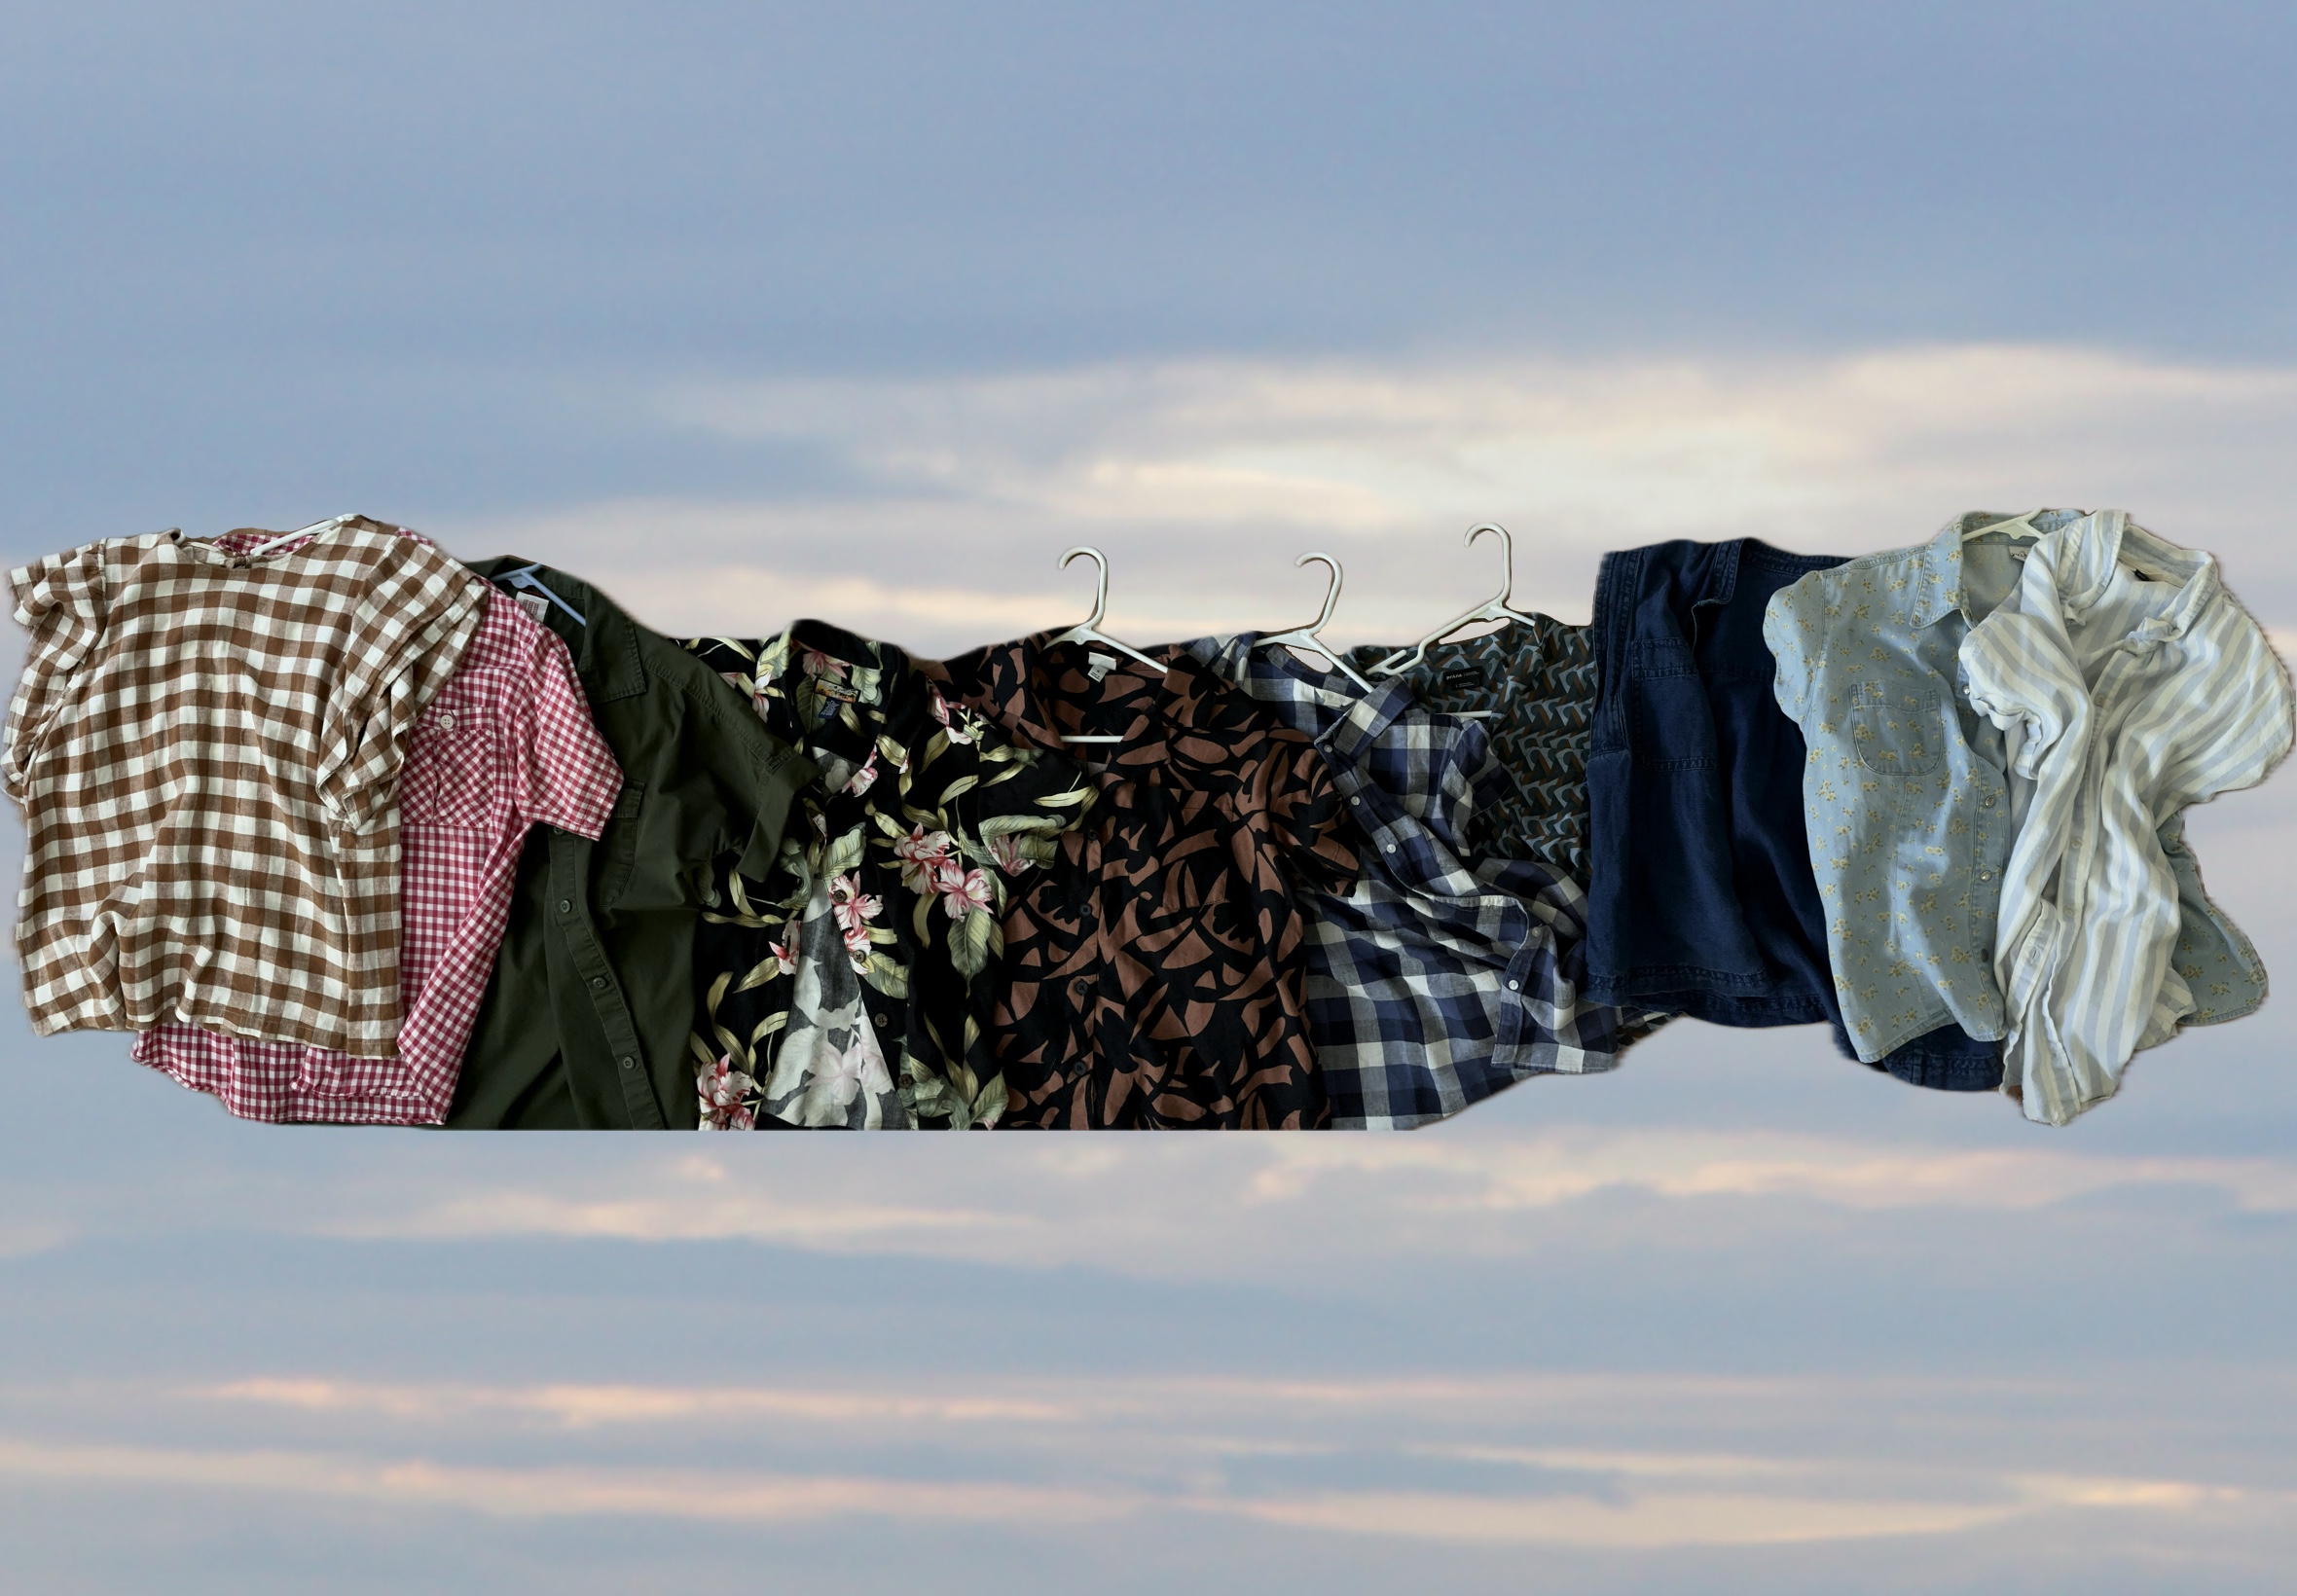
The other extremely helpful idea I had was to pull out my favorite/most worn pants (and overalls) to see if the fabrics I’m auditioning work with them. I’m really liking some of these fabrics with my pants. Which fabric would you choose?
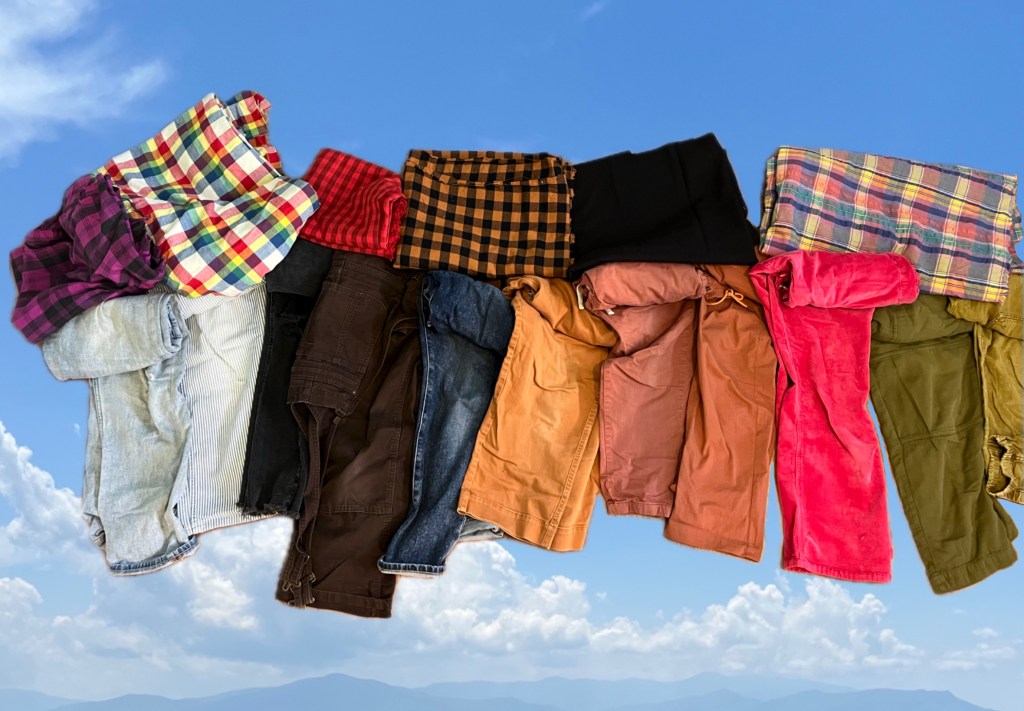
pants with fabric in spaaaaaace

I bought the pattern at a local shop! I’m glad I didn’t have to get this one printed, but I will still trace it using Swedish tracing paper so I can choose to continue to use the pattern over and over. I’m hoping to write weekly about this project so check back in on my progress and to see what fabric I chose. Thanks for checking in!

Ash

First Finished Quilt of 2024!

It’s March and I finally finished a quilt, but it’s probably not what you imagine when I say quilt. Thanks to a swap challenge my quilt guild is doing with the Albuquerque Modern Quilt Guild I got a kick in the pants to make a quilt and have a deadline to finish it by (I am finding having a deadline, for me, was key to actually following all the way through on a project).

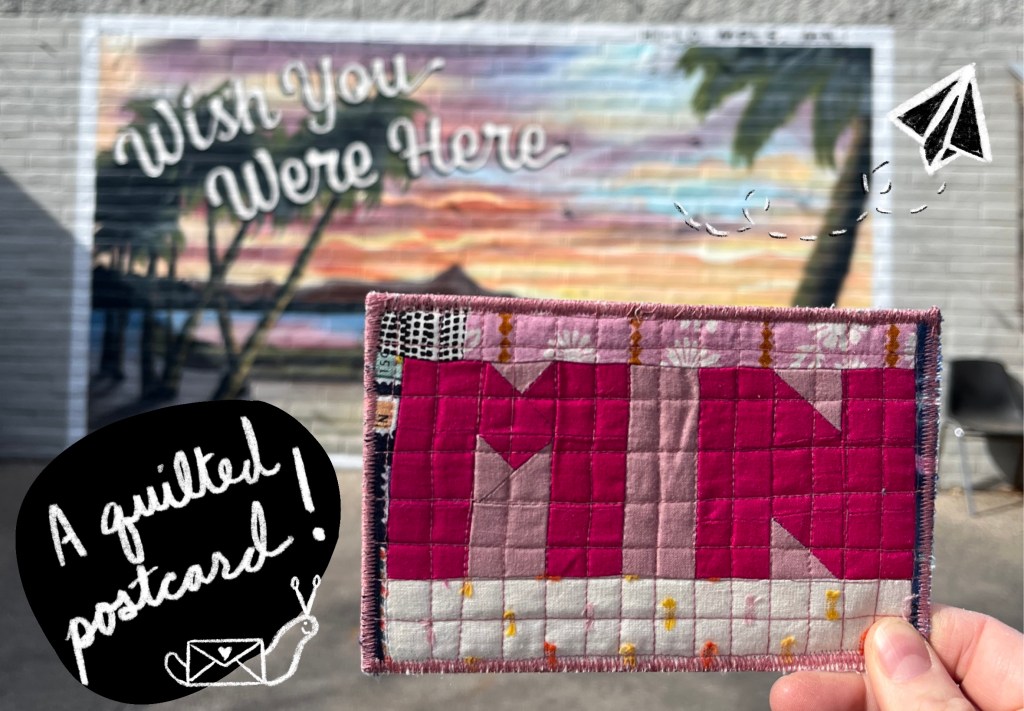
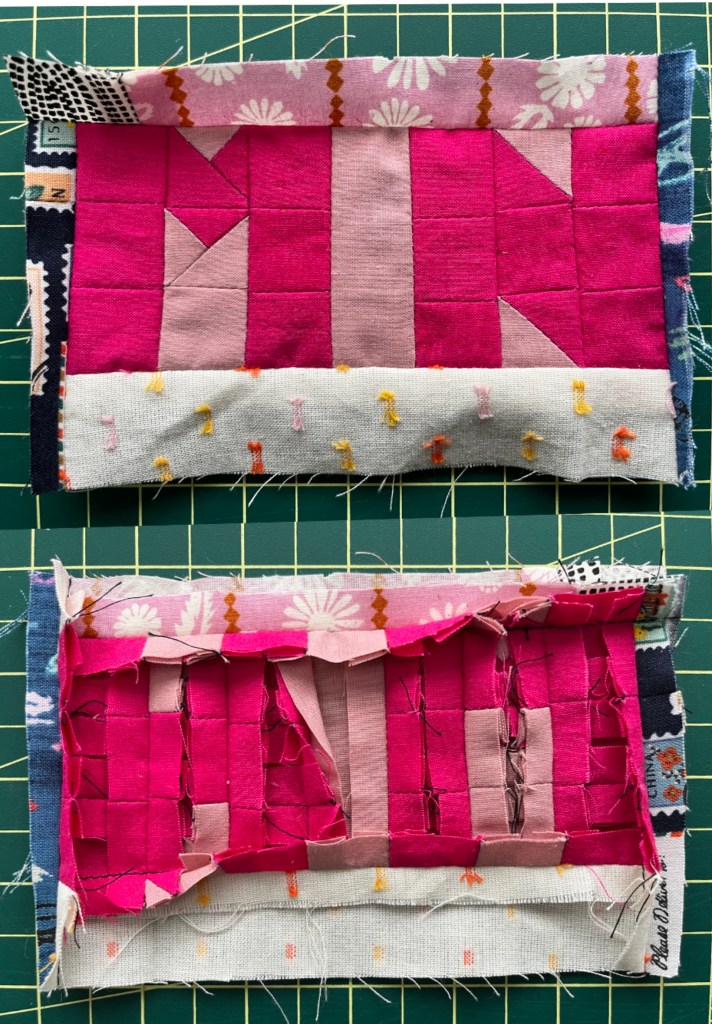
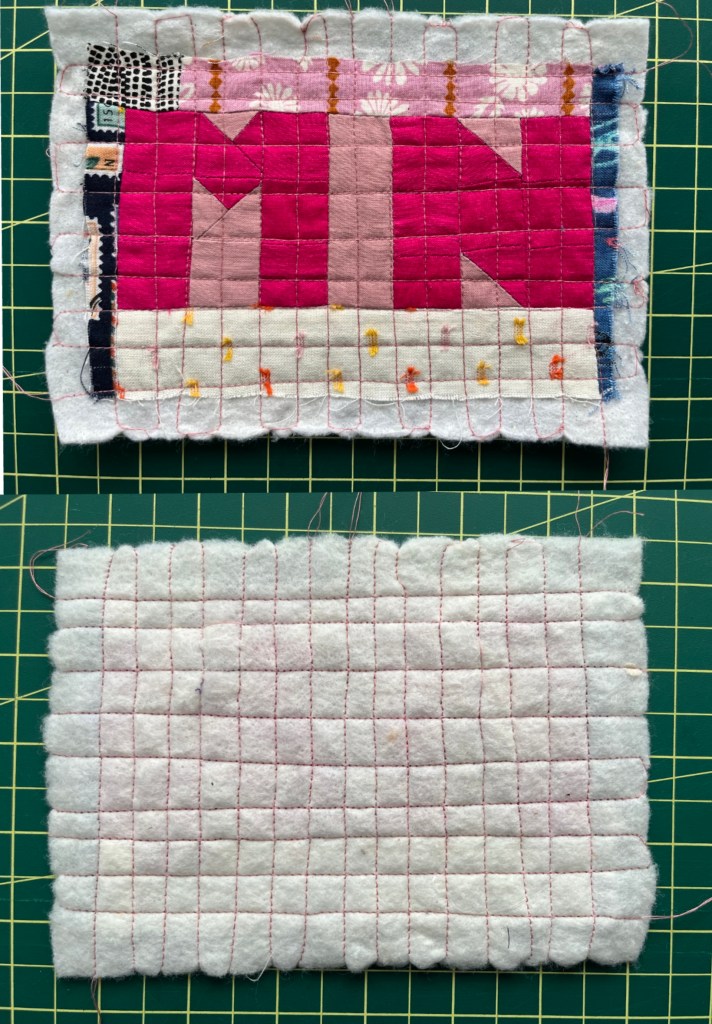
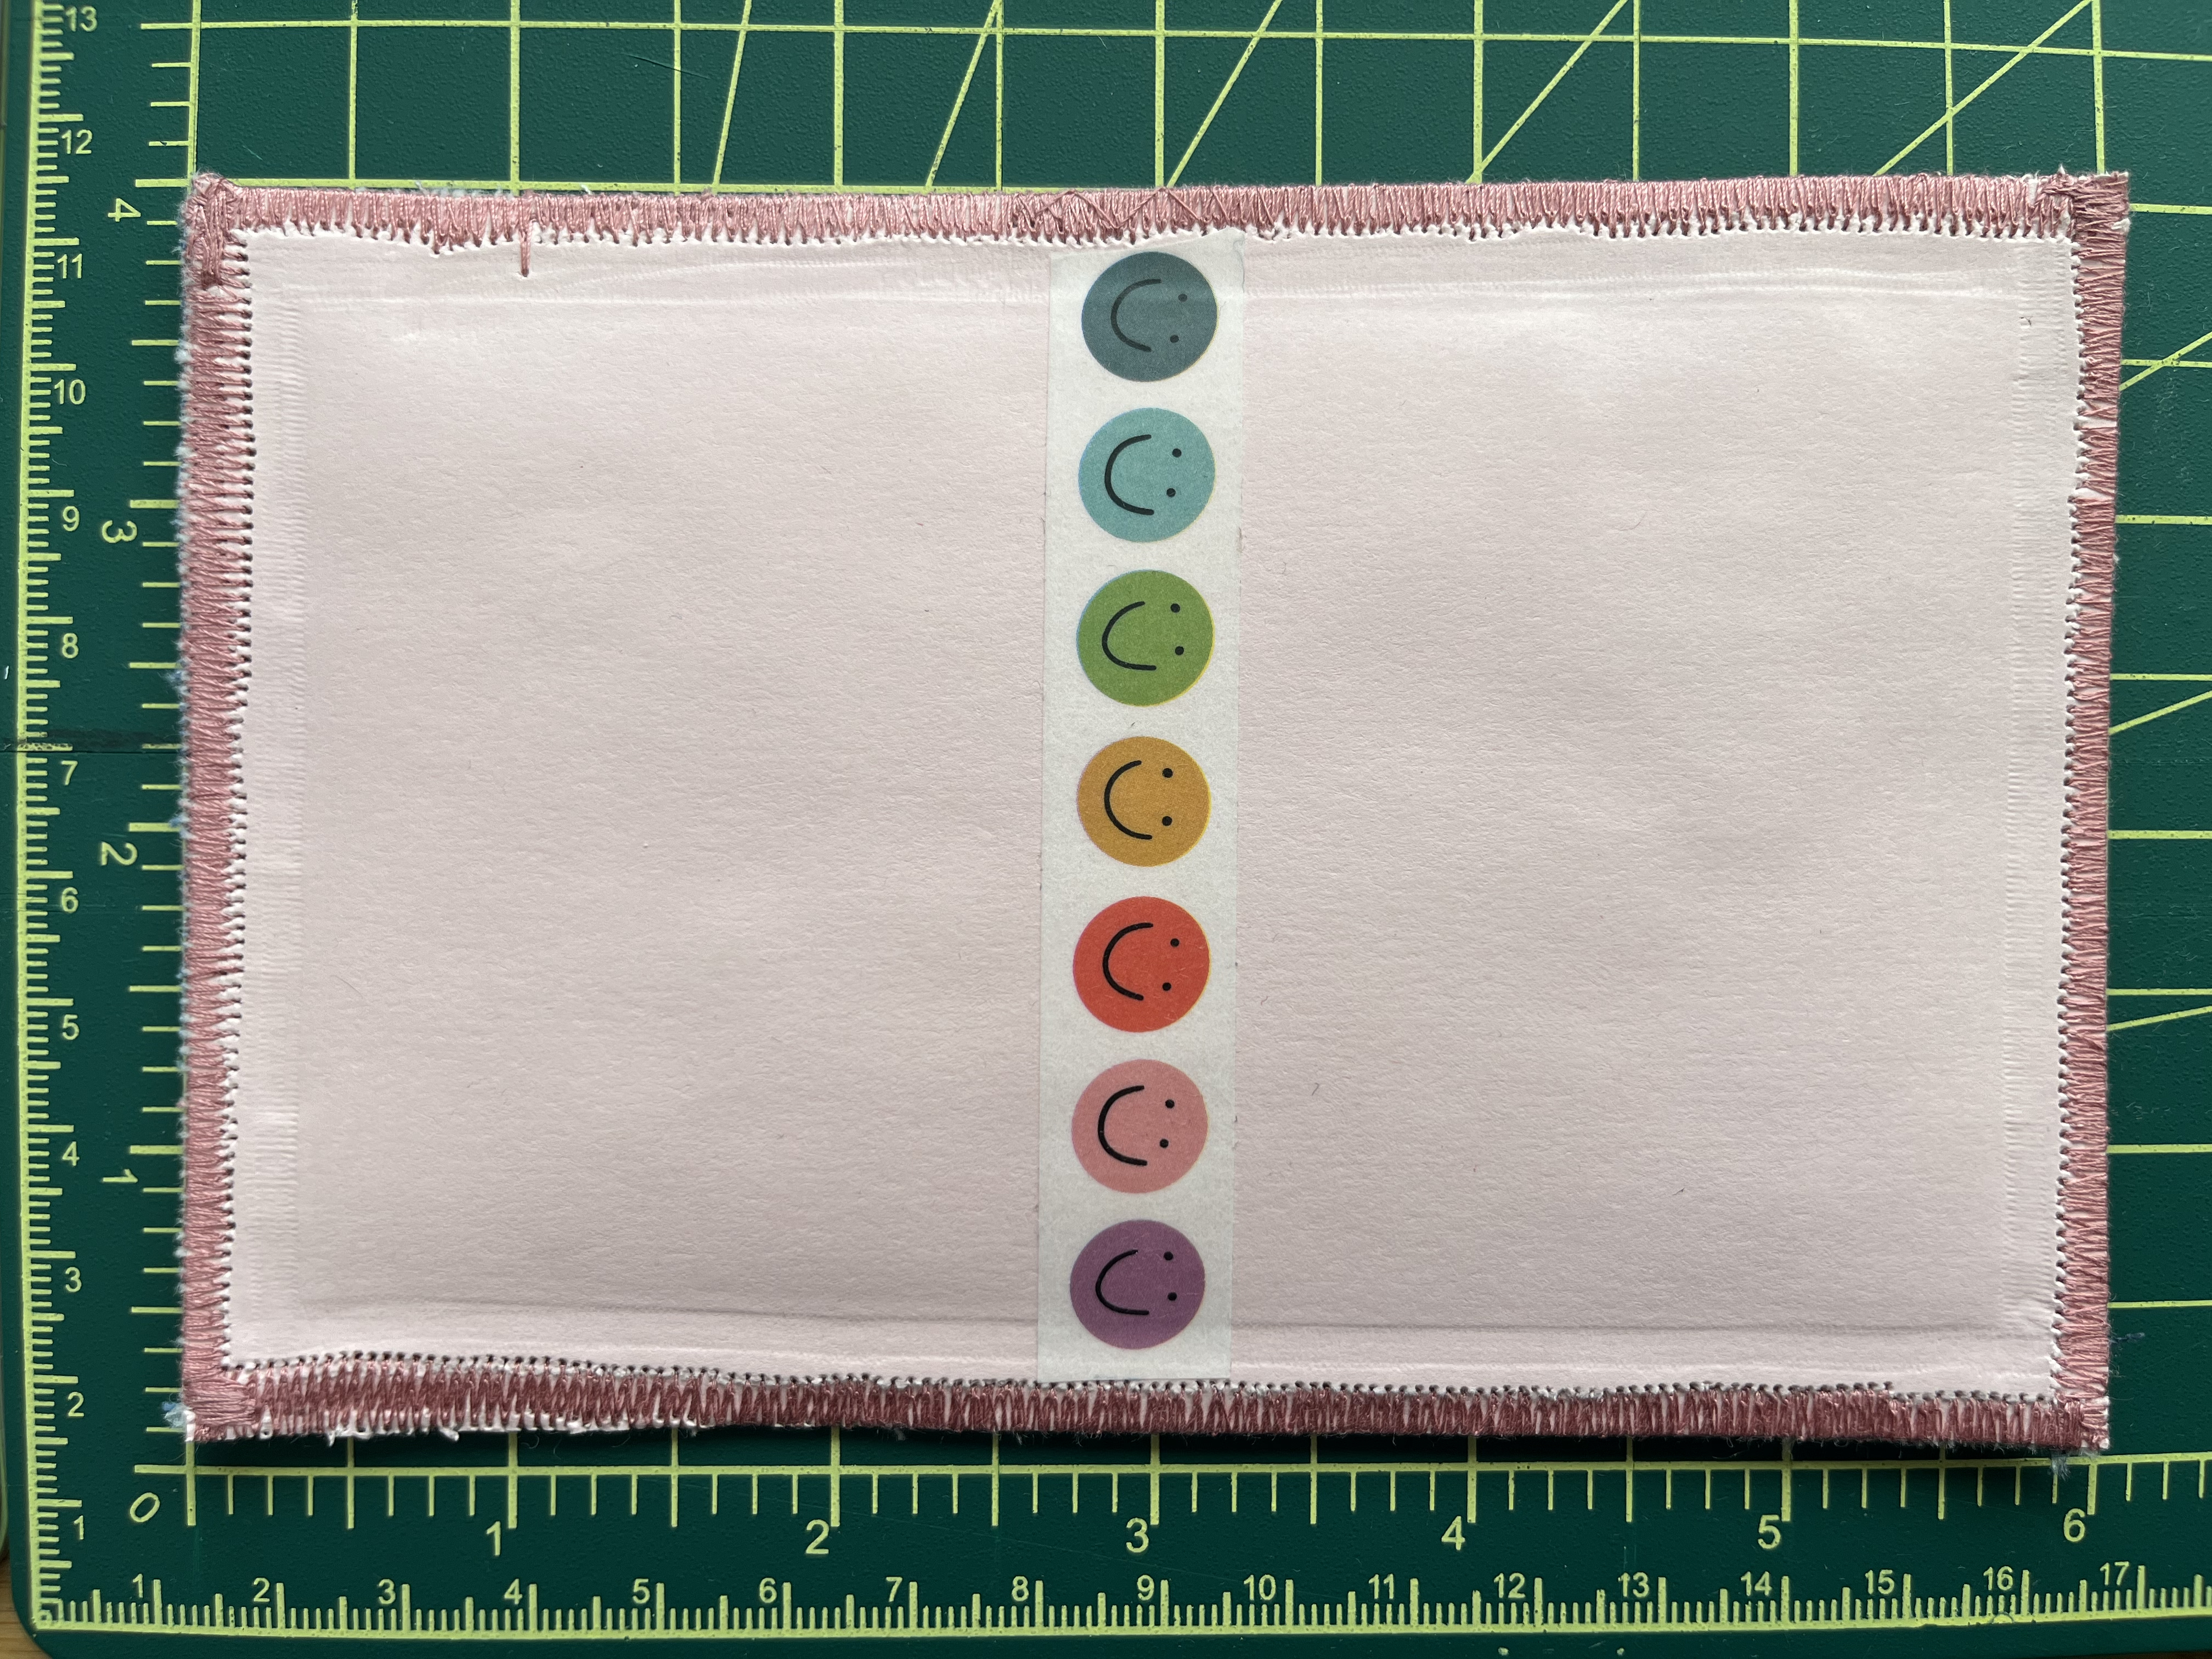
The quilt in question is actually a quilted postcard so yes, my first finished quilt of the year measures 6 inches by 4 inches! I flippin’ LOVE mail and get so much joy out of sending mail so I couldn’t not sign up for this one. I don’t care that it’s a wee quilt, it counts as a finished quilt–I pieced the top, quilted the top layer to the batting, put some fusible interfacing between that layer and card stock, and zigzag stitched around the perimeter twice to get all the layers together. The quilting is a little wobbly and the perimeter zigzag stitching is uneven and sparse in spots (it’s charming that way) but even with those flaws I think it turned out pretty cute and I’m quite proud of the finished piece. It’s handmade! It’s fun! My guild provided a bunch of links to help with this make and the one I solely relied on was Sarah Ruiz’s quilted postcard tutorial which is available as a free PDF download. Her guide is great!

A finished quilted postcard in front of a postcard mural

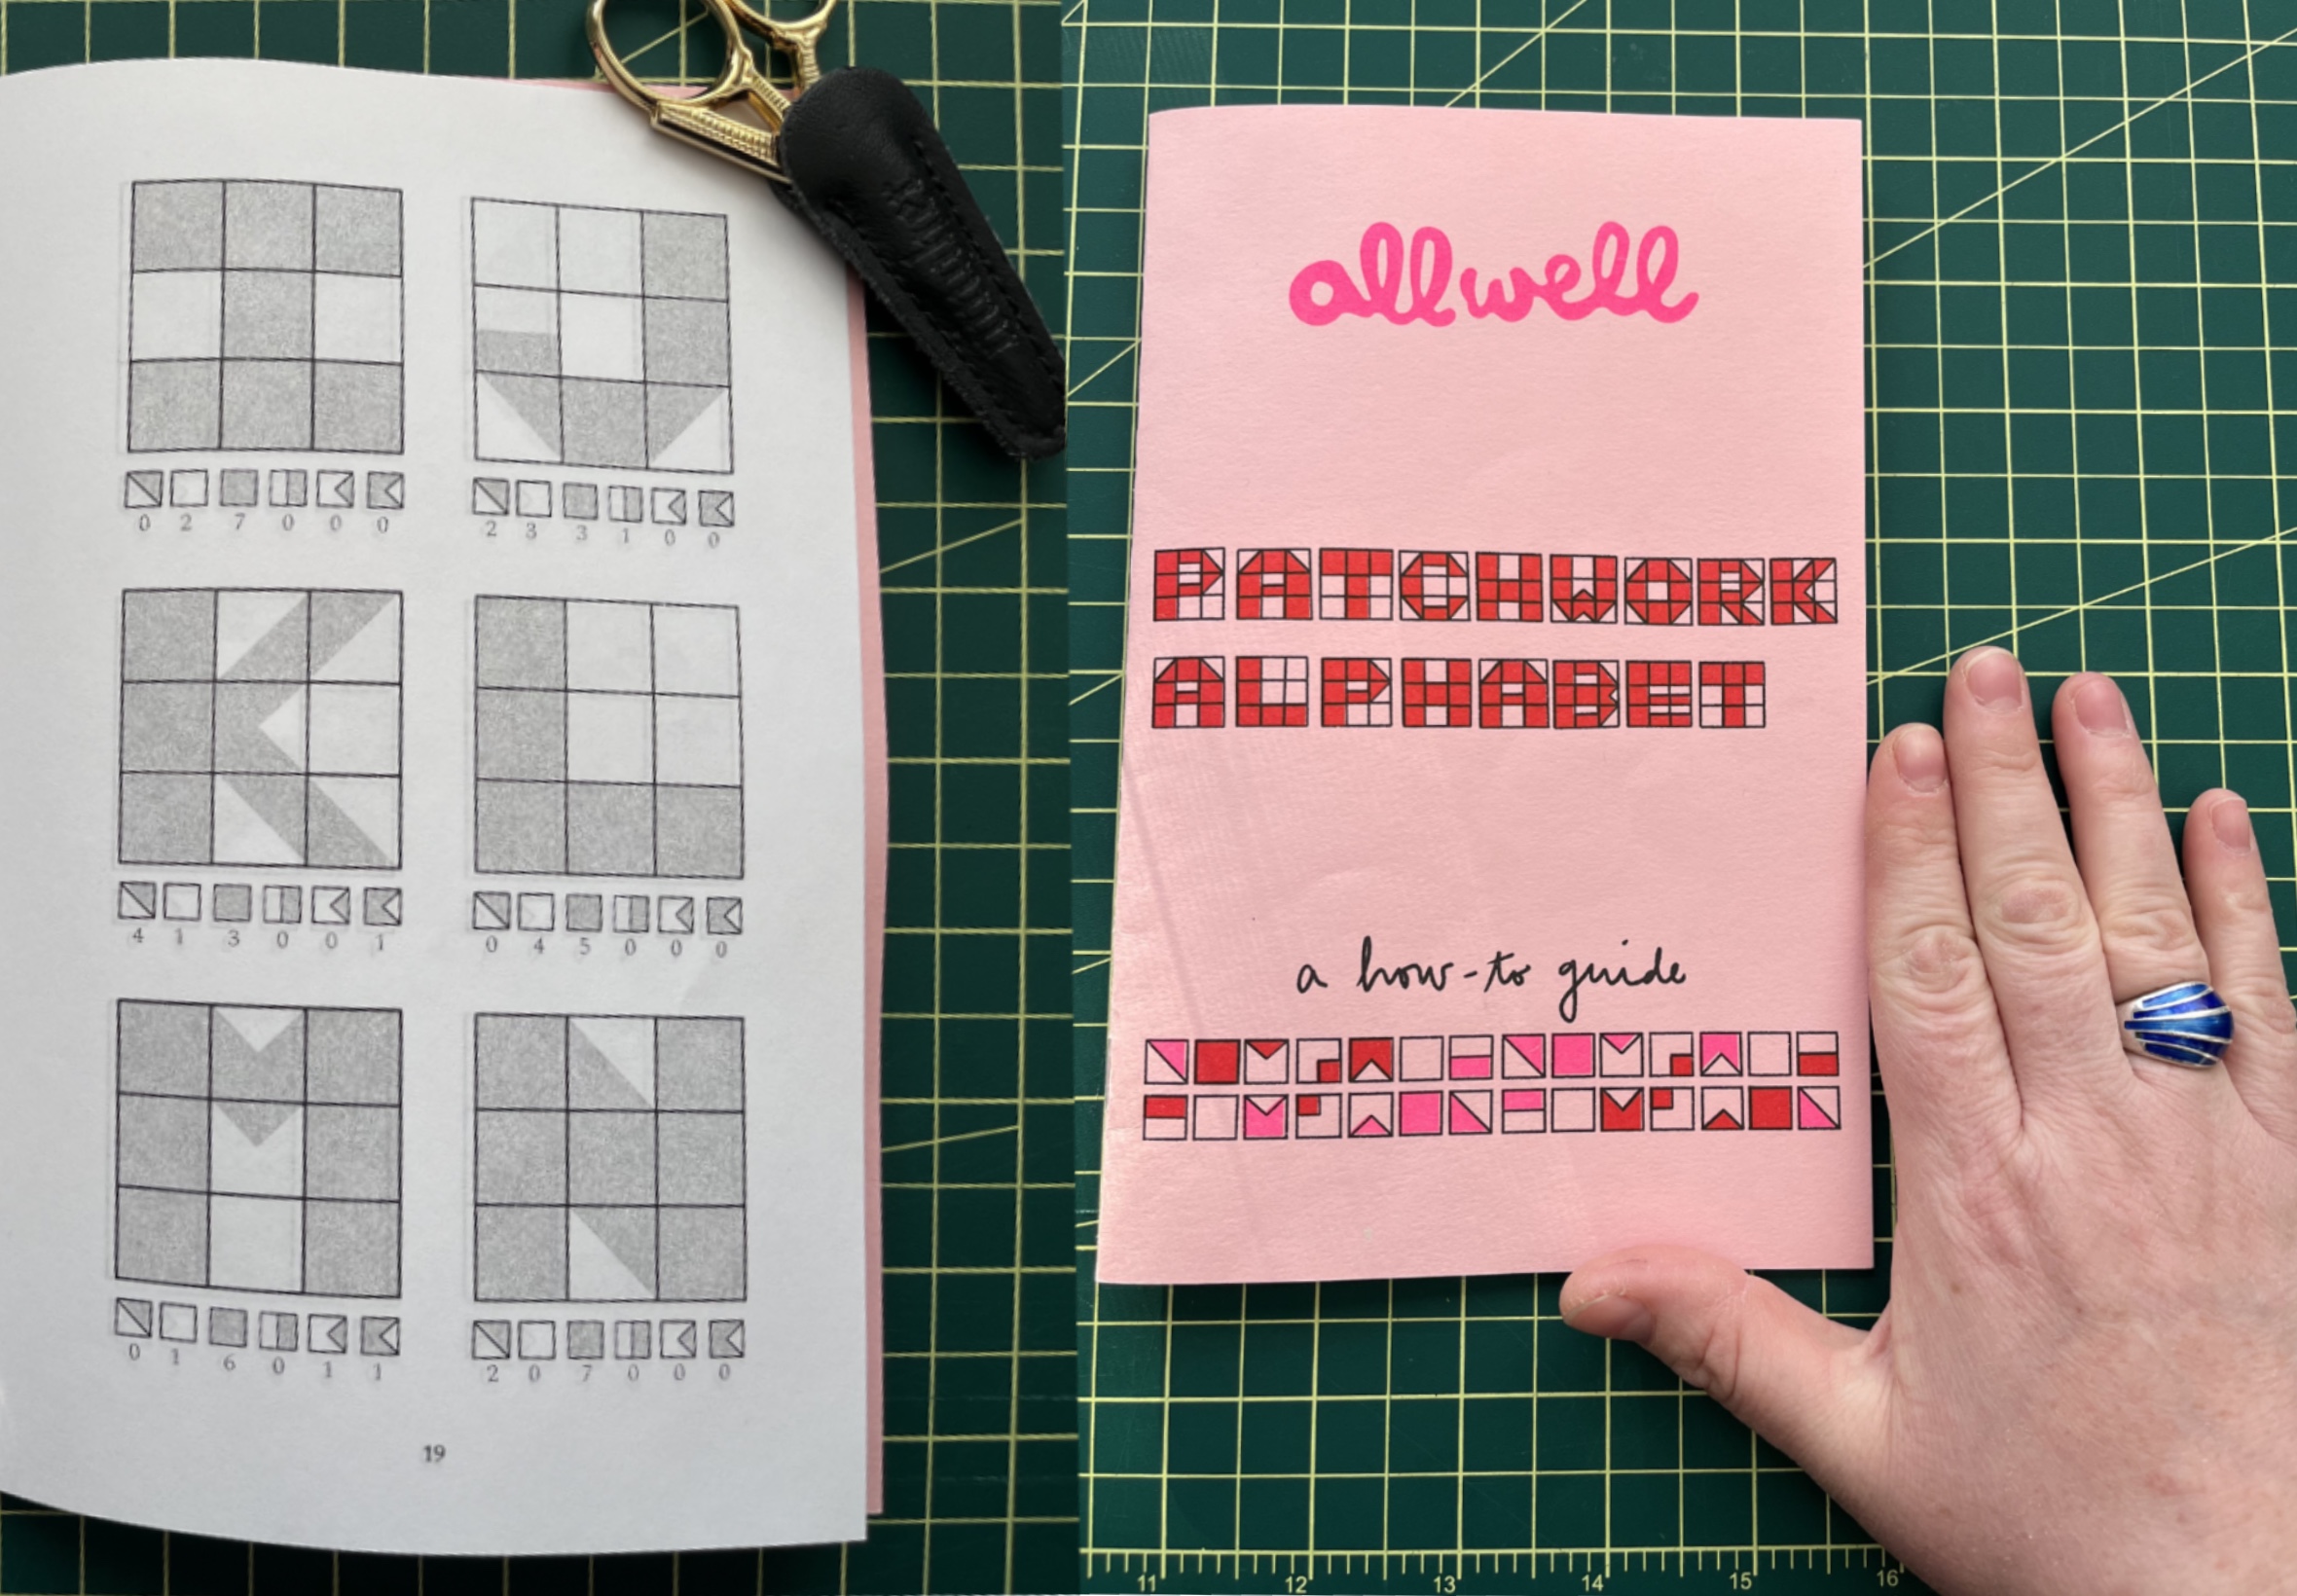
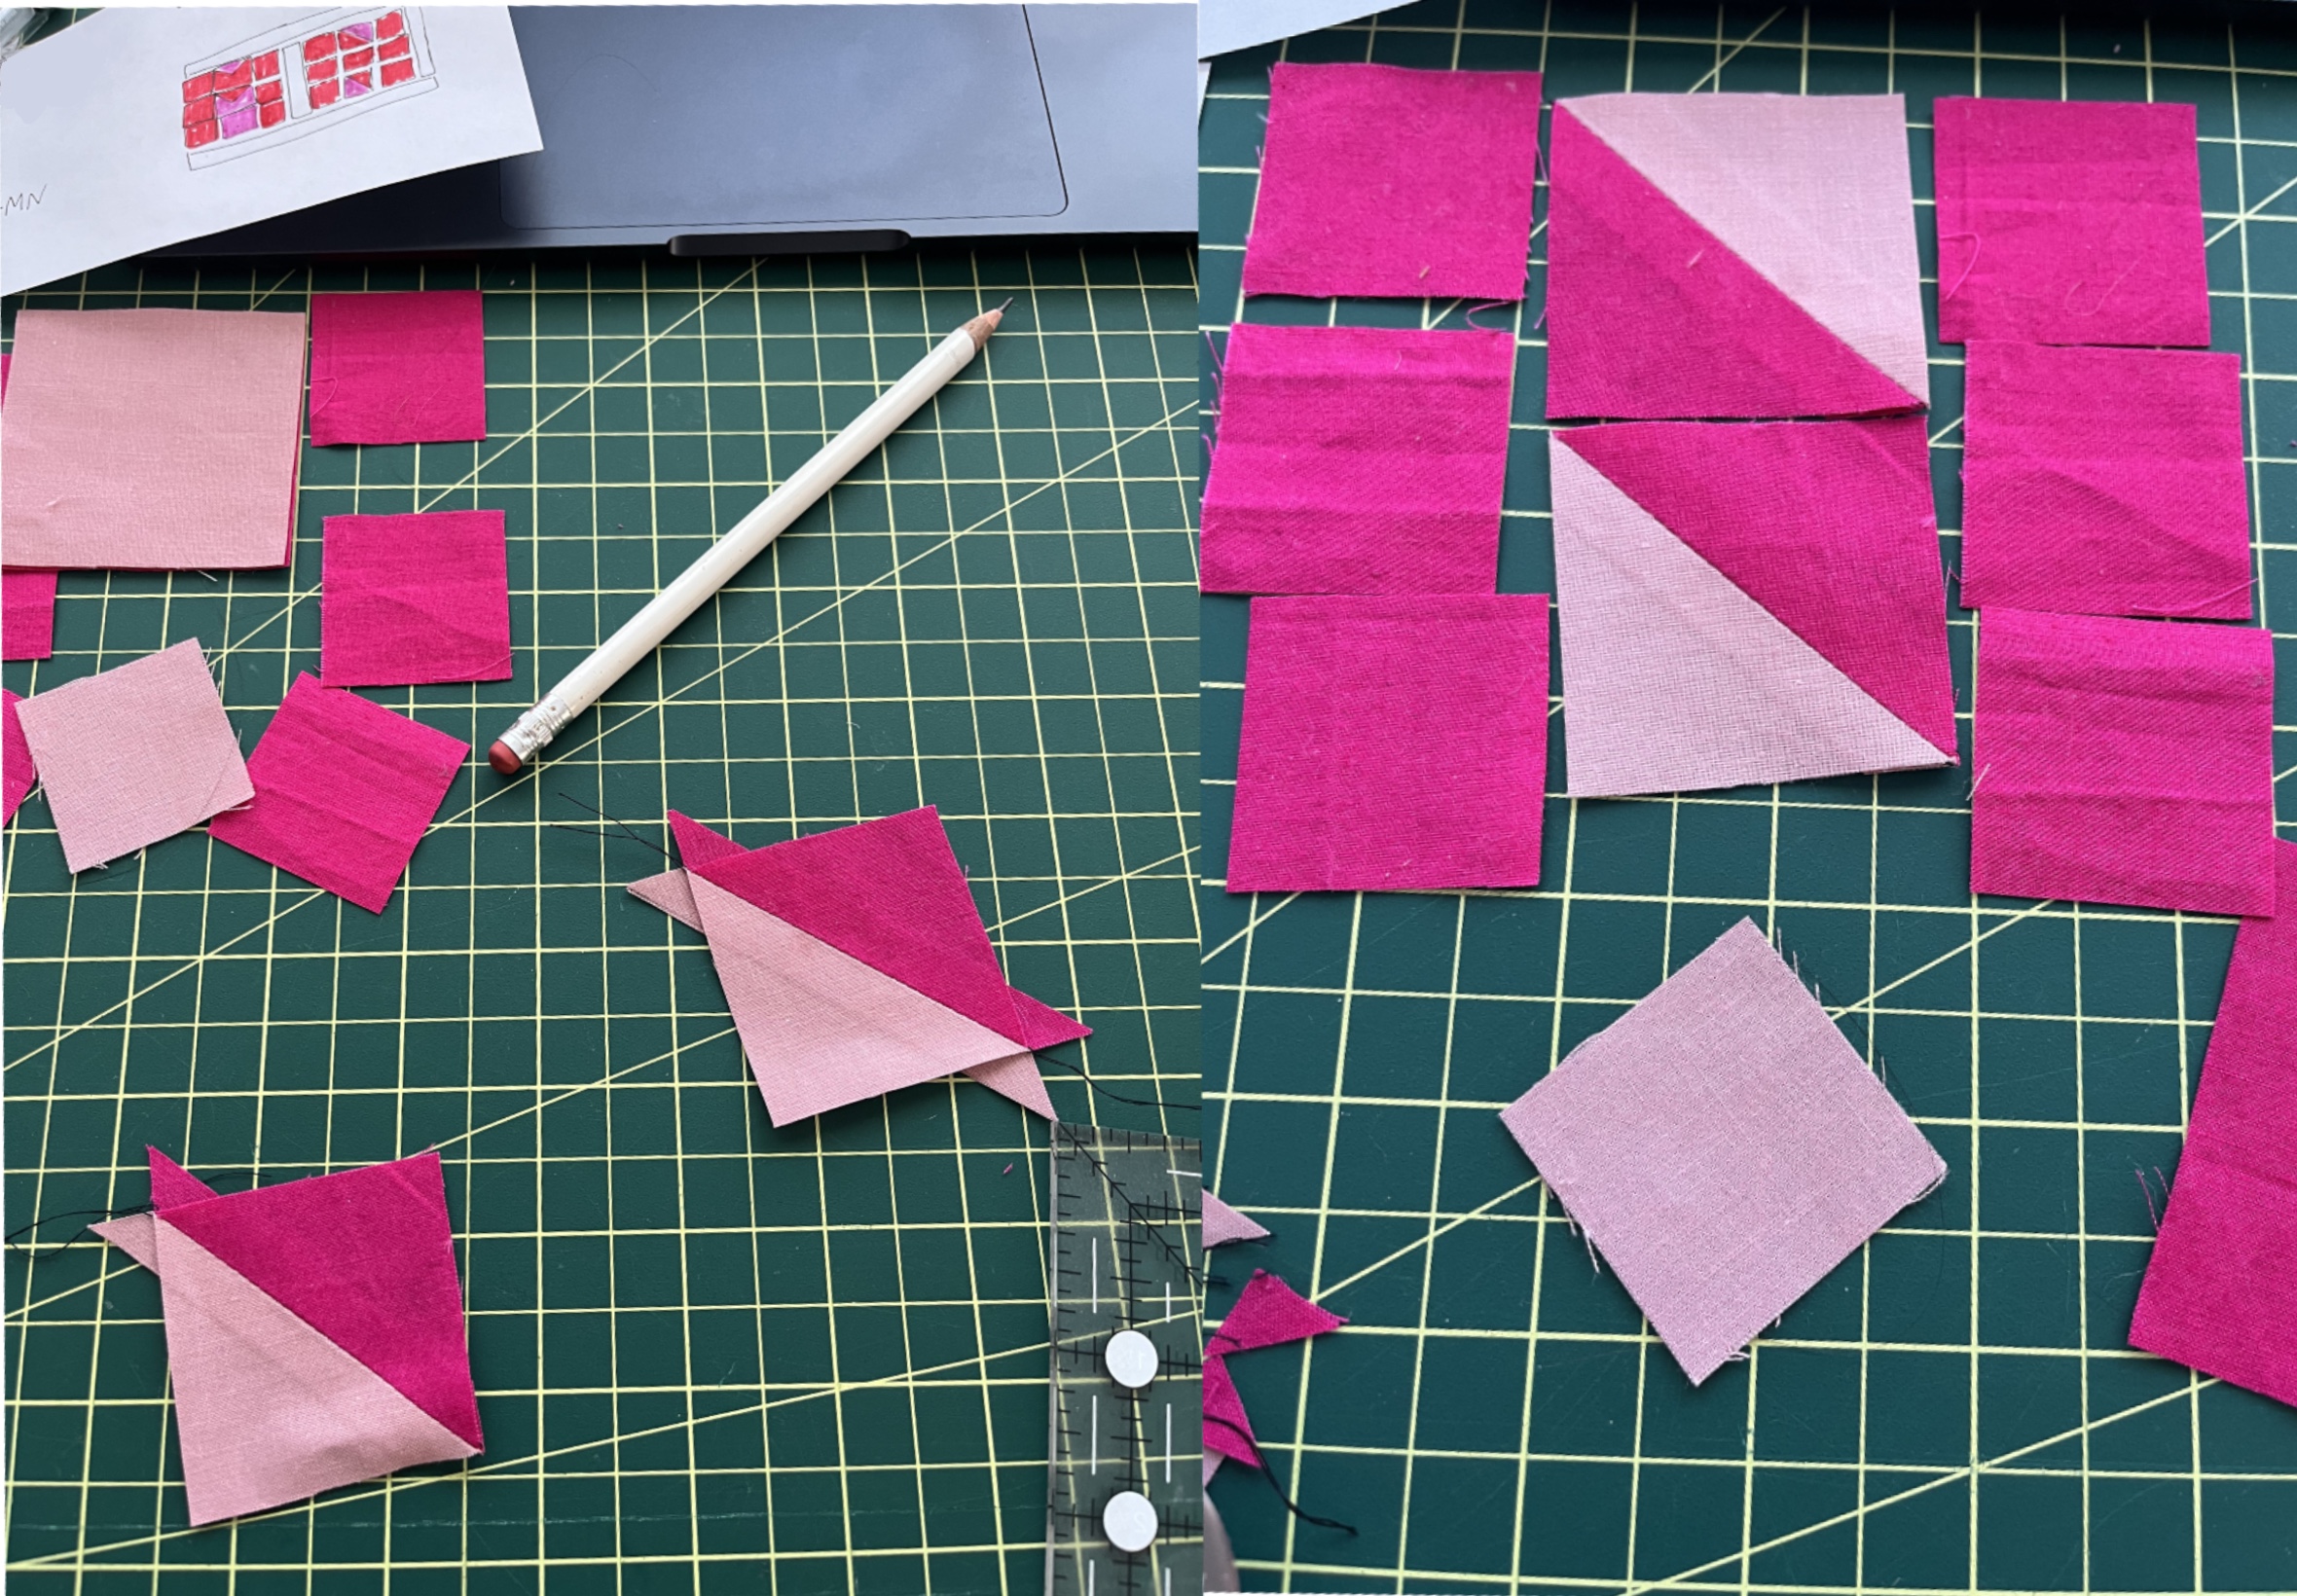
Since I’m mailing the postcard from Minnesota and postcards typically have some sort of indication that you’re receiving it from someone not where you are I wanted to put my state’s initials on there. To make the pieced letters I used the instructions found in All Well’s Patchwork Alphabet how-to guide zine. I also love that I’m mailing it to New Mexico–MN to NM!

This was my first time using interfacing in any sewing project and it was kind of a fail? I only bought it because the instructions recommended it to provide stiffness/stability to the postcard. I used Pellon 808 Craft-Fuse and got it to fuse to the card stock but not to the batting. I maybe didn’t have the interfacing facing the right way; it states to put the shiny side of the interfacing against the wrong side of the fabric, which I thought I did but maybe I actually did not. If you have any other ideas about what went wrong comment below or write me please.

I also only had instructions on how to use this interfacing in Spanish, which begs the question, ¿por qué? Porque the English instructions were a casualty when the interfacing was cut for me at the fabric shop, that’s all. I did use Google translate to make sure I was reading it correctly since we live in the future (my Spanish has gotten SO BAD but I give myself a solid B and a pat on the back for my translation efforts before I resorted to Google). After ironing and ironing I didn’t want to dink around with it any more. The fact that it fused to one layer was good enough for me. Maybe it’s supposed to only fuse to one side!

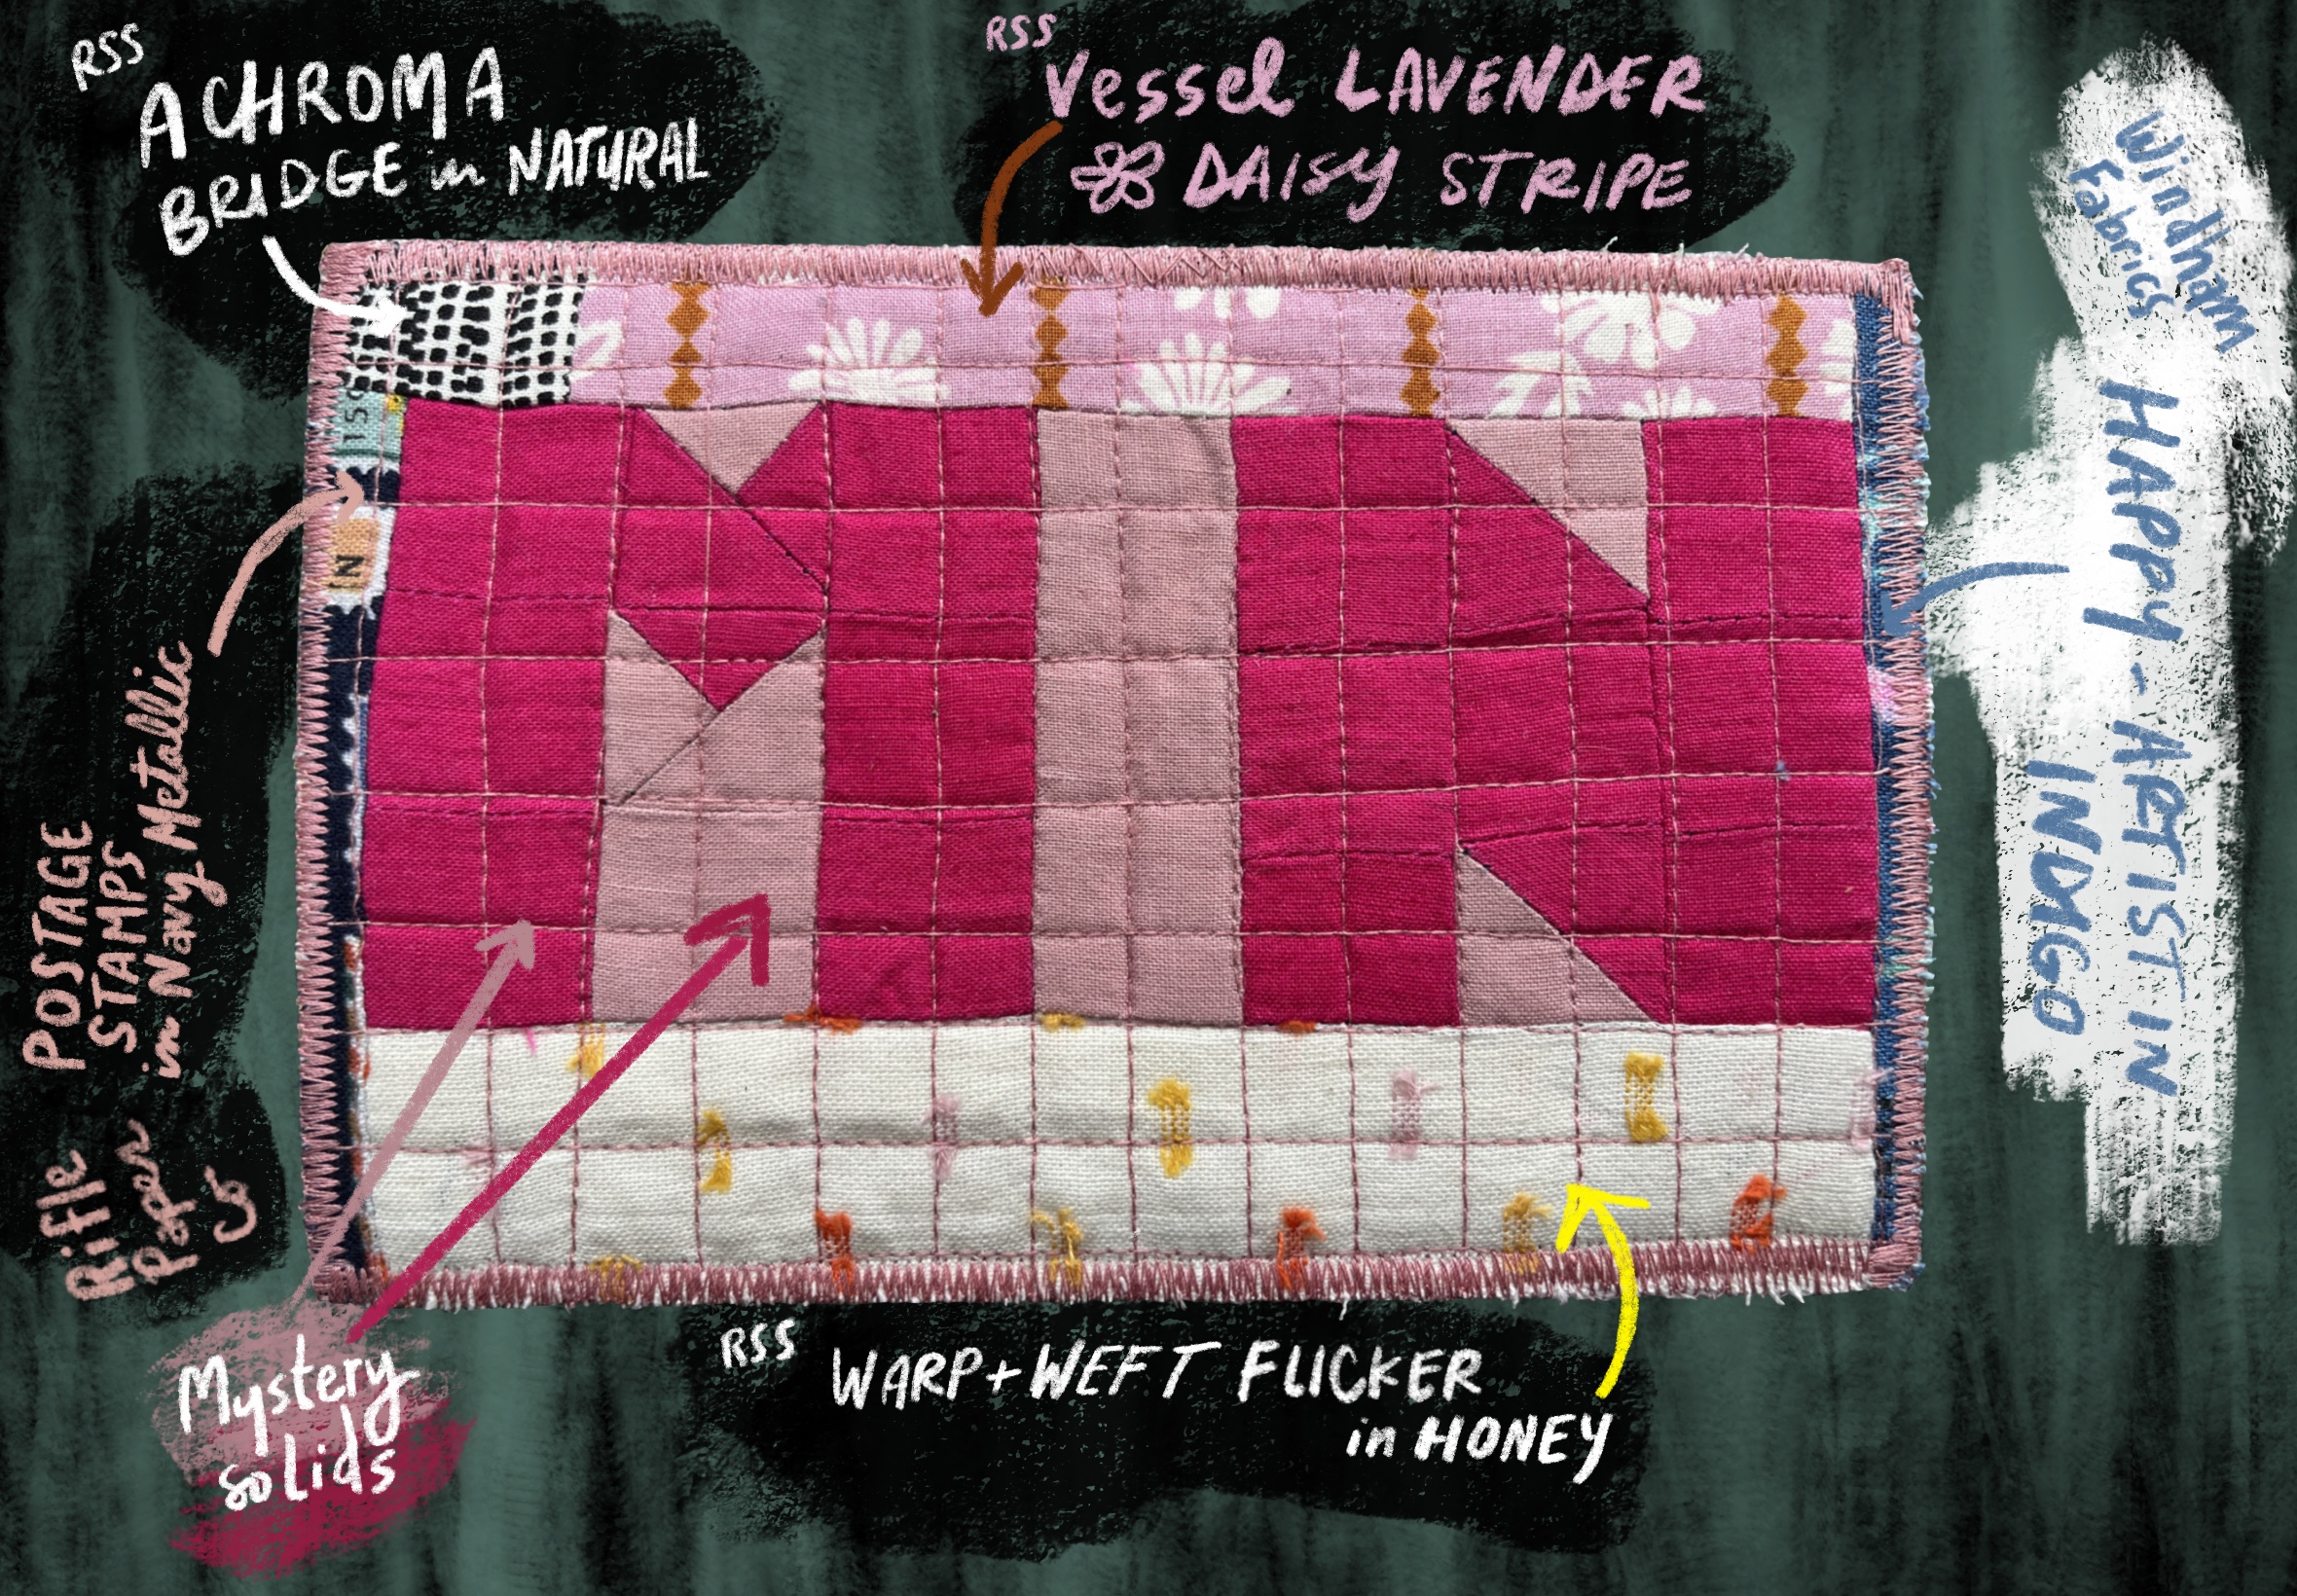
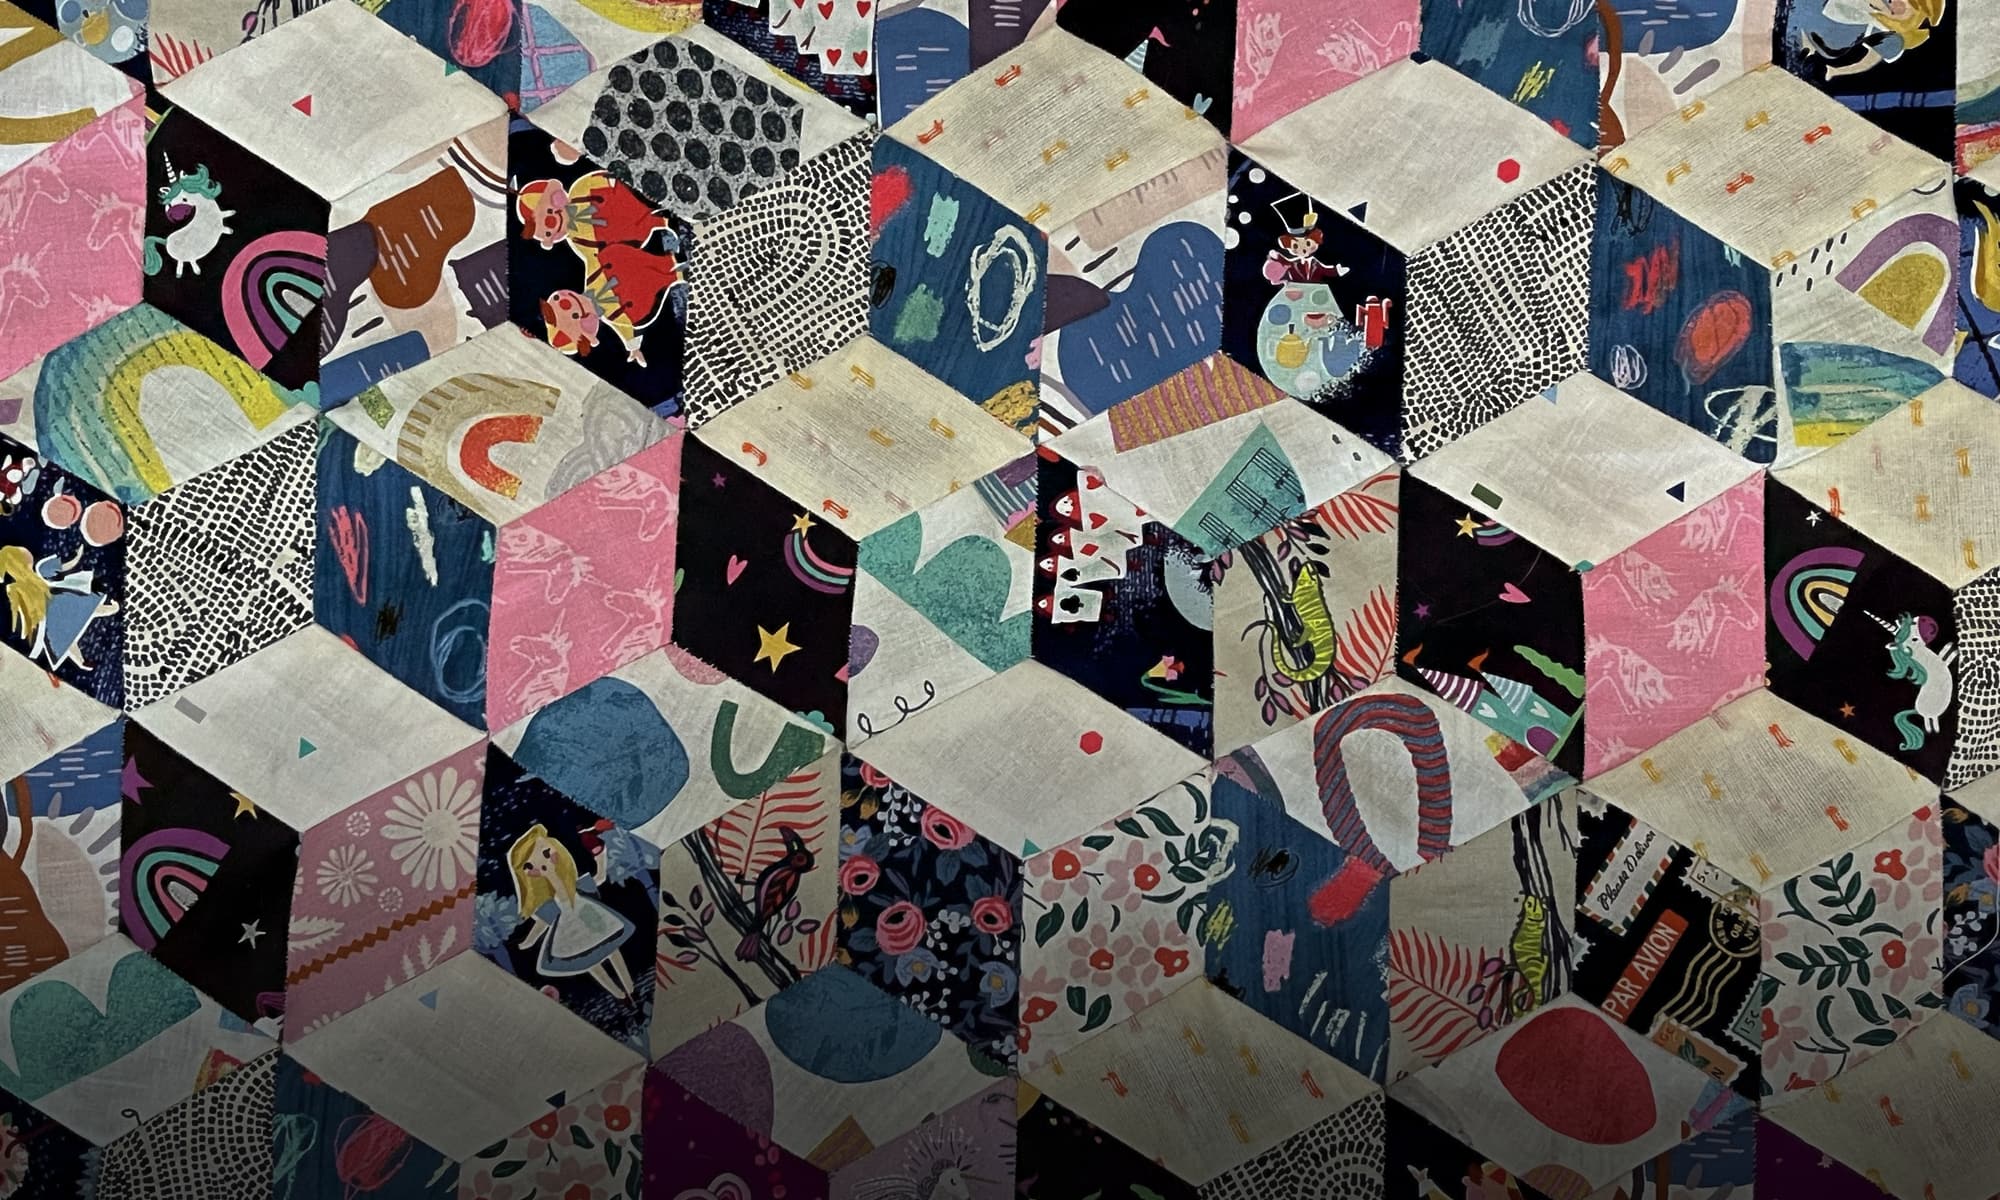
The entire postcard is made up of scrap cotton quilting fabric from my stash. I think I got the solids from my neighborhood Buy Nothing group and the others are mostly Ruby Star Society, all little scraps I pulled out of a pile on my desk; they’re all being used in another quilt I plan on writing more on soon! I used a 50wt Victorian Rose Aurifil cotton thread for the quilting and 50wt black Guttermann cotton thread for the piecing. The batting must’ve been a cotton but beyond that I’m not sure what brand I used. I didn’t quite intend for the postage stamps fabric and the happy artist fabric to be so teeny tiny. If I were piecing this again I’d make the spacing between the letters smaller so that the outside fabric would show more.

Oh, and I almost forgot–this was my first time using my new quilting walking foot! It was a good project to try it out on. I can’t believe I waited so long to get one. For years I (wrongly) assumed I couldn’t get one for my sweet 1960’s vintage Singer but one quick Google search revealed that I indeed could get a walking foot and it wasn’t expensive at all. It was a dream to use! Never again will I struggle to shove a quilt sandwich over my feed dogs! Here’s my walking foot. Now I’m wondering if I need to order some of the other fancy quilting feet.

We’ll see if this postcard makes it safely to Albuquerque. I decided to go to the post office to double check a postcard stamp was sufficient (it was) and mail it as-is. I didn’t get any pushback from the perfectly nice postal employee I interacted with, thankfully. Some in my guild have said some postal workers they encountered have been quite cantankerous or even downright mean about their quilted postcards saying that the machines wouldn’t be able to handle it (as an aside: does the post office turn people into misanthropes or are misanthropes naturally more attracted to the profession?). No matter what I for sure want to make more because having a quick, easy to finish project is very motivating. Anyone need some snail mail?

Ash