I decided I wanted to see all my makes from last year in one comprehensive post. This is gonna feel long, but it’s mostly going to be photos with a few sentences. Let’s see how I did. Here we go!
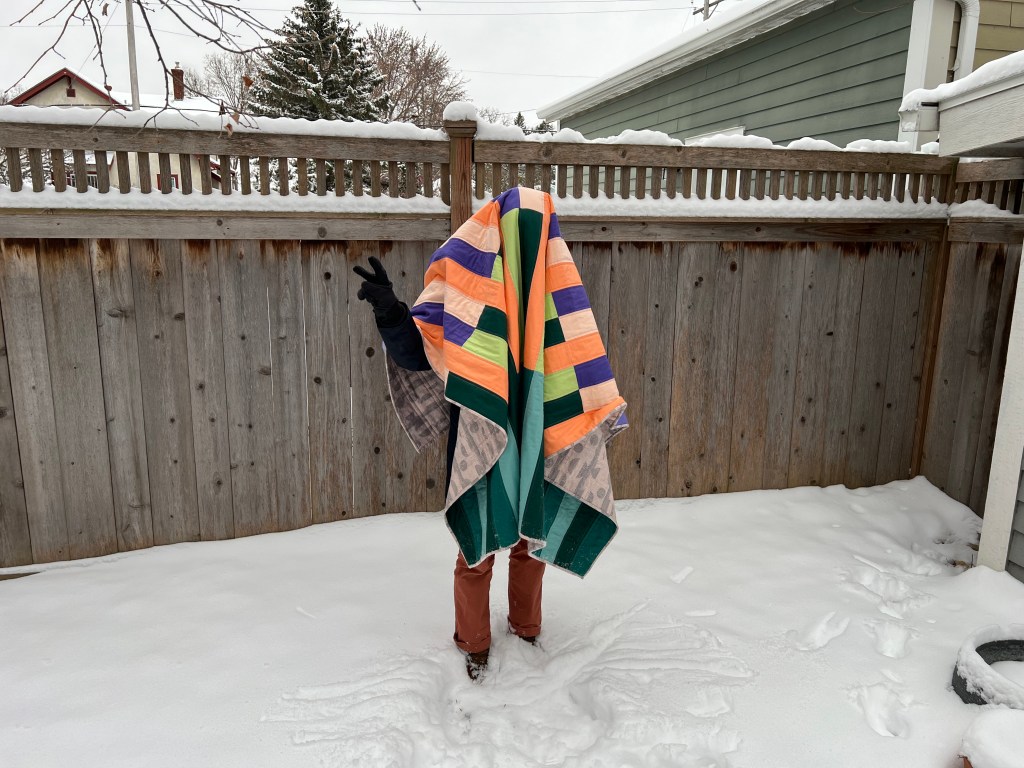
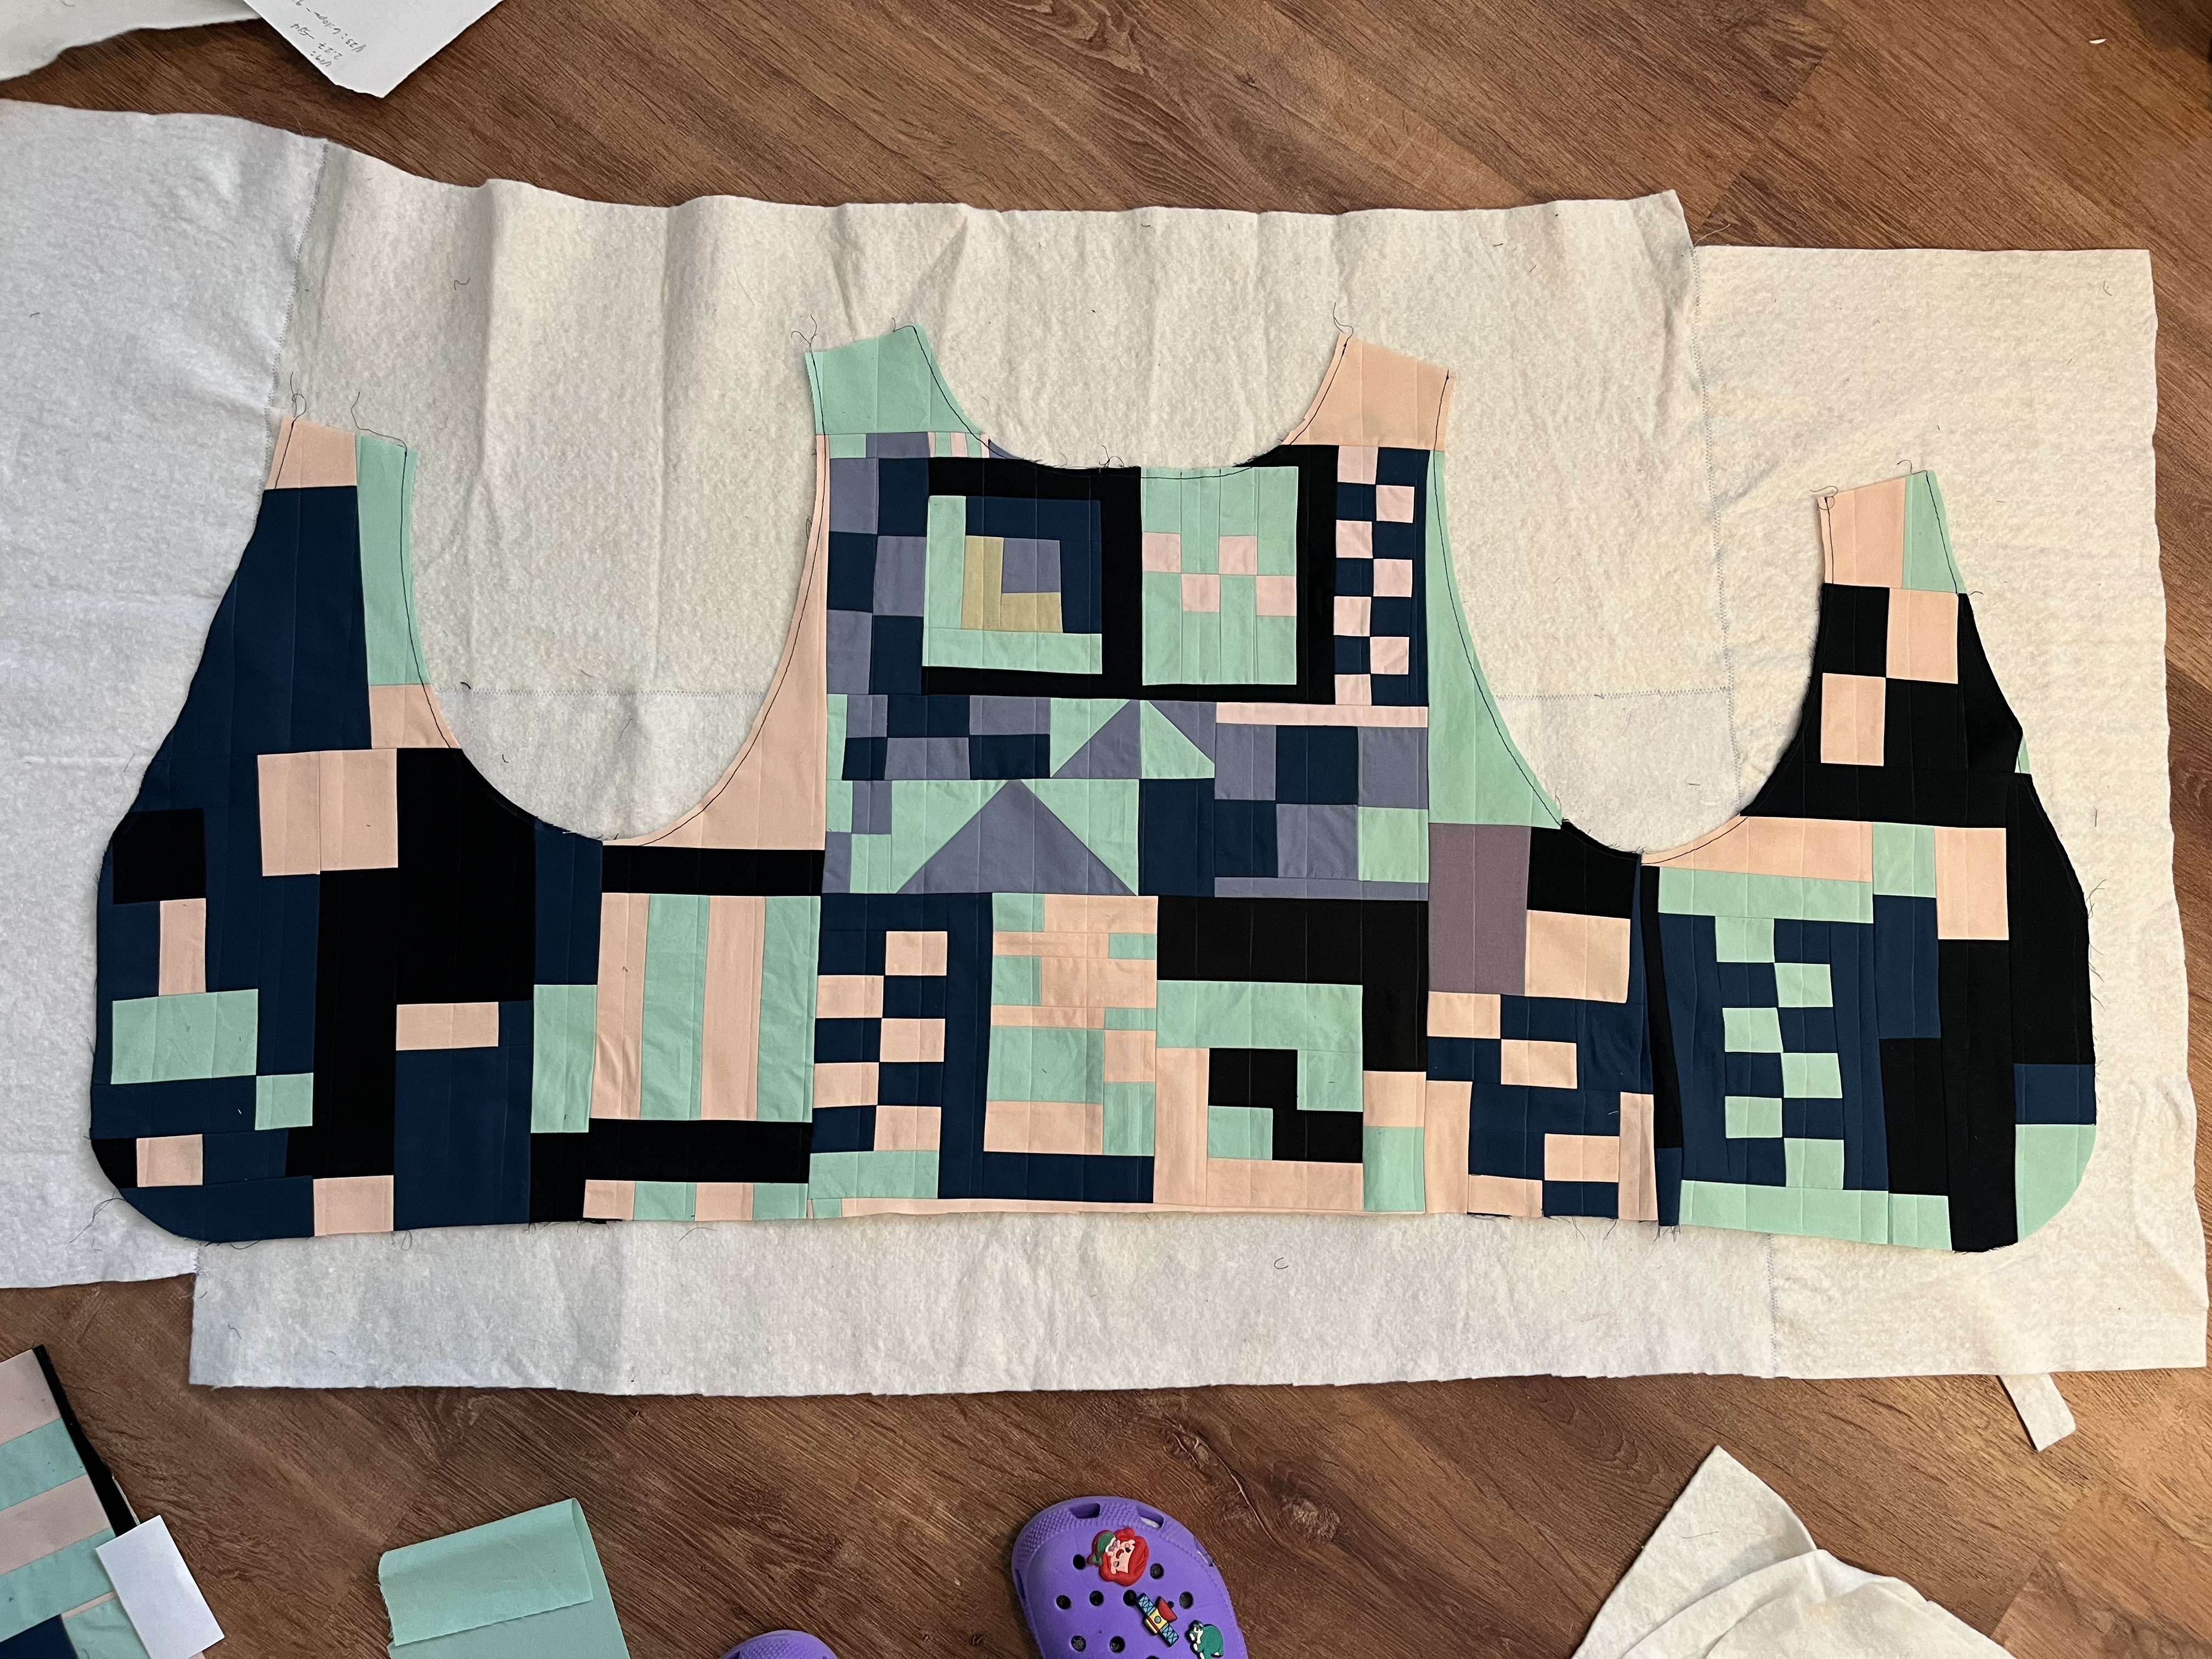
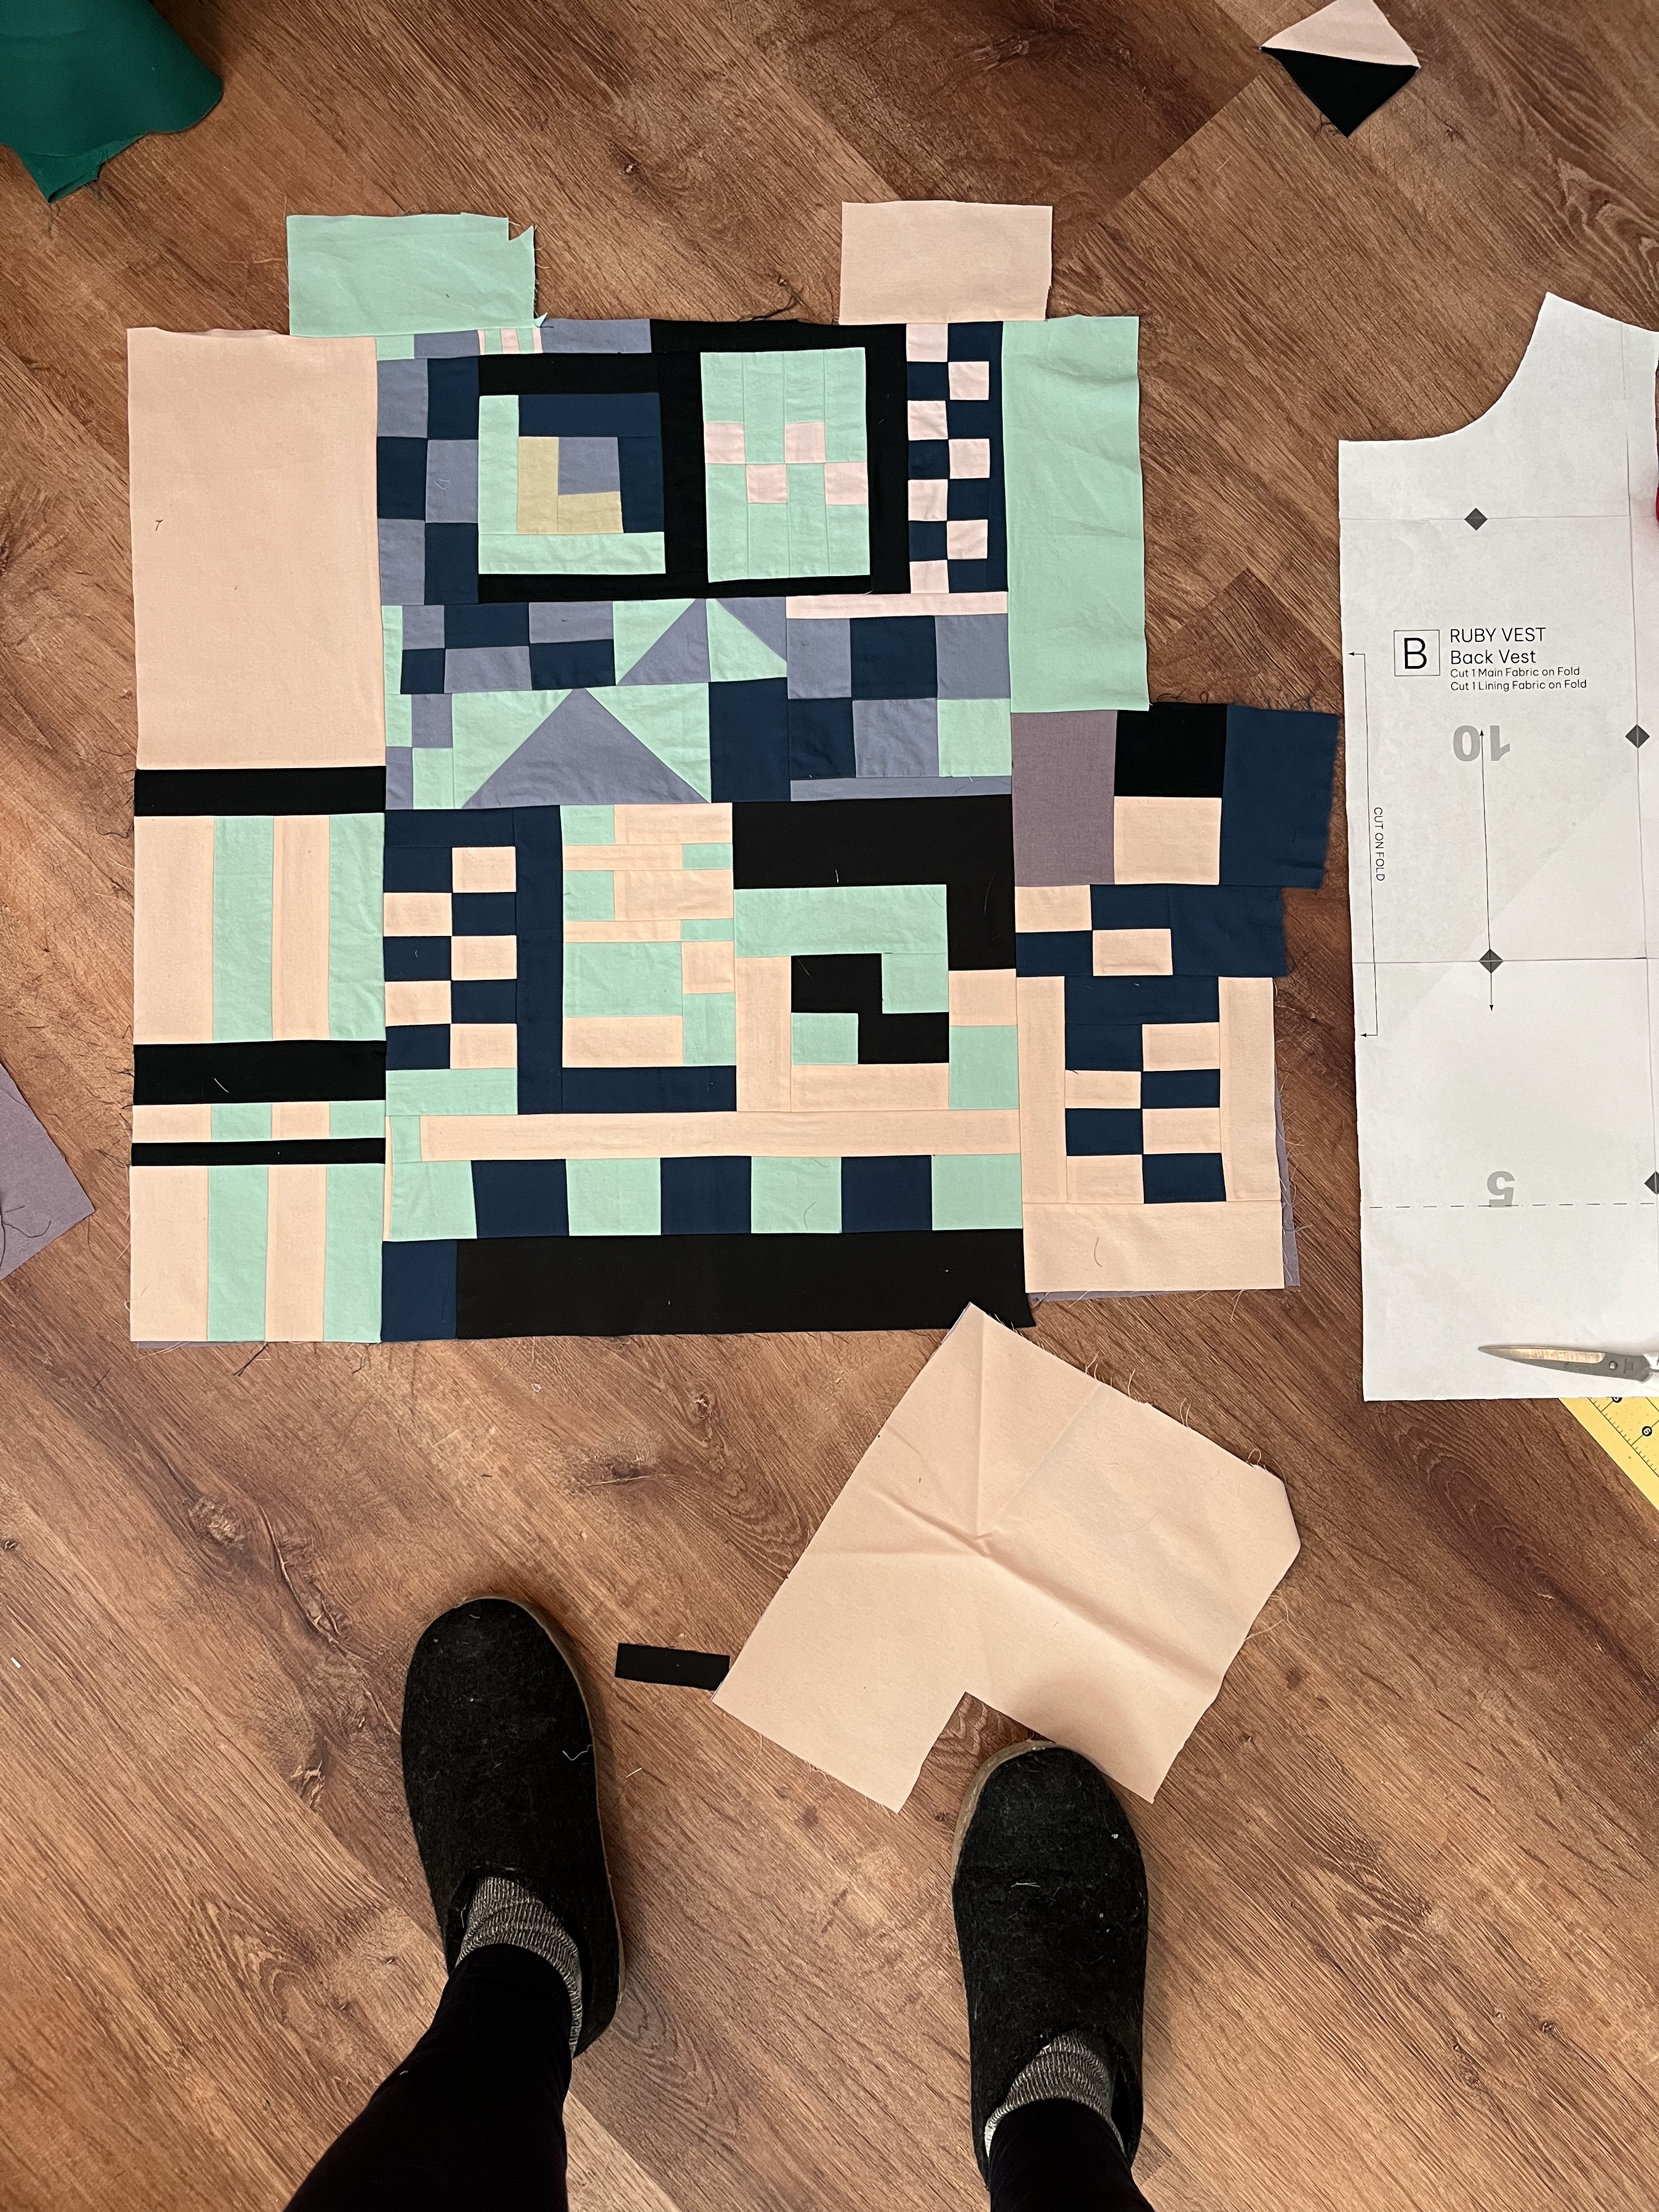
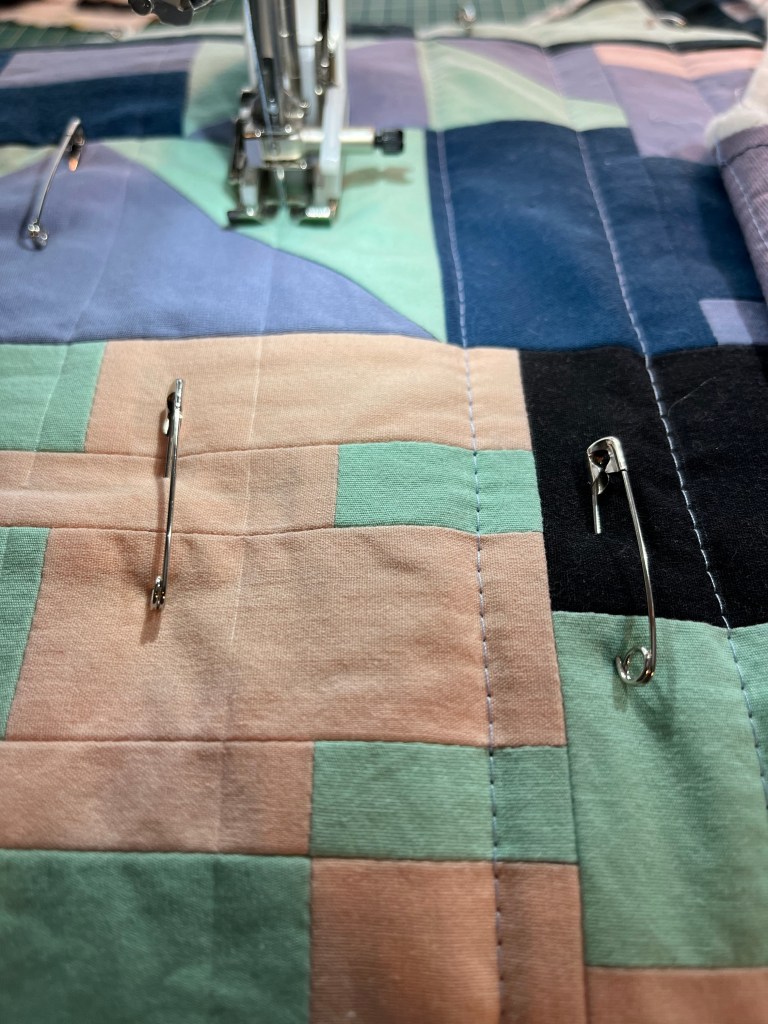
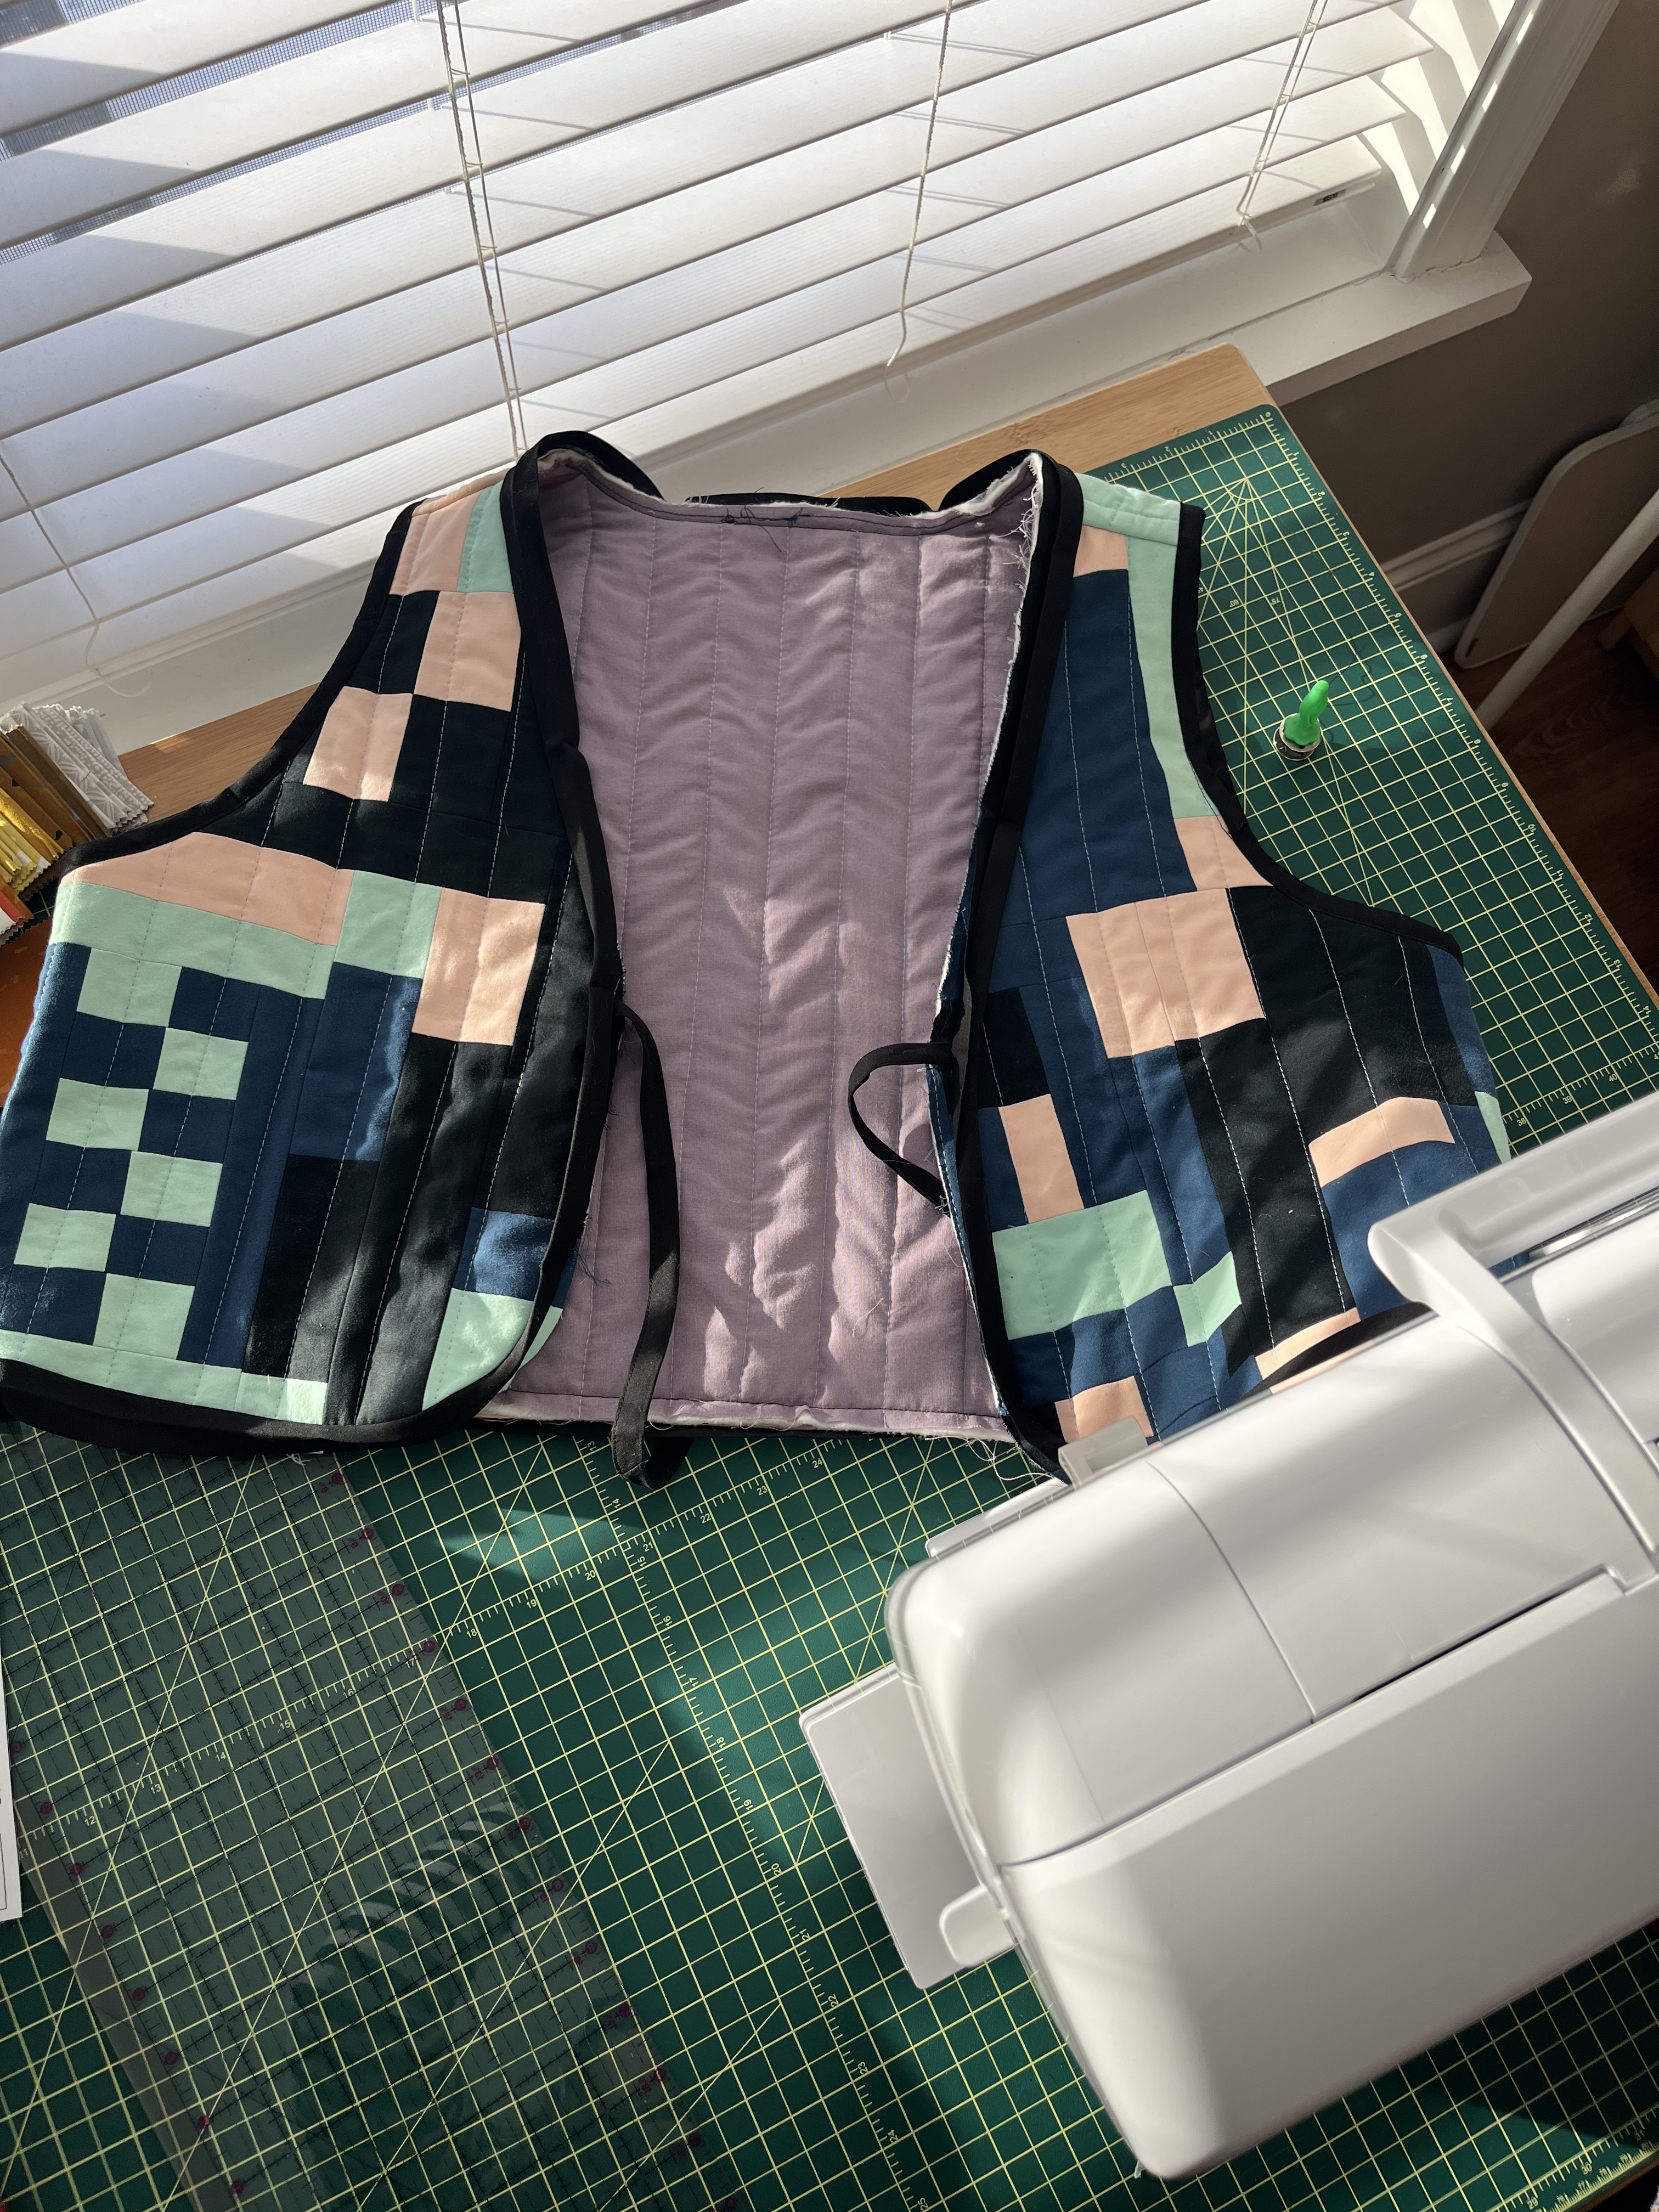
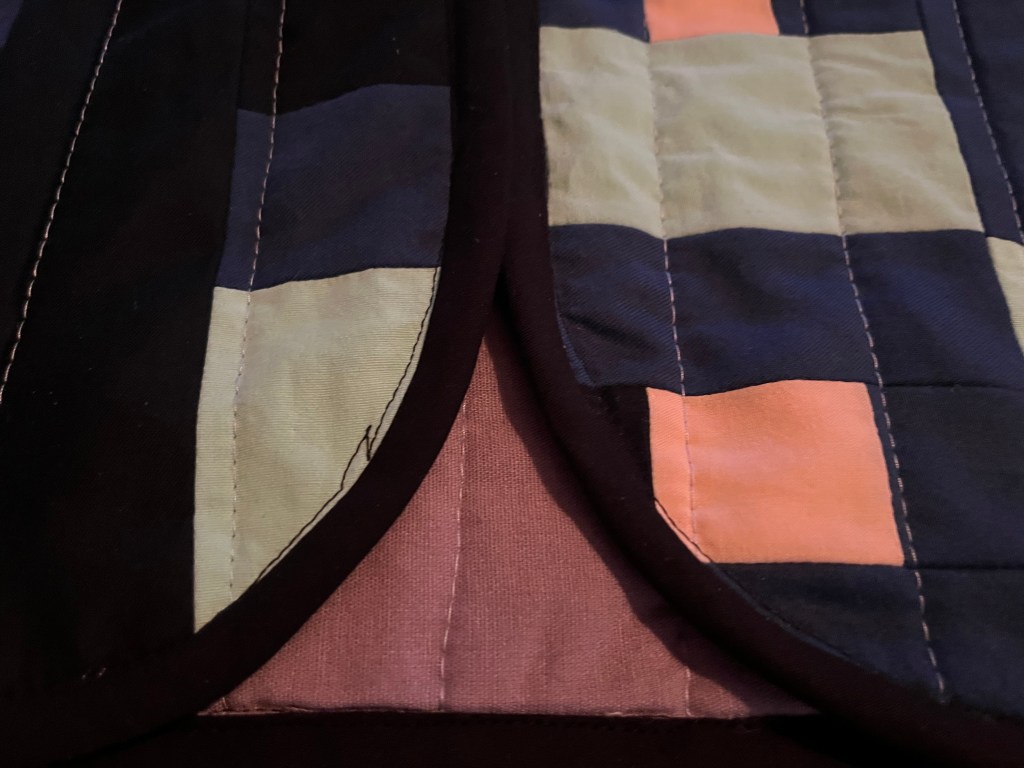
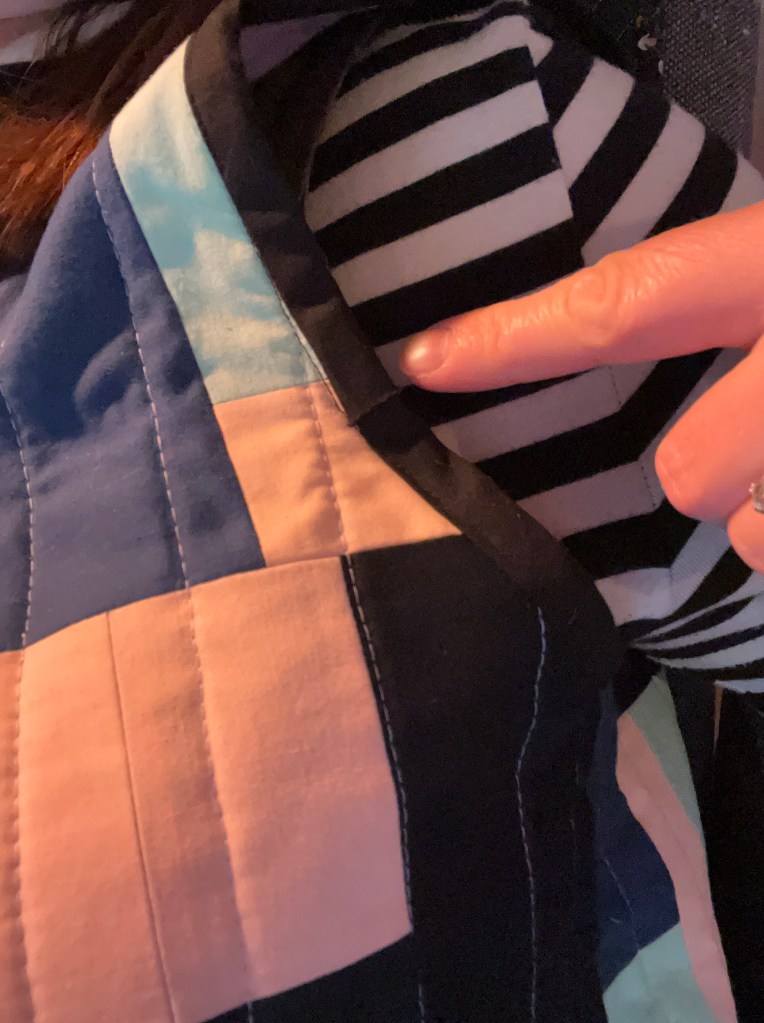
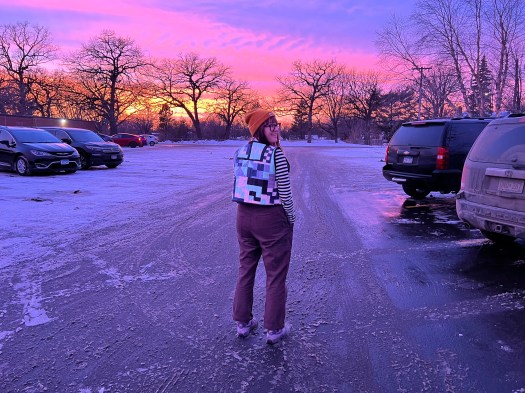
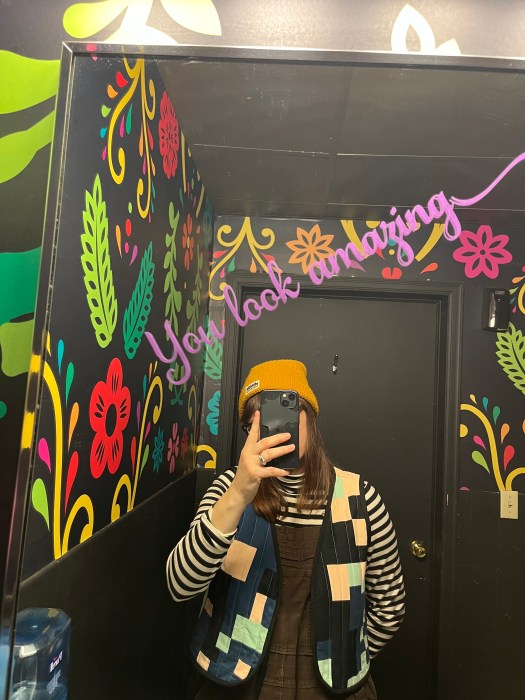
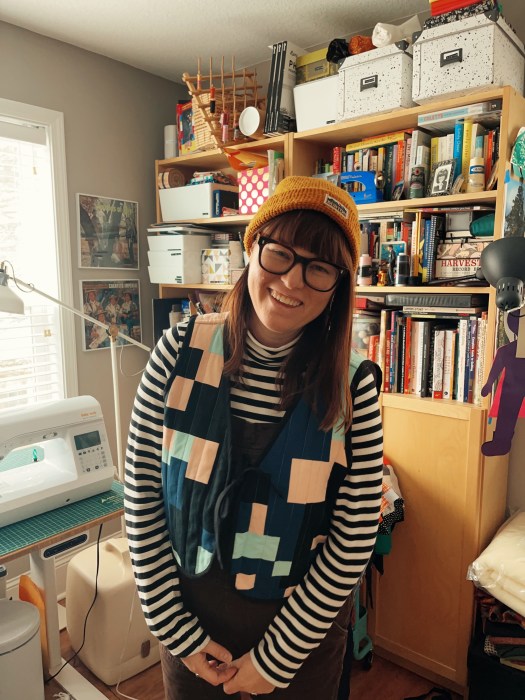
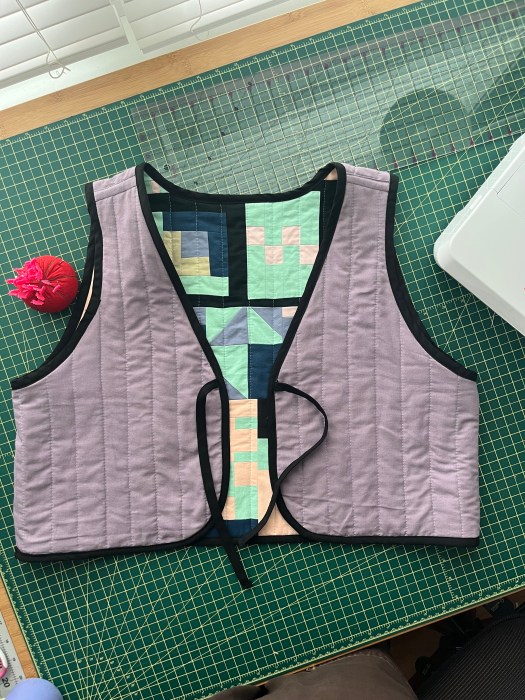
Syd Graham Ruby Vest for me
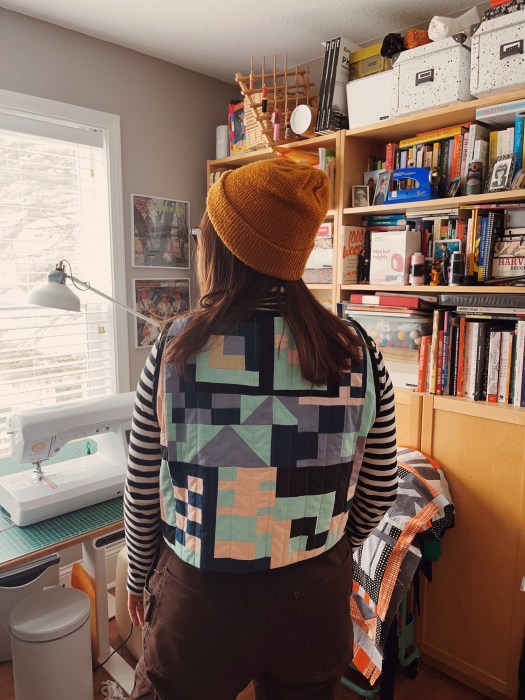
I loved making this vest and visually I still love it, despite a couple flaws on the bias tape and ties. I haven’t worn it much this 2025/2026 winter, and I think that’s because I really only ever wear it with these brown Carhartt overalls, which I haven’t worn much this winter for some reason! I need to try it out with more outfits.
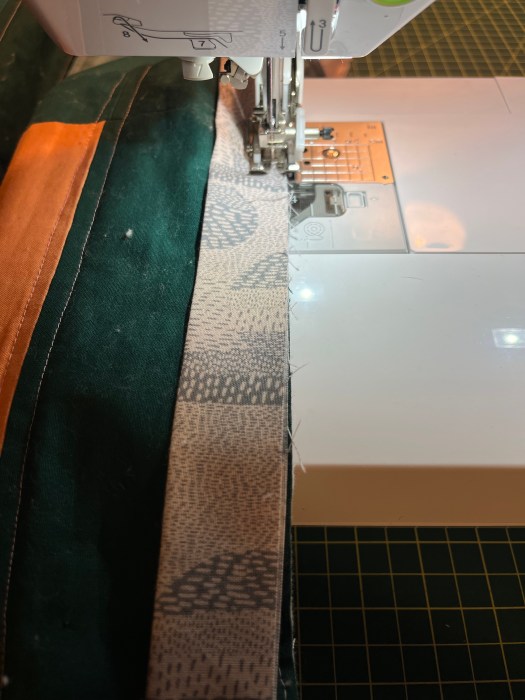
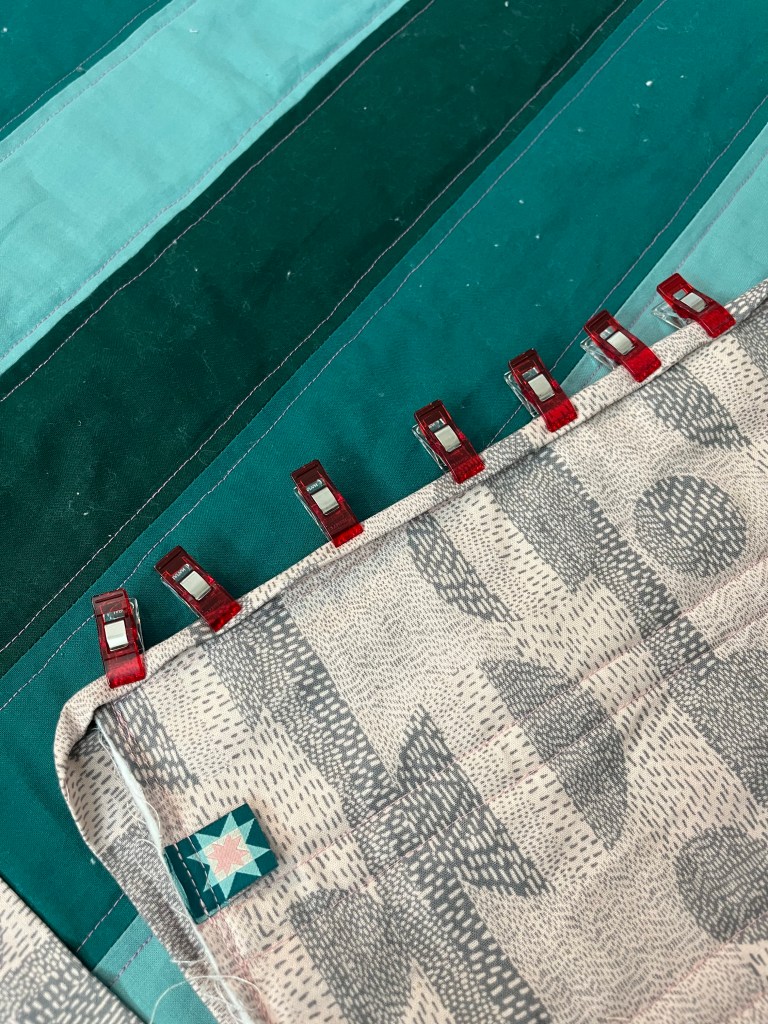
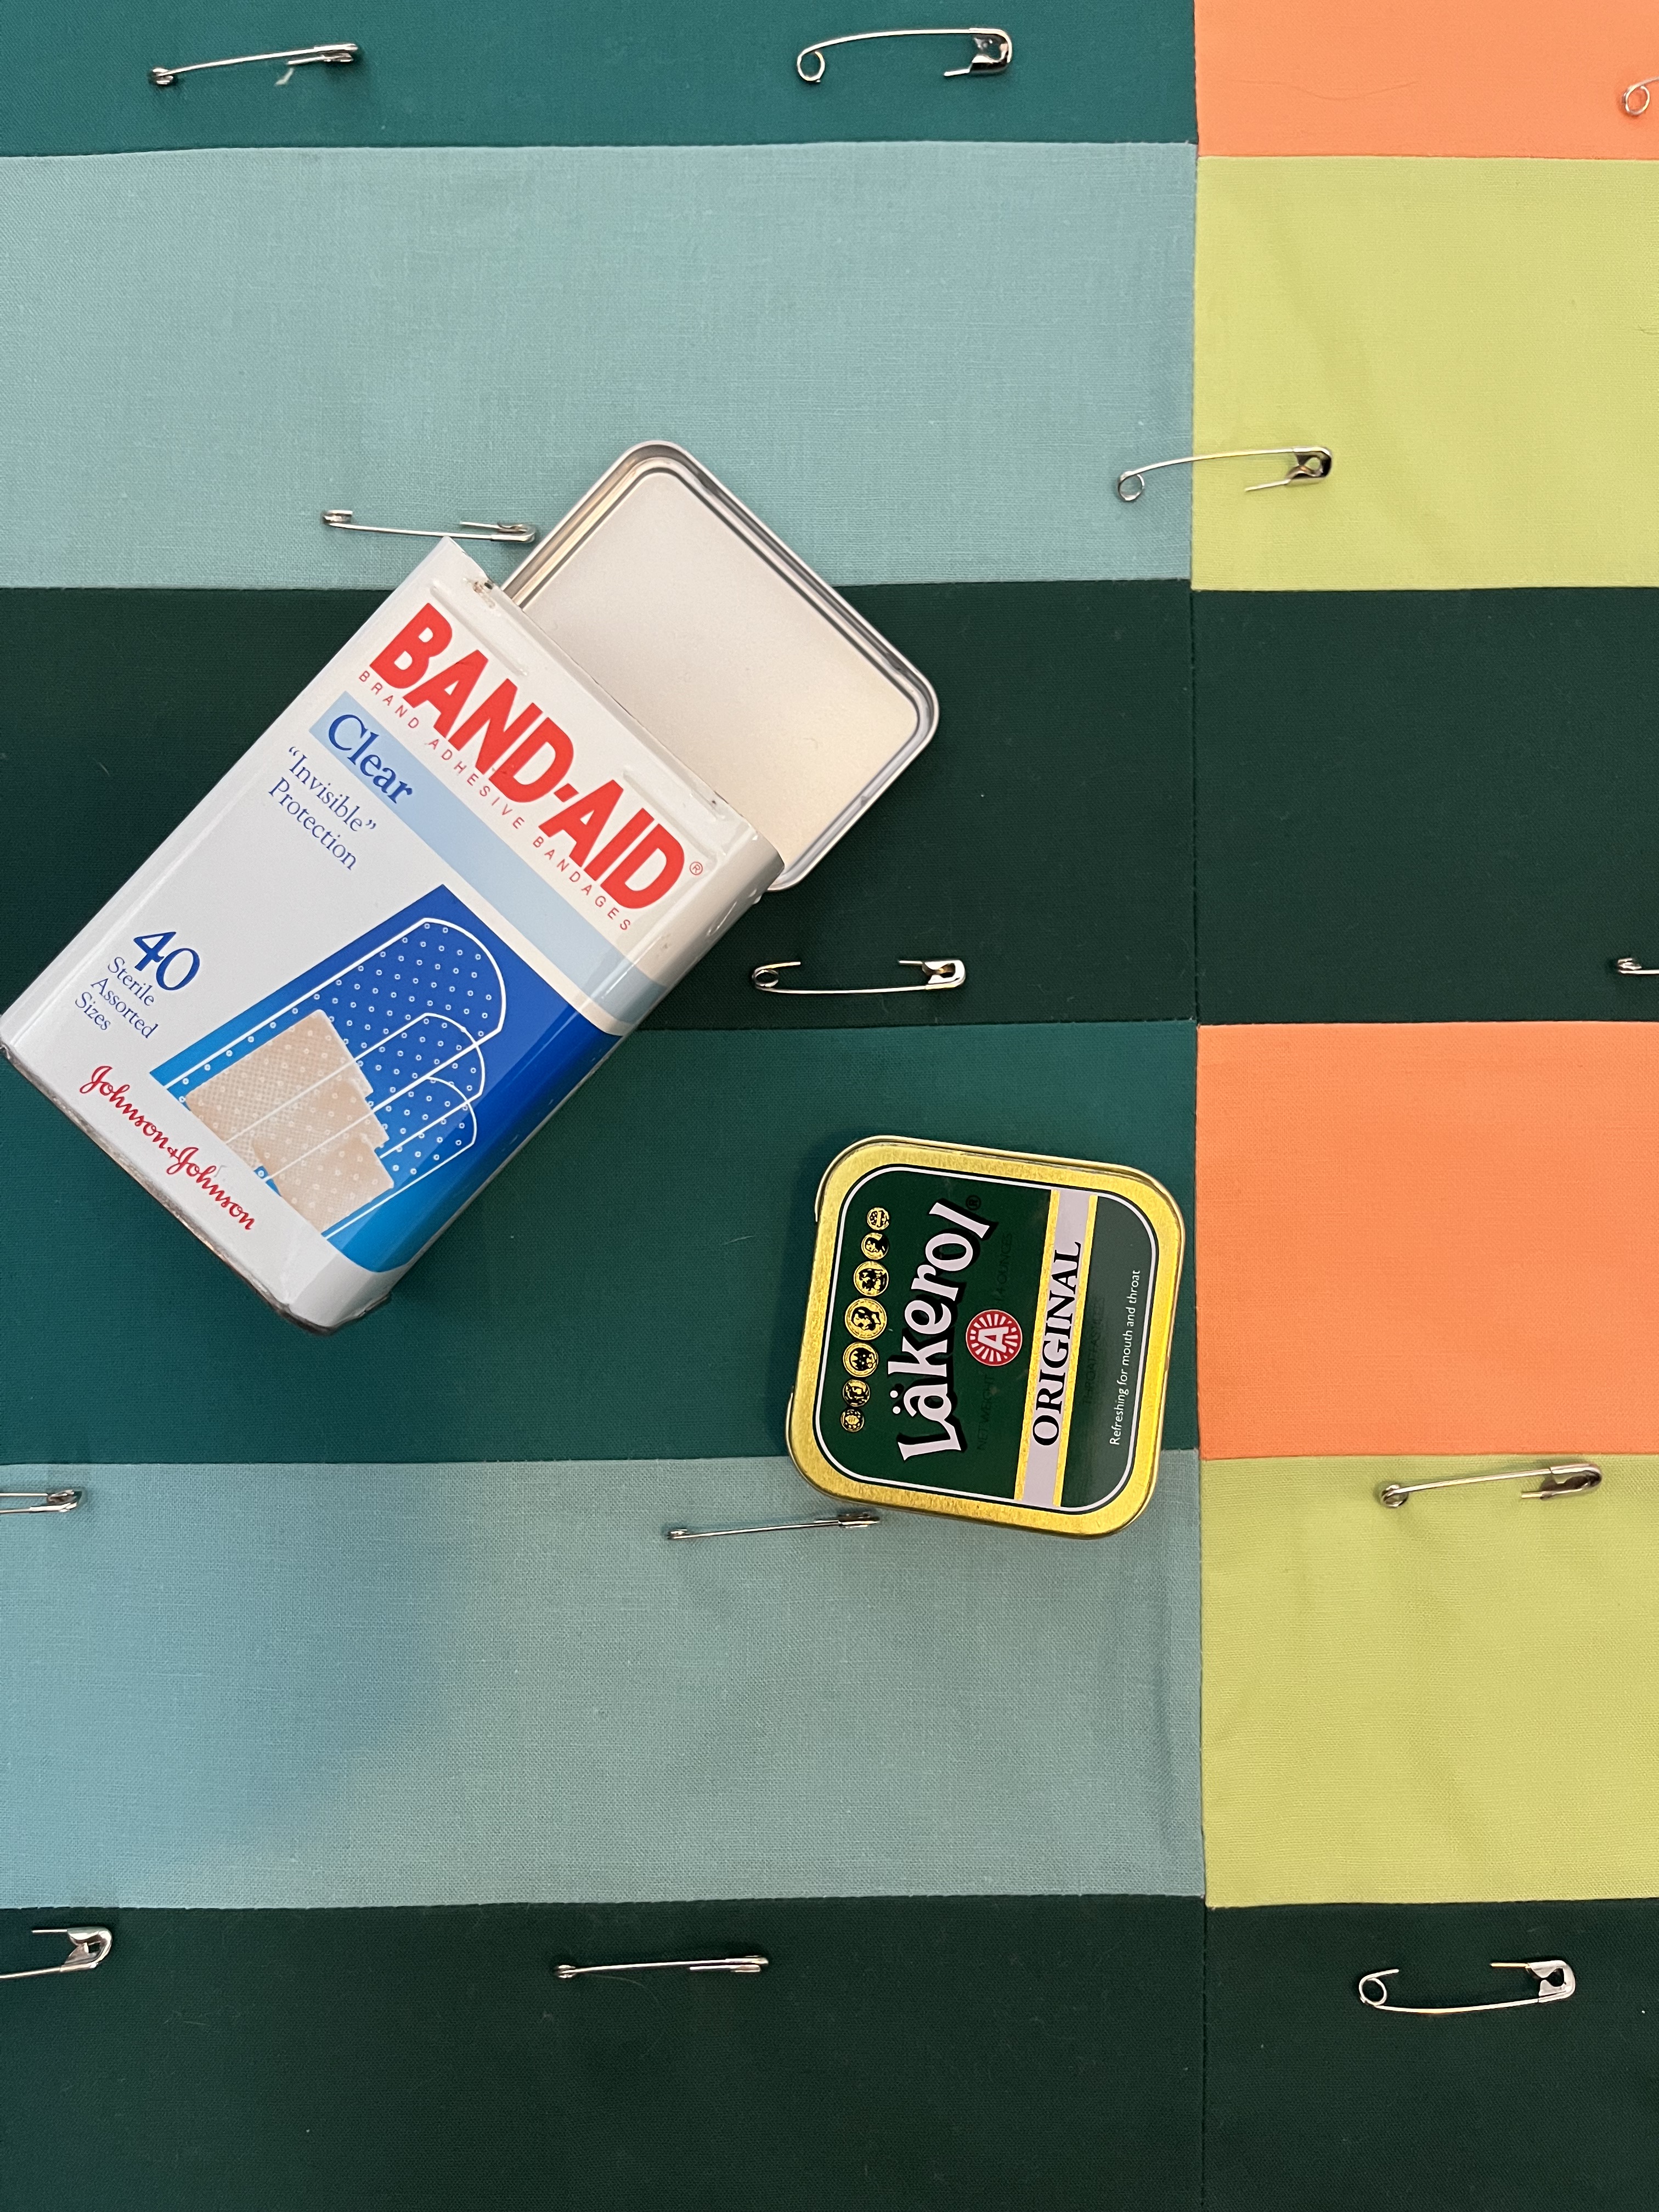
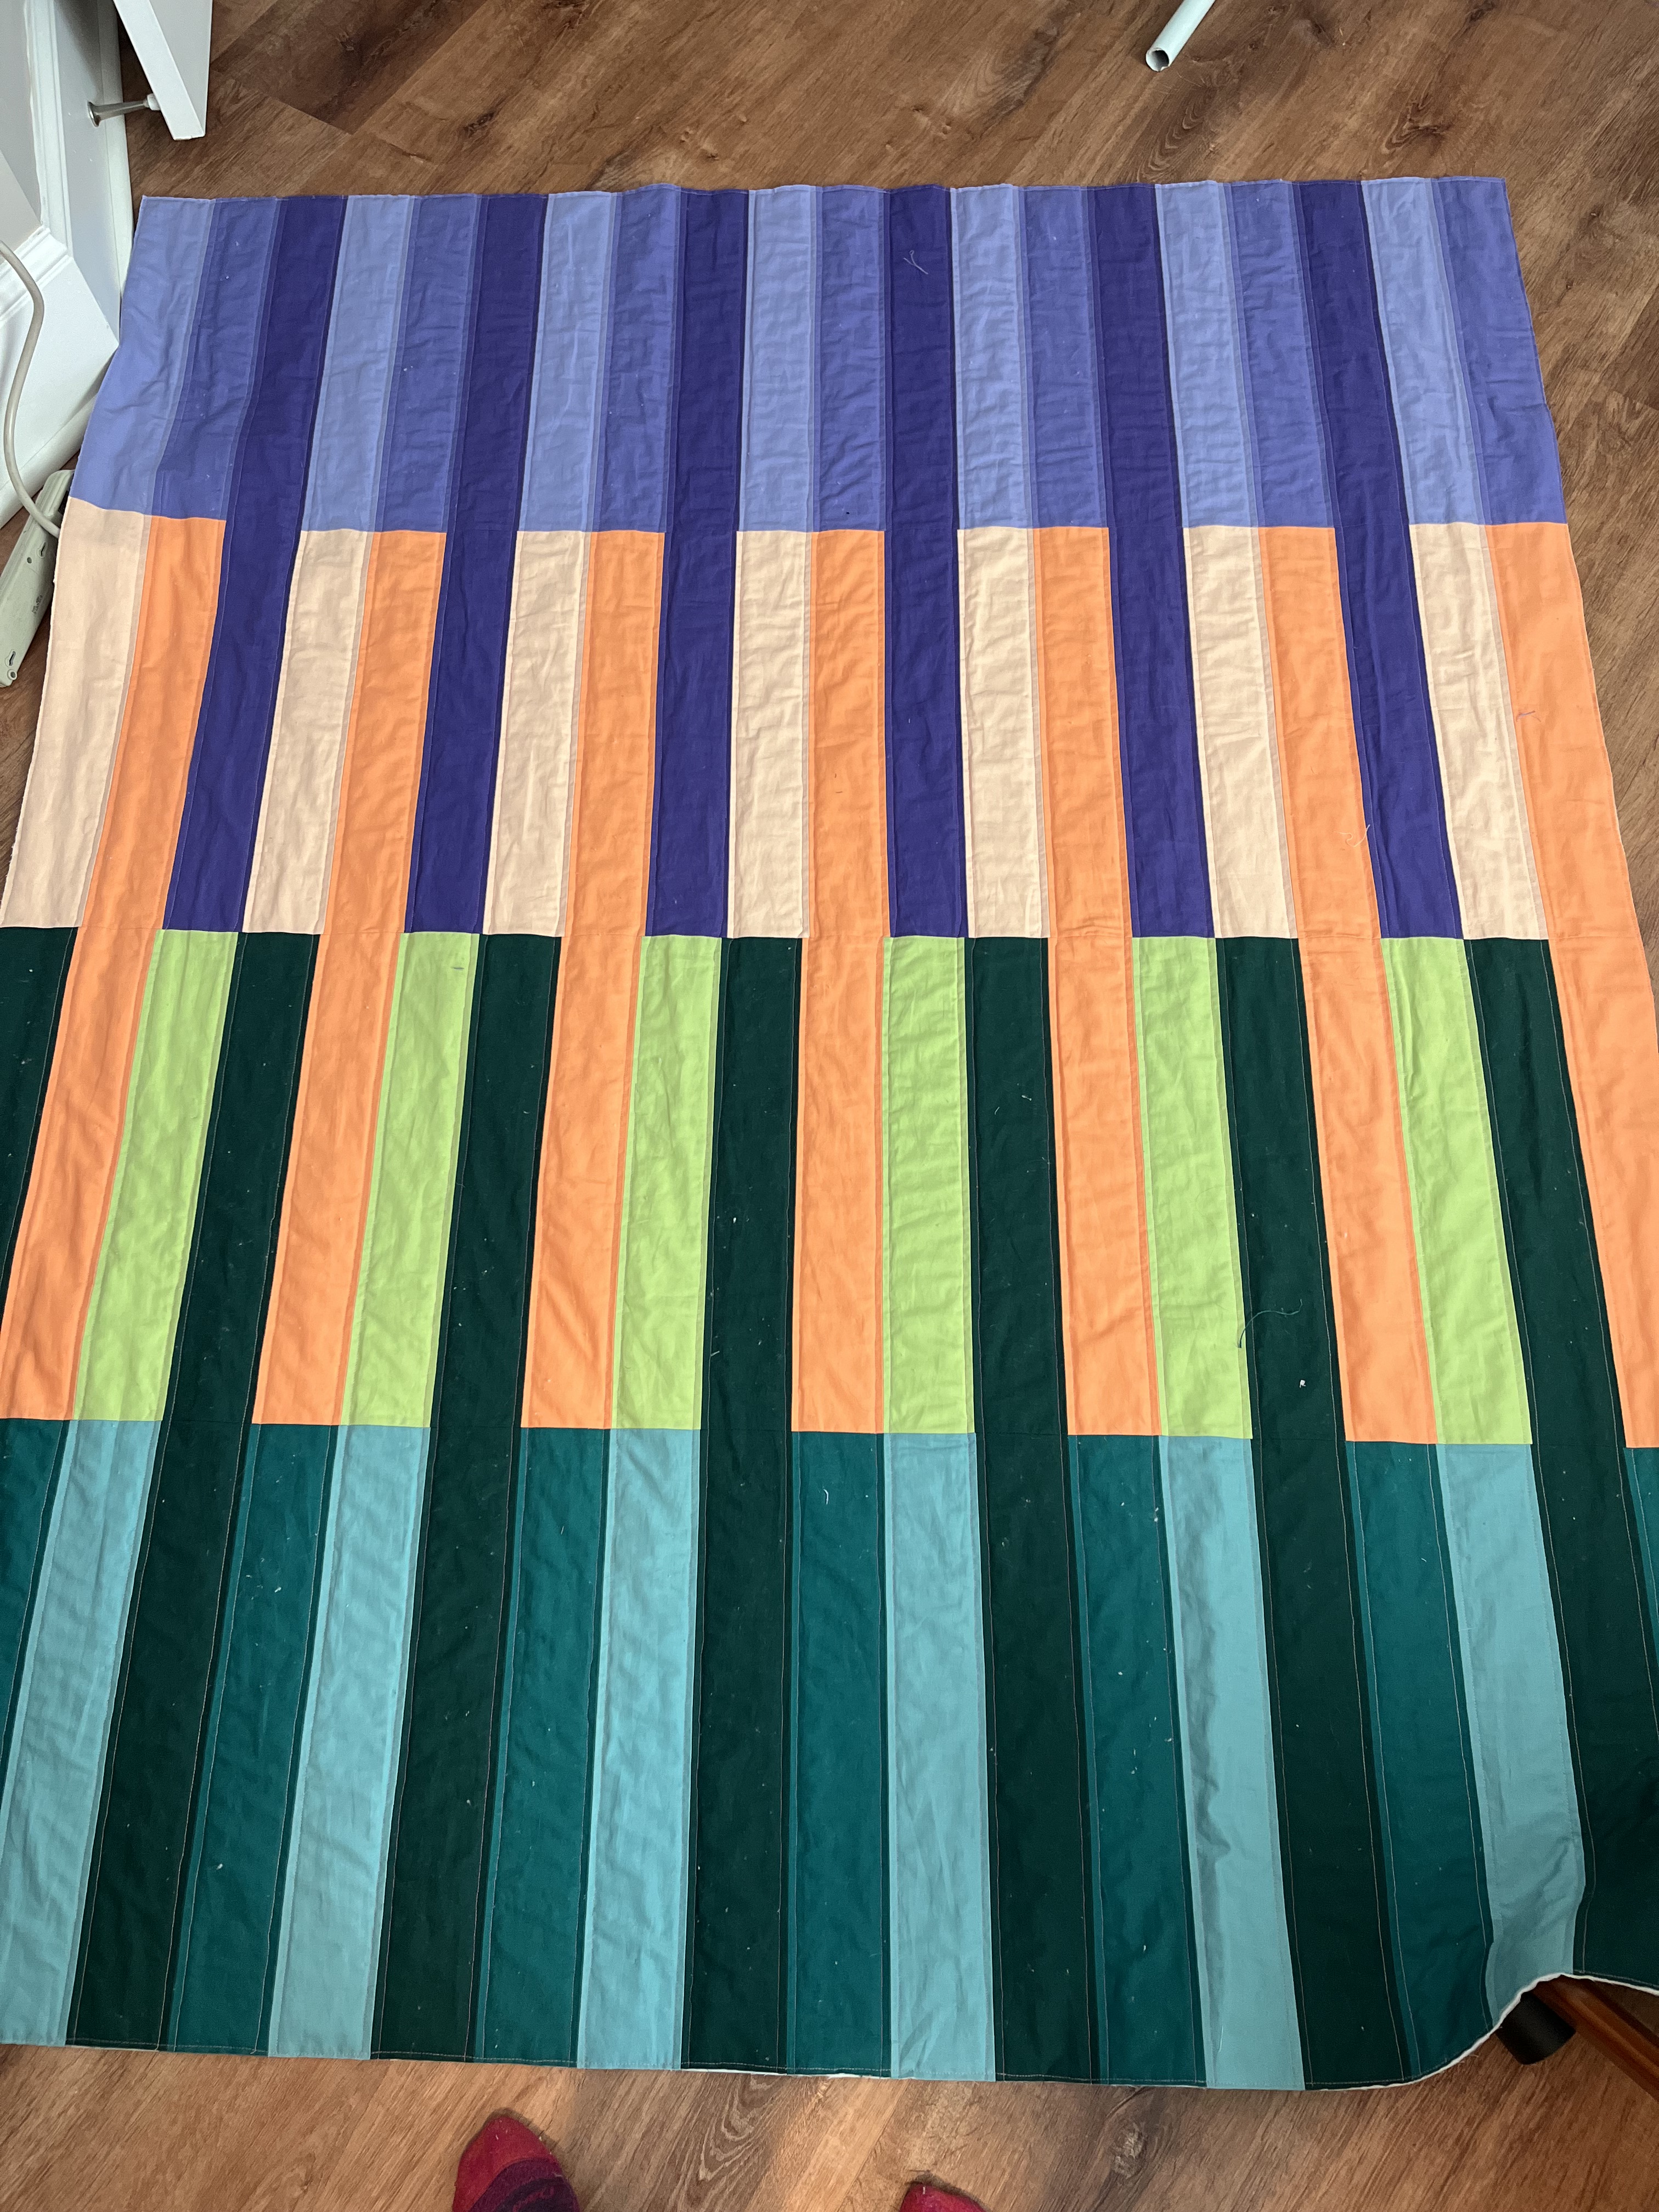
The Blanket Statement Birch Point quilt for a friend

The first time I saw this in my friend’s house gave me so much joy! I wish I could make and gift everyone I loved a quilt. I’m working on it (in theory. Let’s ask Sufjan how he’s doing on his 50 states project). I’d also 100% make this quilt pattern again, I still think that for such a simple pattern that it is visually very fun.
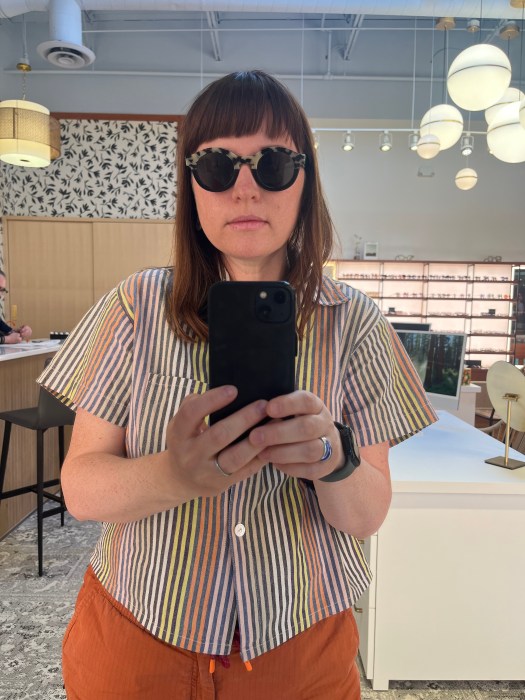
Friday Pattern Company Donny Shirt for me (x2!)
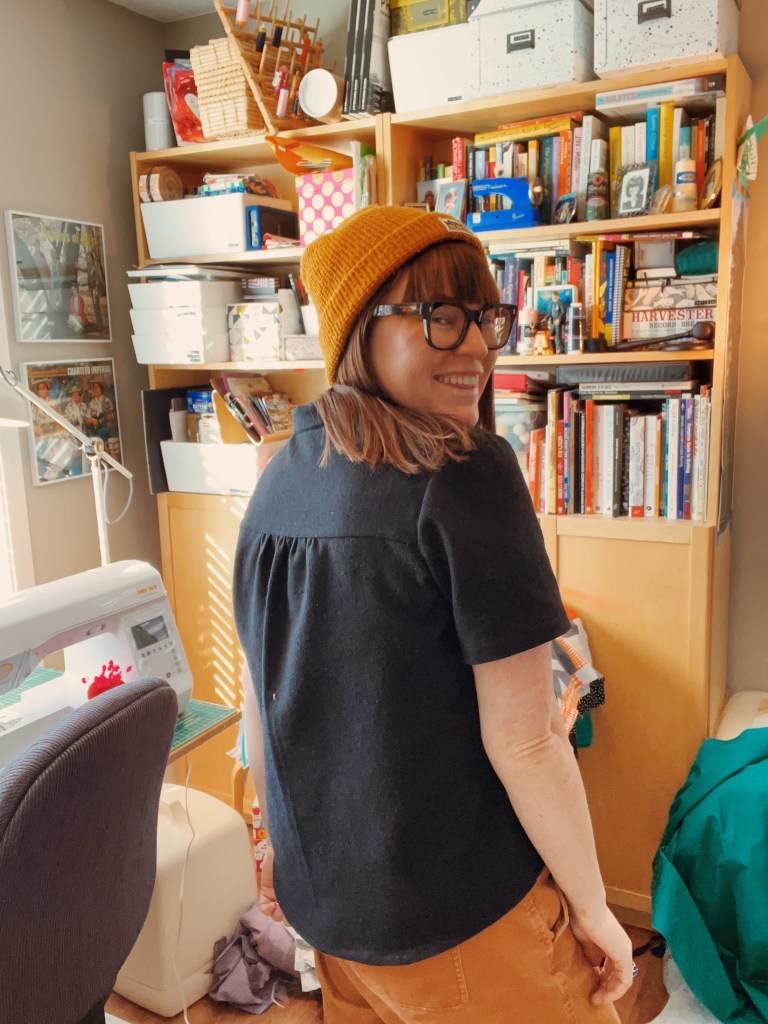
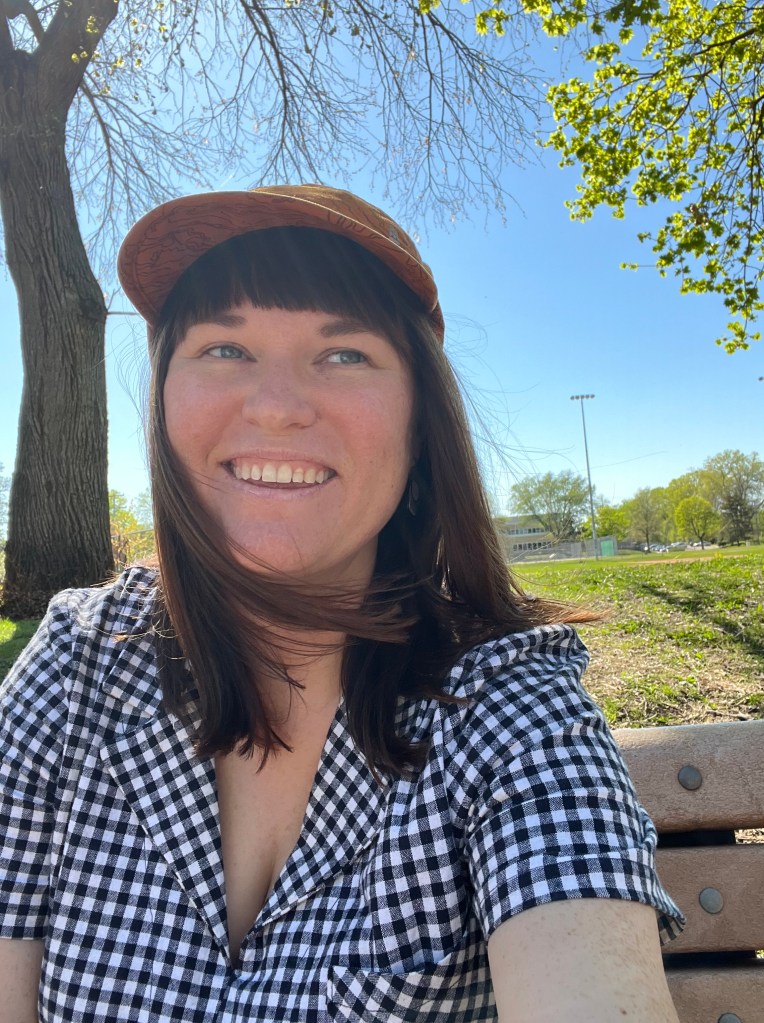
The Donny Shirt really is a great pattern and great for a beginner like me. The gingham Donny is a Robert Kaufman Essex yarn dyed classic woven indigo plaid linen/cotton blend (phew!). I made this in May but ended up wearing it a lot in August and into the fall. I don’t wear the black one as much; I don’t trust it in the wash by itself and even after washing it doesn’t have a neutral smell, what’s up with that?? I have another one I plan on making for a friend and I’m sure I’ll make another in the future!
Tropical Research Laguna Shirt for Skoog
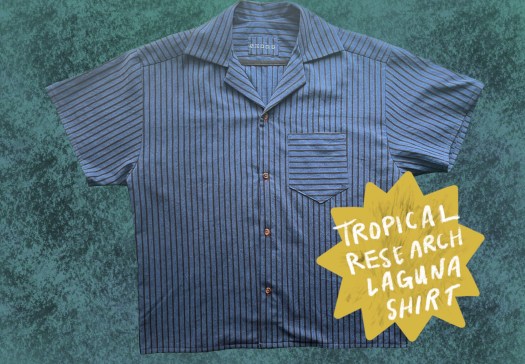
I’m still really proud of this make but it wasn’t the dream shirt my husband envisioned (he has worn it precisely two times and that’s ok). He doesn’t love how the sleeves stick out! It’s also his only camp collared shirt—he really is more of a traditional button up shirt kinda guy. I hope to try a new button up pattern for him this year though, probably the McCall’s M6044 that is so popular!
McCall’s 2566 for my daughter

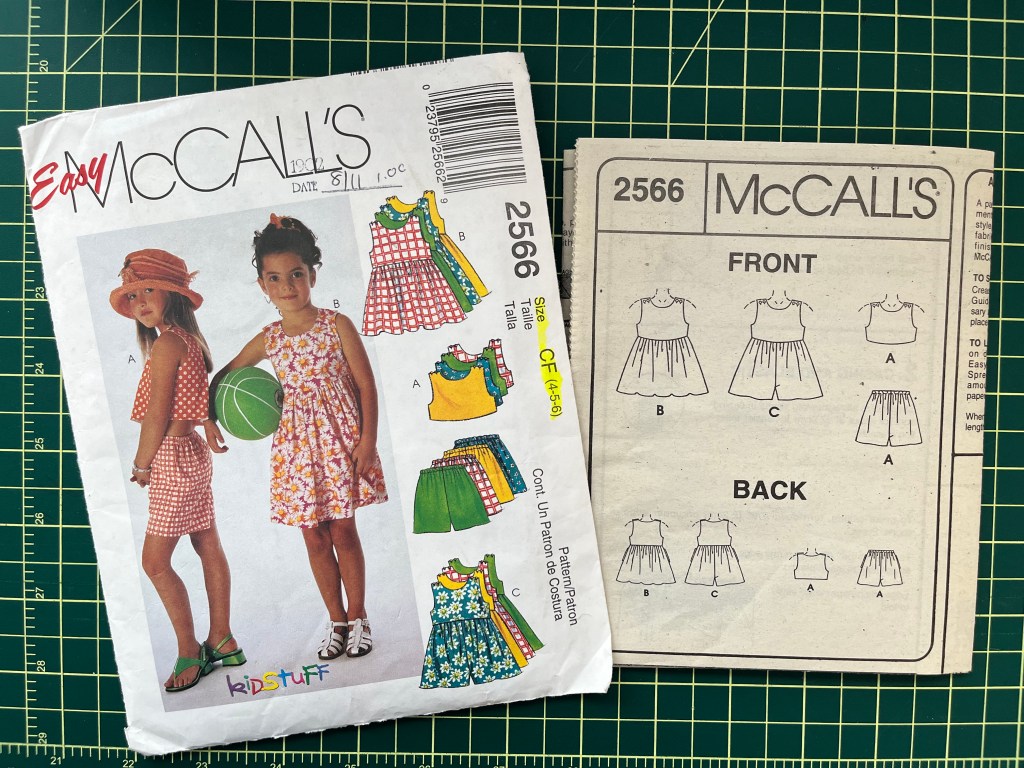
To my surprise my daughter has given this dress a fair amount of wear since making it for her. Even now, as a kindergartener who is moving away from dress wearing (SOB!), she still wears it on occasion. And it still fits! Thank goodness she chose blue, because as of maybe 6 months ago she has declared blue is now her favorite color, move aside pink and purple (again: SOB!).
Matchy Matchy Sewing Club Kids Collage Gather Dress for my daughter
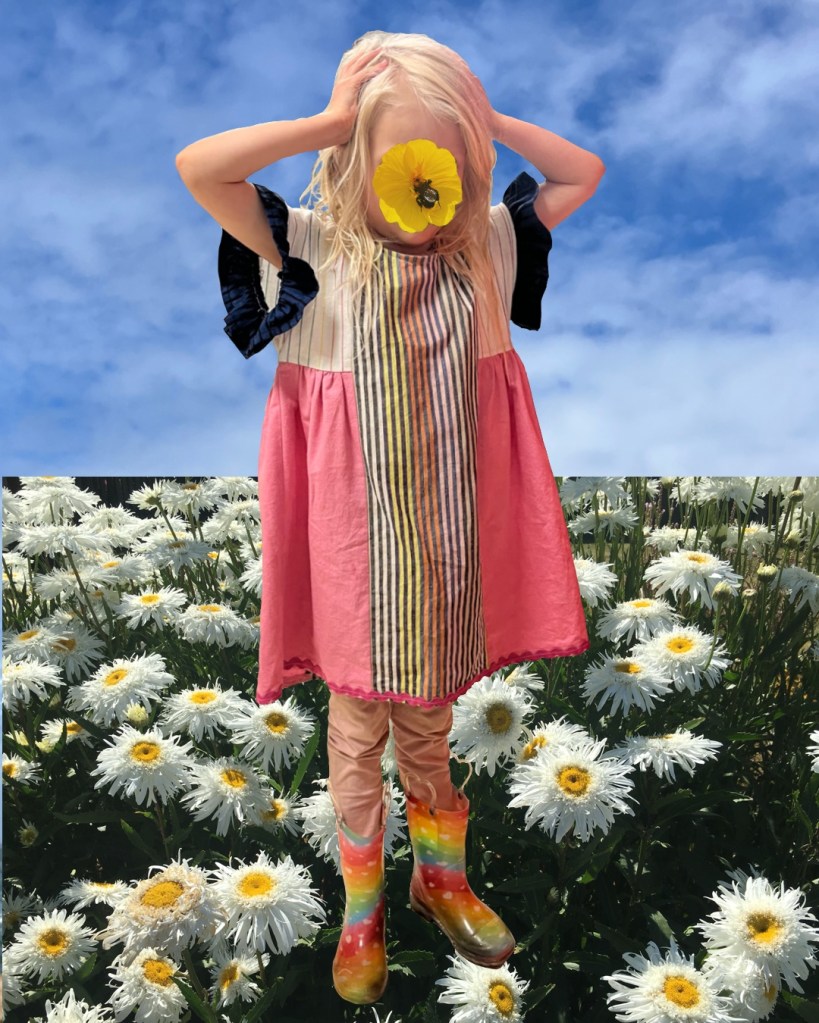
See, this is why this quick roundup is good, I never made a post about this dress. And I should! I actually applied to be a community tester for this pattern and got it, so the pattern was free and I just needed to submit feedback. Hopefully I’ll write another post about it but as you can see from the image it’s very cute and I got to utilize some favorite scraps from other makes!
Common Stitch Bellbird Button Up for me
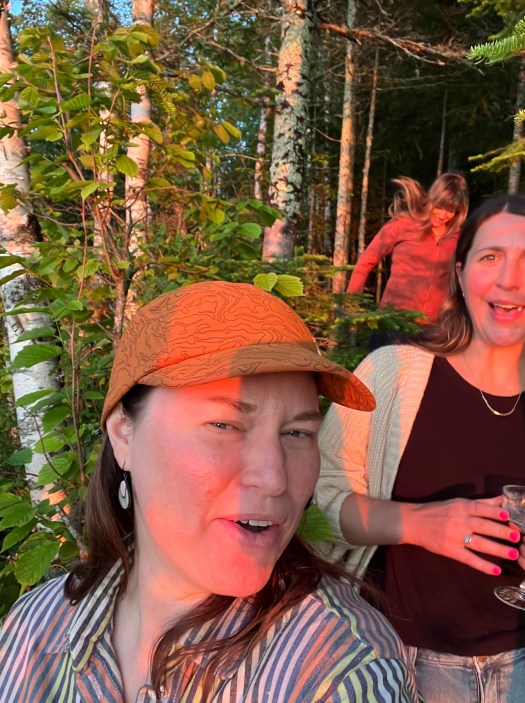
I think I have made it abundantly clear I love this shirt and wear it all. the. TIME!
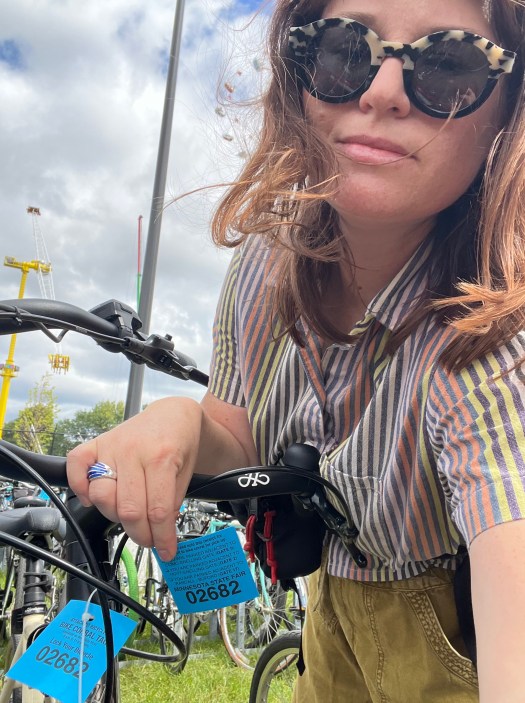
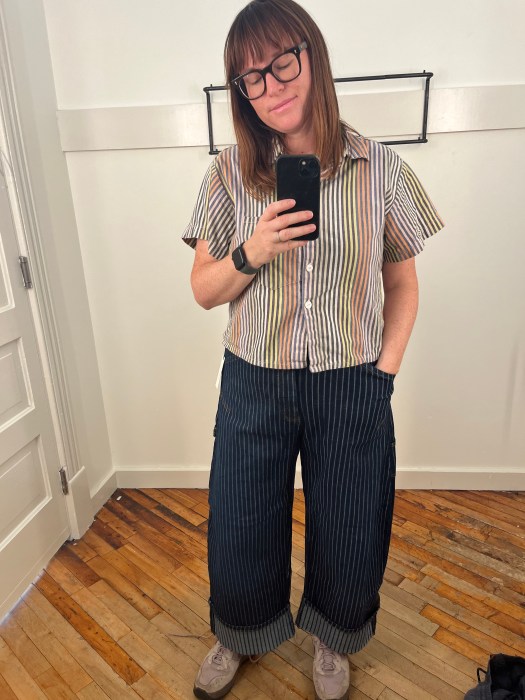
Matchy Matchy Sewing Club Kite Pants for me
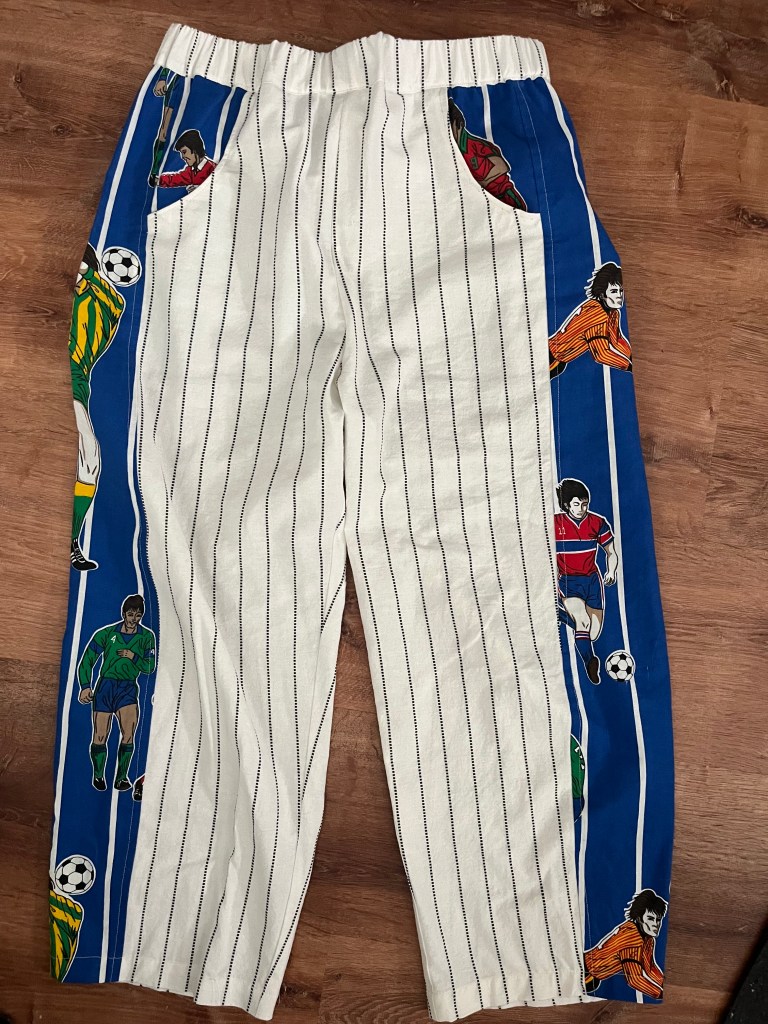
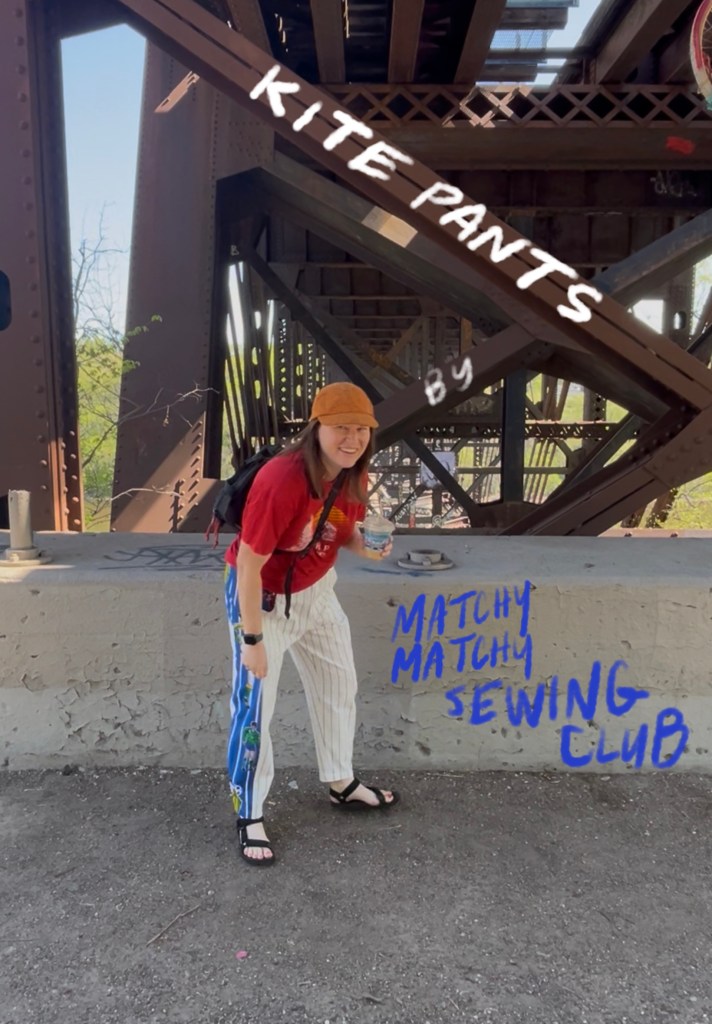
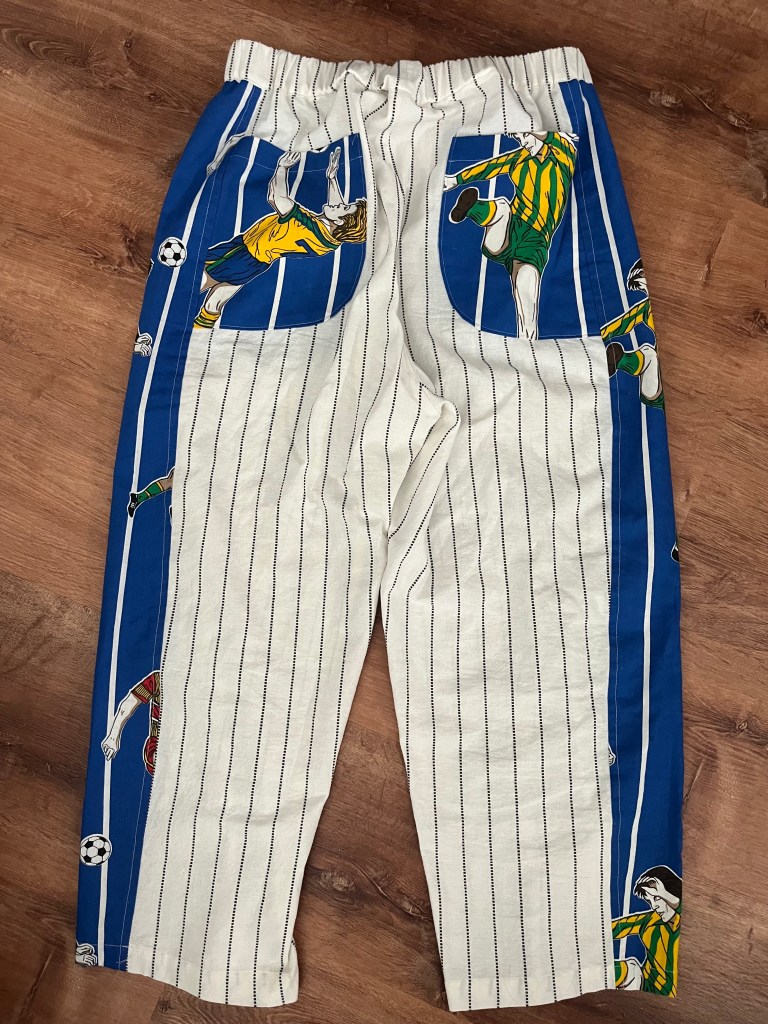
Another make I never wrote about! These pants are so fun (I upcycled thrifted curtains!) but unfortunately they’re a miss. The crotch is too dropped and the white fabric is too see through. So tragic, I love the soccer boys, especially the butt pockets. Love the shape still so I’d like to revisit the pattern with a mod to the rise and opaque fabric, of course.
Melanie Ham Boxy Zippered Pouch for me
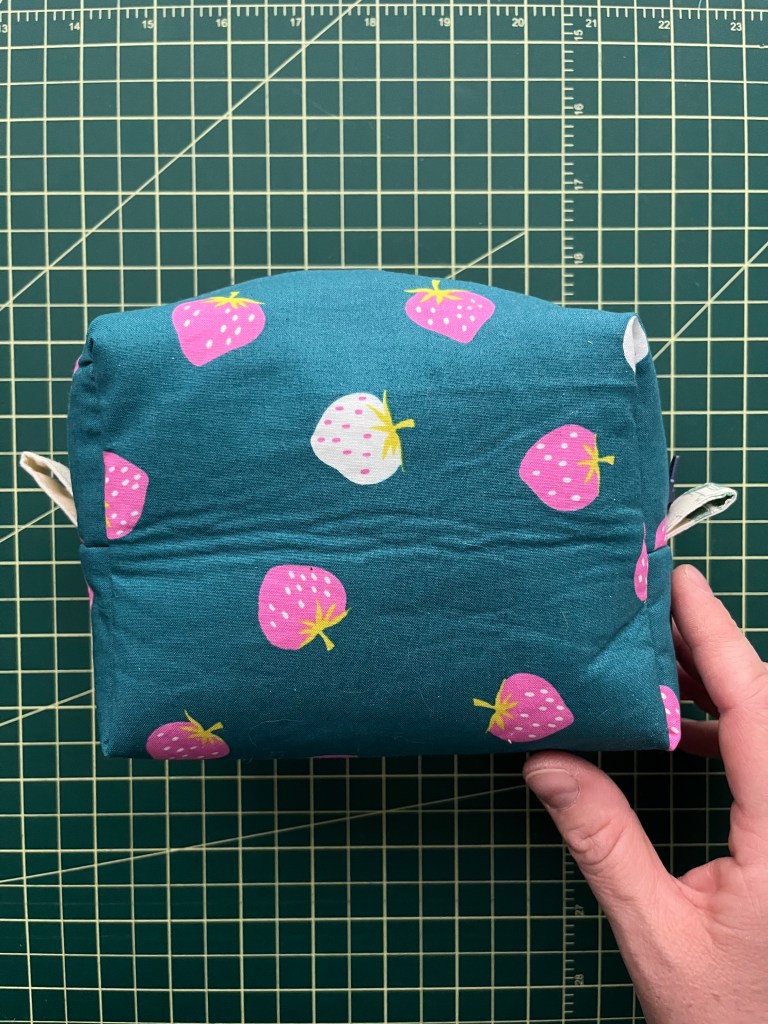
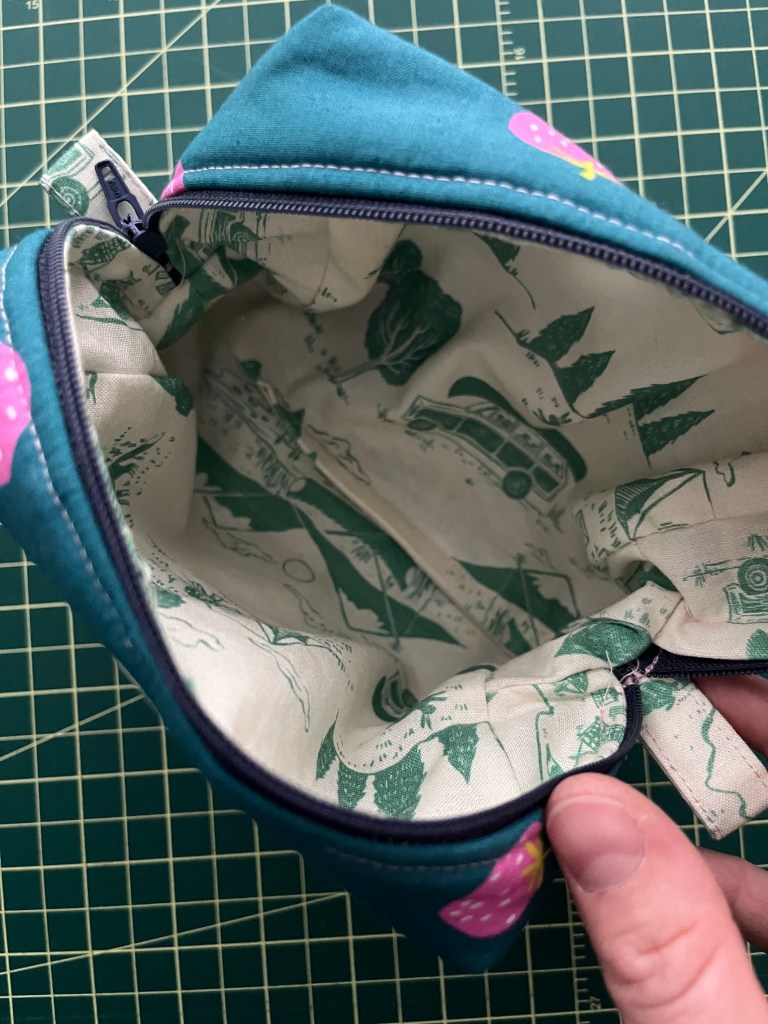
The pattern was free, the size is great, I love my fabric choices (RSS strawberries and Gone Camping by Faye Guanipa from Dear Stella). I messed up the zipper a little so it’s not smooth to open and I don’t like that wrinkled look on the outer fabric due to the fusible fleece. It currently houses some of my EPP supplies for when I have time to stitch on the go.
Sarah Kirsten Pear Pouch for me
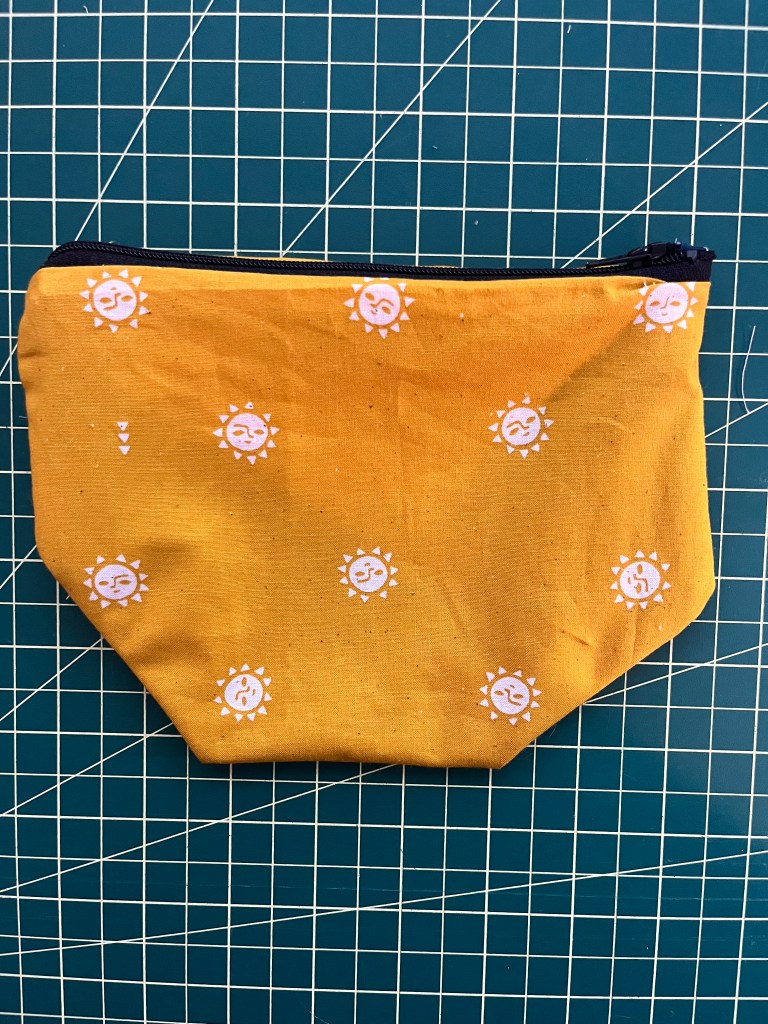
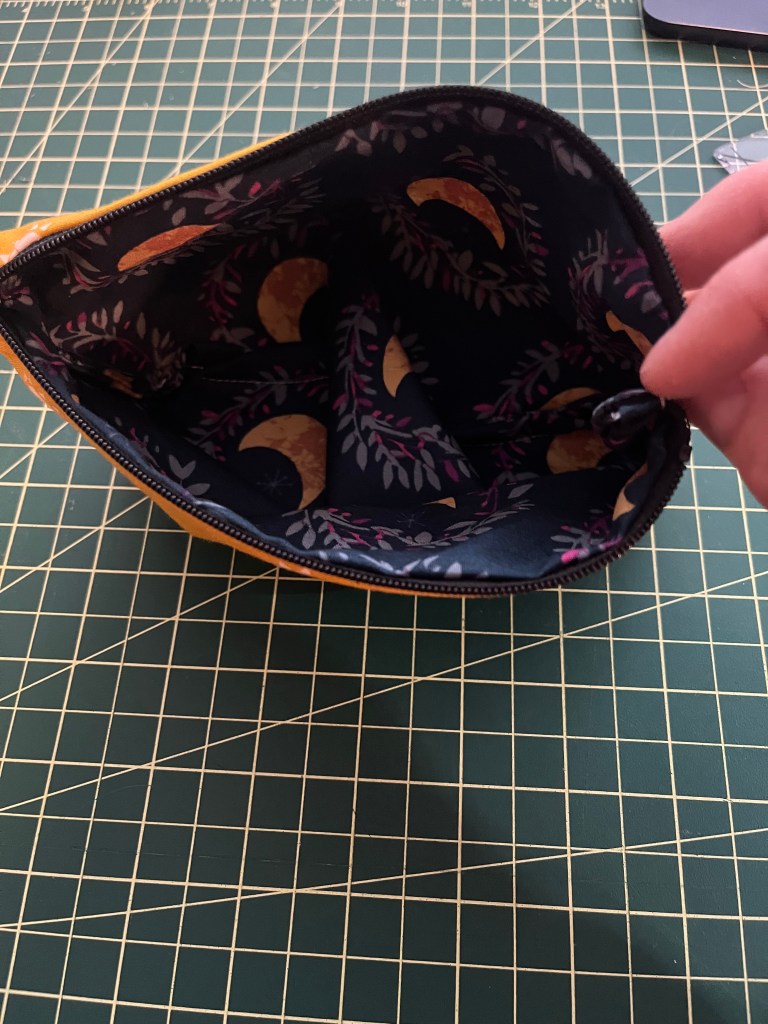
If you click on the link you’ll see the cutest stand up pouch! I was going too fast and cut and sewed the corners incorrectly so this bag doesn’t stand up haha. I also did a bad job on the zipper. It still functions; I currently keep it in my bedside table to house charging cables and I use it to organize those things when I travel. I need to try to make another one correctly! I got the fabrics from my neighbor (the suns are Ruby Star, not sure about the moons) who was destashing her scraps (thanks Dani!).
Jan Howell Boxy Zippered Pouch for my daughter
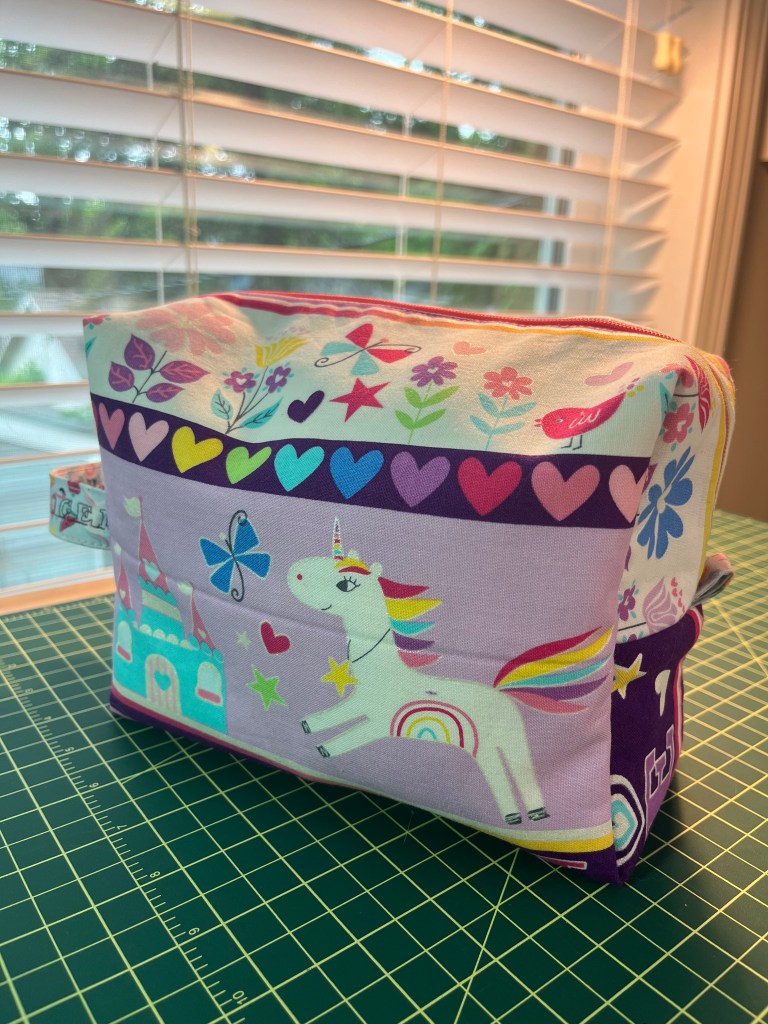
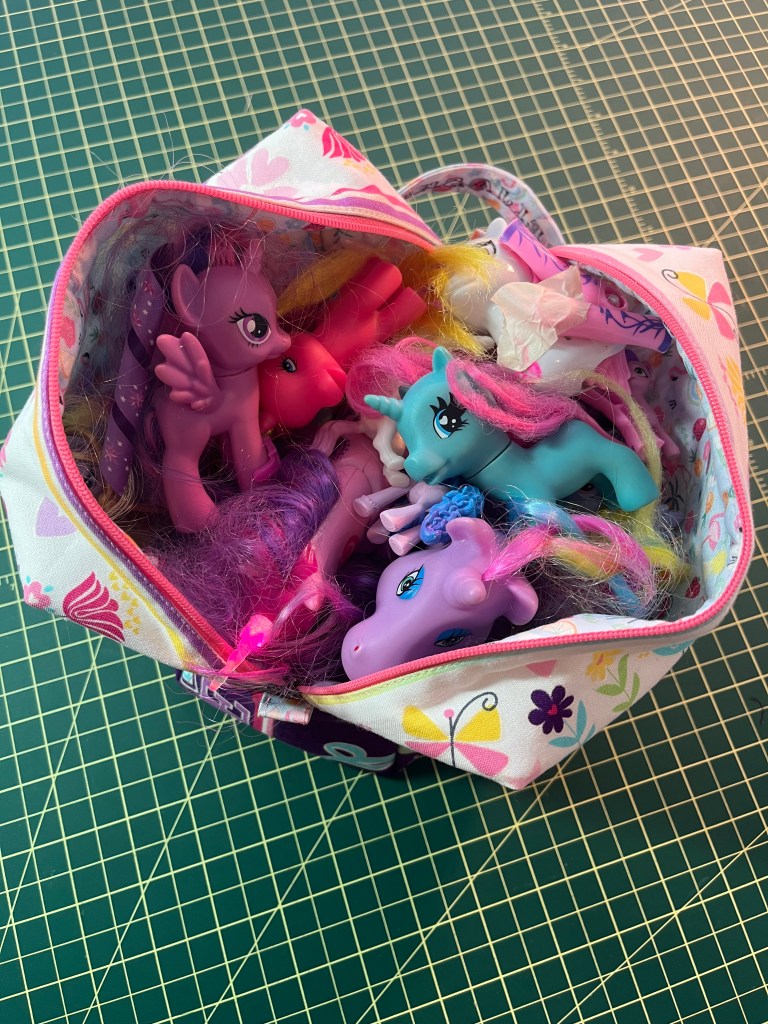
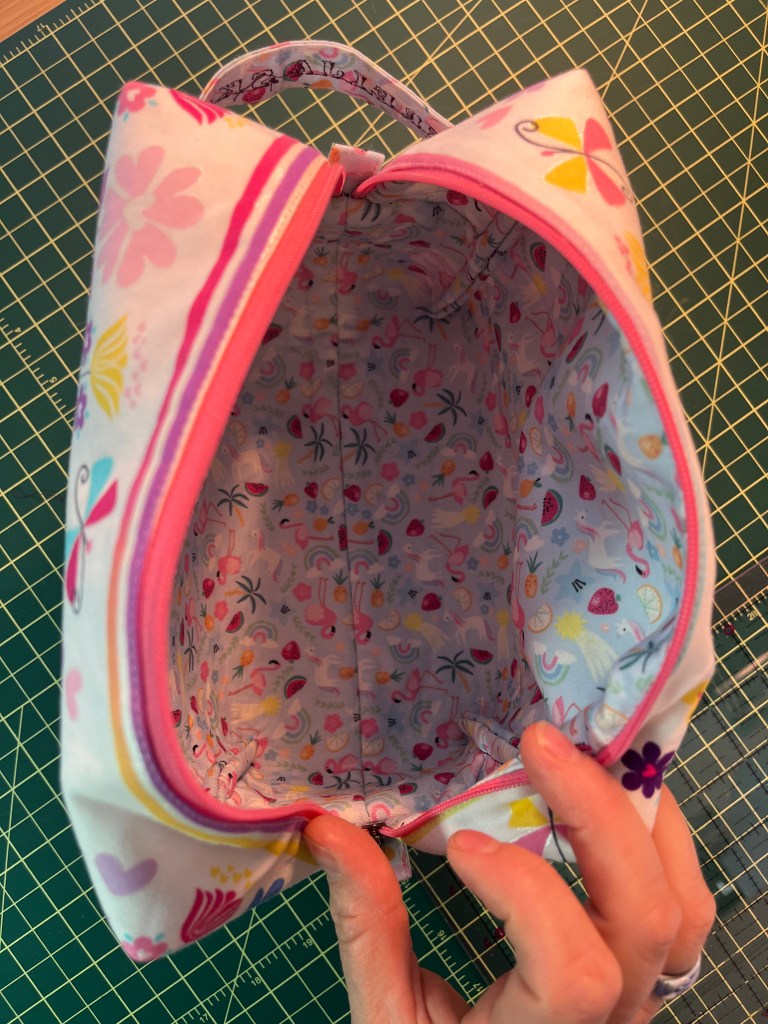
I was really pleased how this one turned out! It was an obvious collab with my daughter. I have more of this fabric which I may just put into the little craft free library near me as she is kind of over unicorns now (😭 😭 😭 ). I love this pouch tutorial because the inside has a clean French seamed finish. The fusible fleece is adhered to the inner fabric, so there’s no wrinkled effect on the outer fabric. I used the alphabet function on my machine to sew her name on the carry handle.
Jan Howell Boxy Zippered Pouch for a friend
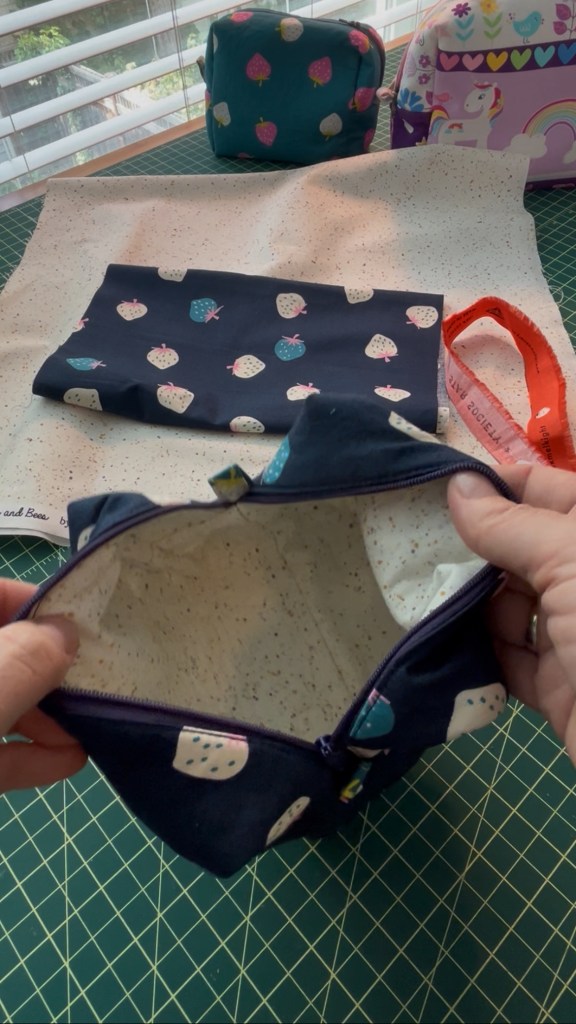
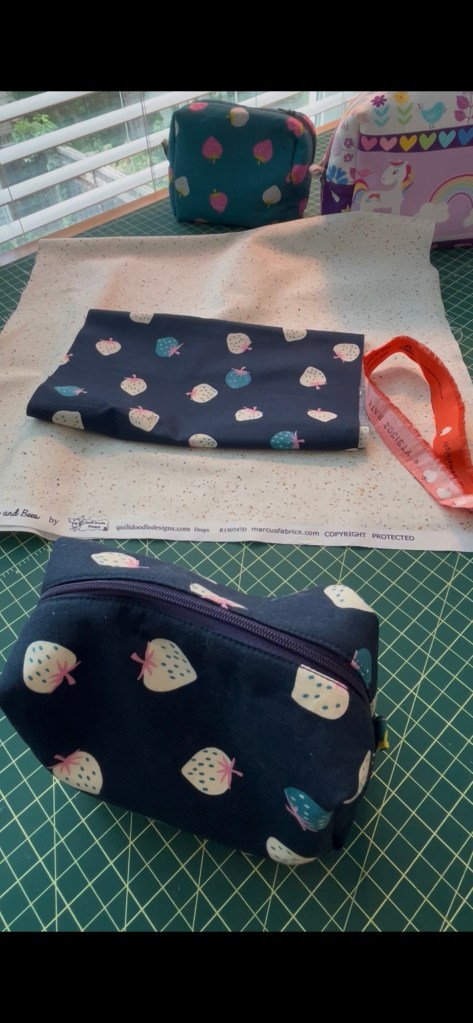
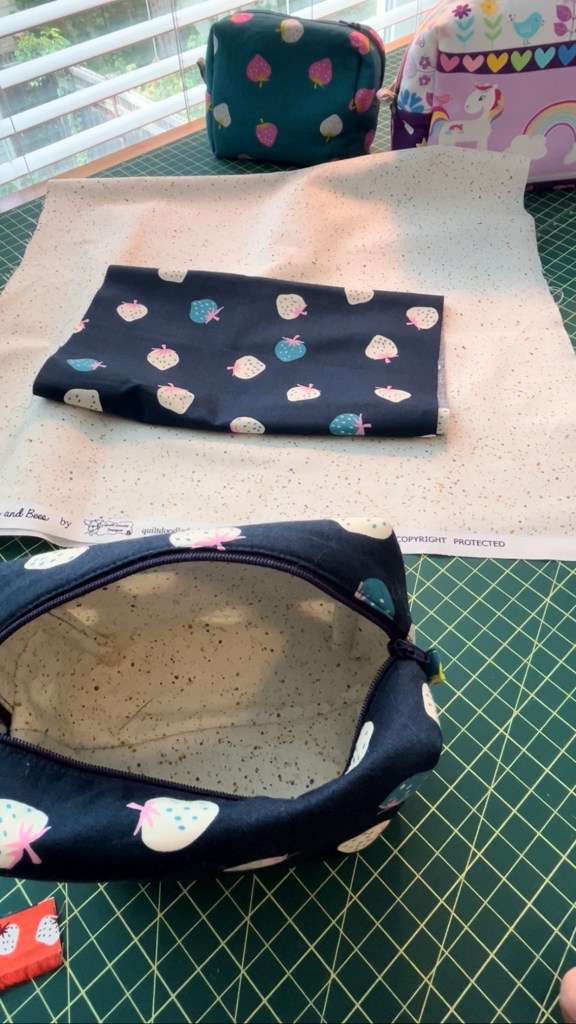
Well whoops, I only took video of this make before gifting it, so here’s some screenshots. This one turned out near perfect. Love the RSS strawberries still, what can I say! Interior fabric is drops from Marcus fabrics, an SR Harris purchase.
Summerhaus Nico Pullover for me
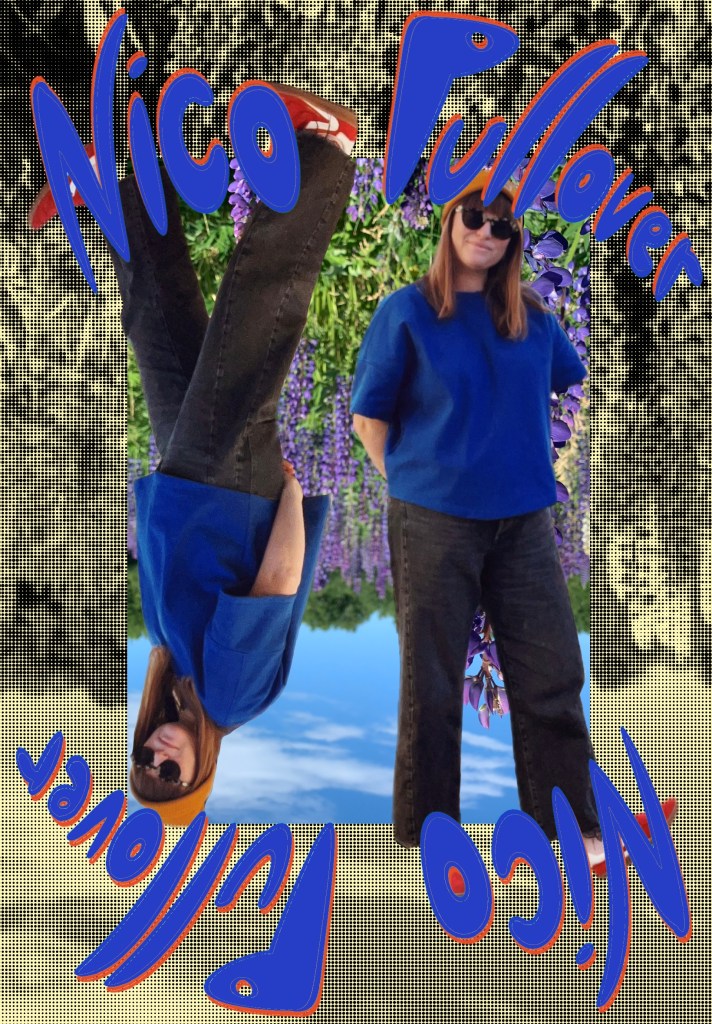
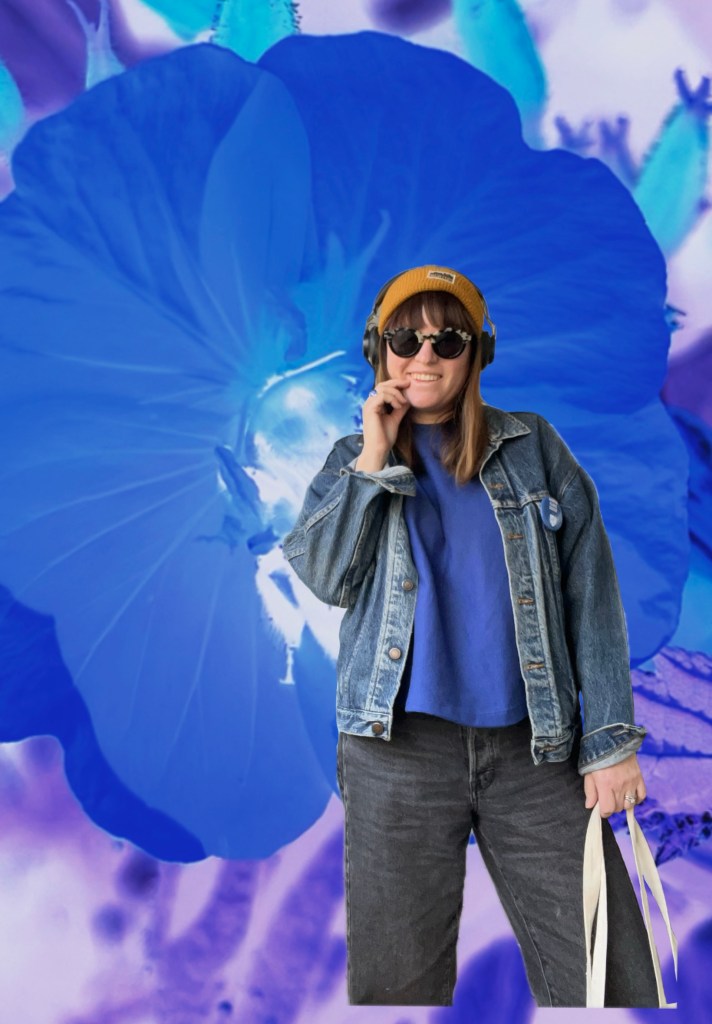
I think I only wore this one over turtle necks this winter. It may come out a little more this spring, we’ll see. If I make it again I will go down a size. I like an oversized fit but this is too big!
Oven Mitts (x3) gifted to friends and family
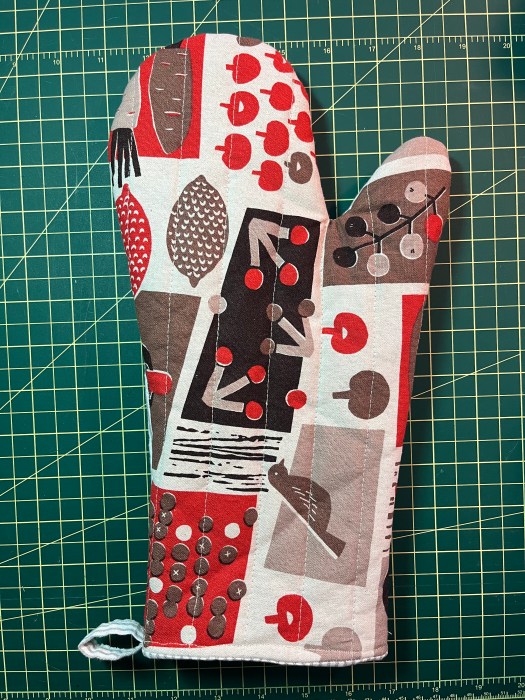
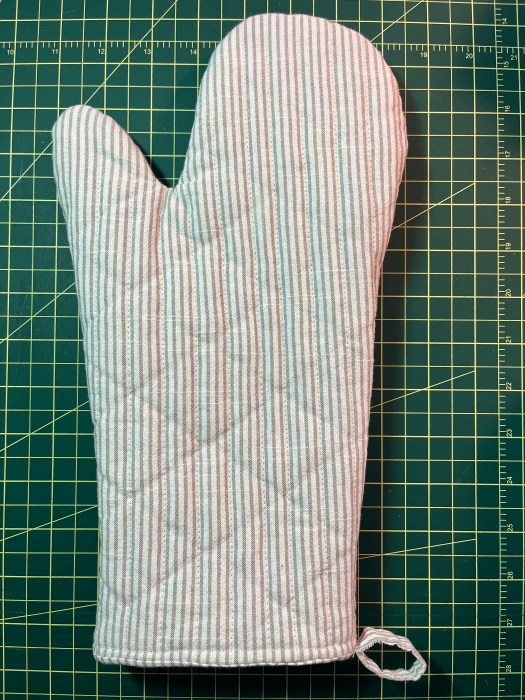
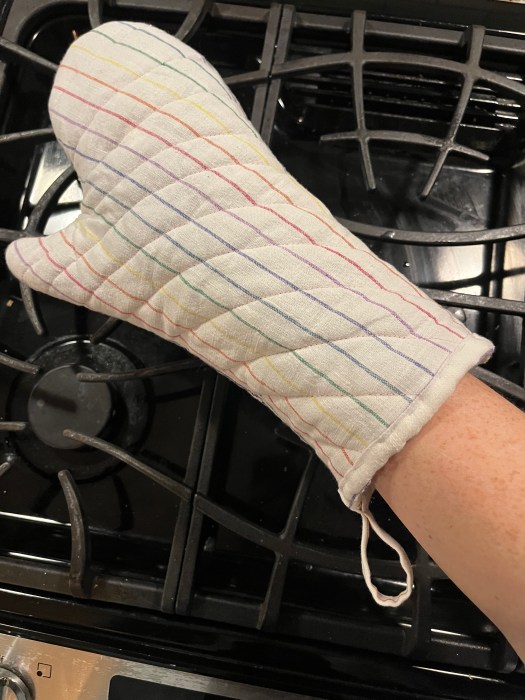
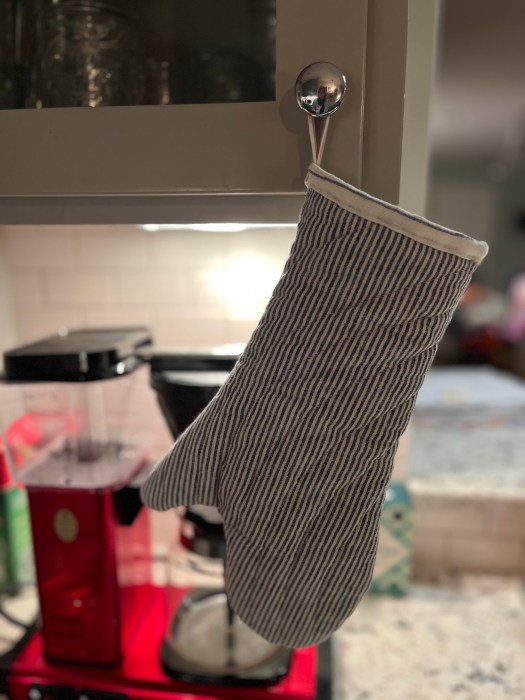

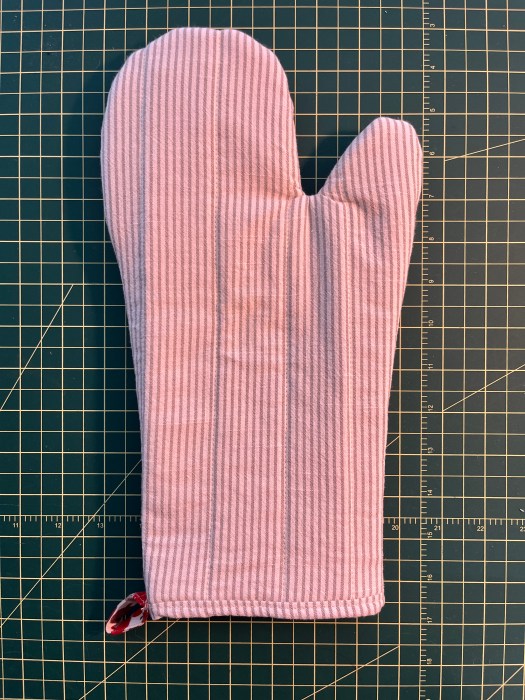
For the white rainbow striped fabric oven mitt I used the instructions in the Lotta Jansdotter’s Simple Sewing : Patterns and How-To for 24 Fresh and Easy Projects book I have had for probably 15+ years (maybe out of print?). I didn’t like how the inside looked so I tried the Suzy Quilts tutorial for the other two, made out of the cute Japanese cotton/linen blend fabric I got at McTavish in Duluth. Both suck to turn right side out, but I managed and overall I preferred Suzy Quilt’s pattern and instructions. I think they turned out quite professional looking and I will be making more for sure! I need some for myself, plus some potholders.
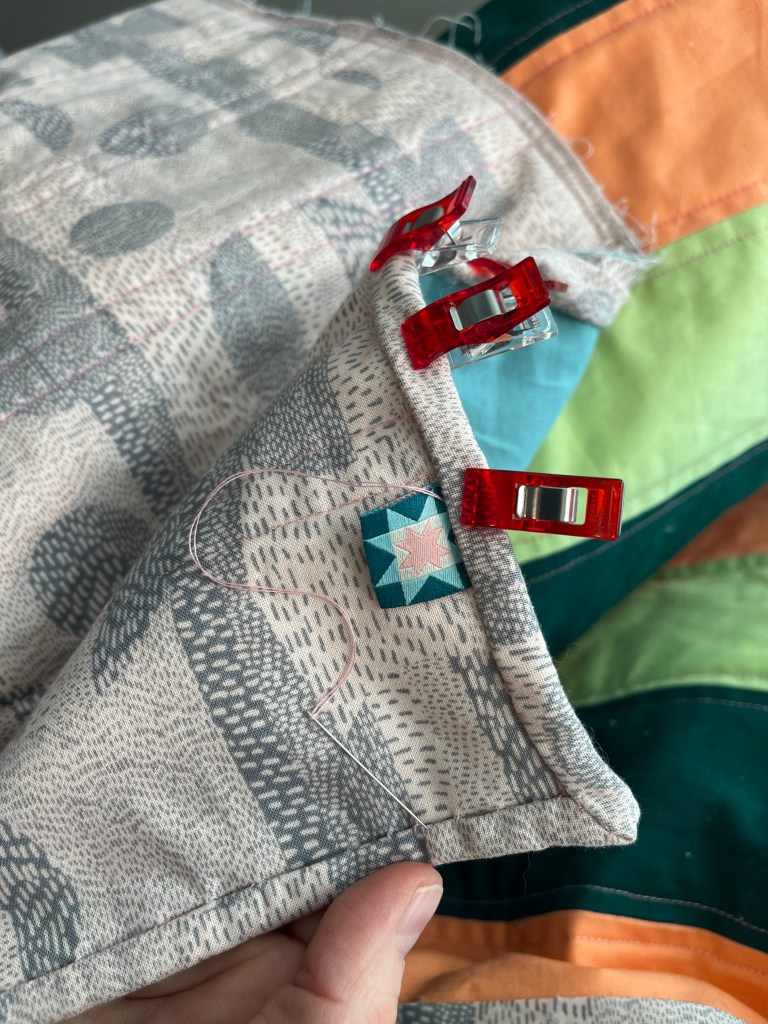
Patched Pencil Case from the book Conscious Crafts: Quilting 20 Mindful Makes to Reconnect Head, Heart, and Hands by Elli Beaven for a friend
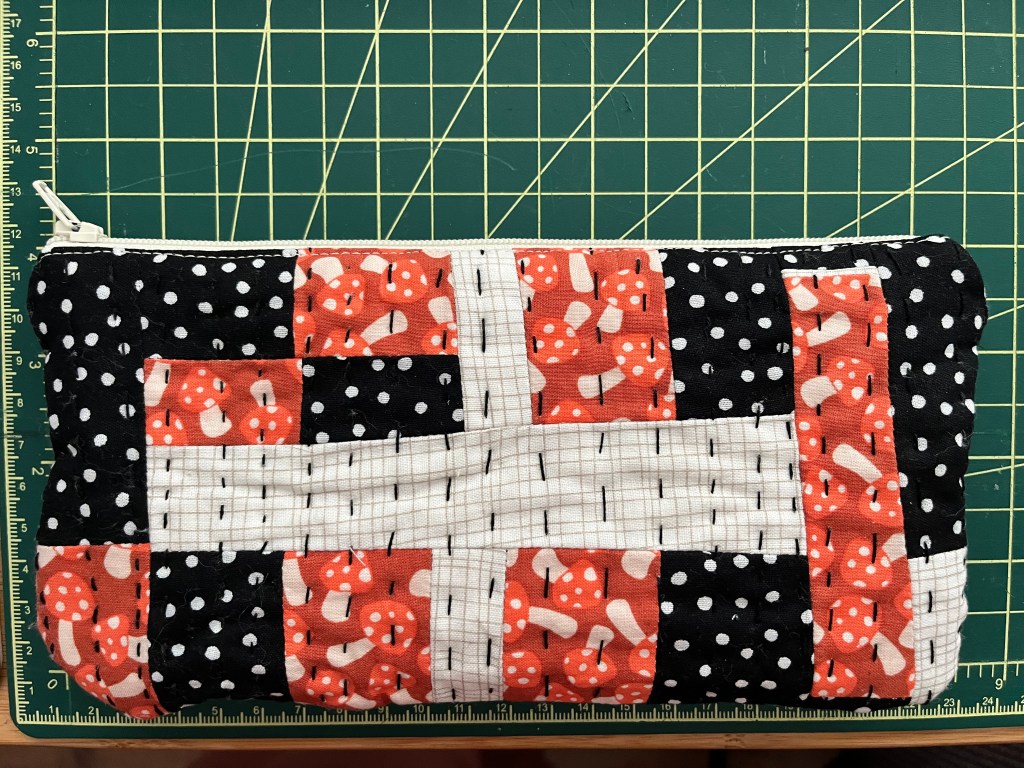
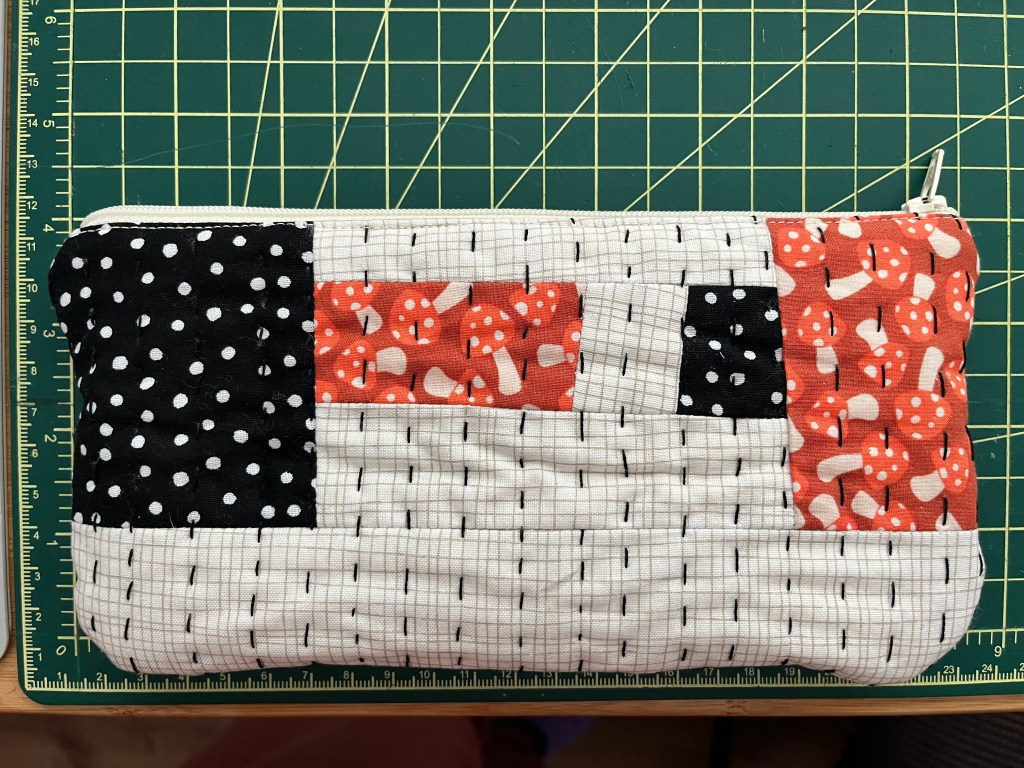
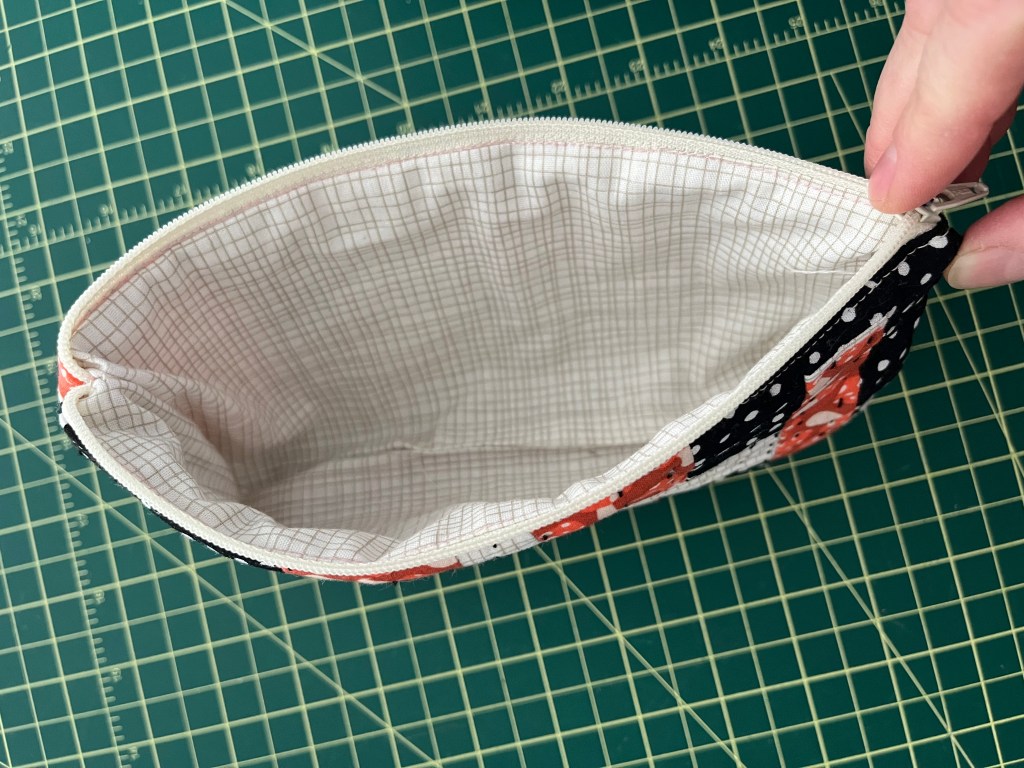
I think I started this project in 2024, mayyybe even 2023! I set it aside because I was scared to do the zipper, and once I got over that hurdle with all my boxy pouch making I was able to finish this up in December 2025 when my daughter was down with the flu (for like a day though? Kids man, they get sick hard and recover fast). This was my first time trying hand quilting and while the stitches aren’t even, I enjoyed it!
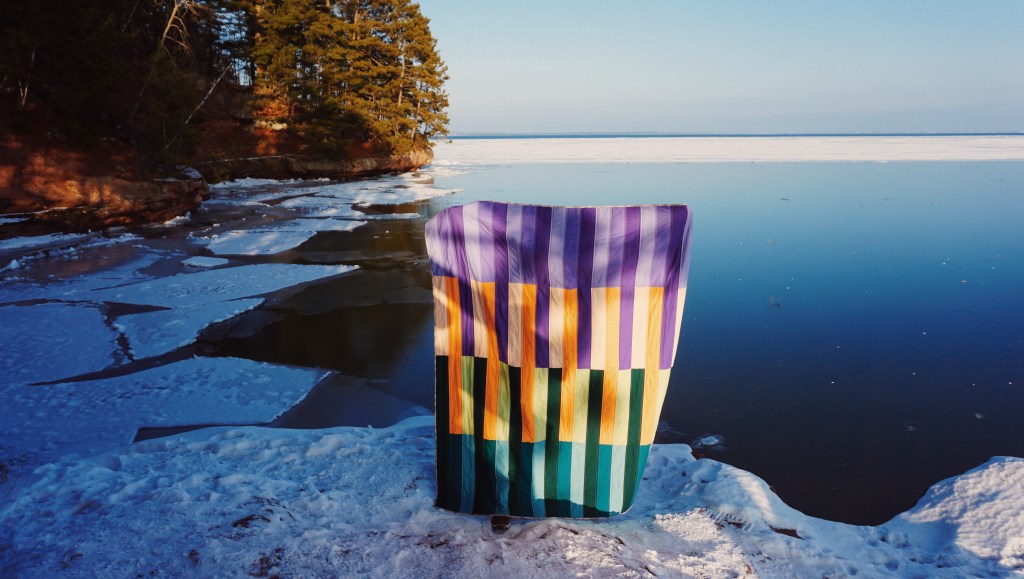
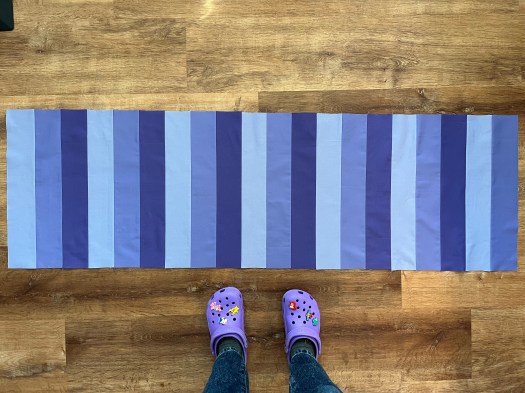
The Blanket Statement Hi Quilt for me
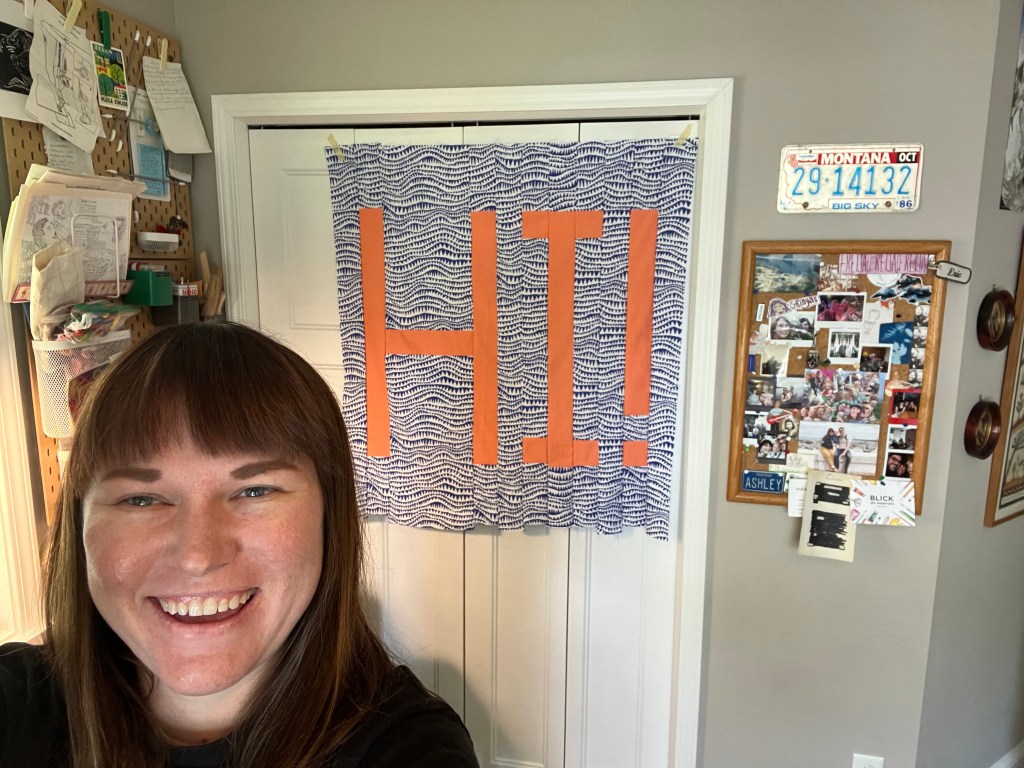
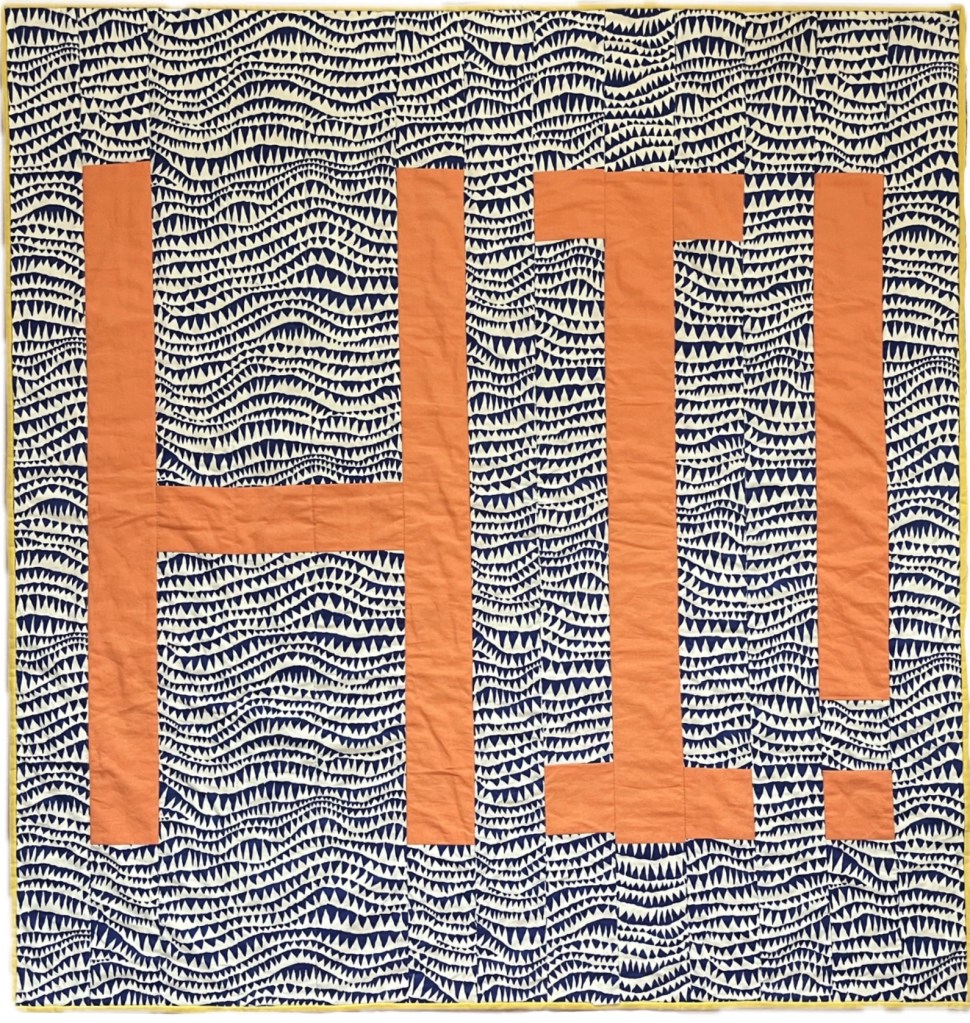
This is a free pattern and one I started in May 2023 (finishing the top May 25, 2023!) when I was trying to get back into sewing. My piecing on the I is so bad, it’s embarrassing! The quilt is so smol. I’m also so happy to have this UFO finished. I think I will hang it in my studio; that’s what I did when I only had the top done for years and it kind of made a nice Zoom background.
Honorable Mention: Mends
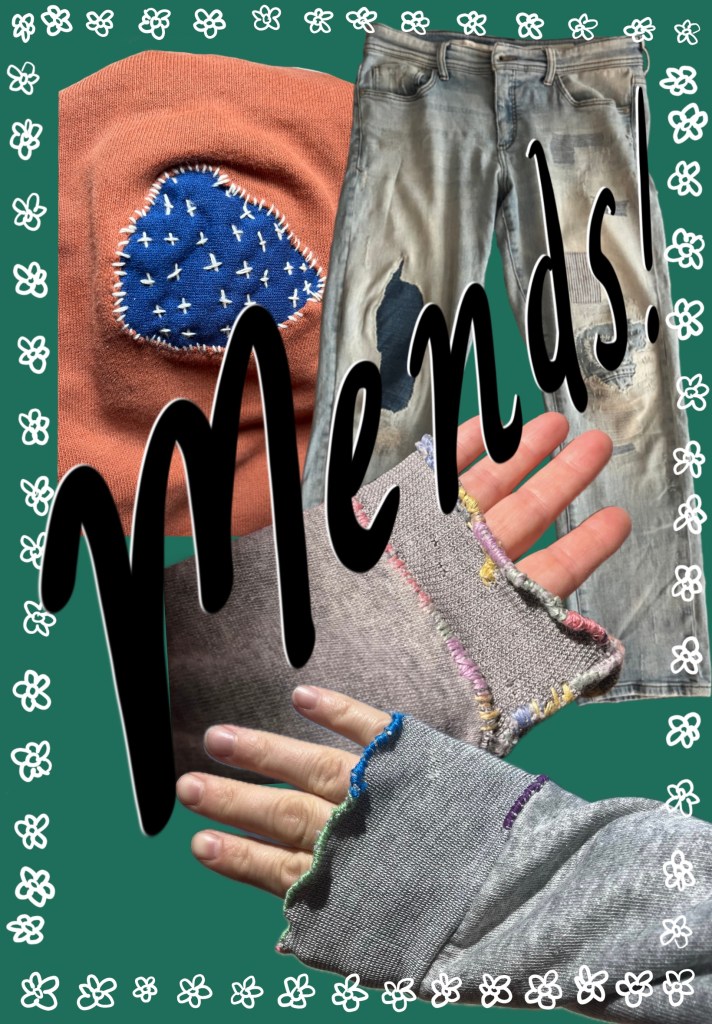
I did more visible mending this year and loved it! I definitely hope to keep mending this year.
Totals
That’s 19 things!
- 9 garments total
- 6 of those are for me (4 shirts, 1 vest, 1 pair of pants)
- 3 garments for others (2 dresses, 1 shirt)
- 2 quilts
- 5 zippered pouches
- 3 gifted oven mitts
I’m incredibly proud of the strides I’ve made in garment sewing last year, as well as all the other sewing I did! I’m overcoming my fear of screwing up and I’m just having fun learning, mostly with secondhand fabric. The smaller pouches and oven mitts have been fun to work on in between bigger projects as well as my ongoing English Paper Pieced quilt I’m making for my daughter (fingers crossed I write up a post about that one of these days and finish that beast of a slow stitching project this year!).
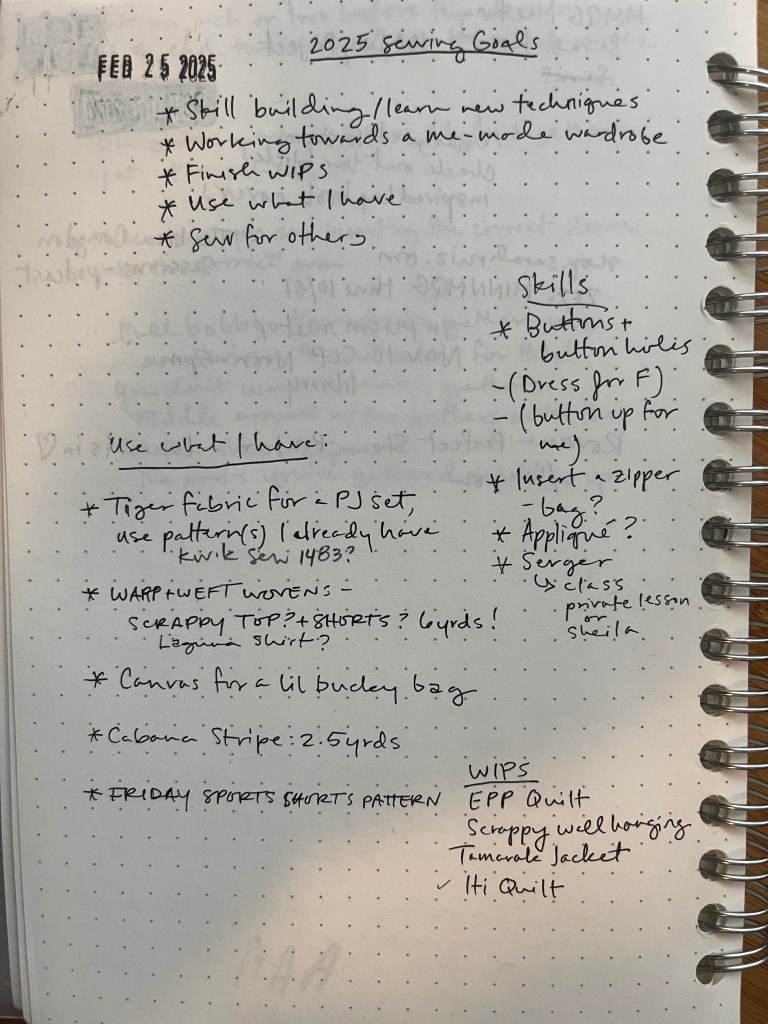
Lastly, I’ll end this post with an image from my sewing notebook, notes I wrote down February 25, 2025. I love to make a lists and set goals, I’m just not always the best at coming back to said list and goals to direct my energy. I do a lot of side quests. But y’all, LOOK at this note?! I finished some WIPs, I am working towards a me-made wardrobe, I sewed for others and used what I have (plz ignore fabric I purchased in 2025 haaaaa)! I made buttonholes, button up shirts, more than one dress for my daughter, inserted zippers, used my serger!! I am proud of me. 🥲