

You know when you go camping how exciting that experience starts out? You’re in the fresh air, everything is green, you’re living close to nature and you can’t believe you don’t do this more often. Then the reality of you situation sets in: everything you do in the woods is 10-80% harder. Going to the bathroom. Making food. Cleaning up after cooking–you get the idea. Then you go home and you reflect back on that experience: it was fun and I’m glad I went and I’m a better person for it and now I’m glad to be home where I have a special, nice room for going to the bathroom and fire starts in my kitchen for cooking at the push of a knob.
That’s a little bit how I think I feel about making clothes. I start off so excited and full of possibility but then reality sets in: I have to read the instructions and follow them and do the hard work of actually making the thing and learning something new. And now that my shirt is done (yes DONE!!!) I can reflect back on how I’m glad I made it and I feel like I’m a better person for having done it. I have a new found appreciation for how our clothes get made and all the work that goes into crafting them.
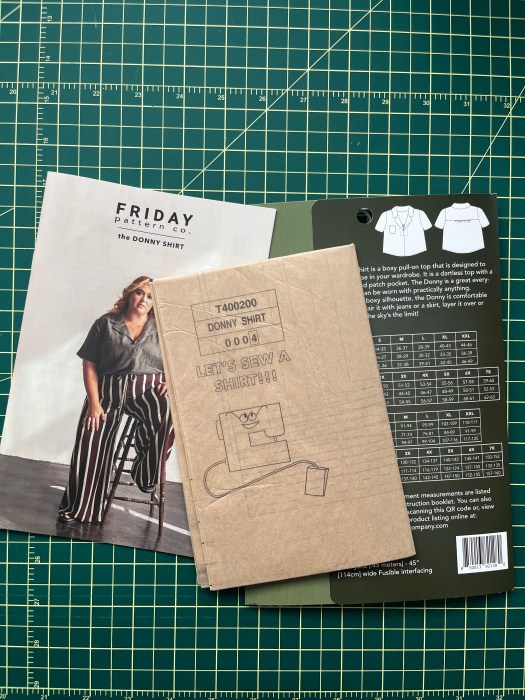
Pattern: The Donny Shirt by Friday Pattern Company (size range from 32″-60″ chest) I made a size L
Fabric: Black linen (I think?) from the Textile Center’s garage sale. It came from the linen section but people make their best guesses when shelving fabric so it could be a blend. Not sheer, has a very lovely drape.
Notions used: Black Guttermann thread, Weft Interfacing
Modifications: Added 1.5″ length to the body

If you’ve been following along you may remember I selected this pattern in the fall of 2024 as one I wanted to make in a community education sewing class (here’s a post I wrote about getting started). I missed two of the six classes, once due to sickness and another for not having childcare. I spent most of my time in the class meticulously tracing and cutting out my pattern and cutting out my fabric. That’s it! Never got around to doing a single stitch. Sometimes I sign up for these classes as motivation to get started and while I technically started I didn’t get as far as I could/should have. I don’t think it was a total waste of time and money as I did get some valuable information out of the class and was able to start my project but I should’ve gotten a little further.
Project cost breakdown:
- Pattern: $20, Paper pattern purchased at Lakes Makerie
- Fabric: Let’s say $2? I got a grocery bag full of fabric at a sale and cannot remember how much the bag was ($5-15 range)
- Thread: $3.50 from Joann’s
- Weft Interfacing: $1. I got a 1 yard precut (plenty leftover for more projects) for $8.
- Swedish Tracing Paper: $3. I spent About $20 for a roll, also from Lakes Makerie (but I can’t find it on their site currently).
Total: About $29.50
I would pay $50-$75 (maybe even more?) for a nice black linen shirt like this as a wardrobe staple, so $30ish all in feels good to me. The pattern will over time also pay for itself as I definitely plan to make more. I can make more in different sizes since I traced it rather than cutting out the original.
It’s important to remember too that for me, anyways, the bottom line isn’t to always save money. Mostly it’s just fun, and that’s good enough of a reason! The act of making, getting to be creative, use my hands and learn a new skill are also all prime motivators for me.
Pattern Selection and Modifications

I went to Lakes Makerie to buy the pattern and they happened to have an already made Donny shirt on display in the store. They graciously let me try it on–it was a medium and while it fit I wanted a little more ease. This was such a great bonus, to be able to try on before I sewed! I feel so lucky to have a good shop in my city that is so focused on garment sewing and lets their customers try on a made garment.
Based on the made shirt I tried on and reading about other’s experiences on Instagram making the Donny, I decided to lengthen the body by 1.5″. I don’t have a particularly long torso but I don’t like a super cropped shirt. It ended up being a good decision! I’m very happy with the length.
Working With The Fabric
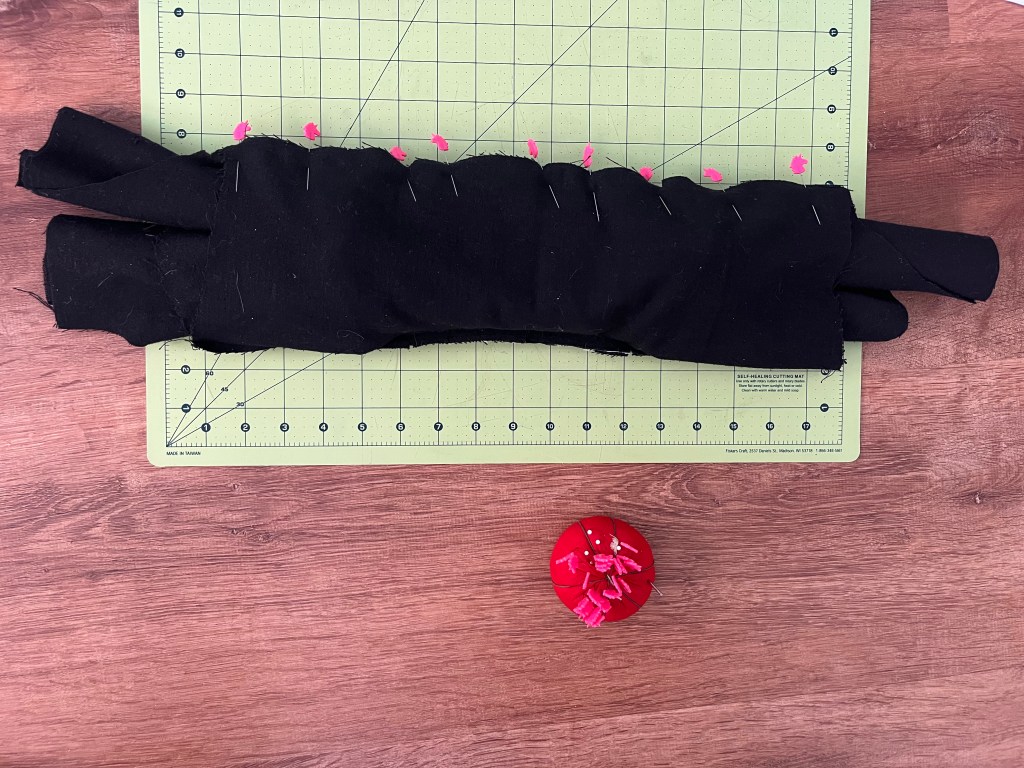
I really hate to take the added step of prewashing my fabric (hassle) but I didn’t know what kind of life this fabric had before it came to me and you gotta prewash so your made garment doesn’t shrink after the first wash. I did it, I prewashed. I made the absolute boneheaded mistake, however, of prewashing it with a load of laundry and no color catchers. DON’T DO THIS, IT WAS SO DUMB OF ME because of course the color ran and stained a bunch of clothes. Going forward I think I need to wash this shirt separately from everything else because how will I know if it’s going to bleed again? I mean, if you have any tips please reach out (can I soak it in something?) because I do hate to have clothes that are fussy to wash.
If you’ve ever sewn with a woven or linen you know that they are more prone to fraying and this fabric was no different. I don’t love that but it wasn’t a deal breaker, I still love to work with linen because of how soft the fabric is.
This was my first time making a black garment and I will say, it was pretty tricky at times to see everything and I don’t think my eyes had anything to do with it. I utilized daylight, an Ottlite, my overhead light, the built-in light on the sewing machine and two lamps just so I could see what the heck I was doing. On the plus side, sewing black thread on black fabric is very forgiving. Can you see any of my crooked stitches? No? Me neither. I think the most challenging part of sewing the black fabric was when I was finishing some of the inside seams with a zigzag stitch and really couldn’t tell if I was doing a good job or not. They’re not pretty but hopefully they’ll prevent the seams from fraying further.
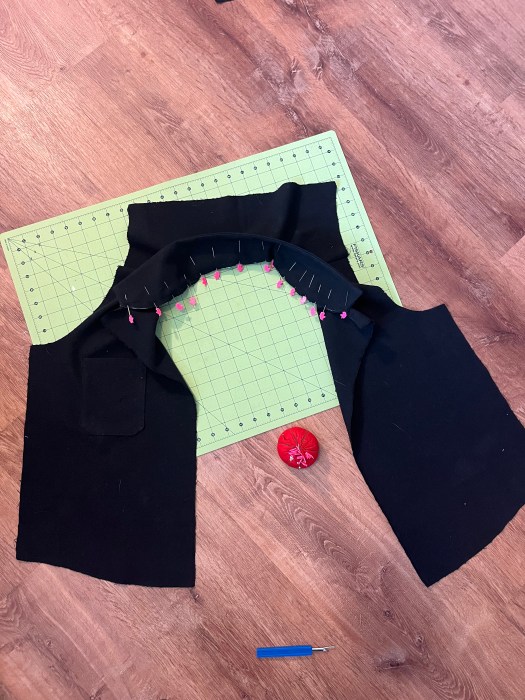
Sewing With Real Fear: Setting The Sleeves
I’m getting better, but there’s almost always something with every sewing project that incites some fear into me. For The Donny shirt it was setting in the sleeve. Having never done this, I was afraid. I was told it was tricky and that’s all my little brain needed to hear for me to go oh no this is hard RUN AWAY. What if I screw it up?? I really have to work against my own brain here to tell myself there’s nothing to be afraid of, you’re not like, sewing a wedding dress for someone who is getting married tomorrow (but oh great, now I will probably have that happen in a dream). You are literally making a shirt for yourself from cheap fabric FOR FUN. THIS IS FUN. So I did it and ya know what? I didn’t even have to seam rip the sleeve, I did a great job. I did accidentally create a crease while doing the zigzag stitch finishing of the sleeve but I just did a little seam ripping and tried again. IT WAS FINE!!! And I am very brave.
Fun Bits: I Love To Learn
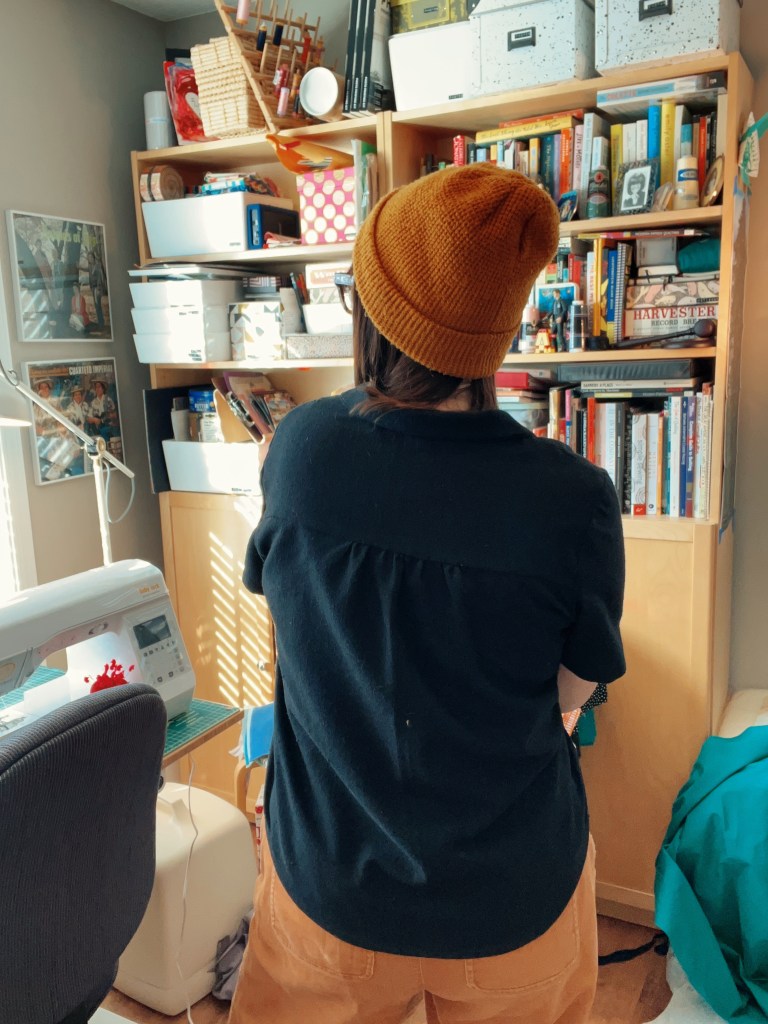
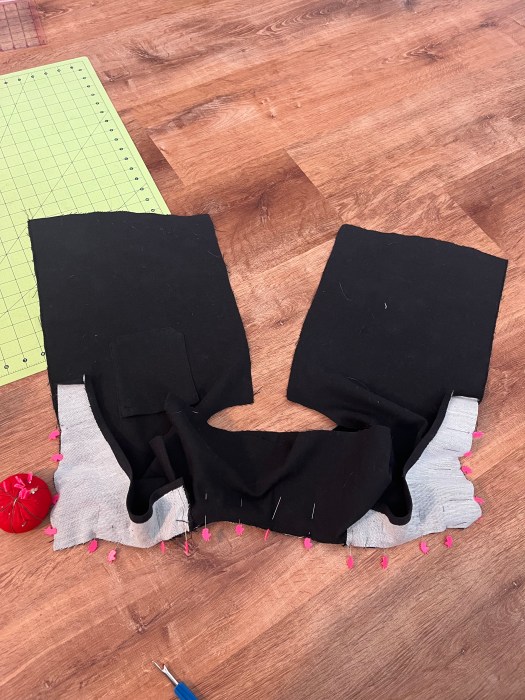
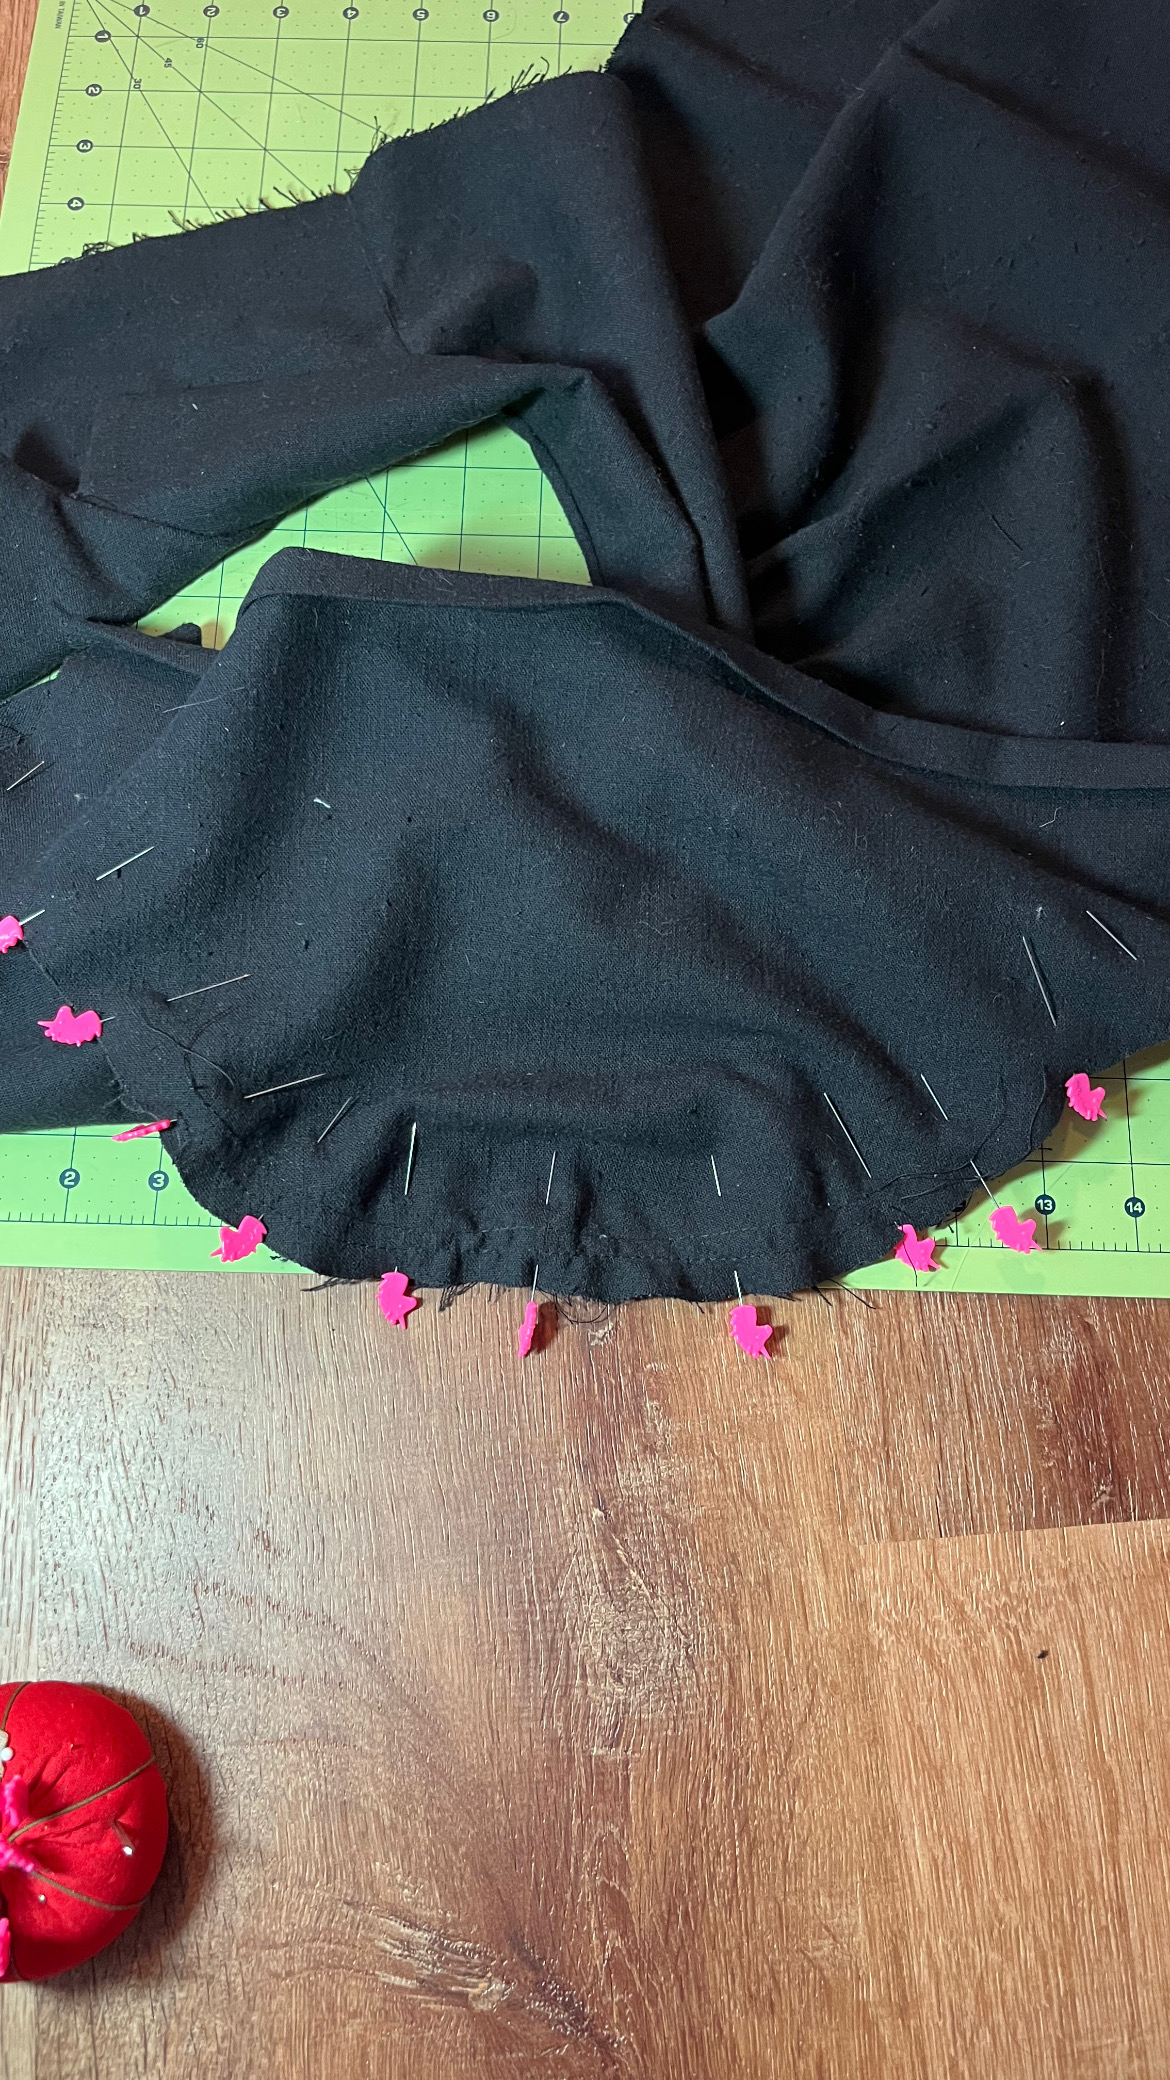
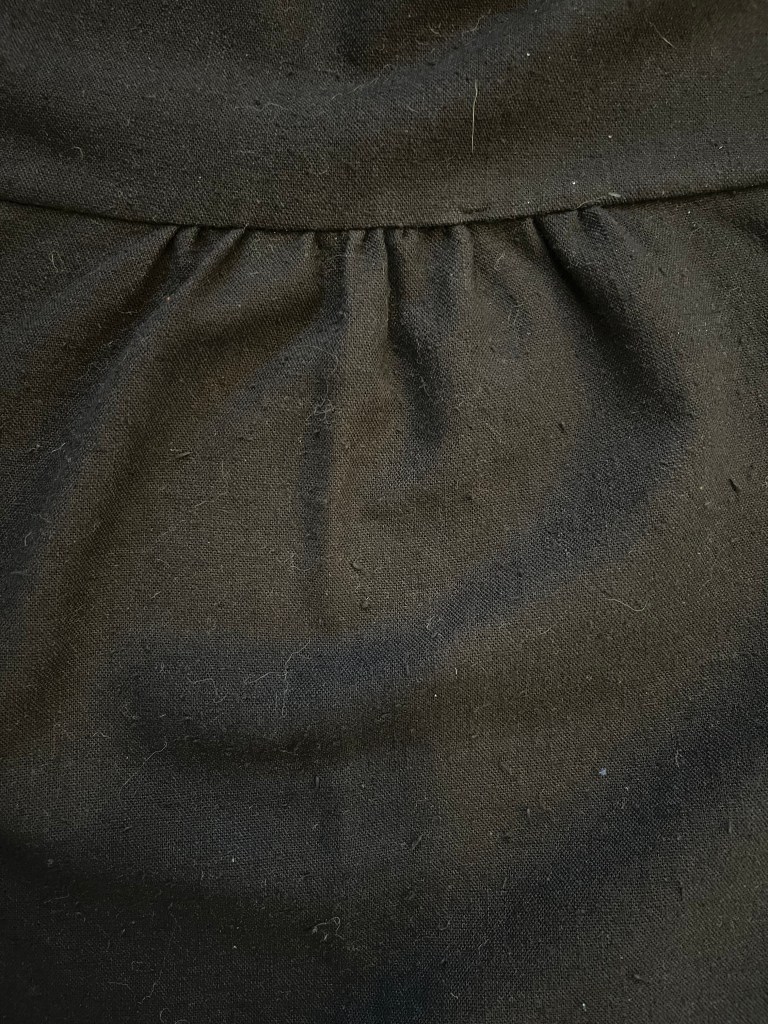
Aside from learning how to set a sleeve I also did gathers for the back of the shirt. My mom happened to be in town while I was at that step so she assisted (mostly just checked my work, thanks ma) and that was nice to have her there for that new skill. I really liked pulling on those threads to make the cute gathered back at the back yoke!
The other fun new thing was doing the “burrito method” for sewing the two back yoke pieces together. This is where the YouTube sew along really came in handy and the pattern instructions even calls out the fact that you might want to watch the video on how to do this step. It looks totally confusing and weird but encases the back seam of the yoke really nicely. It’s fun to learn!
Future Donnys
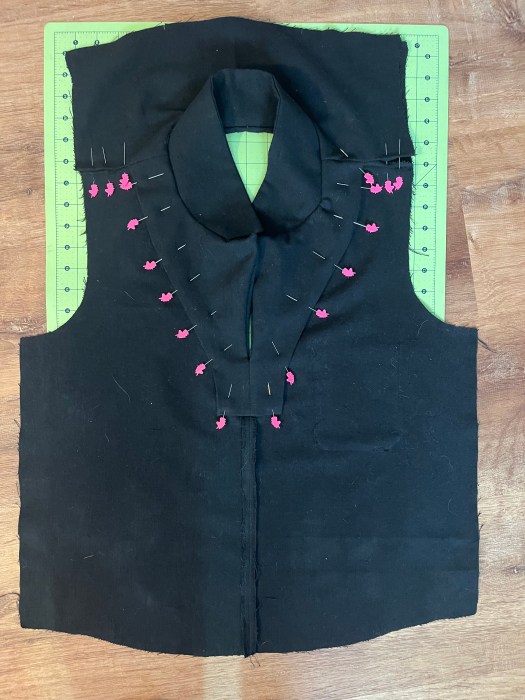
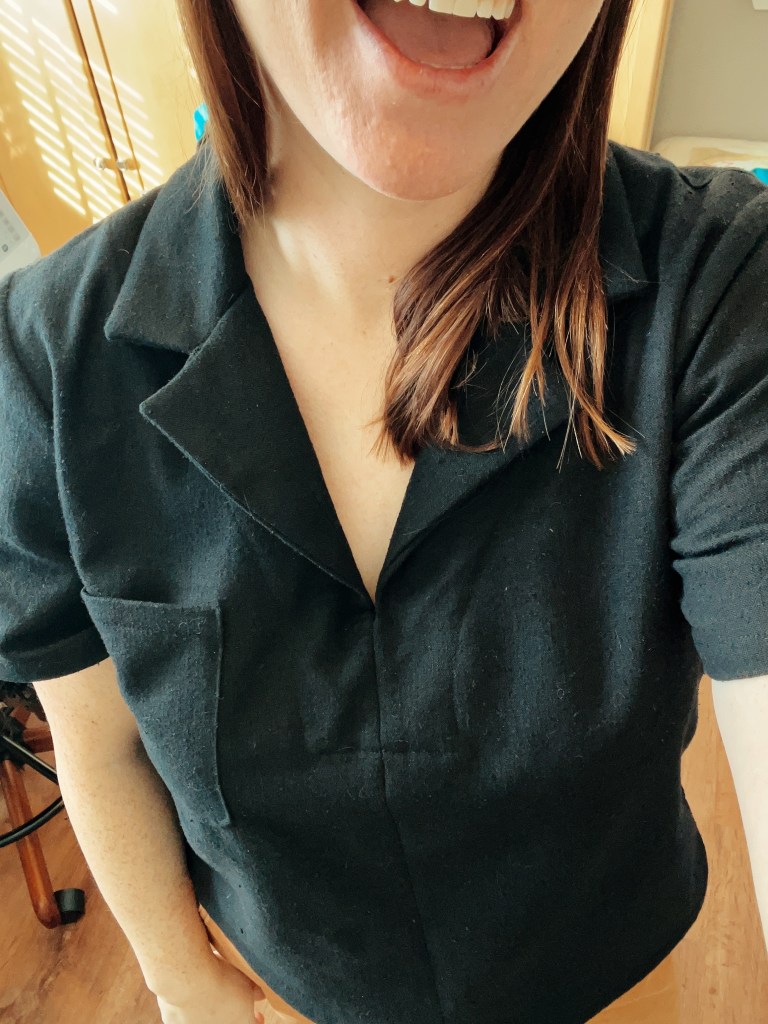
As I already said, I’m glad that I selected a large and lengthened the body, that was the right move. I’m not 100% sold on the low V and right now, at the end of January it feels a little chilly to wear it. For my next Donny I’d likely modify the V so it doesn’t go so low (I think Francesca of Made By Francesca has done this for her Donny’s but I can’t find a post on it right now).
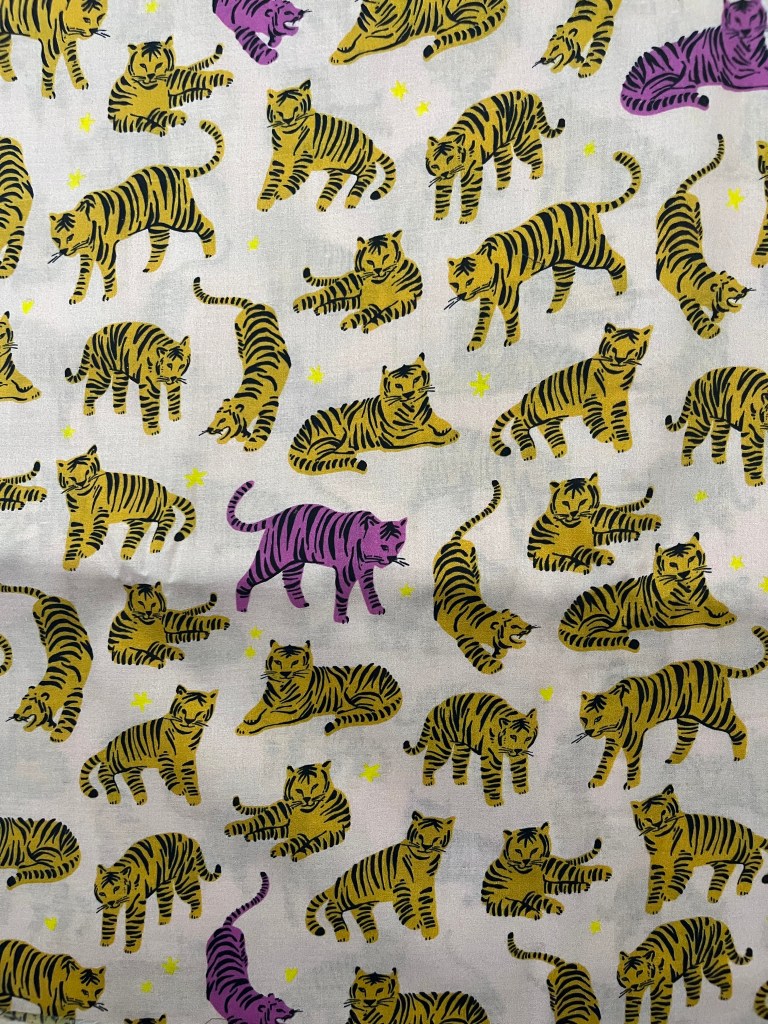
As for fabric, I’d like to make one in a print and I’d like to try out double gauze, I think that in particular would look really nice as a Donny shirt and I don’t have any double gauze shirts! I also have 3 yards of a cute tiger fabric from SR Harris that I intended to use for pajamas but a Donny shirt as a summertime PJ shirt would be p. cute.
I finished the exposed inside seams with a zigzag stitch, as stated earlier, but these seams really would look nice if they were serged. I’d like to face my fear and learn how to use the serger.
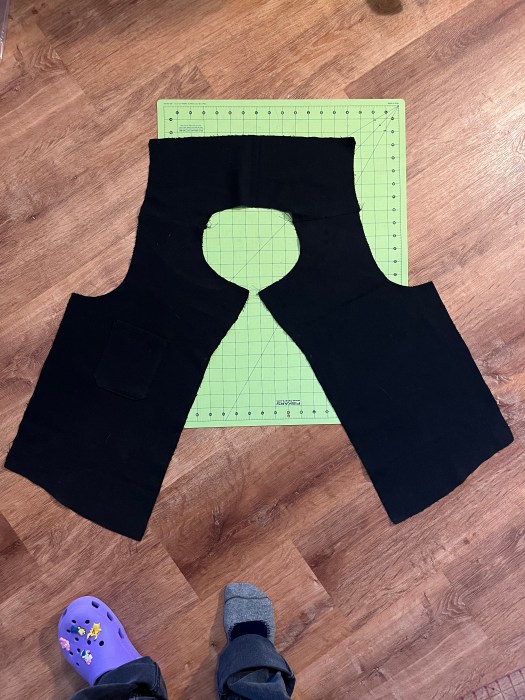
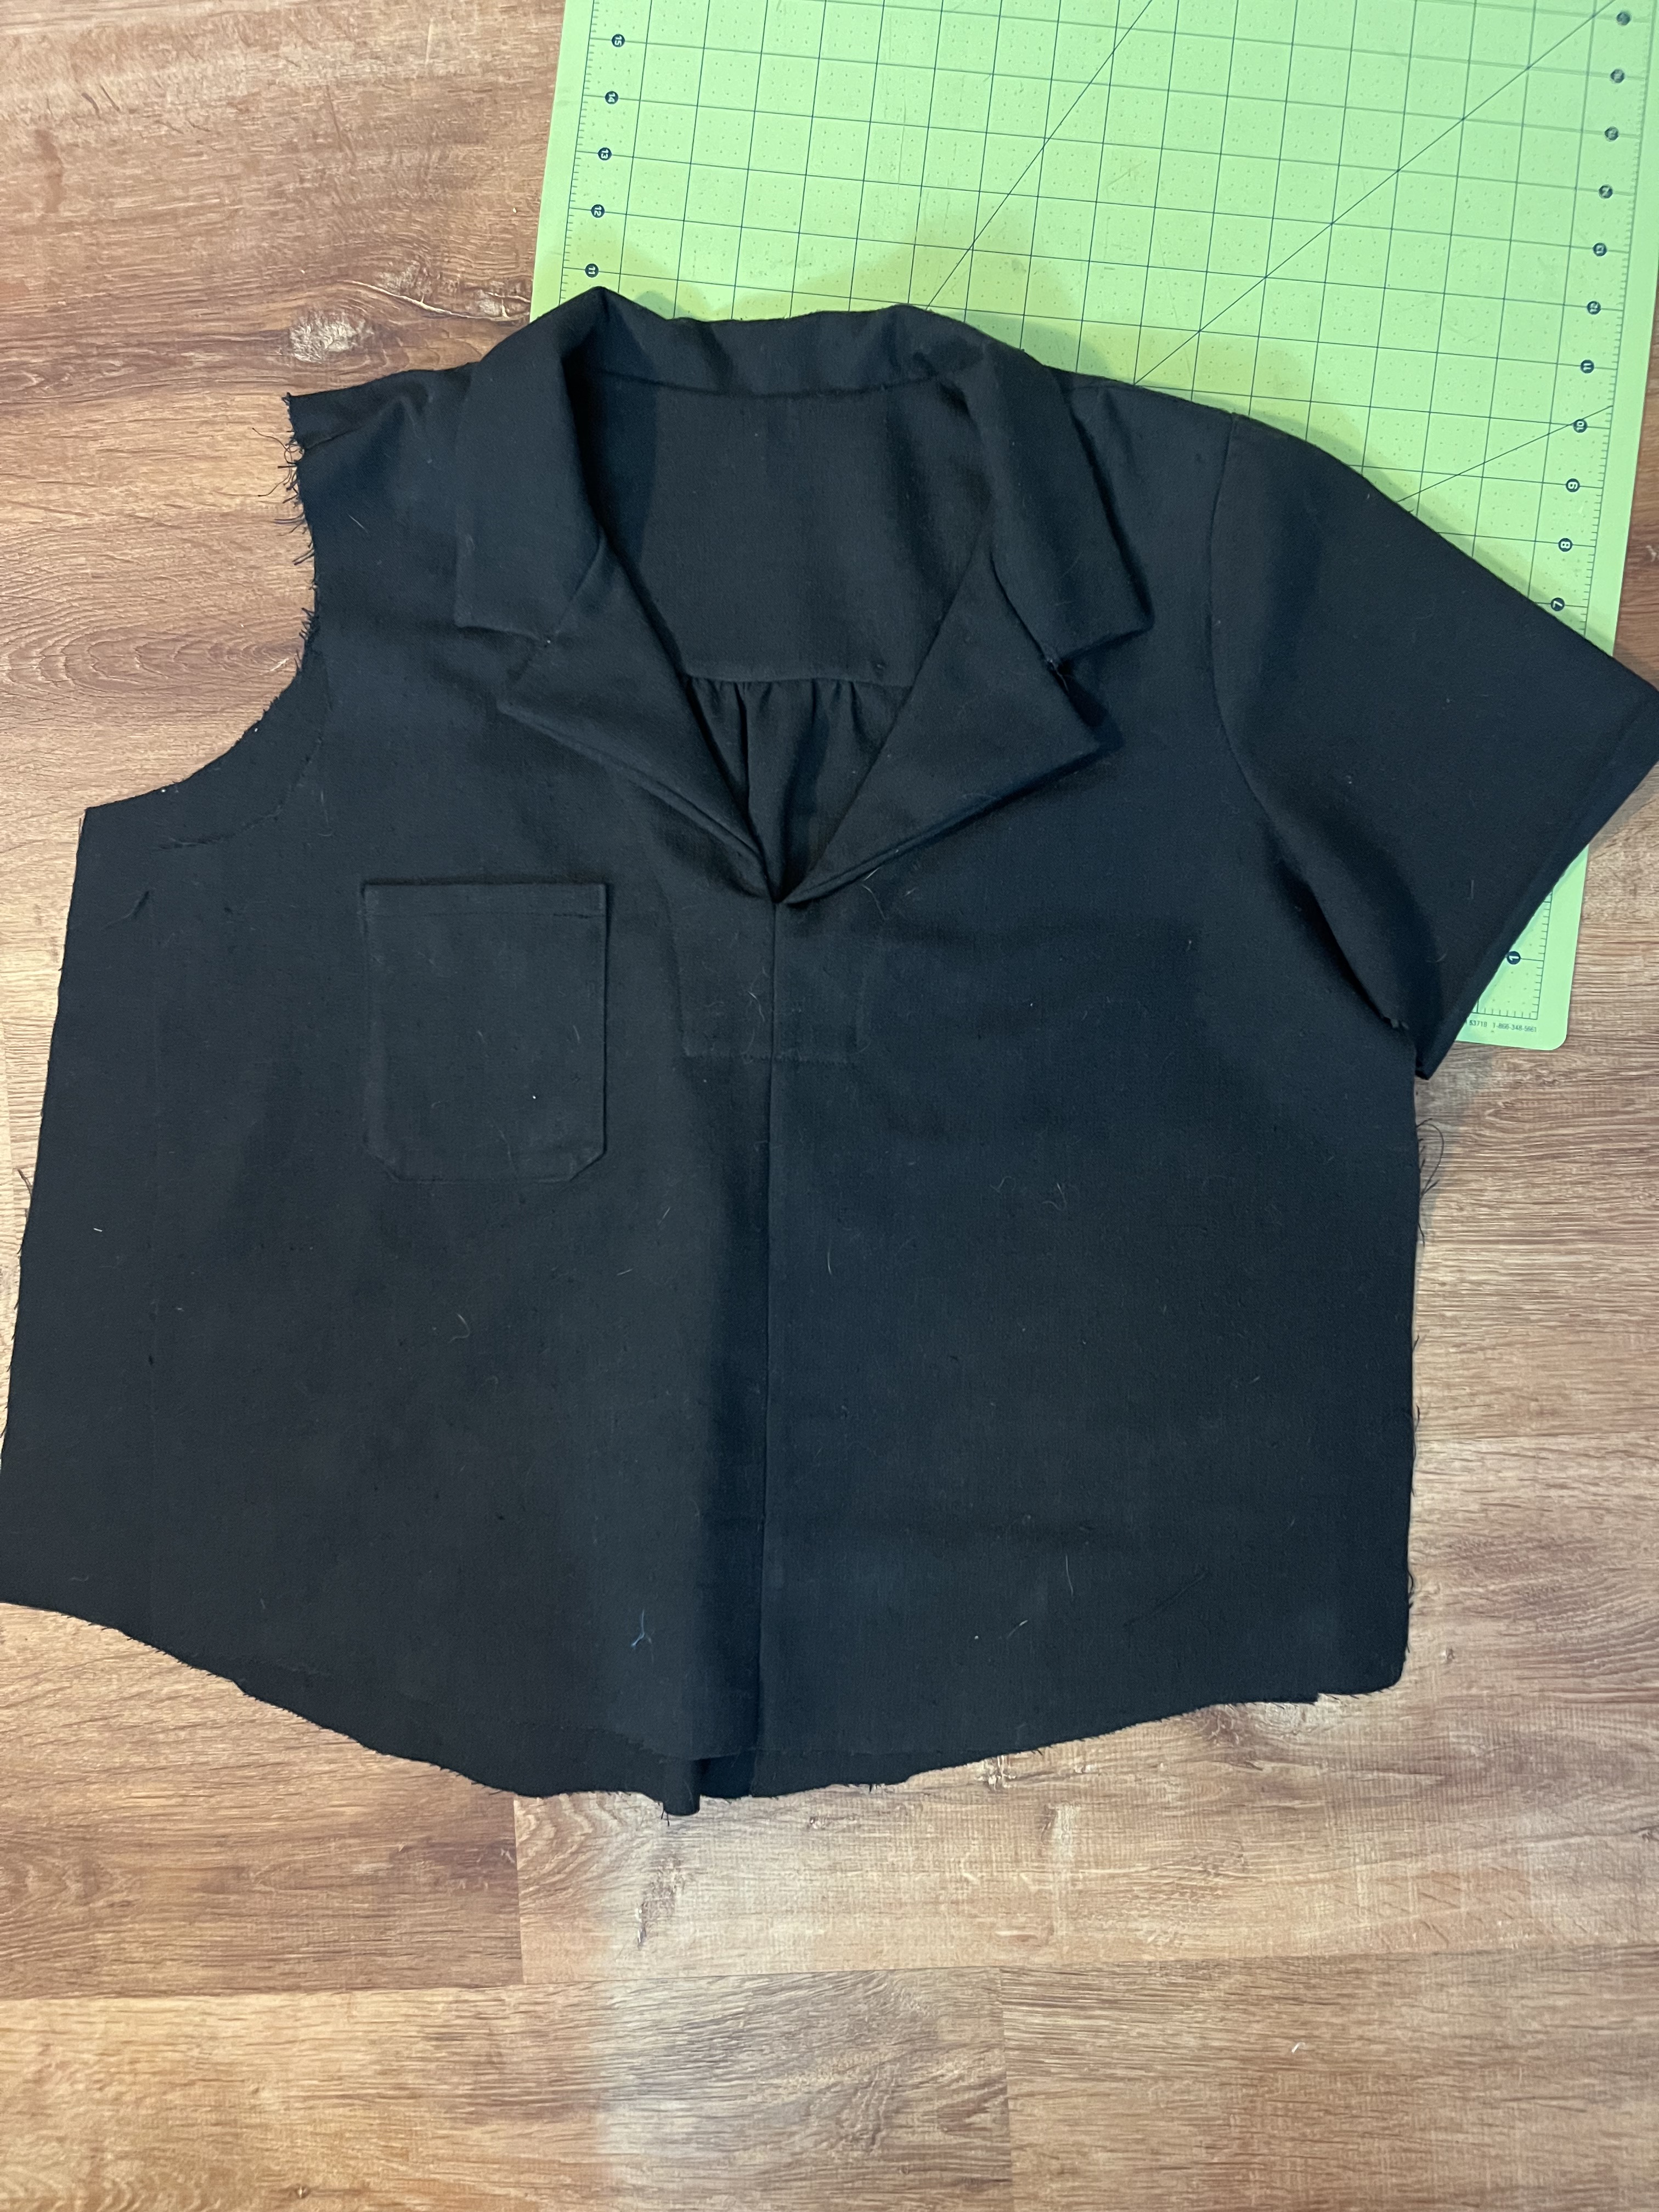
Oh, and lastly, let’s talk about that pocket! I 100% wanted to place the pocket on the left. My next Donnys will have a pocket on the left. That’s what I thought I was doing when I was sewing it on. I was SO MAD I did it incorrectly, it really bothers me that I put the pocket on the right. I could move it. I could’ve moved it at the time. It bothers me. I’m not going to move it though hahahaha.
Final Thoughts
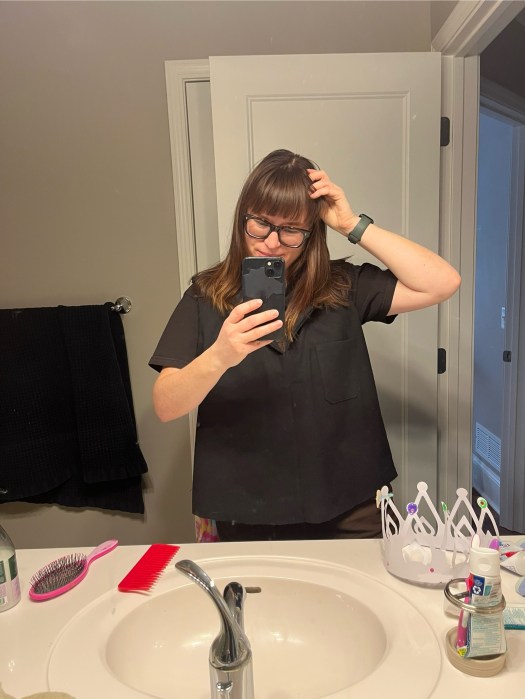
If I could turn back time I would probably make a different fabric selection and start with using a print, rather than a solid. That would’ve made it easier to follow directions and follow along (and also see what I wrote above specifically about working with black fabric). I’m not mad that I made a black–it’s exactly what I wanted for my closet and will absolutely become a staple.
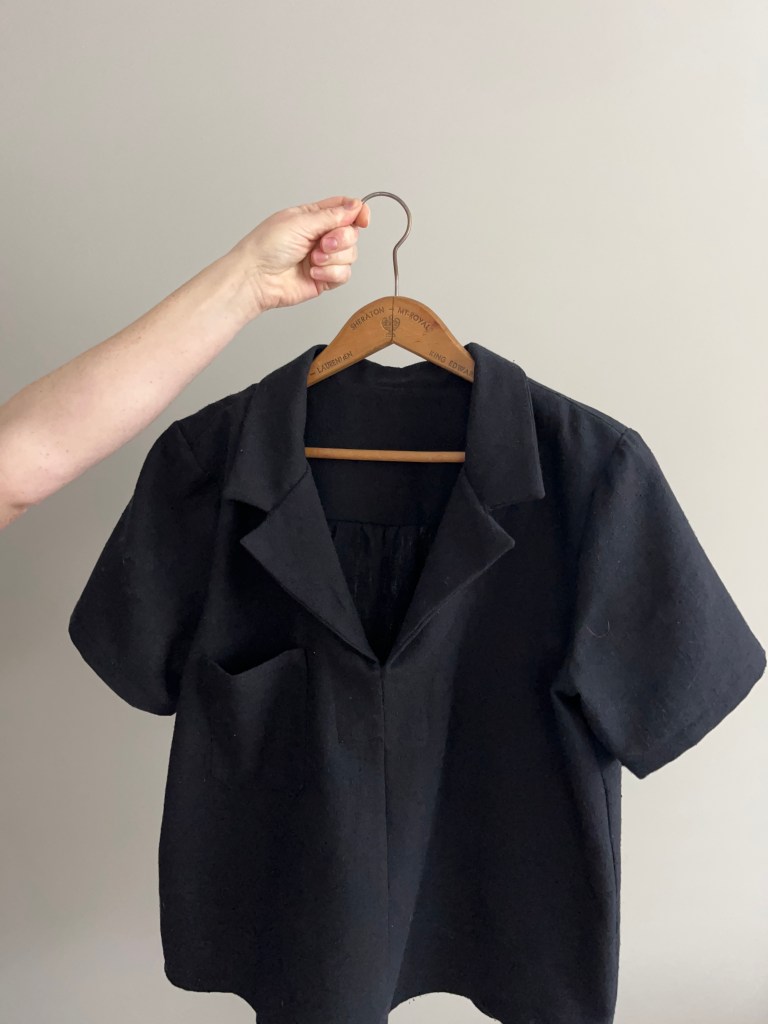
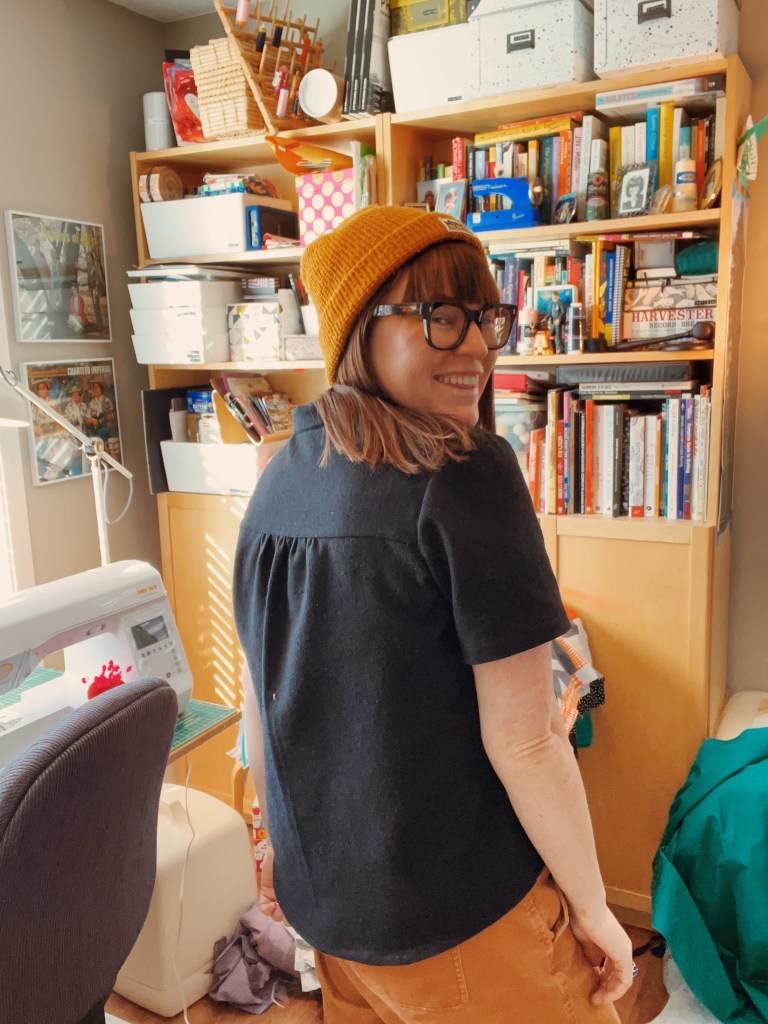
When I finished up the hem and pulled it off of my machine I was in total awe. I really, truly cannot believe I made this shirt! It looks like something I would buy and that’s what’s really blowing my mind. I remember thinking at one point in my life that making clothes seems so challenging. Making clothes that fit well? That you want to wear? It feels like a revelation to have something in my closet that ticks those boxes.
This might be the most ethical garment in my closet? I bought a pattern from an indie pattern designer from a local independently owned shop and I got the fabric secondhand at the Textile Center’s biannual garage sale.1 Please clap!!!! #savetheearth #earthmama #natureishealing
Making this shirt was just the confidence booster I needed to keep going and stretch my skills. I think I’m ready to tackle a button up, or maybe I will finally get at that Tamarack jacket I have all cut out and ready to sew. Thanks, as always, for reading!
- Speaking of that garage sale, if you are in the Twin Cities and sew, knit, crochet, embroider, weave, etc you definitely need to check it out, it is bonkers good and I highly recommend it. People donate fabric, notions, yarn, patterns, embroidery hoops, sewing machines, weaving looms, books, etc etc, anything related to fiber arts and you can get them for a fraction of the cost anywhere else. I got 2 grocery bags full of fabric for $15/bag. Or was it $5? Honestly either is fine with me, proceeds go to the Textile Center which is a nonprofit. I volunteered which helped me to get in early and also get a good overview of what’s on offer. In addition to the fabric I got patterns, an acrylic ruler, pins, bias binding, elastic, rickrack, a tailor’s clapper, patches, two tailor’s hams, snaps, and bias tape makers. I probably got more than this but that’s just what I remember off the top of my head! The next one is in the spring, April 11-13th, 2025. ↩︎
